Do you want to begin with pottery? All too often, people think they can do it only with a wheel. The problem is though, wheels are super expensive, and often they are an investment for serious potters. What if you’re a beginner potter who isn’t ready to drop a whole bunch of money on a wheel, or you don’t want to work with a wheel yet? Well, let’s talk about some of the different ways how to make pottery at home without a wheel that you can try out.
Pinching Pottery
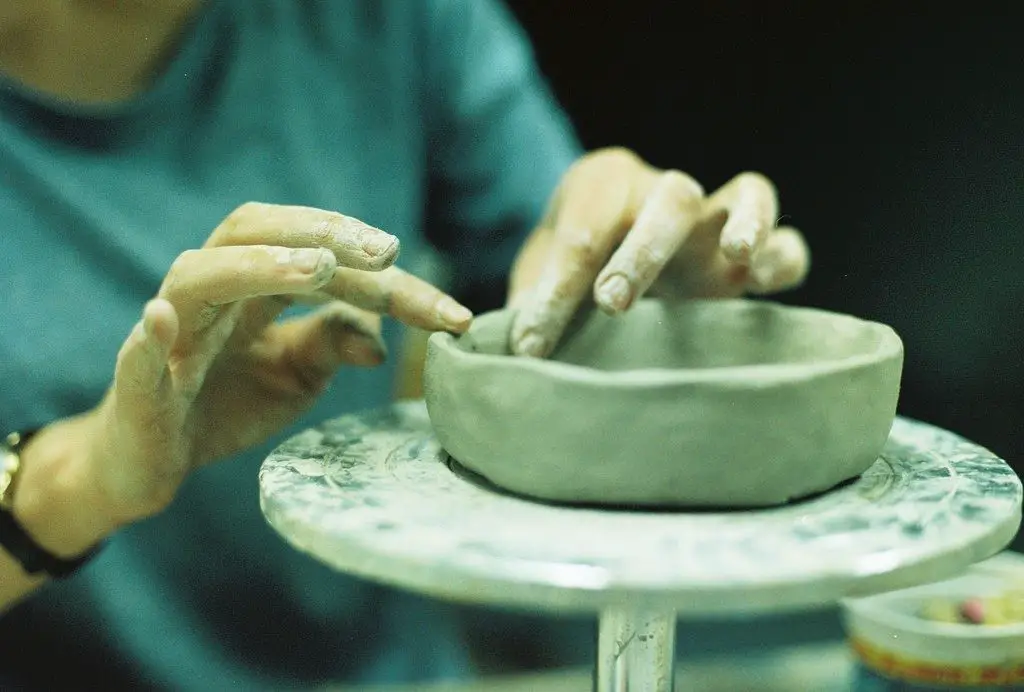
This is a pottery technique that’s often pretty simple, and it’s the quickest type of pottery, to begin with. Some of the steps that you need to do include the following:
- Roll the Clay to the size of a fist
- Create a hole with your thumb or a well
- From there, slowly pinch it until you’ve got a bowl that’s about 6 mm thick
- Flatting it out so it sits in a stable manner
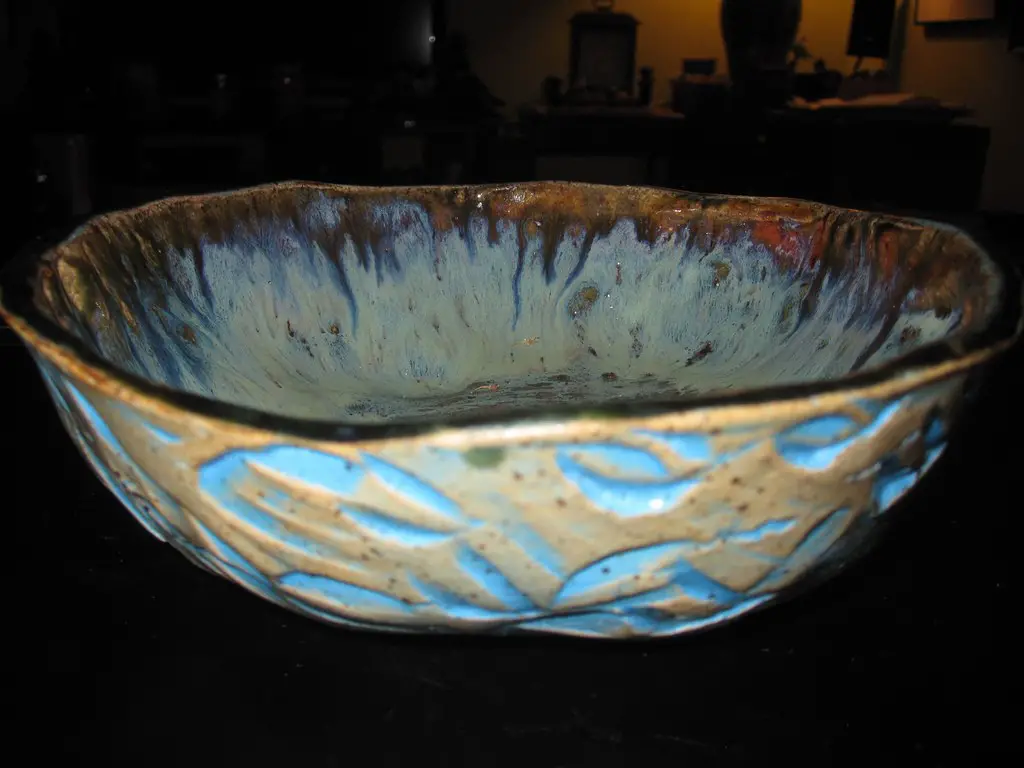
At this point, once you’ve done this, you can then decorate it however you want. Some great techniques to decorate include the following:
- Drawing lines around there
- Stamps and impressions on the clay to create an imprint
- Painting if you feel like trying something new
You can check out some cool painting techniques here.
From here, you can then let it dry and then fire it. It’s that simple!
With this technique, you only need the hands to form it, but the one downside is that it’s not very versatile, and essentially, you’re limited in what you want to do. It also does have a size limitation, but if you want to start with some basic pieces of pottery, this is essentially the way to go and something that you should consider if you’re thinking about really getting the feel for pottery.
Slab it Up!
The next technique we are going to discuss is slabbing. This one does require a bit more skill for you to use, along with some other gear that you’ll need that is a bit different from pinching the pottery. To use this, you need the following:
- Clay
- Rolling Pin
- Rolling Guides
What you want to do, is essentially first make the clay super nice and pliable for you to use. From there, you essentially pat out something into the shape of a slab, and it needs to be thicker than the sides of the pot. From there, you throw it on the surface, and then roll it out to flatten down the clay to the thickness that you need from this. You will need to from there, create templates for the following, or you can make these yourself of each of these parts:
- The sides
- The base
- The Lid
From there, you cut all of these out using a knife or something that you want to create pretty easily. There are potter’s knives out there, and you essentially take your template and make these until everything is cut out.
Now, the sides of this might collapse if you put them together. If you do notice this, you essentially can do the following:
- Put them in a plastic bag with a newspaper over there or a sheet
- Let them slowly dry out, and check on these every few days to a week
- Once they have hardened, you essentially can put them together
Now, you don’t want these to be super hard, but essentially they need to harden up a little bit so you can put the sides and the base together of the box. With this, you need to use something called score and slip, and this is done in a specific way. We will talk about this in the next section.
Score and Slip?
When you’re using slabbing, you essentially need to use score and slip. That’s because, if you try to push these together otherwise, it’s not going to work. So how is this possible? Well, read on to find out just how you achieve this.
You essentially need to make a slip, which isn’t like what a lady wears underneath to hide their underwear or to poof it out, or it isn’t slipping on something that is slippery, it’s essentially a slurry.
To make this, you can do it in the following manner:
- Soaking up the clay in water
- Slosh it around so that it can move about
- Finely shave the clay so that it works
From here, you essentially get into the process of scoring and slipping. Scoring is making small little hatches on the clay where it attaches from one side to another side. You can do this with any sharp tool, and you begin with the base, to the sides, and then the top.
The process for scoring and slipping is the following:
- First, you create crosshatches on the base
- Use your finger to spread on the slurry, it should be thick and clayey
- From there, attach these with a wooden bat to help secure this
- Repeat the process until all of the sides are attached
Now, you may need to reinforce the joints at this point. You’ll need to roll out a thin amount of clay, put it where the sides join the base, and then force it into thereby pushing the finger in, and you can smooth it off and remove any clay that’s in excess. You repeat this on all of the internal joints, and from there, the box will be made strong.
When you make the lid, you essentially do it in the same manner, but with making a lid, you need to make sure that it doesn’t slide off the box of this. How do you do this? Well, you begin with the following:
- Roll out the clay so that it is at the length you need it
- From there, you cut some lengths that are about a centimeter wide
- From there, draw out where the walls will come to the lid
- From there, score and slip so that it’s in the line at the centimeter lengths so that it creates a square on the side of the lid
- It will create a rim to help it stay steady
- Make the worms and then squash them onto the sides so that it’s reinforced, and make sure that it stay on until they’re fired off.
At this point, you can then decorate it in similar ways as before, fire it, and then there you go.

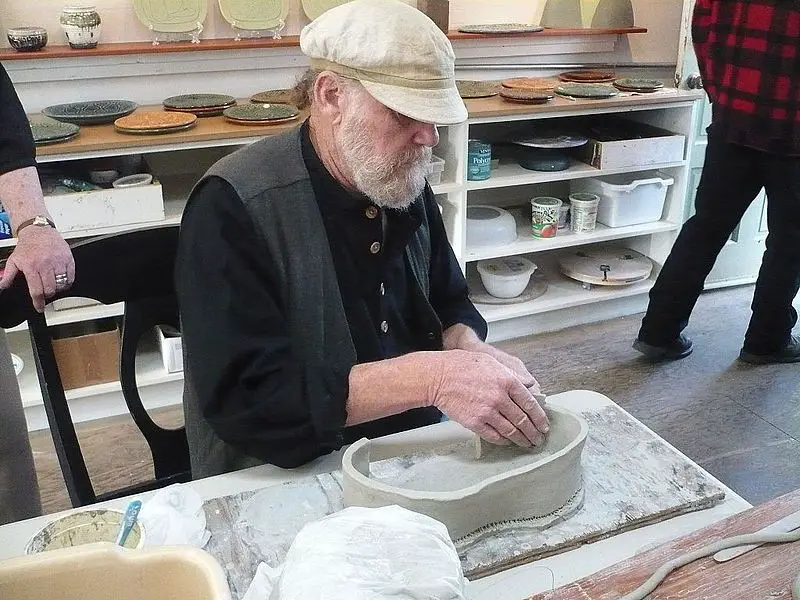
Coil it Together!
The last and probably most versatile of these techniques that don’t use a wheel is coiling. It also allows you to make things that are useful, but it does take a bit of time to begin.
How you begin is you essentially slab it as before, but you want these a little bit thicker, around 10 mm at the very least because you need a thicker base. That’s because you want to work with these coils afterward.
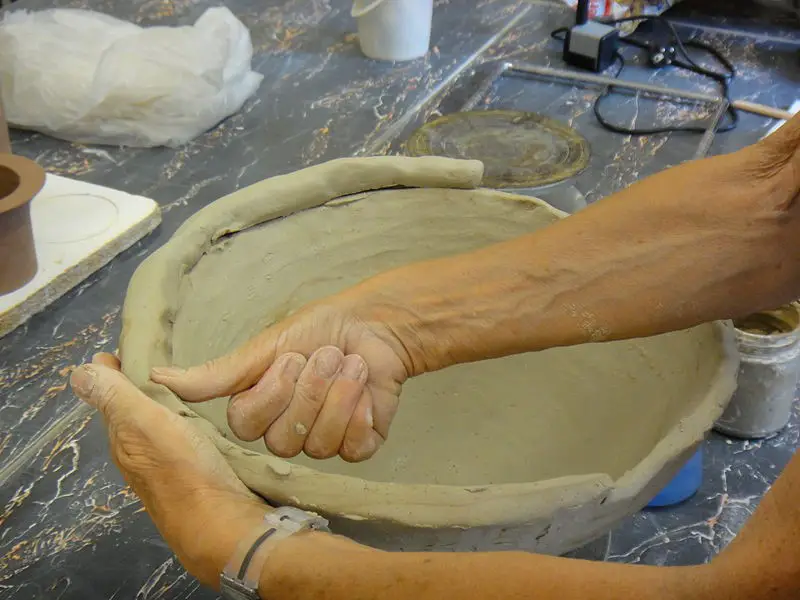
Have you ever worked with Play-Doh? it’s basically like that, where you do the following to roll out the coils:
- Spread your fingers
- Roll them along the work surface
- Always make sure that the rolls will be proportional to the size of the pot
- From here, put the first coil against the base
- Hit it with the bat to help the clay adhere to the base, and smooth the inside and the outside of the coil itself to create a surface that contours
- Repeat this process, making sure that whenever the top coil is blended in with the one under it
- Give it hits with the bat each time
- If you don’t finish this in a single period, cover it with bags and leave it in a cool place
- If needed, you may have to slip and score the coils when you come back so that they can be applied together
When you do this, as you begin to build, you bat them on the outside. This, in turn, will support the clay with the fingers on a singular side, making them tougher, and smoother, and in many cases will help to make this much denser so that the pot is much stronger as well.
Now, out of these three, this one probably takes the longest, because it involves so many steps: putting the coils together, batting them, and from there building on up. You should also keep in mind that the higher you may go, the chances are you’ll have to thin this clay out since it will definitely become top-heavy if you’re not careful. That’s something that I noticed with my work as I did this, and if you’re not paying attention, chances are it may become a problem for you later on.
Finishing these off
When you finish any of these, you need to use the right techniques to make them look better. You can do the following to make these better for you:
- Use something to smooth them out and give them a better profile
- Carving designs
- Glaze the pot
- Fire this
Now with the first one, you’ll use something called a kidney to smooth this. Yes, it’s actually shaped like a kidney funny enough. You carve this along the sides, and then you’re given a beautiful, smooth design that you will enjoy.
With glazing, you should make sure you choose one that fits the type of pot that you’re making, and from there, you should also fire this based on the type of glaze you have, and also the clay type. For example, you fire porcelain much higher than other types of clay.
Knowing firing temperatures is essential and you should learn about the ideal firing temperatures for clay.
If you are able to air dry the clay so that it’s pretty simple and nicely dried, you can always do that. Just know you can’t use glazes and finishes if you’re doing this technique.
You can also put in your own designs. Now, some people like to paint them on, and you can use stains or acrylic paints in order to achieve this. You can essentially do whatever you want, even just stamping and putting stickers on there if that works!
Some people are a bit particular about color as well, and you can always choose something simplistic. Usually, the ideal colors to use are the following:
- Tan or neutral color
- White
- Green
Usually, white is a good one, because the original color does color your piece. For example, if you use white, white will be the dominant feature of it, and it will make it brighter.
Now, if you really want to not spend a ton of money, you can essentially put in indentations onto the piece itself with everyday household items.
Some common things you can add are the following:
- Zippers
- Bracelets
- Erasers
- Pencils and Pens
- Pins
These can all give you some cool textures that you’ll enjoy from this. Now, you can spend money on more expensive tools, but if you want a certain shape and texture, and you don’t want to fork over a ton of money on pottery tools for clay, this is always an alternative, and just follow the basic premises whenever you do this so that you can get the best results that you can from this.
With this, you can see here that making pottery without a wheel is totally possible. You can do it with these techniques, and they’re good beginner options to start with. If you’re wondering just what you need to begin with, you can see that the items you require are limited, and because of that, it can ultimately make it much easier for you in the long run. This is a great way to start to see if you like doing it, so you can make the choice for yourself later on.
You might be able to use a wheel
You might be low on space or even funds to purchase yourself a wheel. But there are many affordable tabletop wheels you can purchase right from Amazon.
We have a review of our favorite tabletop wheel the Speedball Portable Artista Tabletop Pottery Wheel. Click here to read our review.


