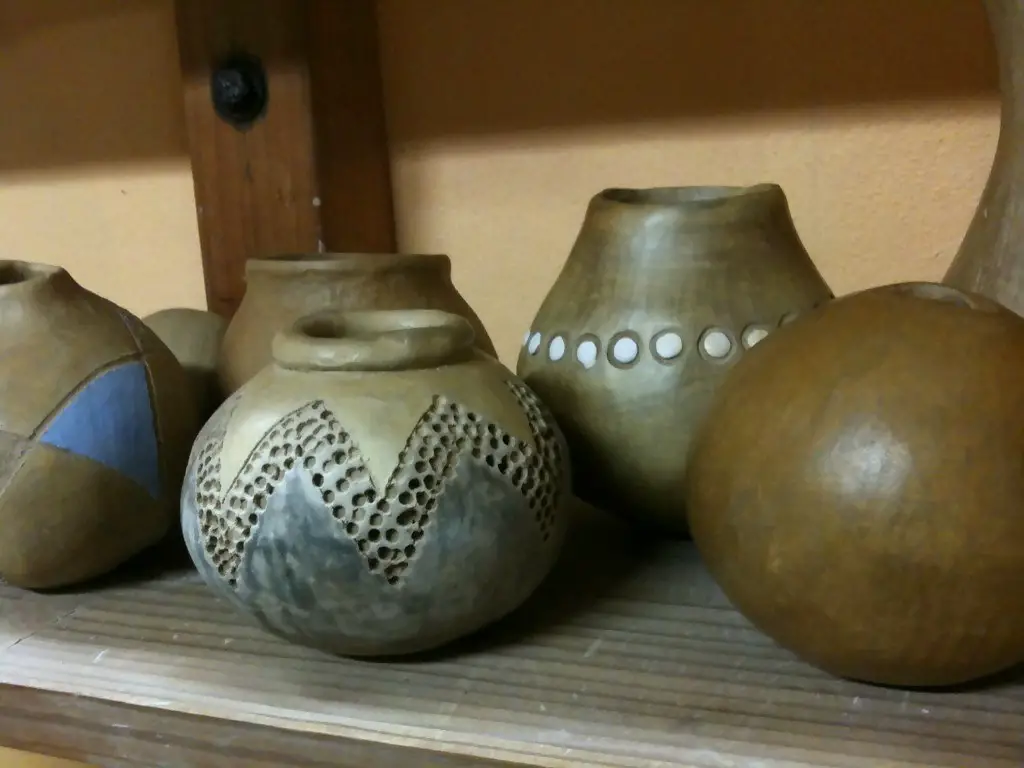
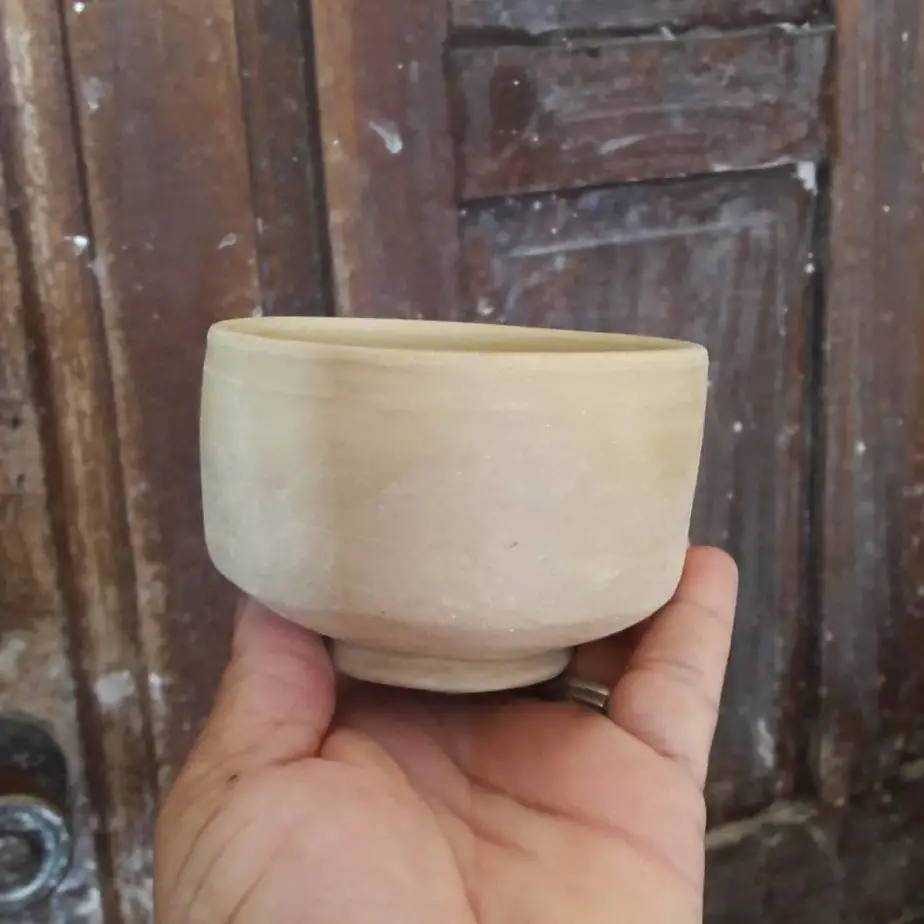
When it comes to your pottery, you should know about bisque semi-firing. It is a process that changes the clay, and it can help you especially if you plan on putting glaze and other additions to your pottery.
But, what is it? What is the process of it, and why does it matter?
Well, read on to find out as we go through the process of bisque semi-firing, and what it means for you as a potter.
All About That Bisque
“Bisquing” is a term that refers to firing it somewhat. When you fire it in a bisque, it requires you to fire it just a little bit, but not all the way.
Bisque firing essentially does the following:
- Transforms the object from the porous state to that of glazing
- Allows for you to put stains, underglazes, and glazes on there
- Makes the piece stronger without doing much else
- Reduces the risk of being damaged
- Takes out the risk of the pot potentially exploding during the second firing
The purpose of your bisque is to make it stronger, and it is something that you should consider doing, especially if you have pottery that you would like to use.
If you don’t bisque your pottery, the following will happen:
- The stains and glazes will soak into the pottery
- It can ruin the even textures you’re trying to create with your pottery
- It can cause the piece to crack
- It can cause the piece to explode
- The water won’t be fully removed from the clay, so you can’t use this for functional ware
Sure, you’re more than welcome to fire your pottery without the use of this bisque firing, but it is in your best interest if you are looking to create some great wares.
Slow and Steady
You’ve heard the phrase slow and steady wins the race, right? Well, this also applies to bisquing.
When you bisque-fire items, you want to do this more slowly, and that is because of the following:
- It prevents the cracks in the pots
- It helps remove all the water from the clay
- It reduces the chance of it exploding.
- It makes your pottery so much stronger
So if you’re wondering whether or not you should do this quickly, the answer is no. You need to take your time with bisque firing, and also watch your pottery as you do this.
The Stages of Bisquing
Did you know that the bisque process itself happens in stages? Well, firing allows you to do that in so many different ways, and here, we’ll highlight each stage as it happens.
- First, the moisture evaporates from the clay
- Then, the organic matter burns away
- The bound water is then driven off
- The sulfur compounds burn off, the carbonates decompose, and the work will shrink and sinter
Now, regardless of what level of firing you want to do, the process is still virtually the same, and it creates an oxygen-rich area, and from there, you can burn off the sulfur compounds.
What type of Kiln do I Need?
This is a common question that people ask when you bisque semi-fire. The answer to that is an electric kiln.
Why is that? Well, the following happens with an electric kiln:
- The settings and temperature are easier to control
- You don’t have to worry about it rising too much, too fast
- It is easier to get oxygen into there, which the piece needs so that it can burn off the compounds
While you can do this with a fuel-filled kiln, it’s actually much harder to control everything, and you should always be careful if you do choose to go this route.
What Temperature?
Now you may wonder what temperature you need to fire these to. The answer is that it depends
.
Ideally, you want to be somewhere between cone 08 and cone 04, no matter what the maturation temperature of your clay is, or the glazes that you utilize later.
That is because, by cone 08, the following happens:
- The clay has sintered
- It is a ceramic material
- The body still is porous enough to absorb the glaze easily
- It is fragile, so you’ll need to be careful
When you fire it to cone 04, it actually can make it a bit different, and the following properties can happen:
- The pots are a little less fragile
- The glazing time might increase
- It might affect the glaze adhesion due to the fabric tightening and becoming more absorbent
As a general rule, remember that the higher the temperature you use for this, the less porous the piece becomes. So, if you want something that easily absorbs glaze, fire it a bit lower.
However, one thing to remember is that if you have a different clay body, it might actually respond differently to being fired, such as the following:
- The porcelain and stoneware bodies will be weaker at lower temperature firings
- However, high-talc types of bodies, along with earthenware might be stronger and denser
- To determine what to fire your bisque at, look at the type of pottery that you’re looking to make, and the type of clay body you’re looking to use

Carving
There is also carving, which is a technique involving bisque that Chinese potters try, in order to obtain pieces that involve a limited breakage.
Due to the fact that the bisque absorbs the water, it actually accepts glaze easily.
To do this, do the following:
- Heat this just to the point where it absorbs the glaze
- Put a thick amount of glaze onto there
- You might need to apply this with either limited water, gum, or both to keep the glaze there
- From there, put it back in, and it will mature at a much lower temperature without the glaze flaws
But, this is definitely a more complex type of process, and below, we’ll talk about the firing process of this, which is what you do before you glaze it.
Overnighting
Overnighting is the process of heating it up at night, in order to save you time when you’re firing. The firing ramp and the firing schedules are two different things, with the ramp being the increase in how fast you fire it, and the schedule is the time that it takes to fire it.
Before you begin though, you can make it start to warm up early on, and that’s through overnighting.
What you do, is the following:
- Clean out the kiln of anything left over before you begin
- Turn this on, but keep it at a very low heat
- When it’s time to start, you start with two hours at low heat and then increase from there
This process allows you to have a much better time with this, and it does save you time. Firing your pieces takes hours, and sometimes, the right kiln will make it easier.
The Firing Process
So you have the process, which we discussed as putting the kiln on to heat up. But now, let’s talk about the firing schedule, and the process.
To do this, begin with the following:
- Load your kiln up, making sure that you take full advantage of both conduction heating and the space so you can save some money on electricity
- Make sure that everything is bone dry, if it’s cold or cool in touch, it isn’t bone dry
- Handle it very carefully, and understand that it’s very fragile
- Have them in spaces about 1 inch apart so circulation, and keep them at least an inch away from any elements or walls
- Unglazed pieces can touch one another, but never let the glazed pieces touch
- You can use a Kiln Sitter to figure out the temperature it’s at if needed
- Make sure to have the door closed when you’re done, and then begin the firing
Now the schedule for firing is pretty simple to follow, and it just involves a few different steps, and they are as follows:
- Have it for two hours at low heat, with an increase of no more than about 200 degrees each hour
- Two hours at medium, with a temperature increase of 300 degrees or less
- High heat, which is 300-400 degrees an hour until you get to the temperature that you want it to be at
You always want to start with the switches at low, and if you hear any noises, lower your heat immediately, for that means that it could potentially be breaking down.
A couple of things on ramping up the heat, and are the following:
- Never make it too quick, too fast
- If the walls are thick, you can stay in a setting for longer
- Thoroughly wedge the piece so that you don’t have any air bubbles when firing
- If you notice that the kiln is at red heat, bring it up to the highest temperature possible
- Once it’s reached the temperature and has fired for long enough, turn it off
Turning off the Kiln
Finally, you need to turn off your kiln, which is something you need to be very careful about. Here are a few tips for turning off your kiln so you don’t get hurt.
- Make sure all heat sources are off
- Close openings there, and let it cool off on its own
- Never open the door suddenly, because the sudden changes in temperature can cause the pots to crack and explode
- When you think it’s cool enough, open the door up
- If you notice heat there, put paper in the opening, and if it lights up, do not open it
- If you hear pinging sounds, but the paper doesn’t light up, it’s still too hot to open
- Regardless, in those cases, let it sit to cool for a few more hours
- As a general rule of thumb, it takes about a day to cool, and let it completely cool before you remove this
Unloading your kiln can be a process, but for bisquing, it’s important to learn.
Tips for Firing
Here are some tips for firing your bisque, and how to prevent any injuries from happening:
- Never place anything on the kiln lid, or nearby that is flammable
- Always make sure that the ventilation and everything that you’re using is working correctly
- Never fire with cracked shelves, because this can break, and that damages the wares
- Store your wares in an area that’s dry too
- If you smell burning plastic, turn it off and look around
- Turn off the kiln before you load and unload, disconnecting everything
- You should make sure all wares are cool to touch before you start the glazing process
- When you put the glazed wares in the kiln for the second firing, make sure that they don’t touch
- Keep it closed for as long as possible, and remove any hazards that might be in the way
- If you notice that you could’ve fired it a bit differently, make note of it for next time
When it comes to firing a bisque, it is a process, but a fun process nonetheless. By knowing what you need to do in order to master this, you’ll be able to create the best bisqueware that you can.
Bisquing is Fun
If you want to make your pottery even better and would like to also use more glazes, stains, and the like, you need to learn bisquing. It does take a bit, but that extra firing does make a difference with your pottery, and it will help make things even prettier than before.
If you’ve been curious about bisquing, try it today, and use this helpful article to get started.


