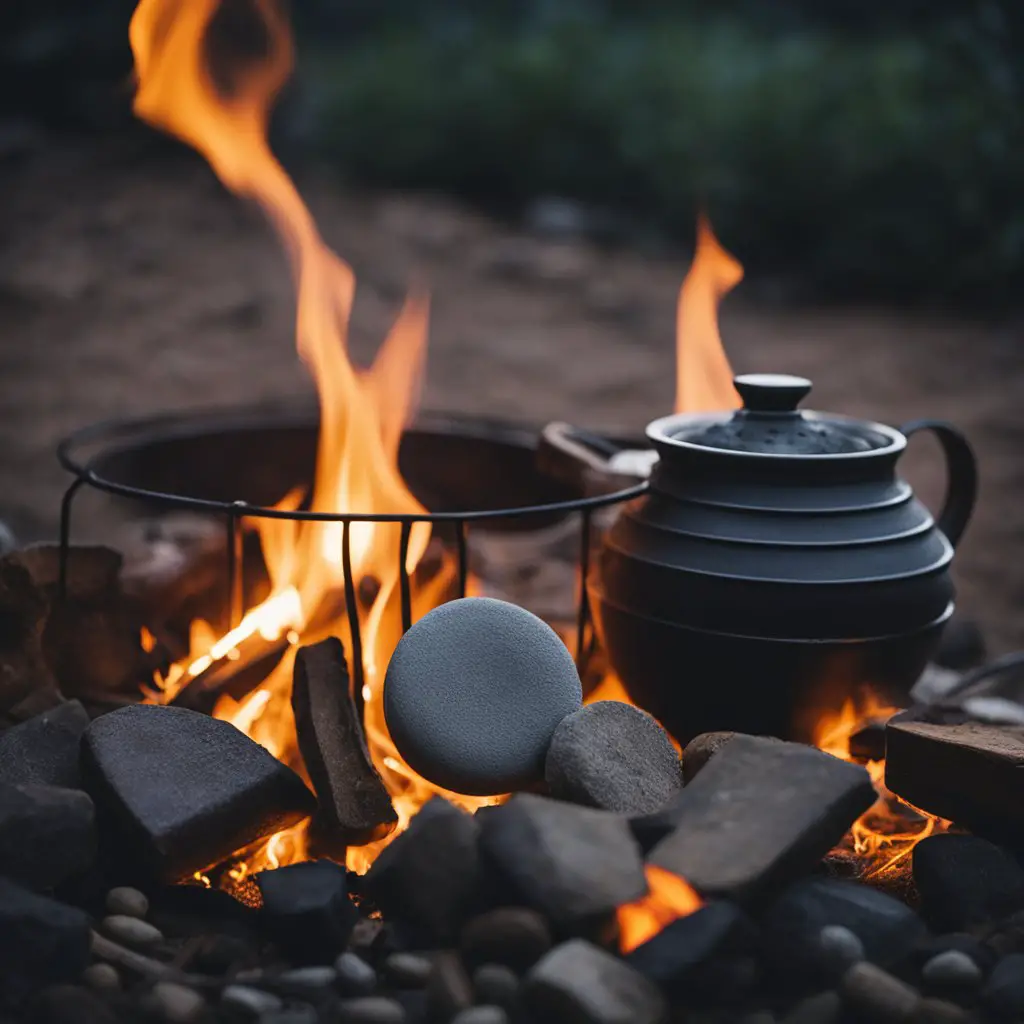
The pottery-making technique unleashes an extensive range of techniques that are too hard, to sum up in one place. Pottery pit firing is one of those techniques that boast the pot’s firing in an open bonfire or a primitive pit kiln.
The pit firing of pottery thus refers to the open firing of the pot without using a kiln. The pots come in contact with various materials, which cook the clay and give the pottery a unique and creative look.
Unlike glazing and painting pottery, pit firing is also used as a popular method for coloring the pots using various combustibles and natural minerals. When the combustibles come in contact with the fire’s oxidation and reduction range, they get fused and fluxed, which leaves colorful imprints on the pots along with fumes and sparkles. It is quite an interesting way of pottery coloring.
So, wondering how you can add color to your pottery through pit firing? Here’s a guide for you.
How to pit fire your pottery to add colors?
The pit firing is relatively easier to opt for as there is no additional need for glazing or decorating the pottery. Also, the pit firing improves the texture of the pottery and makes it much stronger. However, the pottery pit firing process consists of various tricks and proper methods, especially when you are planning to add color to your pottery using the pit firing technique. How to pit fire your pottery? Here is what you need to do.
Dig a hole for pit firing:
The first thing that you need to do for pit firing is digging a hole. Digging a hole is essential for making up the space for preparing the pit bed. However, you can skip this if you are thinking of firing using a kiln-like shape. However creating a hole helps much through delivering a more stable temperature, which ensures lower chances of the breaking of pottery while operating a firing process.
The walls of the hole serve as the insulation, which helps with a higher potential temperature; also, it becomes easier to control the firing cycle. Start with digging a deep hole, where there must not be enough oxygen to enter. You can opt for a 1-foot-deep hole, which will help you with a stable firing cycle. Also, you can opt for a cinder block to add more insulation.
Start with constructing the pit:
The most interesting and crucial part about pit firing is you need to start constructing the pit bed properly, which will be used as the main component for pit firing. The pit bed construction includes the layering of the various combustibles that you will use for coloring your pit-fired pot. A large variety of combustibles are used for creating a variety of colors, which imprints the design and shades on the pottery surface when it comes in contact with the oxidation and reduction range.
Thus, it is crucial to ensure the proper layering of the combustible material in a small-sized pit. Opt for a glowing coal bed. You can add your choice of combustibles. Start with adding the cow pies or damp seaweed to tamp the fire. You can also add seaweed roots or magic dust for a variety of shades.
Create more layers along with driftwood pieces from the ground level. You can also add more seaweed and another layer of magic dust, followed by the covering of the small driftwood.
Place pot on the bed:
After making the glowing pit fire bed, the first thing you need to do is place the pots along with thin kelp. Make sure to use a tong while putting the pottery pieces, as the hot fire-bed can burn your hand. You can opt for COMIART Clay Sculpture Dipping Tong for the purpose.
Above the pots, keep on adding more layers of seaweed and magic dust. Then cover it with another thick layer of driftwood. Keep placing more pots along with thin kelp. The additional layer of the pots needs to be covered with the small driftwood and seagrass layer and any other combustible that you want to use.
Add the final layer over the pots:
Once you have completed adding the pots, now you need to finish off with the layer building before leaving it for firing. Finish off the layering along with the addition of the twigs, more weeds, and more cow dung pies. Make a mound that looks like a beehive built on the ground. You can also add another variety of layers with other combustibles to ensure the proper fusing of all the components.
Firing cycle for pit firing:
When you are pit-firing your potteries, you need to make sure that you are firing along with the proper layer of the combustibles and fuels. For the efficient firing cycle, it is crucial to ensure that the fire is traveling across the pit and not taking much time for the raging of fire.

While adding fire to the pit, make sure that there are no other flammable components like grass or twigs at the pit’s opening area. You can dig a pit with 18-24 inches. You can also take measures to prevent unwanted fires. You can keep the water source or a shovel near you.
Fire the pit at a manageable level. Also, you need to keep a constant eye on the firing. As soon as the air hits them, the fires will look white. You can also opt for using a cover for your pit firing to prevent the flames get disturbed. You might have a slight difference in the color or the breakage event. However, there is no need to worry because 40% of breakage is quite normal. In this way, the firing cycle will continue for more than 18-20 hours.
Here is the firing temperature that you can follow.
Firing temperature | Purpose |
| 1600-degree Fahrenheit | For sealed pit firing |
| 2000-degree Fahrenheit | For standard open-pit firing |
Cooling of the pit:
The cooling of the pit does not require any effort. All you need to stay is patient enough for the pit to become cool. Also, make sure you are not disrupting the pit with anything. It is crucial to maintain proper temperature as the process is quite sensitive, which can break the potteries and result in the failure of the wood firing process.
As soon as the pit is cool, it is going to contract. Once one part of the pit cools faster, it will contract more quickly, which can cause the cracking of the pottery. At the same time, these parts are devastating enough to break the other sections of the pottery. So, based on the firing pit size, you need to decide the cooling time. From 2 hours to 12 hours, the cooling hours can vary any time in between. It is better not to tamper with the pieces until the pit is completely cool.
How are the results going to be?
If you have maintained a proper firing and cooling process, then the results are going to turn out to be quite fine. Based on the cooling cycle, all the pottery pieces can turn out to be fine, and it will get a naturally colored appearance. The design is going to get the shape of accidental flames and imprints of the colorful shades.
However, if firing and cooling are improper, it can break the pieces and lead to minor cracks. However, the little cracks can still be functional enough for your use. Experimenting continuously gives beautiful results.
What are the colorants that you can use for pit firing?
The pit-firing colorants are known as combustibles and chemicals that start reacting when they come in contact with a varied range of temperatures. Thus, the colorants can create an extensive range of multiple shades under the condition of the varied temperature range.
The colorants for the pit firing are relatively inexpensive, and you can add anything natural to create a variety of shades. The combustible colorants can be used for creating both vibrant and light shades of colors. Here we are going to talk about a few chemicals and natural combustibles that you can use. Have a look.
Chemical colorants:
Here are the various chemical colorants that you can pick to add to your pit-firing pottery cycles. Have a look.
- Sodium chloride: Sodium chloride comes with multiple coloring shades. A variety of color palettes can be created through sodium chloride. You can easily create beautiful shades of salmon, yellow, orange, peach, golden, etc.
- Ferric Chloride: If you want to create alluring shades like iron-red, yellow, and orange, then you can easily pick the Ferric Chloride. You need to fire the ferric chloride using a variety of cone ranges.
- Cobalt Carbonate: Cobalt carbonate is the best one to pick if you are looking for blue shades. Cobalt carbonate comes with multiple shades of blue when it is fired in different ranges of firing temperatures.
- Copper Carbonate: Copper carbonate comes with an extensive range of colors while firing it using various temperature ranges. Copper Carbonate is the best one to pick when you want to create various shades like maroon, red, blue, and green. The diverse range of colors can easily be acquired through the multiple firing ranges.
- Red Iron Oxide: Red iron oxide is the perfect component to choose when you want to create gorgeous shades like red, brown, etc. Also, you can create alluring shades like maroon and rust by controlling the firing cycle.
- Copper wire: Copper wire is quite a handy component when you want to create an extensive range of color options like white, blue, black, red, and green hues. You need to control the firing temperature to acquire the multiple shades from the copper wire.
- Steel Wool: Steel wool is the great one to pick as it lets you create rich shades of blue, pink, and grey. Also, you can use it to create a marble-like effect on the pottery surface. However, ensure that the steel wool you are using is of top quality, like Homax Steel Wool.
- Table Salt: Table salts are the best range of coloring components that you can opt to generate pretty shades like yellow and orange. By changing the filing temperature, it is easier to create the various shades of colors. All you need to do is add the right amount of table salt.
Natural colorants for pit firing:
The colorants for pit firing are innumerable. Not only the chemical or mineral-based colorants that you can use for the pit firing. There is a variety of range for natural combustibles that renders the pottery surfaces an extensive range of shades, which looks good and at the same time serves as an inexpensive coloring alternate with easy availability. So what are the variety of natural coloring combustibles? Have a look.
Colorants | Shades |
| Sawdust | Black, dark grey |
| Grass-fed cow pies | Jet black, gunmetal black, golden yellow |
| Grain-fed cow pies | Dark green, brown, blue, black, grey |
| Saline-grown leaves, grass, twigs | Green, golden yellow |
| Sea salt | Salmon, orange, gold, peach, yellow |
| Kelp leaves | Yellow, peach, orange |
| Seaweed roots | Rust, honey, brown |
| Hardwood coals | Smokey grey, black, blue-greys |
| Driftwood | Grey black, aqua blue, blue-greys |
| Kelp pods | Brown, orange |
Also, there are a variety of combustibles that you can add for more experimenting with colors. You can easily use the coffee grounds, eggshells, crass ripplings, citrus rinds, newspapers, or any other components you are getting in front of your hand. Make sure you are not creating huge fires using flammables. Take care of yourself!
Conclusion:
While opting for the pottery pit firing, the variety of color-adding options makes the entire process much more enjoyable. However, you do not want to end up cracking your pottery. This is why you need to ensure that you are pulling out the pots only when adequately cooled. When it comes to adding the colorants, you can easily use anything you are getting near your hands. The pit firing is probably the most inexpensive way of pottery decorating. So, go on and keep trying.
Happy Sculpting!


