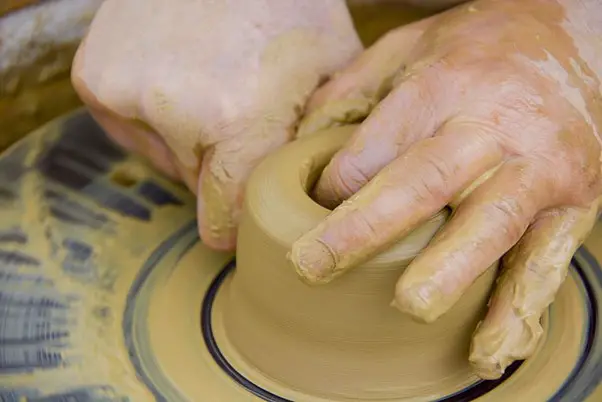
Pottery making is probably the most creative and beautiful art that you can indulge in to keep yourself stress-free and give your creativity a new way to find its wings. The sole ingredient for pottery is clay, and its main source is soil. That is why we call the ceramics earthen pots, before the glazing, as the process is directly connected to Mother Earth.
Clay plays the most crucial part in deciding the nature and texture that your pottery is going to get. That’s why many potters prefer to make their own clay. Getting the clay for your pottery is not at all an issue, as you can get it anywhere and everywhere. But if you intend to achieve a certain consistency of clay, then you can easily achieve it by preparing the clay on your own. In this article, we are going to share the various processes using which you can easily make clay on your own for your next pottery projects.
However, before jumping to the main focus of our article, you need to know some essential things. Most people tend to get confused between clay and soil. Many think that soil and clay are the same things, but they are actually not. The main component of pottery clay is indeed soil. However, knowing about them precisely is going to make your ideas clear.
What are the differences between soil and clay?
Soil contains living organisms like fungi, insects, worms, bacteria, and other organic matter. It supports these lives with the help of various content or nutrients like minerals, salts, biomass, etc. In other words, soil refers to a completely self-sufficient ecosystem.
Components like clay, sand, and slit sum up to form soil. The presence of different-sized particles in it adds texture and characteristics to the soil to build it up as an independent component of the Earth.
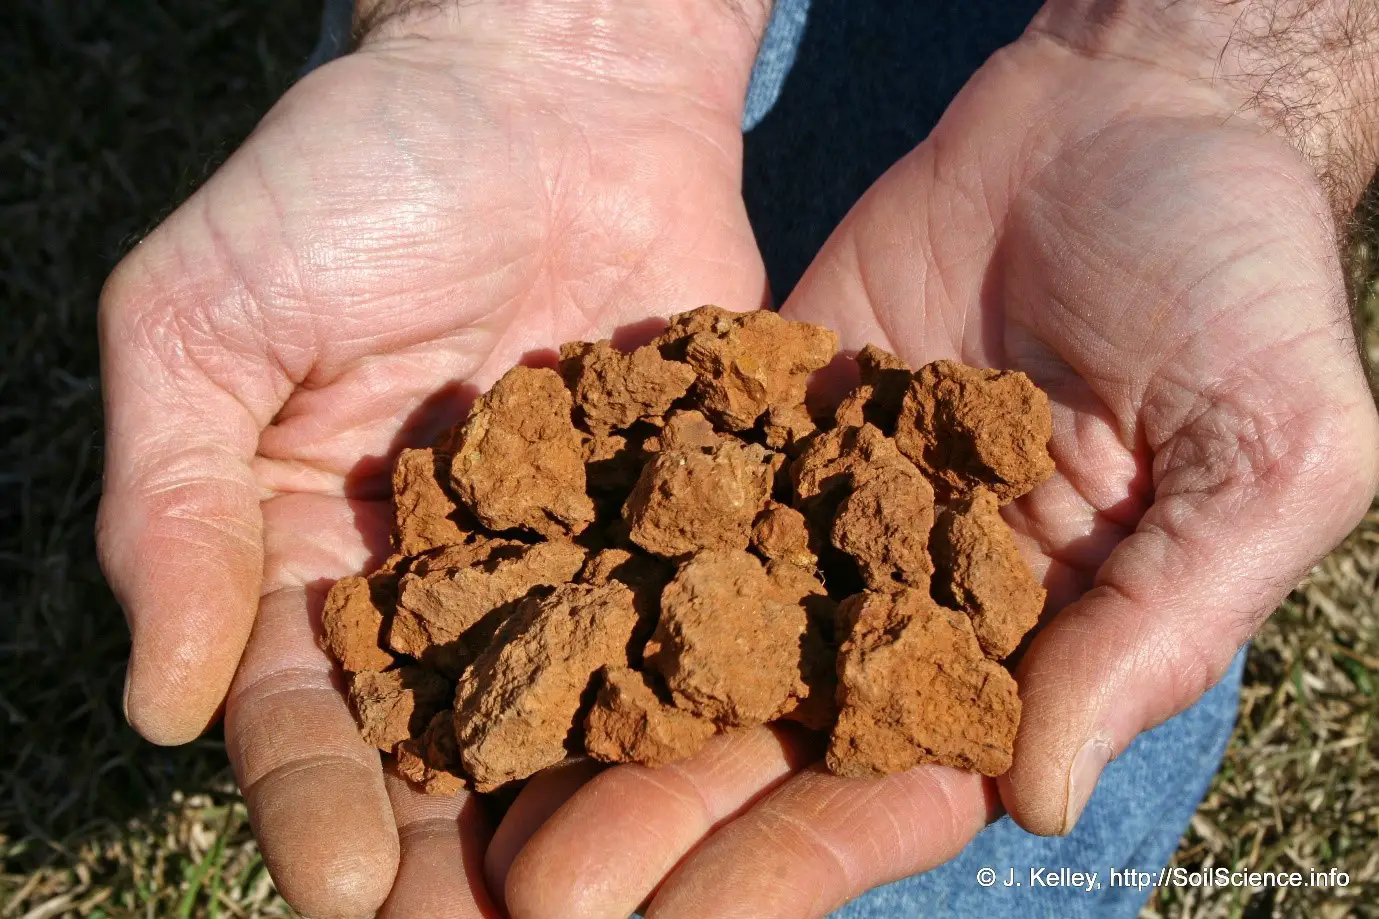
On the contrary, clay is known as kaolin and is available near the site of soil formation. The secondary clay is a by-product of the silt deposits that are moved through erosion and river water flowing from the mountainous regions. Clay usually contains various types of solvents, which are acidic by nature. These solvents migrate because of weathering of the rocks caused due to leaching of their upper layers by wind or water.
Clay usually exhibits plasticity when mixed with water and becomes soft and pliable. On the other hand, it gets hard when dried in air. Also, the properties of clay change when it comes in contact with various processes like firing, glazing, etc. And this dynamic trait of clay makes it to be used for ages to craft ceramic wares.
How to make your clay at home?
Now, here we will discuss the several methods that you can use to prepare your own clay for making a pot. So, let’s get started without buzzing around anymore.
1. Start with harvesting your clay:
Clay is present in every form of soil, even in sandy soils. These sandy soils usually contain 20% clay, even though it is quite challenging to see with the naked eye. 10-pounds of sandy soil can produce 2-pounds of clay if it is harvested well.
Nowadays, clays are readily available in the market that comes with perfect texture and pliability. You may choose Pottery Clay – 5 lb Terra Cotta Low Fire Cone 06 for the best results. However, if you are not satisfied with the result of a store-bought clay, you can harvest it on your own.
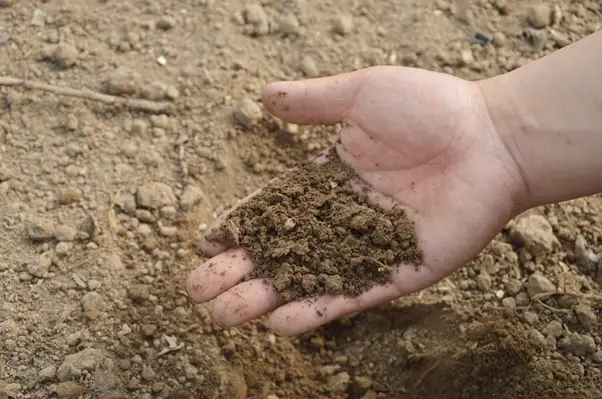
Following a few simple steps with minimal effort can let you produce a fair amount of clay for your craft and pottery projects. For finding the most suitable clay with a nice texture, firstly, you need to find soil from the areas where water sets down after heavy rain.
The soil layer whose thickness ranges between 7-18 inches of the topsoil above the layer of dense clay is considered to be very shallow. However, if you want to know how much clay the soil contains, then you can go through a small testing process by using a testing jar.
Fill a jar half with soil, and add water to the jar. Stir the soil and water until it completely breaks down the soil particles. After waiting for some time, you will see the sand and slit present in the soil to sit at the bottom owing to their weight. And the particles left suspended in the water are referred to as the clay content of the soil.
Here are the two processes that you can follow to harvest your clay.
| Clay Harvest Method | Dry Clay Harvest | Wet Clay Harvest |
Process |
In this method, you need to completely dry out the soil by sifting it repeatedly after you pound the clay globs, and the soil gets a flour-like consistency.After sieving, you need to winnow the clay on a collection surface for a few rounds.Then the dried clay powder is rehydrated and kneaded to turn into a workable clay suitable for pottery.If you belong to water-limited areas, then this one is the ideal clay harvesting process. However, it is quite time-consuming. |
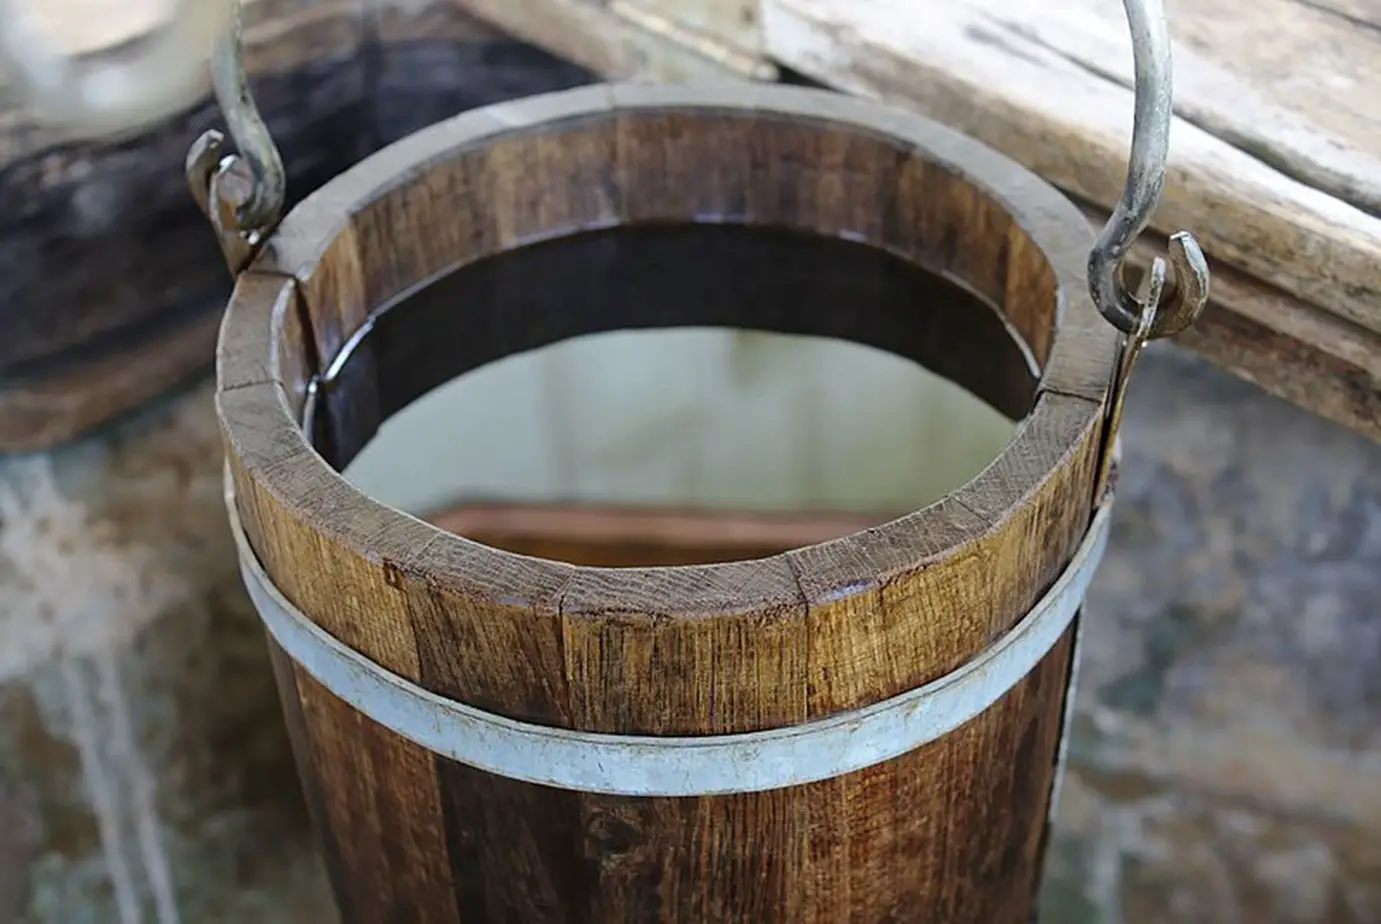
In this method, you need to add water to a bucket filled with soil. The process should be followed by stirring the water and soil properly until the soil bonds break.Then, you need to let the mixture sit for some time to allow the sand, silt, and rock to settle at the bottom of the bucket.Once those components settle beneath, the clay particles will remain suspended in the water for a long time.After that, you need to filter the clay and water mix using a fine piece of cloth. You need to make the water pass through the fine sheet or fabric.Once you are done sieving the water, the soft clay will remain stuck at the top of the cloth, which you can use for your craft and pottery projects.It is one of the easiest and most convenient processes for clay harvesting. Also, it does not require much time to extract clay from the soil. |
2. Processing the clay for pottery making:
Once you are done harvesting the clay from the soil, you need to make sure that you are processing it in the right way to achieve the perfect texture required for pottery making.
Here is a list of things that you need to get the best of clay from the soil.
| Components Required | Uses |
| Clean fabric | To strain the clay properly |
| Two buckets | To collect the soil and strain out the debris |
| Water | To mix with soil to bring out the clay |
-
Collect the soil for your job:
You need to collect the soil properly to process your clay for pottery making. Collect a bucket full of clay from a place, which lies near a running water source. Look for a place where the sand particles have got washed away from the clay present in the soil. Choosing clay from such a place is going to make your job easier for settling the clay and getting the maximum of it from the soil.
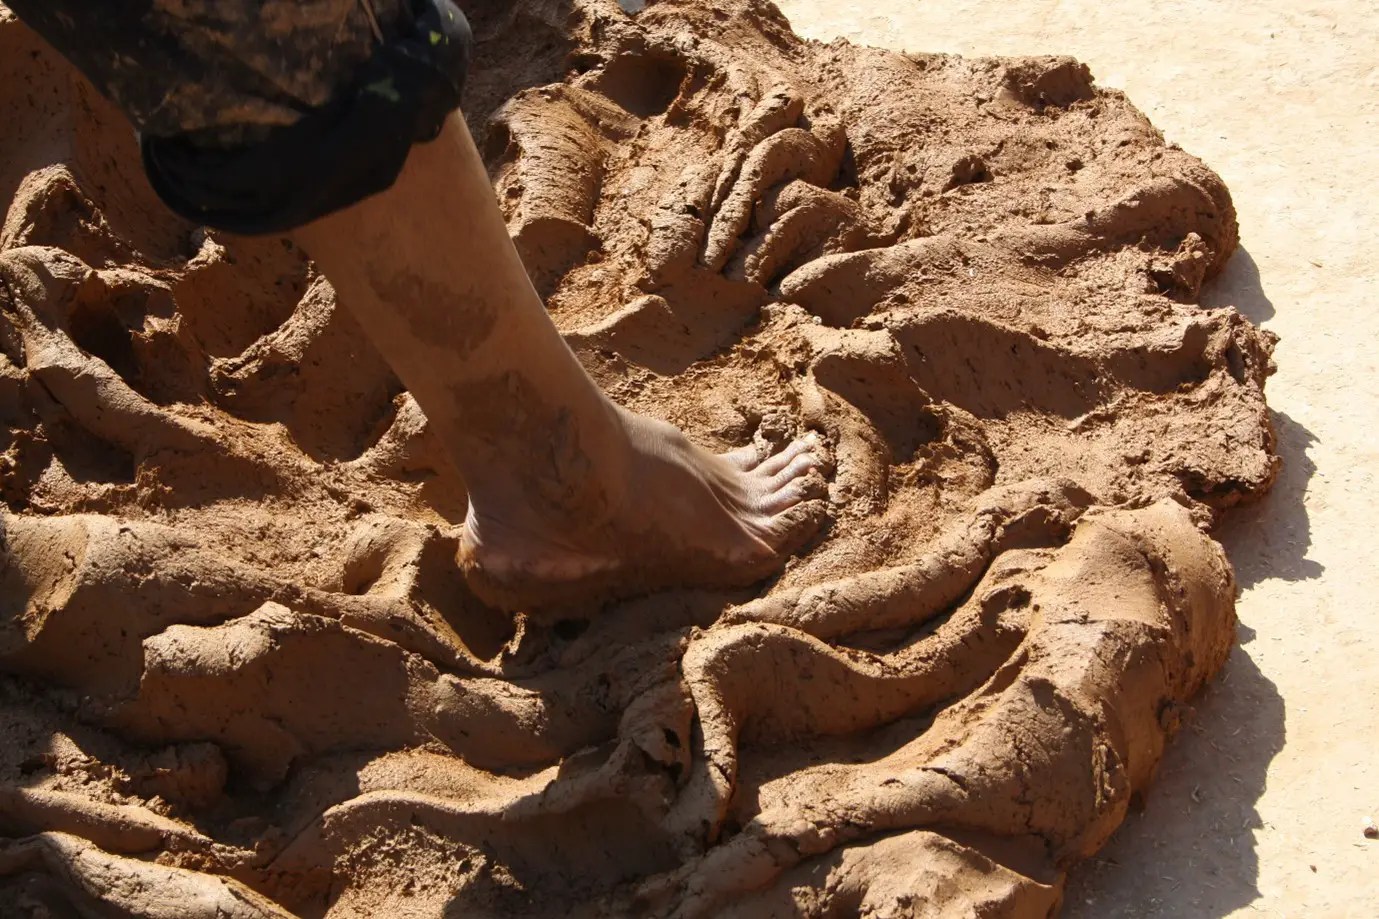
Dig in the place until you see a layer of grey, white, or red clay. You can also use your hands to unearth if the area is muddy and soft. Then, collect the fresh soil from the place into a large bucket. If the area where you live comprises dry clay soil, then you need to scoop up the clay.
-
Remove dirt and debris from the soil:
Some debris, hay, and grass may get inside your bucket while picking soil from the ground. But do not worry about it, as you can easily extract the debris from the soil. Remove all the visible sticks and debris present in the soil through your hands.
You might need to wear gloves if you don’t want to touch the mess barehanded. Remove all the rocks, branches, leaves, worms, or other debris that are visible to your eyes and get fresh soil. However, in this process, you are naturally going to miss some of the litter, as it’s impossible to remove everything with your hands.
-
Add water to the bucket:
Now, following this method, you can easily remove the maximum amount of debris present in the soil. Put some water into the bucket containing the partially clean soil. As soon as you do so, some debris will start floating above. You need to extract that water to get rid of the litter.
Then, put some more water into the bucket. Make sure the water you are pouring surpasses the level of soil contained in the bucket. It is important to submerge the soil entirely in water. The amount of water you add should be suitable enough to make the soil get mixed with it appropriately.
-
Stir the mixture properly:
Once you are done adding an adequate amount of water into the bucket, you need to stir it properly to make the soil get well-dissolved in the water. You can use your arms or a shovel to mix the water properly with the clay.
Keep mixing until the water and soil get dissolved in each other and creates a fine blend. The mixture should get the consistency of muddy water. The bonus point is that the remaining minimum debris (if any) is going to float on the surface, making it easier for you to extract them.
-
Leave the mixture to sit for some minutes:
Once you are done whisking the soil and water properly, then you need to leave the mixture to settle for some time. Usually, it will take about 2 minutes for most of the heavy components like rock, silt, sand, or other debris to settle at the bottom of the bucket. And the clay particles are going to stay suspended in the water.
However, for better results, you can wait for 5-7 minutes to let the mixture sit completely, and the water becomes steady. You can still see a thin layer of water on top of the muddy water with suspended clay. Do not worry; it is not going to create any problems in your process. You can also set a timer to note the timing of settling down of the clay and other particles in the water.
-
Go for the second session of cleaning:
After the mixture gets settled down totally, you need to pour the muddy water into the second set of buckets. During this process, you need to clean the remaining debris from the mixture. Take the bucket carefully while leaning it on the second bucket and let the muddy water slosh down totally into the second bucket. Stop pouring the mix once you reach the bottom thick layer of the debris of the first bucket.
You can also use a strainer to make this process easy for you, or if you feel that the bucket is too heavy to proceed with this pouring process. However, a small amount of clay is still going to remain in the first bucket. Once you are done with pouring the muddy water into the second bucket, you can merely dump the trash and clean the bucket, as you are not going to need them anymore.
-
Repeat the process to eliminate the existing debris:
Repeat the previous process of pouring until no more debris is left in the muddy water. Keep repeating by adding water to the mixture and allow this to settle down for some minutes to let the remaining debris subside at the bottom. Just like before, once the mixture is settled down completely, pour it into another bucket by straining or directly pouring it.
Keep repeating this process until the water becomes relatively clean by its appearance. If you have some doubts regarding the presence of debris in the mixture, you can dip your hands in the clay mix to slosh it around and check if there is any remaining debris or not. It may take you to rinse the clay 2-3 times to get rid of the wastes properly with a clean result.
-
Let the properly rinsed clay water sit for more time:
Once you are done rinsing the clay properly, you need to leave it for settling down overnight. As a result, the fresh clay will settle on its own. At this moment, the clay water is going to stay maximum watery.
Set the bucket uncovered in normal air and under room temperature for more than 8 hours to let the water evaporate completely. However, the clay will still stay runny even after the evaporation of the maximum amount of water from it. You need to let it sit for some more hours to let the water get away from the clay completely.
-
Remove the excess water from the top of the clay:
So, when you let the clay water settle for some more time, you will see a thin layer of muddy water floating on top of the thick clay. You need to pour off this excess water. You can gently tip the bucket near the drain to get rid of the excess water. Also, you can use a fine cloth as a sieve to strain the excess water properly out of the clay layer.
And finally, you will get a lump of clay, ideal for your pottery works. However, the clay will still not be perfectly ready to be used further for your projects. The clay at this moment is going to stay too soft, which you need to dry properly to get a fresh set of workable clay that you can use for giving a steady shape.
-
Dry the clay properly before using:
Once you are done extracting the fresh clay from the soil, now you need to make it suitable for use in pottery-making purposes. Put the lump of soft clay in a piece of clean fabric, and fold it properly to let the fabric or towel soak the water adequately. You need to leave the clay folded like this in a piece of cloth for more than 2-days to get sufficiently dried.

Make sure the cloth or towel is big enough to cover all of the clay entirely. You can try hanging the fabric-folded clay outside so that water can drip out entirely from the fabric. While pouring the mixture into the cloth, ensure that you do not miss anything, so be careful while following the process.
-
Continue the drying process in the sun:
Once water is dripped out of the cloth-wrapped clay, you need to opt for another drying process so that the clay turns into a pliable clay ball that is ready to work with. Leave the clay in the sun for some hours so that the excess water gets evaporated from the clay. You need to dry it in the open sun until it reaches the proper consistency that you require for making your pottery easier.
Open the wrapping of the fabric and lay the clay on the ground. You can use your hands or a spatula to make the clay spread evenly on the cloth so that the drying process can happen faster. Leave the clay in daylight and check in every 6-8 hours to see if it has reached your desired consistency or not. It can take up one whole day or two, depending on the amount of water or moisture present in the clay.
You can easily stop the process once you feel that you have achieved the required texture for your pottery making project. You can easily use the clay right after it has reached the consistency that you had been looking for.
Things you need to keep in mind while picking the soil for your clay:
So, now that you know the process of forming handmade pottery clay, it’s essential to know which soil contains what amount of clay to achieve your required consistency and texture.
| Types of Soil | Presence of Clay |
| Sandy clay loam | 20-35% |
| Silty clay loam | 27-40% |
| Silty clay | 40% |
| c-Clay | More than 40% |
While picking the soil for your clay, you need to keep some factors in your mind so that you can execute the process properly and get the best results.
-
Pick a place where fresh soil is easily available. It is better to choose a spot beside a running water source, where there are more chances of clay formation through the migration of deposits from other places.
-
It’s better to opt for soil that contains less sand. A minute amount of sand in the soil is going to give you more clay from the amount of soil that you have picked.
-
Make sure you are picking clean soil as much as possible. Avoid choosing the ones that contain more twigs, grass, or branches. It will help you get through an easy debris-cleaning process for your clay preparation.
-
Get rid of any visible worms that you can easily extract out of the soil. If there are too many worms, you are not going to get a fresh lump of clean clay suitable for making pots.
-
Wear gloves to safeguard your hands from any toxins or allergens that can harm your skin. Wear an old set of clothes so that you don’t need to worry much about the dirt and mud stains on your attire.
-
Once you are done extracting out a fresh lump of clay as the result of the entire process, knead it properly to get rid of the hard lumps and turn it into a nice ball of fresh clay, ready for use.
Conclusion:
Preparing clay on your own is the best way to ensure that you are getting the finest consistency for making beautiful pottery pieces. Besides, the readymade clays available in the market are quite costly, so making your own clay is going to be the best for having a pocket-friendly pottery-making experience. Also, it is going to be a matter of immense joy and pride when you think that from clay making to pottery building, the entire creation is exclusive of your own.


