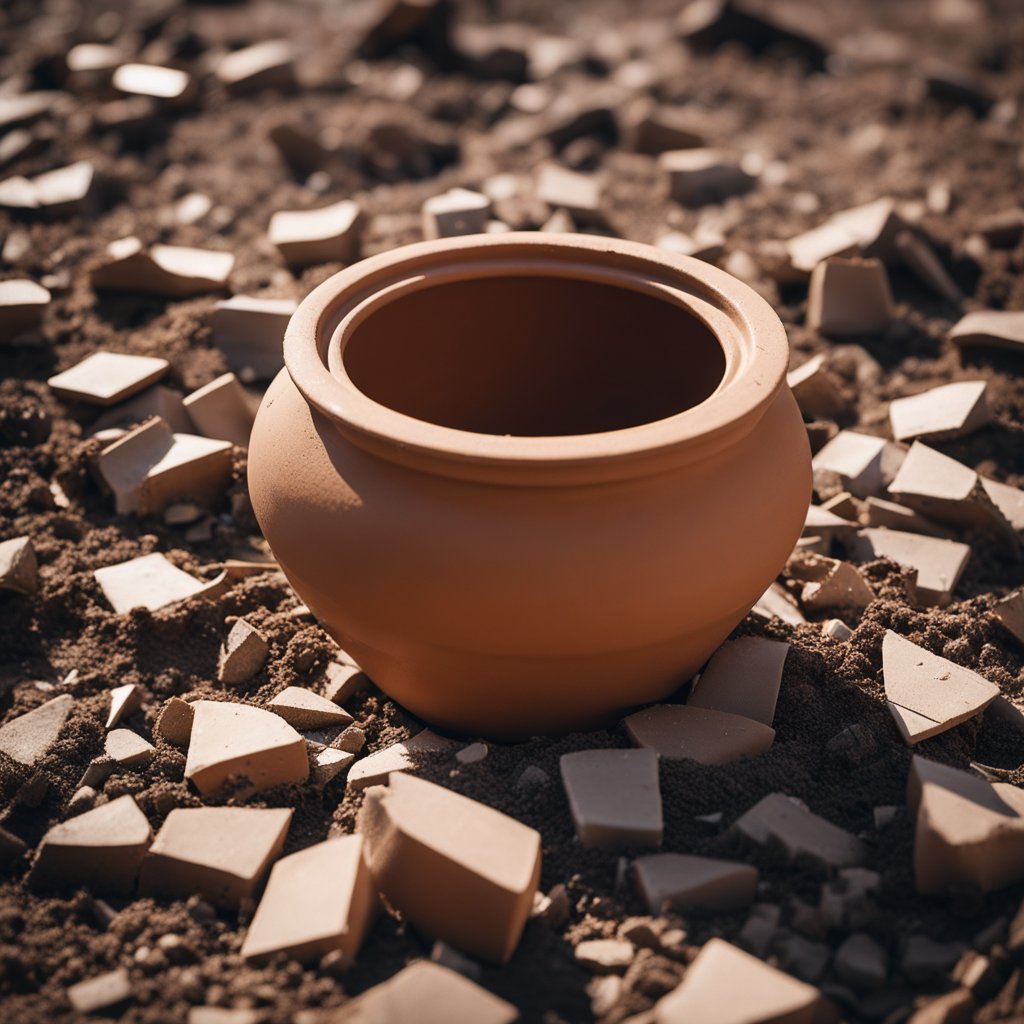
In an earlier article, we talked a lot about slipping and scoring, but let’s talk about how you join stuff together. Two rules will make your pottery joining way easier, and they’re two rules often not fully practiced by the average potter. But, if you’re looking to truly master this, if you’re looking to create pottery that does stick well together, and that you have that will look good, well let’s get into detail on how you do this. You want to make sure that you follow this since it is quite important, and this article will tell you about these rules, and why they matter.
The Rules
Here are the two rules, and we will further go into these rules in the next section. They are:
- The wetter your clay is, the better it’ll be
- Join your pieces in a like manner
By the like manner, that means the same dampness, which means you’re not joining something dry to wet. Now that you know of these two rules, let’s talk about why you should care about them, and what they can do for you.
Why Should I Care?
So why should you care? Why do these two rules matter so much? How can this help me? These are all often questions you may ask yourself every time you read something on pottery, but, let’s go into detail on why you need to know about these two rules, and why they matter.
The wetter the better, this essentially means that if you have more water on this, the better it will be. You’ve probably read time and time again about how you need to make sure that the pieces are dried before they’re fired. But, what about if they’re just being joined together? They need to be wet.
Why? Well, here’s why:
- If they are wet, they have water sliding around on there
- They intermingle at this point with the clay pieces next to it
- This, in turn, makes it way softer, and in a sense more “plastic”
- This will, in turn, make it much easier to blend the clay pieces towards one another, and that in turn will help make it join a lot easier
If you have one dry piece next to a wet piece, this won’t happen. It won’t be malleable, and in turn, it will make it much harder to fully join stuff together to create a killer piece. That’s just in essence how it is, and it’s the way things are. When you’re working to make your clay fit better, you need to make sure that it’s wet.
Now, by joining like to like, this, in essence, means that everything should be equally wet with one another. This can be a bit hard, but it does need to happen. That’s because of the following:
- When the clay dries and shrinks, which will cause the water in between the clay evaporates
- This will, in turn, pull the particles nearer to each other, adhering them together
It’s a big point in adhering clay, and you may wonder what will happen if you don’t do this if you put the clay piece next to a dry piece, or one that’s drier than the other. Well, it can do the following:
- If you join a wet piece with a dry piece, the shrinking rates are different in a sense.
- The wet piece will shrink a lot slower than the drier piece
- This will create stress between the pieces, and as it shrinks more, it can create cracks in this
This is something that a lot of people who are new to this don’t know about. Those who are forgetful, or think that they know all of this themselves, tend to do this, and this is often a huge beginner mistake. They will try to put a wet piece onto something that is bone-dry, which is wrong.
This is often something that they’ve been working on for days on end, but if they do this, it actually will cause a lot of problems. The wet clay will shrink a lot more than the dry clay, and it will cause adhesion issues, in turn, it will crack, and everything will go into the pot.
You should, if you’re going to do this, make sure that you accomplish the following:
- Apply the score and slip immediately after you’ve centered and thrown the piece
- Spend a bit of time re-wetting the drier piece
- Dry out the wetter piece so that it’s evenly wet
Chances are, the first one is probably your easiest one to do. If you do this, you’ll have everything done all at once, and it will make your life less of a living hell in terms of what you need to do to accomplish this.
In essence, though, you should just be paying attention to the rule itself. It will make things so much less frustrating, and so much less work, that’s for sure. It does make a huge difference in the way that your piece looks as well, and you’ll feel way better about this as well.
We will discuss ways to help remove a lot of these frustrations in the future, but for now, just remember the following:
- Follow your techniques
- Don’t try to be a hero
- Find alternative solutions if you really can’t do jack with a piece
Marrying your clay together
When you’re marrying clay together, you, in essence, are physically combining them, whether it be by doing the following:
- Blending
- Smashing
- Combining them with other ones to join
Now, this, in essence, does tie in with the beginner mistakes that you can make. You may try to put two pieces of wet clay on top of one another, or they’re pressed together lightly. They will in essence stick to one another first, but then, you may notice that they will fall apart. The solution to this is coating and slipping.
You may notice as well that scoring and slipping make a world of a difference in your clay-making adventures, and while we have a whole article on scoring and slipping, let’s discuss in summary what it is, and why this rule applies to scoring and slipping.
Scoring and slipping
We talked about scoring and slipping in an earlier article, where you have a piece that is scored with little hashtags, and then a slip is put together on this. now, let’s talk about how this rule applies to these forms, and why it matters.
- If you have one piece that is drier and a bit harder than the other, you may have trouble trying to join this together, especially if you don’t want to alter the forms
- If you use a slip, you want to make sure that you experiment with where it will work for you
- You should make sure that both pieces are wet as well.
Commonly, lots of times people will use a slip but forget to score, and in turn, this will cause them to not stick to one another. You need to make where the pieces will be joined, and you want to make sure that you have the grooves filled in as well.
Sometimes, some people will do the slip first and then score it, which isn’t a bad thing, but if you’re not super versed in getting the slip into the scores, or getting the scores filled in, this might be a bit of a problem, and can ultimately cause some issues with it later on, especially if you don’t make sure that all of the grooves are filled in so that you don’t have air pockets.
And that’s it! slipping and scoring are a major part of this, and you’ll notice as well that they play a major role in the way clay melds itself together.
Other tips for slipping and scoring

Now, these tips will allow you to have the best scoring and slipping time that you can with this. for many people, knowing how to score and slip is super important, and sometimes, it can be hard to accomplish initially. Luckily, here are a few tips that will help you get the most out of your slipping and scoring, with the two rules mentioned:
- If you notice that the clay is a bit dry to the point of leather hard, you may want to do another score and slip once more to make sure that all of the pieces are stuck together and ultimately end up sitting well.
- If you’re having issues with the clay being sticky, and in turn, it’s more slippery, you should first slip and score the pieces, and then let them sit for a little bit. You should at this point see the wet sheen move downwards. This, in turn, will even the whole thing out, and not make it stick together as much
- You should try to tap down on the pieces when you put them together. Why is that? Well with that, you can set it onto there easier, and in turn, it will help reduce the air pockets. You can also wiggle it a little bit as well to help reduce the instances of air pockets
- You only have a few moments to fully correct everything, which is why it’s ultimately very important to first plan this, and make sure that everything is all lined up together. You want to ensure that this is happening if you’re working with one piece that has a lot of joining together
- You should make sure if you’re doing a slab piece or something that involves a lot of different pieces, that you do have it checked as well, especially since if you attach something, it may throw off the other pieces, so you need to act fast
- If you have an excess slip, you should wipe it away. This will keep it sticky so that it adheres together
- You can use the same wipe to get rid of the fingerprints that are there too. It’s encouraged to get rid of those, especially if you want a piece
- You may notice as well that some areas are a bit wetter than others. That’s a normal issue, and if you do have this happen, there is a solution to it. You can even this out by wrapping it in plastic, and then letting it sit down for a while
- Always check your pieces to ensure that they are similar in terms of wetness. To do otherwise is going to ultimately make it not stick, and this can cause cracking
- If you notice that the insides might be firm in some cases, but if not, you can make sure that they’re firm by putting a thin little coil of the clay itself and put it into the corners to join them together. If you need to, like the slides of slab pieces with this too to help them firmly stay together and to make it better for yourself
These are some important tips, and they’re something that you can utilize to make sure that you have the best results possible in this case.
Alternative solutions to the slip
Now, you may not want to use an actual slip. That’s fine, and you might be amazed at the different types of things that you can use. We will go over a couple of them, and we will talk about why they’re important:
- Vinegar: because clay is alkaline, the vinegar’s acidity is great for this since it creates a sort of glue. You can put it onto surfaces and then apply it together to help prevent scoring and slipping
- Magic water: we will go over this in the following section
- Magic mud: same with magic water
Now, with magic water, it’s a solution that’s pretty simple to make. It involves the following:
- A gallon of water
- 3 tablespoons of sodium silicate, liquid form
- 2 teaspoons of soda ash
Now, why does this work as a great slip for clay? Well, that’s because sodium silicate is something that dries fast and is quite hard. If you have a plastic bag, for example, you can touch it and notice that it’s hard as a rock. The soda in there is a flux that will help with melting, and because it is water-soluble, it will penetrate the clay just a little bit.
The silica in this will also create a little bit of a glass former in the areas where it will join itself.
If you mix this, this creates a very strong bond, and it can be a great solution, especially since it does the following:
- It prevents cracking
- It fires into a super-strong bond
If you use this with scoring on any handles and cups, making sure that they’re of even consistency, it works great. You should make sure that you don’t have bone-dry pieces together, but if you have different pieces, you’ll be able to put them together, it does work well if you have one piece that’s wetter or drier than the other.
Then there is magic mud. This is an amazing alternative for pieces that are dry and wet together. Now, it may be a bit hard to mix this, and it might take some time, but it actually can help with extreme issues, including the following:
- Joining broken pieces
- Fixing broken clay that was bisque-fired
- Helping to make sure that the joins between slabs aren’t cracked
Now, this is made with water, paper, clay, or vinegar. Now, why would you put paper in this? Well, that’s because paper fibers are very strong, and they hold stuff together when it’s drying and stressed, and it does make it super easy to re-wet, and it does dry fast. If you’ve ever gotten a piece of paper wet, you know that it’s easy to dry out and re-wet again right?
Plus, let’s be real, it doesn’t take long to use. If you keep it around though, the stuff will smell bad, so make sure that you don’t mix it up.
Now, what you need is the following:
- ¼ to 1/3 of some toilet paper based on volume
- 2/3-3/4 of some broken-up bone-dry clay
What you do is put the clay and the paper together in a bucket
Add in the magic water that you’ve read about before until the liquid is about an inch or so over the paper and the clay itself. Let this sit overnight, and then drain up the rest of the water.
You can use a blender to mix everything
Take the slip that you’ve created, and you can from there use it for the following:
- Use it as a slip to help join leather-hard pieces
- Use it to dry it out as putty to patch up the cracks as well
- To fix up the bisque pieces you may have messed up in the firing
Now, there is more information that can be said about working with pieces that are bisque-fired but have broken in the process, but that will be in a future post. For now, mix this up together and use it as a slip, and from there, you’ll be able to easily create the pieces that you want and salvage the ones that will make your life easier.
Other important things to note:
When it comes to using slips and scores, we should make sure that you have this all in mind. You should also make sure that you remember the following:
- Use water! Seriously, if you don’t have water around, you’re going to have a bad time. Pottery essentially involves clay and water, and the marrying of these two elements together, so you need to have it on there, and enough to moisten it
- You should make sure that everything is of even texture in terms of water and moisture content. This, in essence, is a huge part of the pottery period, but if you’re struggling with pottery, you should make sure that you have it nice and wet
- You should, if you’re using alternatives to conventional slips, make sure that you read and follow the directions
- Don’t leave slips out. They often smell quite bad, and you might realize that dried paper pulp is quite nasty, so definitely do take the time to get rid of it when you’re done
- Always make sure that you have everything planned out, and that everything is nice and even. If you don’t, you’re going to have a hard time
- Don’t think that you can put dry to wet pieces. It just won’t work, and you’re going to inevitably end up with a piece that won’t work for you, and something that will ultimately end up looking bad or cracked
- However, if you do have a piece that is cracked or ends up that way, don’t despair. You should consider using the alternative solutions, and use the magic mud to see if you can salvage this, and learn what the appropriate consistencies are needed to create the perfect slip to help you create some amazing pieces that will work great
If you’re ready to work on trying out slipping and scoring, or if you’re having issues with slipping and scoring, these two rules matter. If you’re having trouble with any of this, you can always look to see if your pieces are dry enough, or if they’re wet enough. For many people, slipping and scoring is quite hard, but it’s a lot of fun too. You can use slipping and scoring to attach the decorations that you want, to create amazing pieces that work for you as well if you so want.


