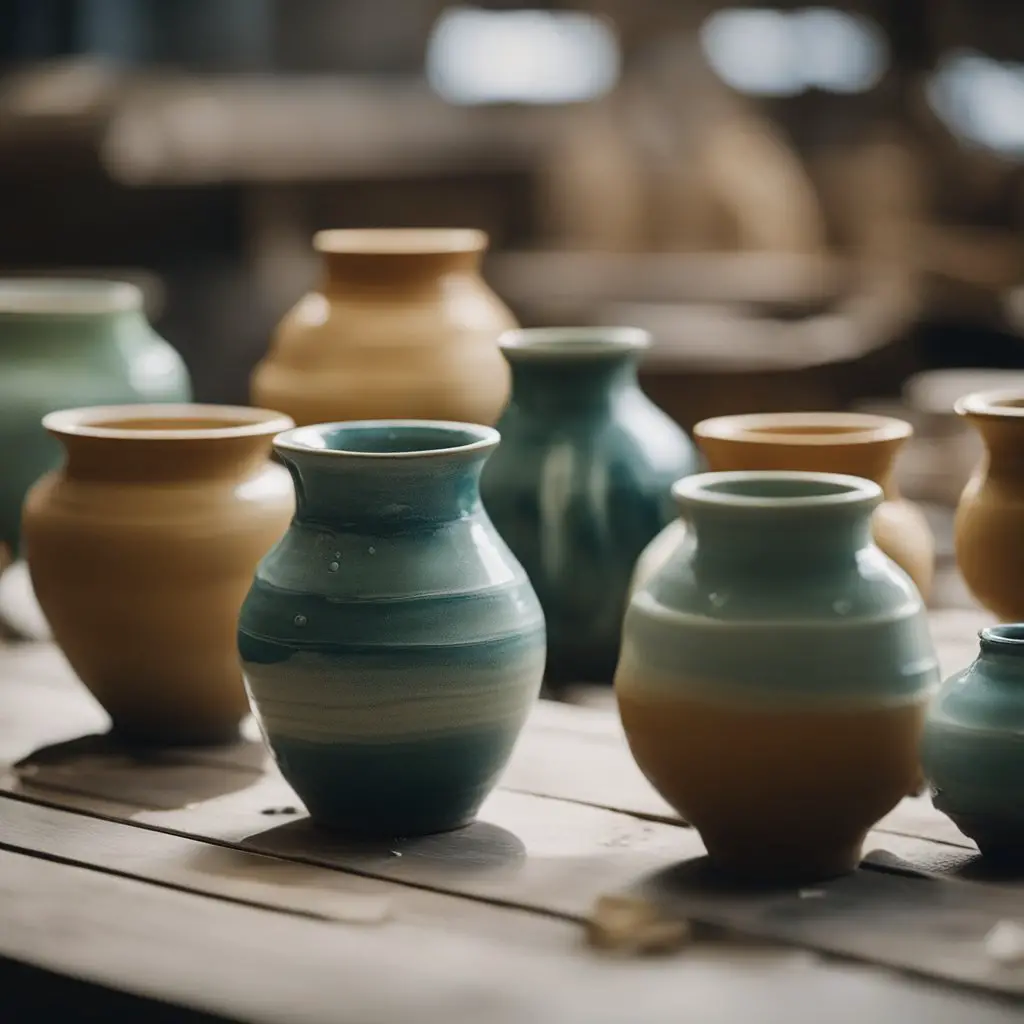
What makes a pottery work look complete and good? It’s glazing. After you make a beautiful pottery work, you need to finish it off by following the proper steps and techniques of glazing. Glazing not only finishes your work to look complete but also leaves a coating on your pot to make it long-lasting, waterproof, and food-safe. Adding colors through glazing turns your ordinary pottery item into an aesthetic piece.
Glazing makes your pottery possess the look and beauty the way you want it to be by bringing life to it, thereby, cherishing your inner creativity. To give your work that unique look, which makes it different from any other work, glazing plays the most crucial role.
Just the way glazing makes your pottery work look the most beautiful, in the same way, glazing done in the wrong way can ruin your entire pottery work. There is not a single way or method of glazing; rather, the glazing world is blessed with plenty of glazing techniques. Sometimes potters make glazing mistakes or follow flawed techniques to feed their aesthetic appetite and create something new. Well, as a beginner, you need to learn the basics of glazing to know what to do and what not to do. After gaining experience, you’ll learn to do experiments.
Here we are going to tell some of the common glazing mistakes that you should avoid, especially if you’re a beginner and want to achieve the perfect results. Without wasting much time, let’s get started.
Mistakes made by Potter and How to Fix them?
1. Overfiring:
While putting your pottery into the kiln, you need to know the ideal proportion of firing it requires. The more you fire, the more you are contributing towards the longevity and perfectness of the texture of your glazing. But firing more doesn’t mean to overfire your pottery.
Overfiring should be avoided as it leads to the liquified glaze. Overfiring causes the glazing to become thin at the top, and the bottom becomes thick, which leads to uneven glazing. Also, the glaze may drip down onto the kiln creating an absolute mess. Moreover, pinholing and pitting may occur on the top of the glaze due to overfiring.
You need to focus or study on how much temperature the glaze on your pot can bear. Also, you should know how much time you need to fire your pot to avoid over-firing. It is best to use a glaze that has a maturation level of two or three cones.
2. Under firing:
Just like overfiring is not good for your pottery, underfiring is also bad for your pottery. Firing should be done to a perfect level to get even glazing on the whole pottery surface. For that, you should avoid under-firing, as it leads to dryness, and results in a scratchy surface of your glaze. Also, it sometimes leads to the cracking of the surface of your glazing.
To avoid under-firing, you need to maintain the proper timing and temperature of your glazing. Also, the underfiring can be fixed by firing it again at a higher temperature which helps in salvaging the glaze again.
3. Poor way of application of glaze:
You have to be attentive and careful enough while applying glaze to your pottery work. Sometimes, the application of glaze in a thinner way can cause rough glazing and result in discoloration of the glazing. Also, too thick application of glaze can lead to running off of the glaze. The unevenness of glazing causes streaking and splotching of the texture of the pot and leads to discoloration.
To avoid the problem, you should not apply a too-thin layer of glazing. To do so, give a moderately thick application of glaze. Try to apply it in an even way to achieve the perfect results. Using a glazing applicator tool can help you achieve the best results. One can opt for the COMIART Silicone Glazing Ball, Lightweight Precision Under Glaze Applicator Set to apply the glaze perfectly onto your pottery work.
4. Lack of proper proportions in the glazing:
Your glazing mixture should be made using the proper proportion of ingredients to avoid the problems caused by disproportionate glazing. Following is a list of the results of disproportionate glazing and how you can fix such issues:
Results of Disproportionate Glazing | How to fix the problems |
| Crazing | By increasing the proportions of Silica, Boron, Alumina, Lead Oxide, or by decreasing the content of Feldspar, and other materials, containing Sodium or Potassium in the body of the glaze mixture. |
| Shivering | By increasing Feldspar and alkaline materials, and by decreasing Silica in the glaze. |
| Crawling | By increasing the proportions of Silica, Boron, Alumina, and Lead Oxide, or by decreasing the content of Feldspar, and other materials, containing Sodium or Potassium in the body of the glaze mixture. |
| Pitting and Pin holing | Decreasing crawling-causing materials, like Zinc and magnesium, and the addition of extra flux can fix this problem. |
| Blisters | By decreasing flux materials like Potassium Carbonate, Borax, Boric Acid, Magnesium Sulfate, and Sodium Carbonate. |
5. Poor adhesion:
The glaze you’re applying to the pot should have the proper kind of adherence in it. Otherwise, it will lead to improper glazing onto your pottery. The application of glazing in the wrong manner is responsible for that. Also, the lack of adherence causes the crawling of the glaze. So, it should be avoided in the first place to prevent the occurrence of improper and uneven glazing on the pot.
To avert the problem, the pot on which you’re planning to apply your glaze should be initially cleaned and dried. Only after that, you must add the glaze to it. Also, be careful about the dryness of the coating levels of your glaze to avoid losing away from glazing from the pot.
6. Blebbing:
Blebbing should be avoided to achieve a smooth, beautiful, and perfect texture of glazing. Blebbing is the result of air pockets caught on the body of the clay. So, this problem occurs during the time of preparing the clay for your pottery. The more the clay and texture of your pottery are flawed, the more it is going to affect the glazing onto it. Glazing defects like pitting, pinholing, and blistering may occur on the surface due to blebbing.

To avoid this problem, you need to be careful and knowledgeable enough while preparing the clay for your pottery. Try to make smooth clay by proportionately adding proper ingredients, and then shape your pottery by making it certain that there is no blebbing on the surface.
7. Fitting on the clay body:
The glazing you are going to apply to the top of your pottery work needs to fit perfectly onto the clay body. The fitting problems arise when the applied glaze is too much or too little as compared to the body of the clay. While the firing session takes place, the melting of the glaze needs to be done perfectly on the body of the clay, which can be affected during the cooling of the pots or the kiln.
The expansion level of glaze and clay may differ sometimes. So, you need to know properly about the expansion measurements and understand the expansion and contraction capacity of the glaze and clay. So, it is better to have some knowledge about the fluxes and materials, and then you can proceed with the process of glazing to avoid the problem of improper fitting of the glaze on the clay body.
8. Use of excessive powdery glazing:
While preparing glaze for your pottery, you should avoid too much use of powder glazing. Crawling is the most common problem that occurs during the time of glazing and leaves a defective impression on it. To stop your glazing from turning into a crawled one, you need to reduce too much usage of powder glazes. The problem has been faced by many while excessively using Matt or powered glazing.
Using liquid kind of glazes is more helpful in preventing problems like crawling. Also, you must not make the mistake of applying a second phase of glazing onto a dried-out first-glazed surface.
9. Using of bacteria affected glazes:
The problem of settling out is one of the many troubles that you may face while doing a glaze on your pottery. This problem may occur due to the usage of glazing with bacteria growth into it. The growth of bacteria affects the natural state of glazing and forms a kind of organic gum, like the CMC.
It is important enough to prevent bacterial growth inside the glazing. So, never use a used or returned glaze that has been poured out of the container. While glazing, you should always get a new container. Also, you should avoid the usage of contaminated objects such as brushes, stencils, etc. inside the original container to prevent bacteria formation in the glaze.
10. Accidents caused in the kiln:
Proper mixing of glaze, avoiding bacteria formation, a proper way of applying glaze, avoiding improper firing constraints, and avoiding blebbing – everything you can control by keeping a check on your mistakes and paying more attention to them. But it is quite impossible to prevent accidents that occur inside the kiln. Accidents may occur at any time, and that’s not in our hands at all.
Accidents like the breaking of edges of the pot, breaking of kiln shelves, leaning of pieces, and sticking can happen at any time. Also, the staining of colors from one pot to another, and the dripping of glazes onto another pot may cause problems and prevent you from having the desired result.
All you can do is be attentive enough about the firing process, coloring, consistency of the glazing, and everything else that you need to care for to achieve the preferred result. Also, it requires patience to shape an aesthetic work of art. So, you have to keep patience and give sufficient time to acquire a successfully glazed pottery work.
Bonus Mistake 1: Excessive presence of water content in the glaze slip:
Often problems like too thin layering of glaze may occur even after dipping. As already mentioned, the too-thin layer of glazing should not be applied, so we must consider all the causes that are responsible for the thinning of the glaze layer. It is to be noted that even a low absorption rate of the clay can be the reason behind this issue.
So, while mixing your glazing components, make sure you are not adding too much of water, higher than the needed amount. Try to be utmost careful from the very beginning. However, if you have added too much water accidentally, then add other ingredients to the glaze as well, to maintain the glazing component ratio and increase the density of the mixture. Adding some flocculants to the glazing mixture will help you increase the thickness of the blend. Try to apply glazing on one side of pottery at a time and make it sit for some time until it becomes dry. After that, go on applying the glaze on the other side of the pottery.
Bonus Mistake 2: Not paying enough attention to cracking of the glazing material while drying:
The presence of too much clay or zinc oxide in the glazing mixture causes an increase in the shrinkage of the clay body, which may result in the cracking of the glaze. Also, too thick application of glaze on the pottery body, and double layering of glazing or single-fired glaze application on the biscuit body of the pottery are the reasons behind the cracking of glaze material during the drying process. This cracking will lead to many glazing problems if you fire the pottery in this condition itself, and it will entirely ruin your creation.
So, reduce the presence of too much zinc or clay material by calcining them. If the glazing mixture is too thick, then add a little bit more water to reduce the excessive density of the slip. Adding plastic clay or bentonite might also help in reducing the thickness of the glaze.
Apply single-fired glazing on totally leather-hard clay, and if you are opting for multiple layering of glazing, then make sure you are applying the next layer once the first layer is completely dry. Also, make it certain that there is no excessive clay material present in the second layering. Following these tips will help you in avoiding problems like cracking of the glaze material.
Bonus Mistake 3: Lime popping up on the pottery body:
The presence of a small amount of lime or plaster in the clay body absorbs entire moisture from the air and expands itself. So, when you apply glazing on it, these limestone particles absorb moisture, which leads to popping out of the glaze from the body of the pottery. Sometimes it looks alright at the beginning after firing, but glazing starts to pop out after 1-2 weeks or even after 1-2 months. Also, the white kind of particles become visible on the clay body.
However, if you are careful enough from the very beginning while choosing your clay for your pottery formation, then this problem can be averted. Don’t use such clays which have become contaminated with plaster or limestone. Try to remove the plaster-formed clay and use a fresh one without any lime or plaster particles present in it. Start mixing the clay properly once you are done with removing all the contaminated clay.
Things that can help you in glazing:
The above discussed are the 10 mistakes that you should keep in mind while trying glazing on your own. Following the proper techniques and procedures not only helps in creating an aesthetic and unique piece of artwork with ease but also gives artistic pleasure that you get after giving your dreams and desires a shape.
However, besides the tricks and techniques, there are a few tools and equipment that you need to use while glazing to create an artistic pottery work. Here we have listed down the equipment that is required and the particular purpose for which they are needed.
Equipment | Usage |
| Brush | Brushing glaze onto the pot to get it done quickly and cover a large area according to the desired way. |
| Bamboo Brush | To give a thick effect of dipping. |
| Spray Bottle, Air Brush, Arden Sprayer, Scrub Brush | Mix and apply the glazing throughout the surface of the pot. |
| Rollers, Sponges | To create a stamp glazing effect. |
| Spatula | To mix and apply the glazing throughout the surface of the pot. |
So, while glazing your potteries, make sure you’re doing it with the best quality glazing tools. Wilson Bickford Signature Series – Complete Brush and Tool Set is one of the top-notch quality glazing tool kits that you can use for getting the desired embellishments on your pottery work.
Conclusion:
To have the perfect glazing on your pottery work, always follow the right tips and tricks of the techniques of glazing. The most important thing that is needed to create a masterpiece is patience, love, practice, and experimentation. Take small steps at the beginning excel in it with the right techniques, and finish off your creation with a nice touch of glaze.


