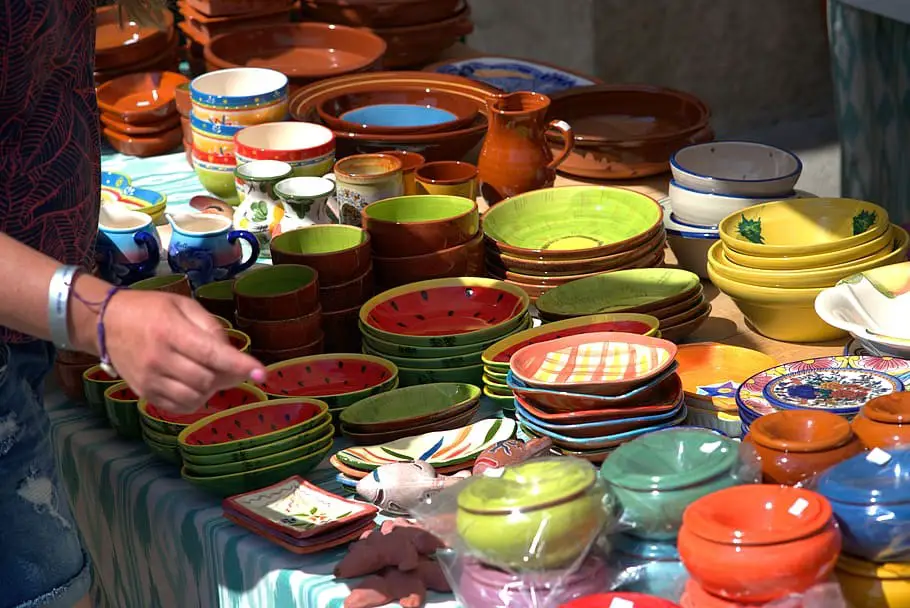
Pottery decoration has always been a fantastic specimen of a human’s incredible ability of creativity. There are so many ways of decorating potteries, but glazing is the most popular one amongst all of them. Glazing is nothing but an aesthetically beautiful up-gradation of an ordinary earthenware. Under glazing is one of the many ways to make your glaze look marvelous. This way of designing ceramic wares is quite famous all over the world, and potters consider it to be one of the prettiest ways of pottery decoration.
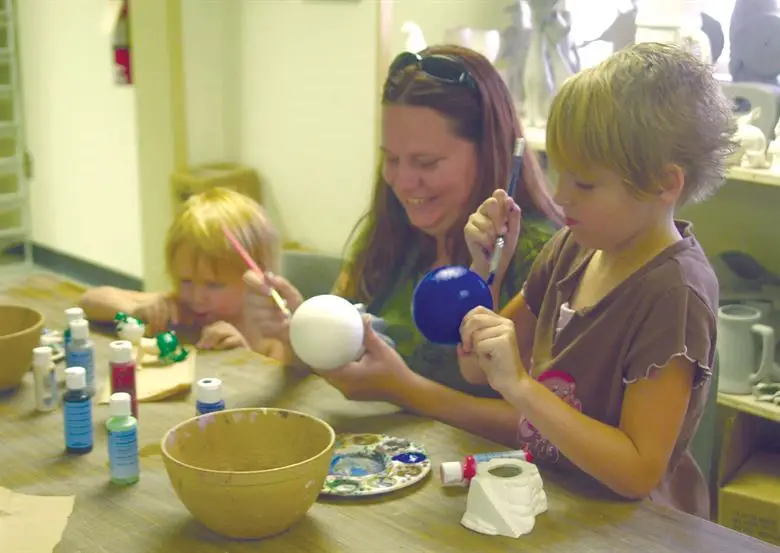
There are many methods to underglaze pottery that one may opt for to decorate their earthenware. The versatile way of under glazing is fun for those who have a knack of working with ceramics. It gives an artist the complete freedom to play with colors and is designed to present unique decorations every time. The beginners must learn how to underglaze pottery before applying the final glazing. It is essential to learn the various techniques to underglaze and experiment to create new designs every time. Here in this article, we are going to talk about multiple ways of under glazing for the novice potters who want to try their hands in pottery glazing. However, before moving onto the technique of under glazing, first, let’s have a look at what it is actually.
What is underglaze?
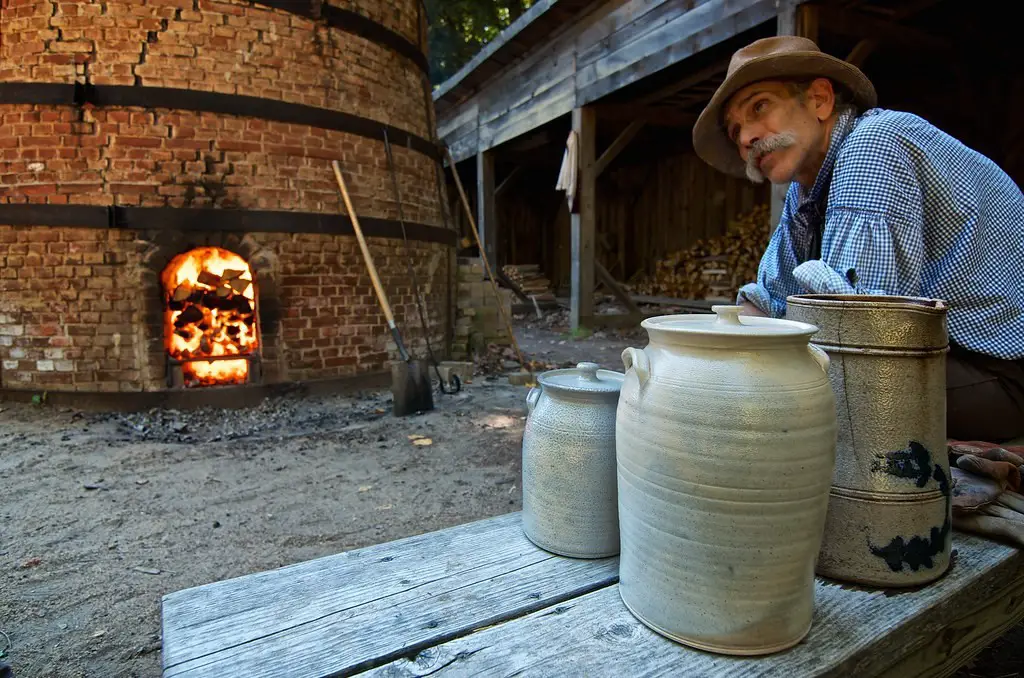
As we have said earlier, under glazing is a method of designing ceramic ware, where the decoration is done on the surface of the pottery clay using different colors and shades. Then, the underglaze is covered with a coating of transparent overglaze to secure the design, before putting the pot inside the kiln to fire. This particular method of glazing is done to lock and secure the design so that it doesn’t get washed off or faded away. It is entirely safe to use these wonderfully decorated potteries in our daily life, and the pattern remains intact and as beautiful as the first day.
Under glazing can be done directly on the top of the greenware. Later, potters add overglaze onto it before firing it inside the kiln. The process of under glazing can also be done on the top of the bisque fired pot to make it more durable and long-lasting. You can perform under glazing by using pigments made out of oxides that don’t fade away with the passing time. Only a single round of firing is enough to make the underglaze stick onto the pottery surface properly, and thus, it is one of the easiest techniques of pottery decoration. The underglazes contain elements like clay, gum, glass, and pigments that assist in producing more effective and long-lasting designs. Here are some of the reasons why potters usually choose under glazing for pottery decoration.
- It is easy to apply and gives the potter the freedom to do any kind of detailed and intricate designs without being worried about getting messed up.
- It doesn’t get fused or melted like overglazing, while it is fired inside a kiln.
- Under glazing doesn’t go through a massive change after it is fired. It looks almost the same post-firing.
- Also, it helps in giving the bisque fired potteries a flawless appearance if any defect or imperfection on the pot shows up.
- Most importantly, this is a budget-friendly way of glazing that doesn’t require much money to create beautiful designs. It is indeed an easy yet effective form of glazing for the beginners who are learning the process.
Now, let us move on to the procedures of doing under glazing. Following are some of the significant ways to perform under glazing:
-
Know about the type of underglaze that you are using:
Though most of the underglazes are applicable for both greenware and bisque fired pottery; still, it is safe to check the packaging before using it. Also, there are specific directions of using the underglaze that you must follow before applying it onto the surface of your pot. Some underglazes allow applying it onto the greenware first, and then it requires being bisque fired. However, few underglazes can be applied directly onto the bisque fired potteries.
-
Apply under glazing on the greenware:
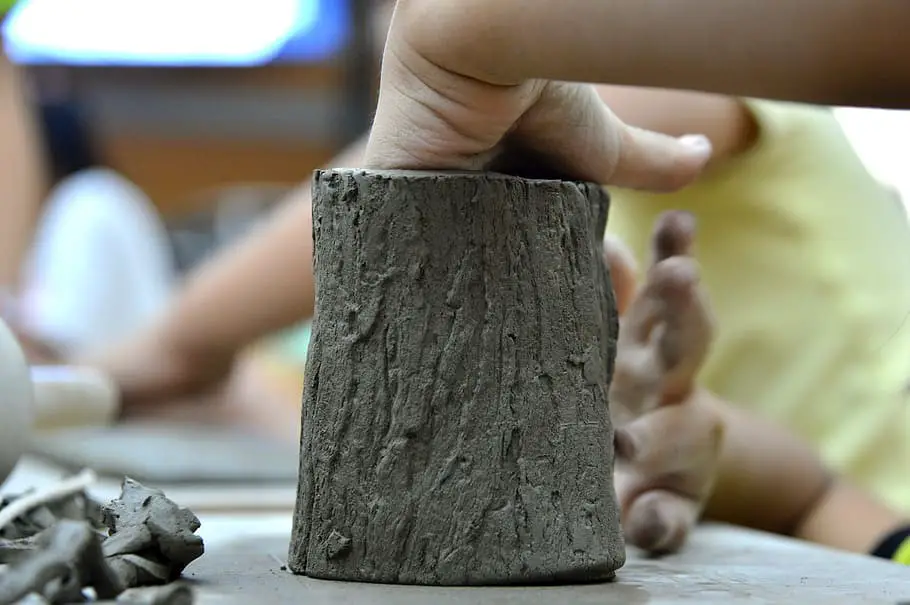
While under glazing your greenware pottery, you need to first place it on the top of your pottery wheel with the support of a sticky bat. This action should be followed by marking the place of the application by drawing some circular lines using a pencil. Then, move on to applying the underglaze while keeping your wheel active and controlling its motion correctly. At this time, you need to be very cautious, as any you won’t even get a chance to correct your mistakes. So, be careful about the designs and colors while applying.
-
Under glazing a bisque fired pottery:
Working with bisque fired pottery is always easy as the clay body doesn’t get dissolved when the glaze is applied. The hard-bisque fired clay body provides you with the flexibility to use different tools to underglaze in a more detailed way without harming the clay surface. All you need to do is hold the pottery tightly with a clean piece of cloth and apply the underglaze the way you do on a painting. Make sure you are using 5-6 layers of glaze to get the most vibrant and colorful result. After applying the glazing, let it sit for some time to get dried. Then finish it by applying the transparent overglaze and place the pot inside the kiln to fire.
Some popular techniques of under glazing
There are various techniques of under glazing your pottery. Below we have discussed a few novel methods followed by the experienced potters.
-
Drawing patterns:
Another popular technique of under glazing is by using the under glazing pens, pencils, and crayons to draw different patterns on the pottery body. There are various under glazing pens, pencils, and crayons available in the market that doesn’t fade away when it is placed inside the kiln. Using such tools for under glazing gives you access to add fine and precise details to your decoration, and it is quite a fuss-free technique.
Here is how you can use such under glazing tools.
Under Glazing Tool |
How to Use? |
| Pen | Under glazing, pens are similar to regular pens that you need to use thoroughly on the top of your pottery surface exactly the way you do with your ordinary pens. |
| Crayons | Crayons for under glazing are chalks or waxes that come in different colors. By blending and smudging these onto the ceramic ware, you can create a variety of beautiful shades and effects. After that, you need to secure the underglaze by using a gum solution that won’t allow it to crumble off from the top of your pottery. |
| Pencils | Pencils used for under glazing are made of clay and pigments that don’t get erased away when they undergo firing in the kiln. Also, these are smooth enough and don’t notch the pottery surface while working on it. |
-
Dipping:
It is one of the traditional and most popular ways of under glazing. Dipping is done by submerging the pottery inside the underglaze so that it spreads evenly all over the pot surface. Take the proper amount of glaze and add some water to make it a comparatively thinner mixture, and stir it adequately to get a perfect consistency. Pour the underglaze mixture inside a larger container so that you can dip the pottery properly with the help of tongs like the COMIART clay Sculpture Dipping Tong Pottery Tool. You can also use the tip of your fingers to immerse the pot inside the underglaze. Then, let it sit for some time such that the bubbles ascend to the surface of the container.
-
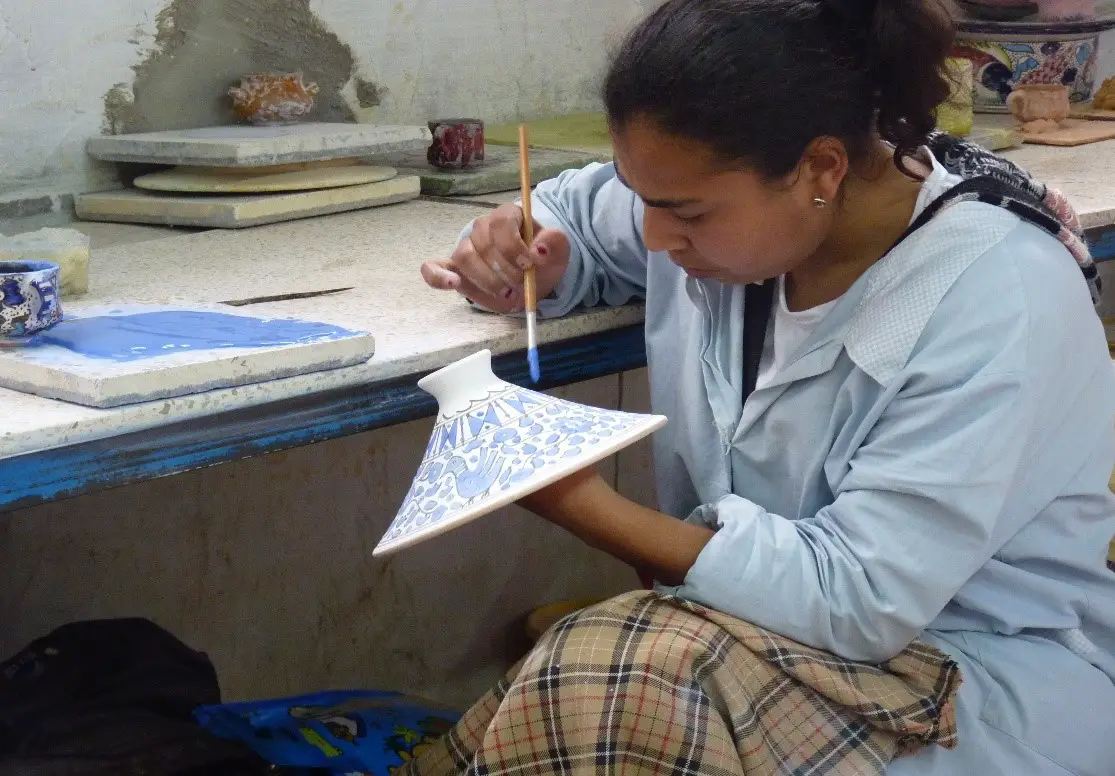
Painting:
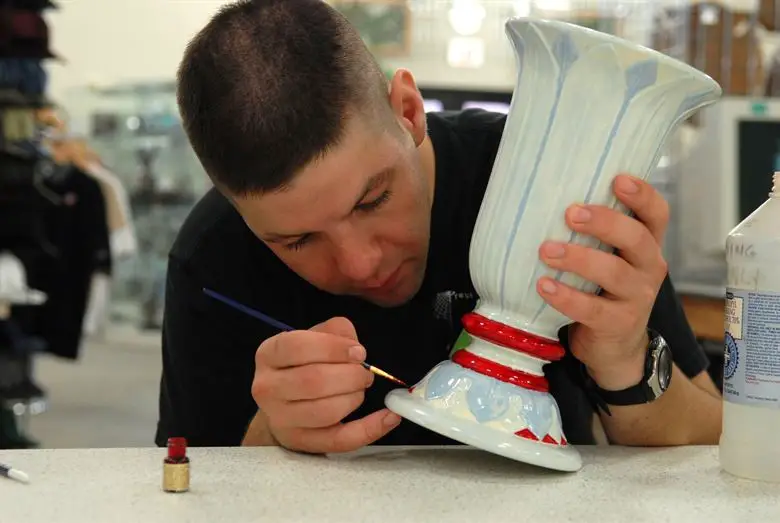
Painting is also an easy technique for under glazing. All you need to do is use specialized brushes like the wide flatter brushes or the smaller ones, and decorate the pottery the way you wish to do. Paint anything that you want, using layers to make the embellishment look more vibrant and colorful. After painting it, let the pot dry for some time. Then finish it off with a transparent topcoat.
-
Marble effect:
Experimenting with different techniques is a quite fun and impressive way of under glazing. Marbling is a popular way of glazing where the decoration turns out to have a similar effect as that of marble stone. To give your pottery this marbling effect, you need to use some shaving foam and proceed by spraying it onto a smooth base. A 1-2inches thick layer should be created, and the surface must be made smooth with the help of a spatula. Now, carefully trickle the drops of your underglaze onto the top of the foam, and create patterns and designs of your choice using a thin stick.
After the glazing compound is ready, roll your pot evenly onto the foam mixture. Once you are done with covering the whole area, remove the pot from the mixture and carefully wipe out the foam from its body under running tap water. Thereby you will get a marbled glaze on your bisque fired pot. Then, dry the texture and finish it off with a top coat before firing it.
-
Spray painting:
Spraying the colors using a spray bottle or electric airbrush is a very simple and hassle-free method of under glazing ceramic wares. Spray technique uses a mist of colors to get sprayed onto the surface of your ceramic ware and leaves a spray design or pattern on it.
-
Bubble effects:
This technique is done by blowing colored bubbles on the top of the clay surface.
For making the bubbles, you need to follow the process said below.
Ingredients |
Process |
| Water in a cup or bowl | Take 3-4 tablespoons of water into a cup or bowl. |
| Liquid soap | Mix the water with 3-teaspoons of liquid soap. |
| Color | Then add 1-tablespoon of colored underglaze to the mixture and whisk them thoroughly. Keep in mind that the ratio of the underglaze to water should be 3:1. |
| Drinking straw | Blow air through the drinking straw to make bubbles of the soapy mixture. |
| Bucket | Now upturn the ceramic ware, place it inside a large bucket and pour the bubbly mixture evenly. Keep blowing air into the mix, so that on the formation of excessive bubbles, they burst and get imprinted on the pot’s surface. |
-
Stencils:
Another quite easy method to underglaze is by using stencils. These tools are widely available in the market that comes in the form of patterned papers. You need to stick the paper onto the surface of your pottery and apply the colored underglazes over it attentively. Once the application is made, remove the stencil carefully so that the glazing doesn’t smudge.
-
Watercolor under glazing:
Underglazes are also available in the form of watercolor pallets. Like the regular watercolor paints, you need to wet such glazes and apply it on the pot surface using a brush. Initially use 3-layers of white underglaze to create an opaque canvas on the clay body on which you can start painting the same way you do on a paper. Remember to dry each layer before applying the next one. Otherwise, the entire work will fail.
-
Sponges:
Another simple way of under glazing is by using a foam sponge. This method requires to be applied onto the bisque fired wares using a wet sponge. All you need to do is soak the sponge into the under glazing solution and dab it onto the pottery body to create excellent designs and patterns. Use multiple colors to create a colorful and vibrant effect. Once the pottery is dry, secure the under glazing with a layer of transparent overglaze and finish it off by firing.
Conclusion
These are some of the popular glazing techniques that will make the process easier enough for beginners. Once you are used to with these techniques, only then proceed on experimenting with more and more under glazing methods, as there is no limit of decorating methods. Techniques like Mishima, burnishing, linocut printing, slip trailing, and silk screening are also effective and gorgeous ways of under glazing that you can use to create unique pottery designs. Just follow the proper steps and handle your clay pot with an extra bit of care. Keep creating limitless designs and showcase your artwork through the amazing pottery glazing. We hope that the techniques and glazing processes mentioned above will help you in your next under glazing project of your ceramic ware.
Happy sculpting!


