Not everyone will have access to the professional kiln for making pottery. Also, it is a not-so-smart decision to invest in one, especially if you are a beginner or you’re going to use pottery for your personal use. You can create miniatures, jewelry, simple dining ware, and utensils with the natural clay at home. For sure, the setup is required, but there are alternatives for the kiln. The most effective one out of them is to use the campfire.
Yes! We are not kidding. It is an efficient method that you can try as an experiment or even for the minor project. In this article, we are going to discuss in brief how to fire clay with the campfire.
Understand why clay needs firing
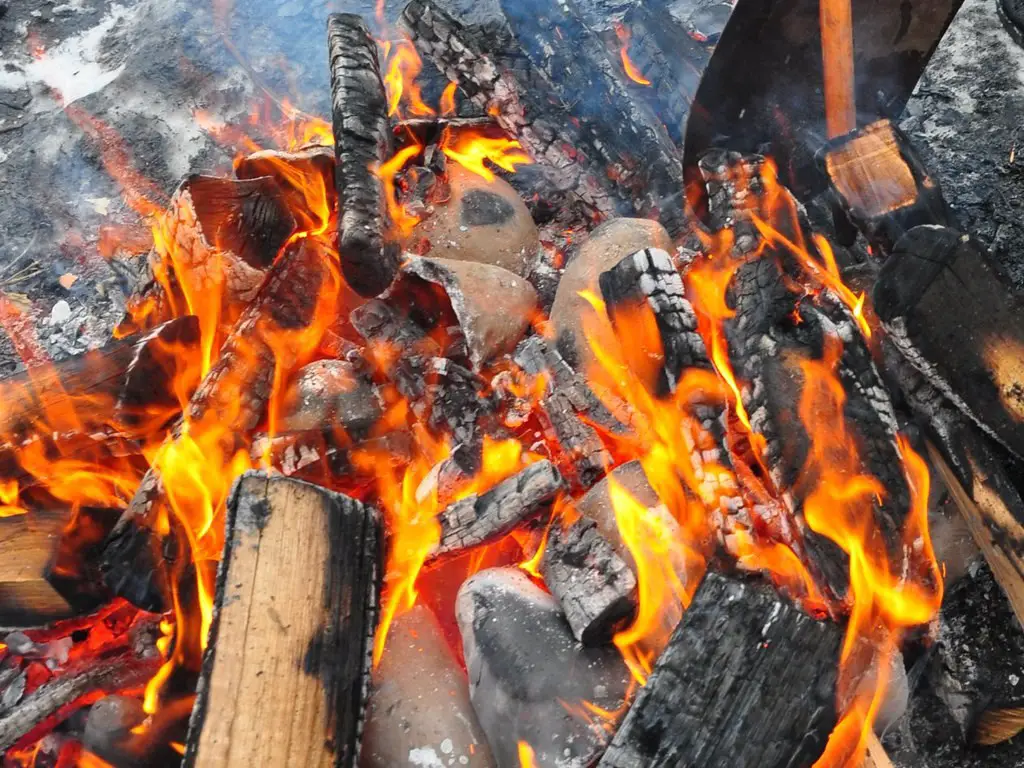
An ordinary clay can only be turned into a pottery masterpiece at a temperature of more than 1000°F. When there is no equipment to measure such burning temperature, here is the simple trick to know. Initially, you need to set a campfire that has glowing red heat. It is a sign that the fire is super-hot up to 540°C. Depending on what you are going to make with the clay, the temperature needs to be appropriately utilized. For instance, if you are making earthenware, then the fire must be more than 760°C. That is when the water molecules are completely removed from the clay.
While heating, the clay molecules are converted into elements that do not dissolve in the water. Usually, while heating in the kiln, the temperature is set ranging from 1800-2400°F. Still, when you set on the open fire, you need to very careful as the elements may deform or sometimes even melt.
Also, there are other methods of fire claying without a kiln, which are as follows.
Methods of Claying without Kiln |
What you need to know |
| A kiln shelf with the oil drum | Easy to set up using the oil drum
Can without stand fire No toxic or dangerous Not suitable to do in the backyard of a home |
| Coal and Pot method | Easy to create clay miniatures
You can do it at home in a closed area Effective only up to 5 or 6 pieces |
| Kindling wood method | Need bricks and stones
Usage of wood Can perform in an industrial area It can create many clay pieces using the right mold. You can begin with the Keyzone Small stainless Molds. They provide the best results for the beginners. |
Campfire for Clay
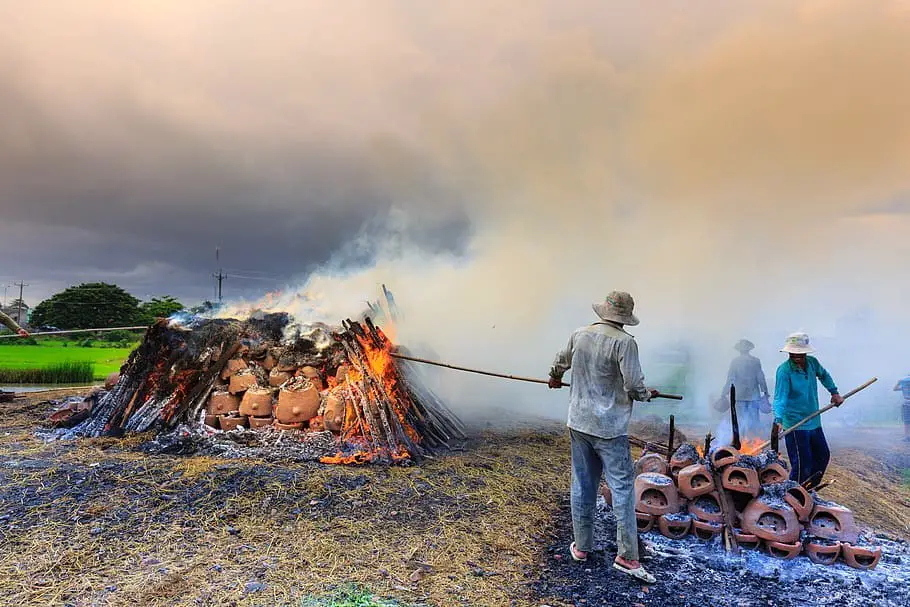
Some people may wonder what you can do with the homemade clay. The real answer is either you can leave it as it is and call them finished, or you can learn the campfire pottery to get the best out of it. Campfire pottery is not a new technique. It is one of the oldest methods found in the pottery. The method dates back to 29,000 BC says history.
The primary principle of the kiln was to retain the heat and reach the desired temperature using less fuel. But the traditional or tribal setting is to use the campfire. It is fueled often, and wood kindling is highly required to make the clay. One thing to note is that neither it passes the red glowing heat nor stay with the low yellow flame. With only constant practice, you usually can set the right temperature that is appropriate for burning the clay.
Why choose campfire for the clay?
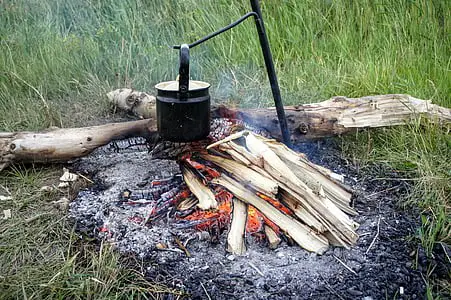
The design for setting this campfire is simple. Similar to the kiln, a hole is dug in the ground, which acts as insulation. The fuel is added to reach the desired temperature. However, there are some essential things you may want to consider while learning. It needs a lot of supervision as you are going to set it up in an open area. Always check if you are allowed to set the campfire in the area. We are sure there is a local fire guideline that you must be aware of. Take all the safety precautions needed before you start the fire.
A suitable location comes second, but safe location matters. You don’t have to burn anything down other than your clay. It is also recommended that you try this pit fire claying at least once in life. Because they are fun rewarding, if you have kids at home, try this as a school project too. Of course, you will get the results as you practice. Still, you will be interested to see the fantastic natural creations as you do pit firing.
The tools you may require are as follow:
- Shovel
- Newspapers and twigs
- Matches
- Fuels for the fire: Dry leaves, Manure, Sawdust and Coal
Instructions to follow in setting the fire
- Location: This is the most crucial aspect as you decided to keep the open fire. Look for a place that does not intend to be in the ‘Fire ring location.’ This claying method is fun only when you can enjoy thoroughly knowing there is no danger. Choose a location that’s not too windy. Think of the scenario when you want to set the normal campfire. The place needs to be shady and not too windy. It could be moist but not wet. It should accommodate the wood and be adaptable for the dry heat.
- Dig and Dug: Now, you need to dig a large place enough for you to put all the combustible pieces such as sawdust, paper, leaves, coal, and manure. The most preferred campfire dimension would be to dig a place that’s two feet in diameter. It’s ideal because it won’t be sloppy and sends the heat inward.
- Pottery Pieces: Now, when you see the red-hot flame, start placing the potteries and pieces on the fire. Keep them only at the top, and do not disturb the combustibles. They need to be even to get the fire spread across areas. When you place multiple pieces, ensure you leave at least an inch space between them. If you are confident, you can use the Duncan Pure Brilliance Clear on your clay pieces to get the beautiful glazes on your clay pieces.
- Cover them up: Cover the piece with more combustibles. It will create a mound in the campfire area. You need to be careful as there are chances that the clay may crack or become fragile.
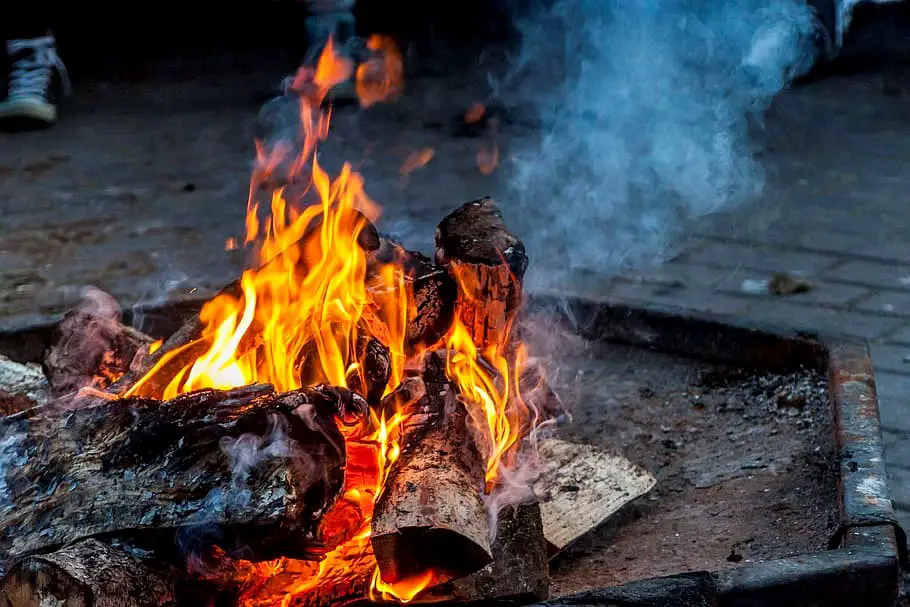
- Ignite again: With the newspapers and twigs, you need to ignite the fire on the mound. Place the newspaper on the sides, and you can see that they start to burn. Let it burn until the flame entirely dies down. You can see that the fire is becoming smolders for several hours.
- Bury the fire: After several hours of smoldering, you need to bury the campfire area with the sand. It will help in reducing the oxygen content while the clay gets its color and variation.
- Find your pieces: Now, the next day, you can carefully dig for your pieces in the buried campfire are. You can see the clay pieces have come out so well in the right shape. Now run them under tap water to see the right color of the clay pieces.
Take Away
Hopefully, you have understood the method carried to create clay without a kiln and using the campfire. You may not be able to achieve the desired result for the first time (If you have got it right, then we must call you lucky). It needs a lot of patience, but although when you get the result, we are sure you will be amazed. The ideal clay made with the campfire is usually a bit porous when compared to the kiln made clays. You don’t have to be worried as the porous will be closed as and when you start using it.


