
When you’re given different types of firing, you’ll begin to realize there are a lot of great options out there. But, one of the best types for many who are getting into pottery is bisque firing. Bisque firing creates some amazing pieces, and there are a lot of great elements to this. This post will describe bisque firing, and why it’s an important part of pottery.
Bisque By definition
So what does bisque mean? Well, in essence, there are a couple of different meanings to this, and they are as follows:
-
Bisque as a noun
-
Bisque as an adjective
-
Bisque as a verb
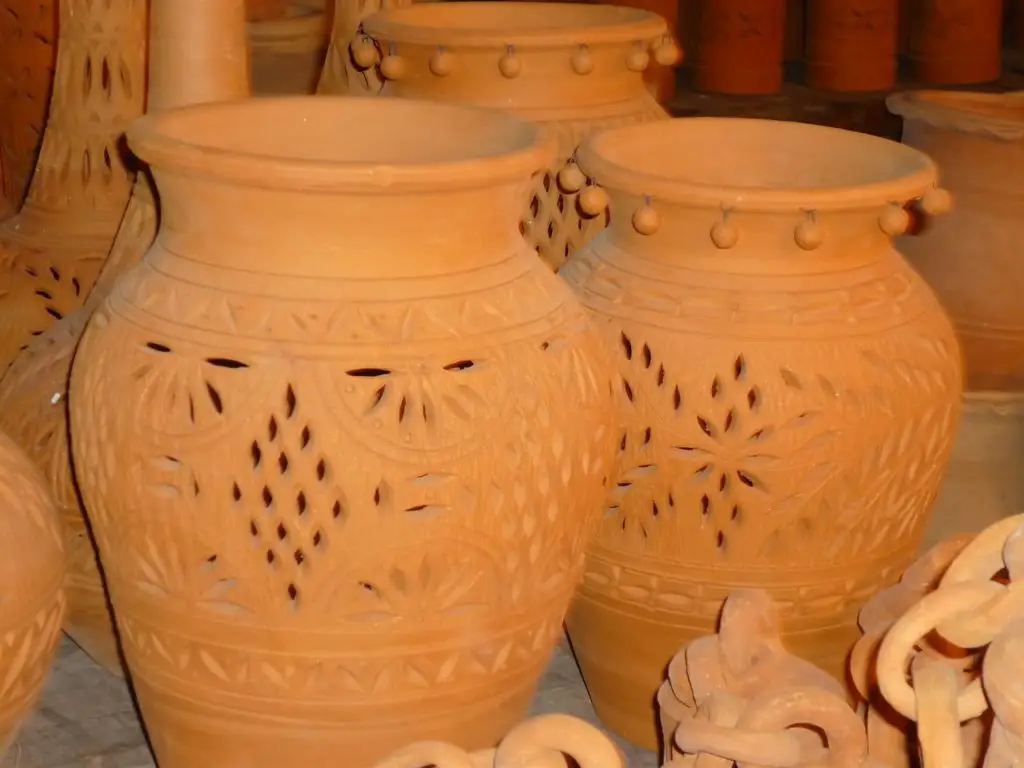
When it comes to bisqueing, in essence, the noun refers to any sort of pottery that you’ve fired once, and that has nothing chemically bonded in terms of water left within the clay. In essence, it’s already been fired once, and you’re just going to put the glaze on it in order to fire it again. This already means that the clay is harder, and it definitely is a bit different in comparison to it being once fired.
Now, bisque is often considered a true ceramic, even though the clay body isn’t fully matured. This is actually fired at a low temperature, which means that it still has some extra firing in it. Typically, the stage of this firing is called a biscuit or bisc, and in turn, is essentially a pottery piece being fired once.
Now, the noun in reference to the ware is called bisqueware, which means that they’ve been bisque, which in essence means that they’ve been fired once. The pots may also have the term called biscuit ware, which means that they’ve been fired one time.
Then, there is just the term bisque, which is the verb that means that the clay has been fired once, for the first time. That means it’s gone through one firing but will be fired again in the future.
In contrast, this form allows you to put the glaze on after. This may be considered a better form for some because of the following:
-
More glaze options
-
Fewer chances of the glazes running off
-
Fewer chances of it flaking
-
Fewer chances of it cracking or exploding
For many who begin to bisque fire, this is usually where you begin, and it’s where you essentially will begin with the piece of pottery.
The History of bisque
The history behind this is actually quite interesting. The term is quite new in a sense compared to single firing, which was used for thousands of years. The term comes from the 17th century in France, and it was brought forward because it needed some extra firing. It is called biscuit firing because when you fire it once, sometimes it’s got the appearance of a biscuit when it’s hard when you fire it.
The firing
Bisque firing is a bit complex in how it’s done. Typically, you fire it at two different temperatures. Now, with the first one, you want it between two of the cones: 08 and 06, which means you have it between 1720 and 1835, along with 945 and 1005 degrees. However, sometimes when you do this, the clay will mature at a higher temperature than the glaze that the potter wants to use. When this happens, bisque firing may be higher with a lower glaze firing. You basically should just determine what temperature you want based on this.
Now, before you fire, you need to make sure that the following happens when you touch it:
-
They’re bone dry
-
They’re cold to touch
To do otherwise would actually cause it to lose the actual texture of this, and if you don’t have this dry enough, it could compromise the actual structure of this.
Bisquing chemistry
So, what’s the chemistry behind this? How do you fire it? Well, you want to do this on a low fire, and there are a few reasons for this. They are as follows:
-
You drive off the water and the carbon from this
-
You fuse this together
-
You can then set the shape with this
-
You can absorb a small amount of water with this
When you fire this at a low temperature, you’re not completely burning this off, but instead, it’s at a very low level, and the clay will start to come together, and the water will essentially get pushed off. At this point, the water will essentially stay there, and the clay will stay in the shape that you have. You’ll notice with this when you take it out that the piece is hard, yes, but it’s not fully hard to the point where you can’t get the glaze on this at all. That’s a huge part of this, and it’s actually something that you should keep in mind. You want the piece to be hard, but not so hard that it’s impervious to water.
If you have this at this stage, the glaze, when you apply it, will then fire, and then it’ll melt, and from there, the glaze will, in turn, start to fuse. When the object from the bisque stage is then glazed, you’ll notice that it’s quite easy for it to stay on, and it will allow for a better, more even application.
Now, bisque firing is actually quite nice, but it does come with a bit of a price. The price, in this case, is often time. Time is a huge part of this, and it’s something that a lot of people consider to be the one downfall of this type of firing. That’s because of the following:
-
When you fire low, you typically have this on for about 12 hours or more
-
You can’t leave the area while it’s firing
-
It tends to eat up a lot more costs than a single fire
Of course, in a sense, it’s much easier to apply, and if you just do it in two parts, you run less risk of your stuff breaking, but for many who tend to be on the inpatient side, this may be something you’re not super keen on. But, in essence, bisquing is a way to drive that water off so that you just have clay, but not to the point where it’s completely dry and you’re unable to work with this.
Glazing the Bisque
When it comes to glazing your bisque, there are a few ways that you can do this. for example, you can try the following:
-
Paint it on
-
Underglaze it to get it safe to use
-
Add in a luster if you so want to
-
Dip it on
However, something big must be said about the glazing at this stage. Depending on what type of glaze you use, it will or will not be food-safe. You do need to look into the type of glaze that you’re going to put on there, especially if you’re looking to make pottery you can use.
There are a few rules when you’re glazing pottery, and here they are in relaxing to glazing bisque, and what to watch out for:
-
If you don’t glaze the pottery, you can’t use it for foods, vases, drinks, or anything that has liquid in it due to the porous nature of this
-
You need to glaze it especially if you’re going to be using this for anything with the potential for liquid to be in it
-
If you’re going to put a luster on this, you won’t be able to use it for foods
-
If you’re looking to use this solely for ornamental reasons, you can paint this with acrylic and not fire it
-
However, if you do this, you should make sure it never comes into contact with liquids and is kept in a dry location
-
If you’re wondering how much glaze you should put on it, or the type if you’re going to be using this for food dishes, look at the contents of the glaze itself before you begin
Typically, people will actually glaze all of these whenever they can. If they don’t, it may just be because of the ornamental decoration, but if you’re going to use this for anything, it’s highly advisable to put a glaze on this, and from there, fire it
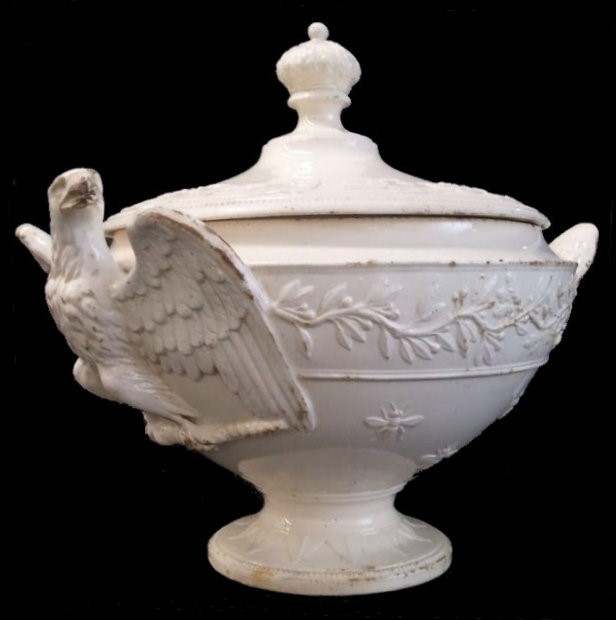
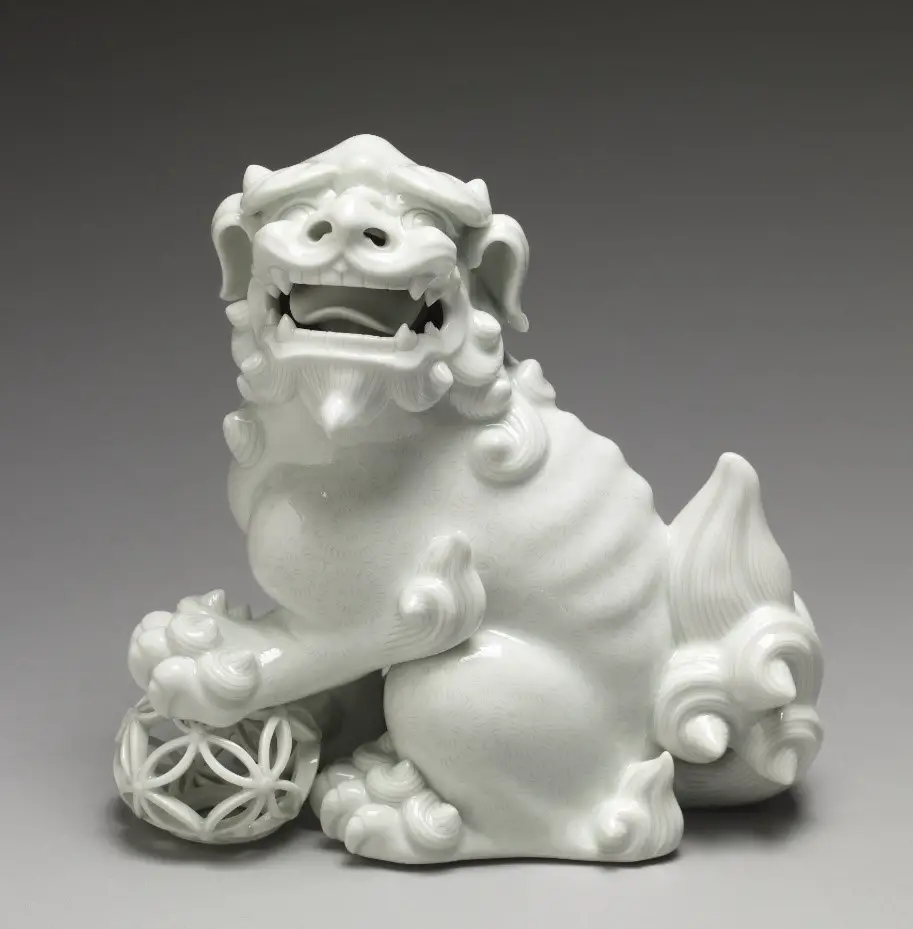
When it comes to bisque porcelain, you may wonder what’s so great about it. Porcelain is another type of means to create pottery, and typically, these are left unglazed. They’re called bisque porcelain, or in many cases, this is what bisque refers to. It’s super popular in European pottery, and that’s because it can be used in different ways.

Some of the different ways to use this include:
-
Creating a smooth marble finish on pottery
-
It has a matte surface and texture, so it fits well on the surface
-
You can use this to make a dollar
-
You can use these to make figurines
If you’ve ever been curious about even making this sort of thing, well you’re definitely on the right pathway. Typically, bisque dolls are quite hard to create, but they are quite interesting if you’ve ever considered doing this sort of thing.
About Bisque firing
Let’s talk more about bisque firing. We said before that this type is used to melt what glaze you have, and from there, fuse it to the clay body itself. This type of firing is definitely quite popular because it allows you to do a whole lot more with it, including:
-
Puts the object into a porous type state
-
Gives you more time to do decorative stuff with stains, glazes, and underglazes
-
You don’t have to worry about the pot being damaged
-
It’s brought more slowly, so you have less chance of it exploding and cracking
It’s definitely quite a useful process, and if you make sure that you fire this slowly, it will allow for the molecules to be combined in a much better fashion as they’re removed from the clay themselves.
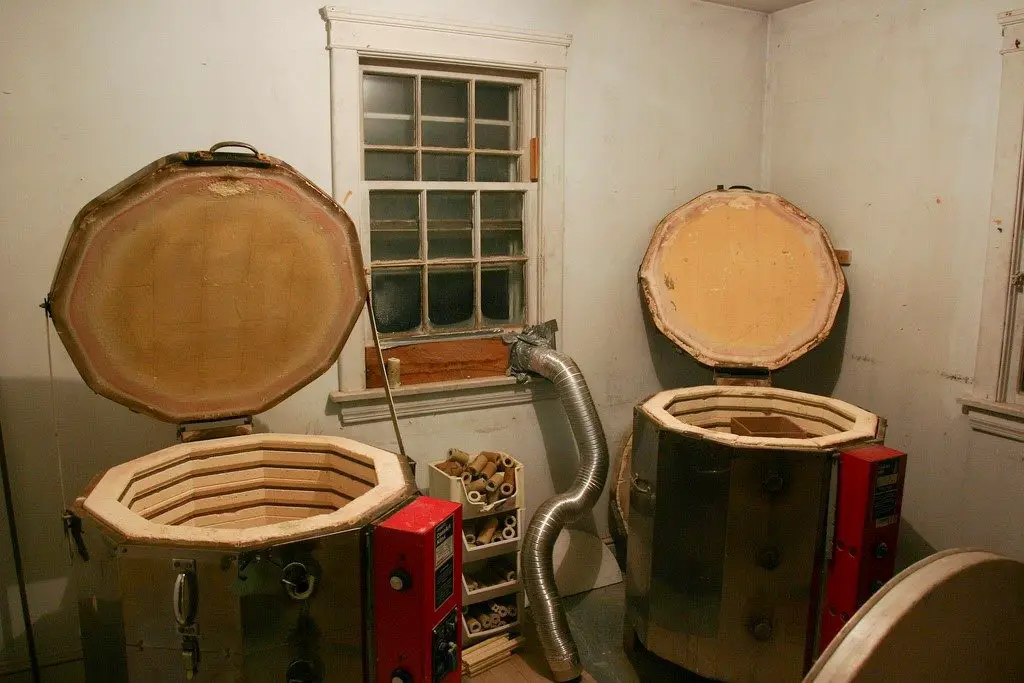
What Kiln Do You Use?
You may wonder what you want to use in terms of kilns to bisque in. Well, there are a couple of types you can do. They are:
-
Electric
-
Fuel-burning
Stick with these two but go for electric as the preferred option. That’s because the settings on these are way easier to control. Remember, when you’re bisquing, you want this to fire at a low temperature because if it goes too fast, t could end up cracking.
Those that are fuel-fired, tend to use those gasses such as natural gas and propane, and they rise in temperature in a much faster manner. You need to put a lot more fuel into the fuel nozzle in order to keep this lit, so definitely keep that in mind. You can use both, but if you’re looking for the ideal way to bisque, you should definitely stick to electric.
What’s the ideal temperature
With this, you want to keep it between cone 08 and cone 04, regardless of the maturation temperature of the clay body itself, and the glazes that you use later on.
That’s because when you get to cone 08, it’s now a material that is ceramic. This means the following:
-
It’s porous
-
It’s absorbent enough to glaze easily
-
It’s fragile, so you need to take care of it
Any sort of bisque firing can be done to the point of cone 04, which means that it can withstand decent temperatures. However, when you start to fire at cone 04, the following may happen:
-
The pots are less fragile
-
It can take longer to glaze
-
It can affect the adhesion of the glaze
-
The fabric of the pot is much tighter, which means that it’s less absorbent and not as porous
-
It doesn’t allow for as easy of glazing
In essence, how you determine the temperature you fire to is really just based on the actual desires that you want from this. Do you want something fragile, or do you want something that takes longer to glaze? Whatever you choose, is ultimately up to you, and what effort you want to put into it.
Fire ramp and firing Schedule
You may have heard of the terms firing ramp and firing schedule, which in essence refer to how the firing is done, which include the following:
-
The heating up
-
The soaking period if needed
-
The cooling
Typically, this is important, but when it comes to bisque firing, it’s so much more important. That’s because, when you bisque fire, the following happens:
-
You have no soak
-
The ramp is very slow
-
You literally should make sure these are going as evenly and as slow as possible
-
You use the correct temperatures for the glazes
With the firing schedule, you need to be quite wary of how fast this goes, especially when bisqueing. To do otherwise, can sacrifice the overall integrity of the piece itself. If you’re looking for the ideal firing schedule, you should do the following:
-
Warm this up overnight at a very low heat
-
Spend two hours at low heat, with an increase being no more than about 200 or so degrees an hour
-
Two hours at medium heat, which means that an increase of the temperature no more than about 300 degrees within an hour
-
The high heat, with an increased temperature of around 300 to 400 an hour is done until you get the temperature to reach the ideal state.
Following this schedule is integral, and we’ll go more into each one at this point.
The stages
You have different stages with this, and they are the following.
First, you have the overnight warm-up, which is where the pots are bone dry before you put them into the kiln. From here, you follow the instructions, and if there isn’t a controller, only the bottom element with the lid open and the spyholes left open.
If you’re going fuel-fired, you want the spyholes closed and your pilots lit. if you have an updraft, close it completely, and for a downdraft, leave it slowly open. If the kiln doesn’t have pilot lights, but rather just a burner, bring it to the lowest rate sustainable. Make sure everything is open, as well as the door being open about two inches. Keep the burners lit and watch the kiln temperatures and the burners as well.
With the low ramp, you should then do the following:
- When warmup is completed, you close up all the doors and increase the energy to heat them. Turn all switches on the electric kiln to low.
- If you have a programmable controller, follow the instructions
- If you fuel a fire, fire it to the lowest setting
- If the ware has a thick wall, increase this for about 4-6 hours, depending on the clay thickness
- If you hear popping sounds, lower this heat immediately since the ramp is too high and it could put everything in danger
- Make sure that when you do wedge your clay, you do it completely so that the air bubbles don’t crack when fired
Now, you’ll then have the medium and high ramps. This in essence means to get everything to the medium setting for about two hours. If your ware has thick walls, you may want to increase this time.
Now, if you’re at the end of the medium, you should see the kiln in red. You should then bring everything to the highest point. Now, with an electric, the bisque temperature will be reached around 3-8 hours once on high. The controller or the sitter will shut it down.
If you fuel a fire, check our cone every 30 or so minutes. Once the first cone tips, check every quarter-hour. Once it’s at a 90-degree angle, shut it off.
Finally, you’ll need to cool your kiln. When you cool it, you should do the following:
-
Once the kiln has reached the temperature, turn off the heat
-
Close the openings and let it kiln at its own pace
-
Typically, it may take as long to cool as it does to heat up. You should cool and unload it next
-
When it’s cooled through, check the door
-
If any heat comes out, put the paper in the opening, and if it lights, then it’s still too hot to open up
-
If the paper isn’t lighting, but it’s pining, it’s still too hot.
-
Close the door and then let the kiln cool for several more hours
-
You need to make sure that the kiln is completely cooled, and that the pieces are fully cooled before you remove them
-
Let them sit on the rack, and then glaze them as needed before you fire them up once more
When it comes to bisque firing, watching for all of this is quite important. It does require a lot of time and effort, and if you’re going to fire, it’s best to be very careful about this. You definitely want to practice proper kiln safety, and never rush this sort of thing. Take your time, and work towards ensuring that you have the proper kiln firing that you need for this and the right cones that you need.
With bisque firing, doing this once is definitely worth trying out. It does take a long time and a lot of effort, but if you’re looking to get more decorative with the outlets that you use to creatively make various items, this is certainly the way to go. It’s quite fun, and there is a lot here that you can indulge in. If you’re ready to really nab the benefits of this, and truly get what you want out of your pottery, then try this new and unique type of firing, and you’ll be able to create some amazing pieces. Plus, if you like to use pottery glaze, and you’re looking to actually get the most out of the different types of glazes that you want, and you want to use your pottery in real life, this is how.


