If you have ever been curious about making pretty ceramic bowls, wares, and the like, then this post is for you. Learning how to make ceramics can be a bit of a challenge because it does require some tools, skills, and the like. If you’ve ever been curious about it, you can do so, and here, we’ll tell you about how to make ceramics, and some of the various tools and assistance you should consider when making various pieces of pottery.
Tools of the Trade!
First, you need some tools for making this. Here, we’ll talk about the tools of the trade, and some other important factors to consider.
The top tools that you will need for pottery include the following:
-
A rib tool
-
Needle tool
-
Water
-
Trimmers
-
Sponge
-
Wire tool
-
Wheel
-
Clay
The only one of these that is optional is the wheel because sometimes you don’t need a wheel to make pottery. Ultimately, that’s up to you, and if you feel like a wheel will help with making your items, you can get one. But, if you don’t want to spend the money on a wheel, you can use hand-building means.
The three ways to hand-build are the following:
-
Coiling
-
Slabbing
-
Pinching
We have posted regarding that, but today, we are going to focus mostly on how to make ceramics.
The Clay Matters!
With clay, you have three different types, and they are:
-
Earthenware
-
Stoneware
-
Porcelain
We have a few posts regarding each type of clay, but I will say, if you’re starting out, it’s advisable to work with earthenware the first time. It doesn’t fire to high temperatures, but it’s good for basic potters and the like. However, it’s rarely waterproof, so you may want to consider stoneware if you plan on glazing this to be food-safe.
On the Wheel
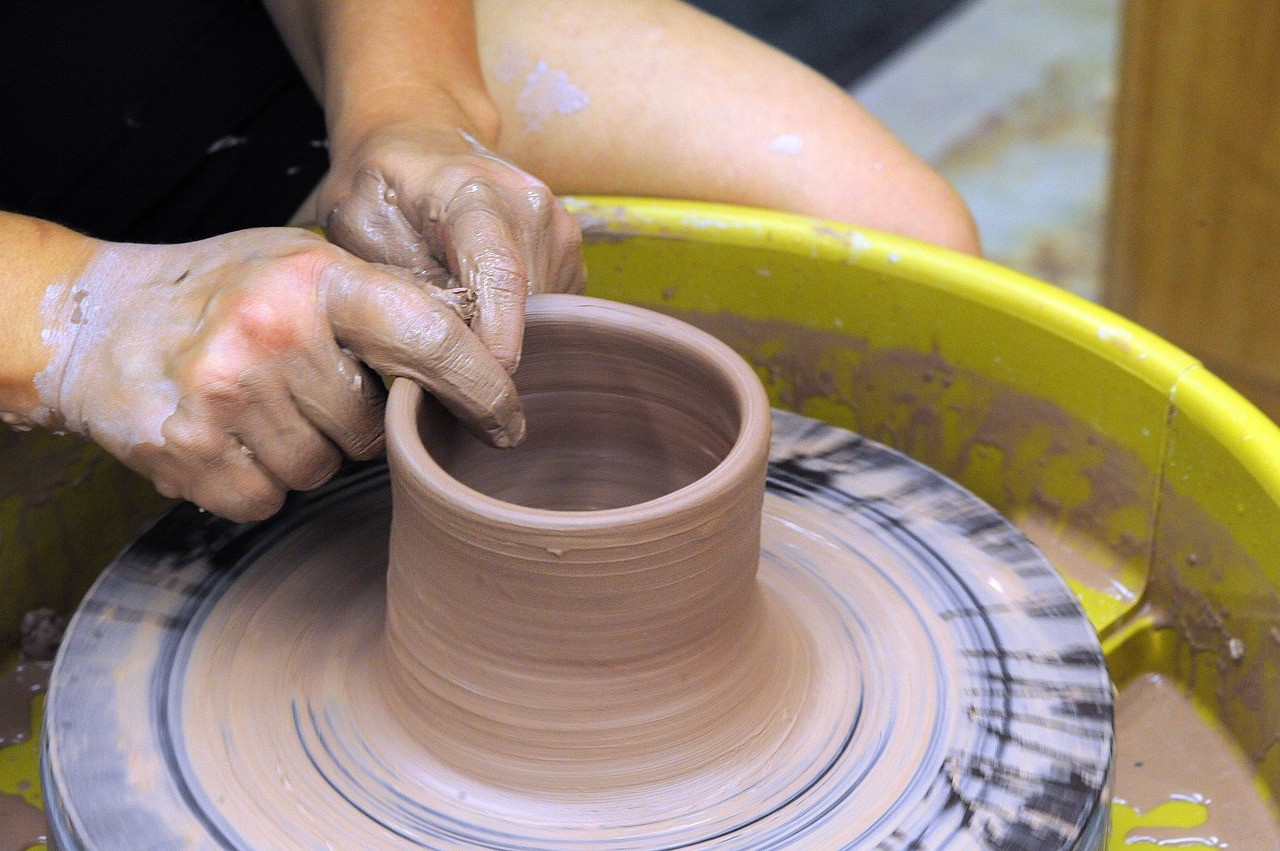
When it comes to making ceramics, you have the wheel. You need to make sure that you take some time to work with this, and some of the important parts include the following:
- Centering: This is to make the form stay on the wheel, where you keep the clay in a wet state and scrape away excess. You push it down to the center, and from there, you push it toward the middle to keep it there.
- Opening: this is when you get the slope of the bowl just right so there aren’t lumps and sides. You stick your thumb into the clay to the knuckle, and from there, you pull the clay away to the right size.
- Raising walls: You can from here raise the walls to about ¼ inch thick, and from there start from the outside and then one on the inside and push it up to maintain the shape, repeating until the walls are thin enough for you to use this.
This is for making it on the wheel. Not every single piece of ceramics needs to be on the wheel, but it does have the extra benefit of the following:
-
Can be smoother
-
Can be neater
-
Shows less of cracks and mistakes
-
Makes a more elegant look
If you’re not going for that, then you can totally just use a hand-building technique, and go from there. But, it’s ultimately up to you what you do with this, and the results you hope to achieve with this technique.
Letting it Dry
The next part of ceramics is important because it allows for you to move the item without it falling apart most of the time, you let this dry until it’s leather hard. The reason for that is the following:
-
It allows you to shape it
-
You can handle it more easier
-
You can make changes as needed
-
If you notice cracks, you can go back to fix this
Ideally, you should let it dry for about 12-24 hours, and you should leave it covered up when you’re not using it so that it doesn’t let air in. Some people will leave it bone dry, but that doesn’t work, especially if you’re planning on throwing it into a kiln.
You also can trim away clay layers at this point to put it into the perfect shape. When doing this, you should do the following:
-
Get trimming tools
-
Gently shave away the clay layers
-
Make it so that the shape is fitting and the bottom has a foot for it to sit upright
At this point, letting it dry out completely is really what you’ll need to do, and it’s quite important to consider doing this, especially if you want a bowl that looks nice and even.
The Kiln
Next, you want to put it in the kiln. Now, if you don’t have a kiln, you may have to drive out to your local studio and rent out the use of their kiln. But, the purpose of the kiln is the following:
-
It helps you maintain the shape
-
Can help keep it food-safe
-
Seals it and makes it pretty
Ceramics differ from pottery because of this step. Now, with ceramics, you get the following:
-
A more durable piece
-
A newer piece
-
One that feels more “mature”
During the process of firing, the clay turns into this, due to the super high temperature that’s brought up by the kiln. You can’t do this in your oven because you need it to get hot enough. Sure, you can “oven-bake” clay, but the thing is, there are processes that happen at a molecular level.
Now, you have two types of firing, and they are:
You need both of these to create pottery items you can use. When the kiln gets hot enough, it will start to dehydrate the water within this, and once it does, it becomes ceramic. You will notice that the bisque firing only gets up to about 1800 degrees for this reason. In the next couple of sections, we’ll talk as well about the importance of each type of firing.
Why Bisque Firing?
This is the first step of firing that you go for. The purpose of this is the following:
-
To get it to vitrify
-
To help the glaze adhere to this
-
To keep the clay from bursting
When you bisque fire, you need it to be bone dry and make sure that you never heat this too quickly due to the water content within this since it can cause the clay to burst if you’re not careful. The purpose of this step is to turn it into the ceramic models that you know and are familiar with.
When you reach the right temperature, you will want to then turn it off, but the next step is very important. That is, to let it cool down slowly. Don’t just open up the kiln at the highest temperature. Most kilns are made so that they’re locked in order to prevent the worst from happening.
When you open it up too quickly, the following happens:
-
The heat mixes with the cool
-
It will burst
-
You’re left with broken pottery
That’s not the purpose of this right? Well, if you want to avoid breakage, you can do so by letting this naturally cool down, and from there, you can start with the glaze firing.
Glaze firing and Why You Need It

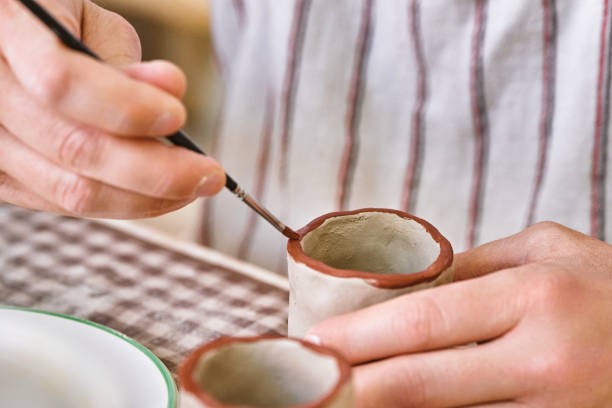
Now, some people are cool with just bisquing this, and that’s fine, but if you want to really bring your pottery to life, you need to glaze it.
The purpose of glazing is simple, and that’s the following:
-
To decorate
-
To waterproof
-
To make it food-safe
-
To hold any liquid
Now you can decorate a piece of pottery and still make it not food-safe. There are glazes that are used purely for decoration.
However, many people will glaze their pots just so that it makes them safe to use. Now, when you glaze, you should do the following:
-
Choose the right glaze for your pottery
-
Paint it onto there, or dip it on there
-
Don’t do the bottom, since it can stick to the kiln and you’ll have to break it to get it off
-
Make sure the glaze is nice and even before you fire it
Now on the first point, it is imperative to know that if you don’t have the right glaze, it can affect the shape of the bowl and its state of it. For example, if you’re someone who is looking to make an earthenware bowl, then you should make sure that you use earthenware glazes. Don’t use any other type, since that can affect the state of the bowl. The same goes for stoneware and porcelain. The type of glaze that you choose matters at the end of the day, and it does a whole lot for you in terms of what you’re getting from this, and the state of your bowl as well.
Now, once the glaze is applied, you then move on to the next step, which is glaze firing. To do this, you do the following:
-
Wait till it’s fully dried
-
Put it in the kiln carefully so it doesn’t touch other pots at all
-
Slowly heat the kiln to the correct temperature
-
Let it mature, and then cool this once again
-
You should only open this after it’s cooled fully
The second one does an amazing change to the glaze and pottery, and it will feel soft, and fragile-like. You should never heat or cool this too fast, for it can ultimately create a problem in the general state of the pot, and it can break this. You don’t want to put all that hard work into breaking a pot, right?
Ceramic Molds?
You can create molds for our ceramic pieces. Some people like to use them because of the following:
-
Creates a more even shape
-
Can make it easier than trying to center and open up clay
-
They make your piece look smoother
In order to create ceramic molds, you need to do the following:
-
Trace the outline of the top of the mold with a paper pattern
-
Put the clay on top of the original mold
-
Smooth and then level the bottom of this
-
Holly out the leather-hard mold so that there are ½-inch thick walls
-
Put the softer slab over the mold and then cover it
-
Once it’s fitted, trim it with an x-acto knife
-
Bevel the interior of this
-
Add a flattened coil to the rim and interior seam
-
Add a coil outside to where the larger coil and pot meet
-
Smooth out the curves and then soften it
This is a simple mold that you can use, but if you want to, there are many other pottery molds that you can enjoy. It’s really nice to have, and if you’re thinking about going into ceramics, this is ultimately the way to do it, and the one that will help you create beautiful pieces of pottery that you will enjoy.
Start making Ceramics Today!
If you haven’t already, you should start by making ceramics today. From there, you’ll be able to create and craft wonderful pieces that you will enjoy, and different facets of it that you’ll be happy to work with. Ceramics are quite fun, and there is a lot there for you to try. If you’re curious about ceramics, you can easily do this yourself, and if you’re wondering how to get more and more involved with this, you’ll have our website as a valuable resource for this.
Ceramics allow you to create wonderful pieces, and it’s what turns pottery into a whole different art style. This is a good beginning, but if you’re curious about more, there is a whole world of information for you to check out.


