
For many people, making your clay can be a fun activity, but did you know that you can make your own? There are some simple ones, but also some harder recipes, and here, we will give you ceramic clay recipe ideas for you to try. They range from simple ceramic clay to high-fire and low-fire recipes that may be a bit confusing. But, we’ll go over what you need, and how you are to make them to create the best results.
Homemade Clay
If you’re not looking to spend a ton of money out at the store and want some good ceramic clay, it is important to try this recipe. This is good for those who are working with younger children, and also for those who want to truly master the art of making clay. You’ll need a few things, but mostly just time.
Items to Use:
- A mixing bowl or a saucepan
- Some cold water
- Four
- Oil
- Glycerin for the cold porcelain clay
- White glue for the cold porcelain clay
How to Make it:
- Take 3 cups of cornstarch into the saucepan, and then from there, add in about 3 cups of white glue, a tablespoon of white vinegar, and then 2 tablespoons of vegetable or canola oil, and then 1 tablespoon of glycerin. You want to mix this over low heat, and then, get it to the point where the clay is thick and lumpy. Usually, this takes anywhere from 10 to 15 minutes. Make sure not to overcook this, since it will harden while it cooks. You can then take it out and then knead it until you feel like it’s the correct consistency. Remember, this is hot, so definitely be careful.
- From here, you can now take the clay and then turn it all into artwork. You can start to create small shapes, and from there, start to smooth them out, shape them, or even engrave them.
- From here, set this onto wax paper, and then air dry. You can typically paint this.
- If you want to perk up the clay that is porcelain, you can put some paint of food coloring on there, and it will allow you to make a lot of different colors. You can also put it in containers.
Local clay Making
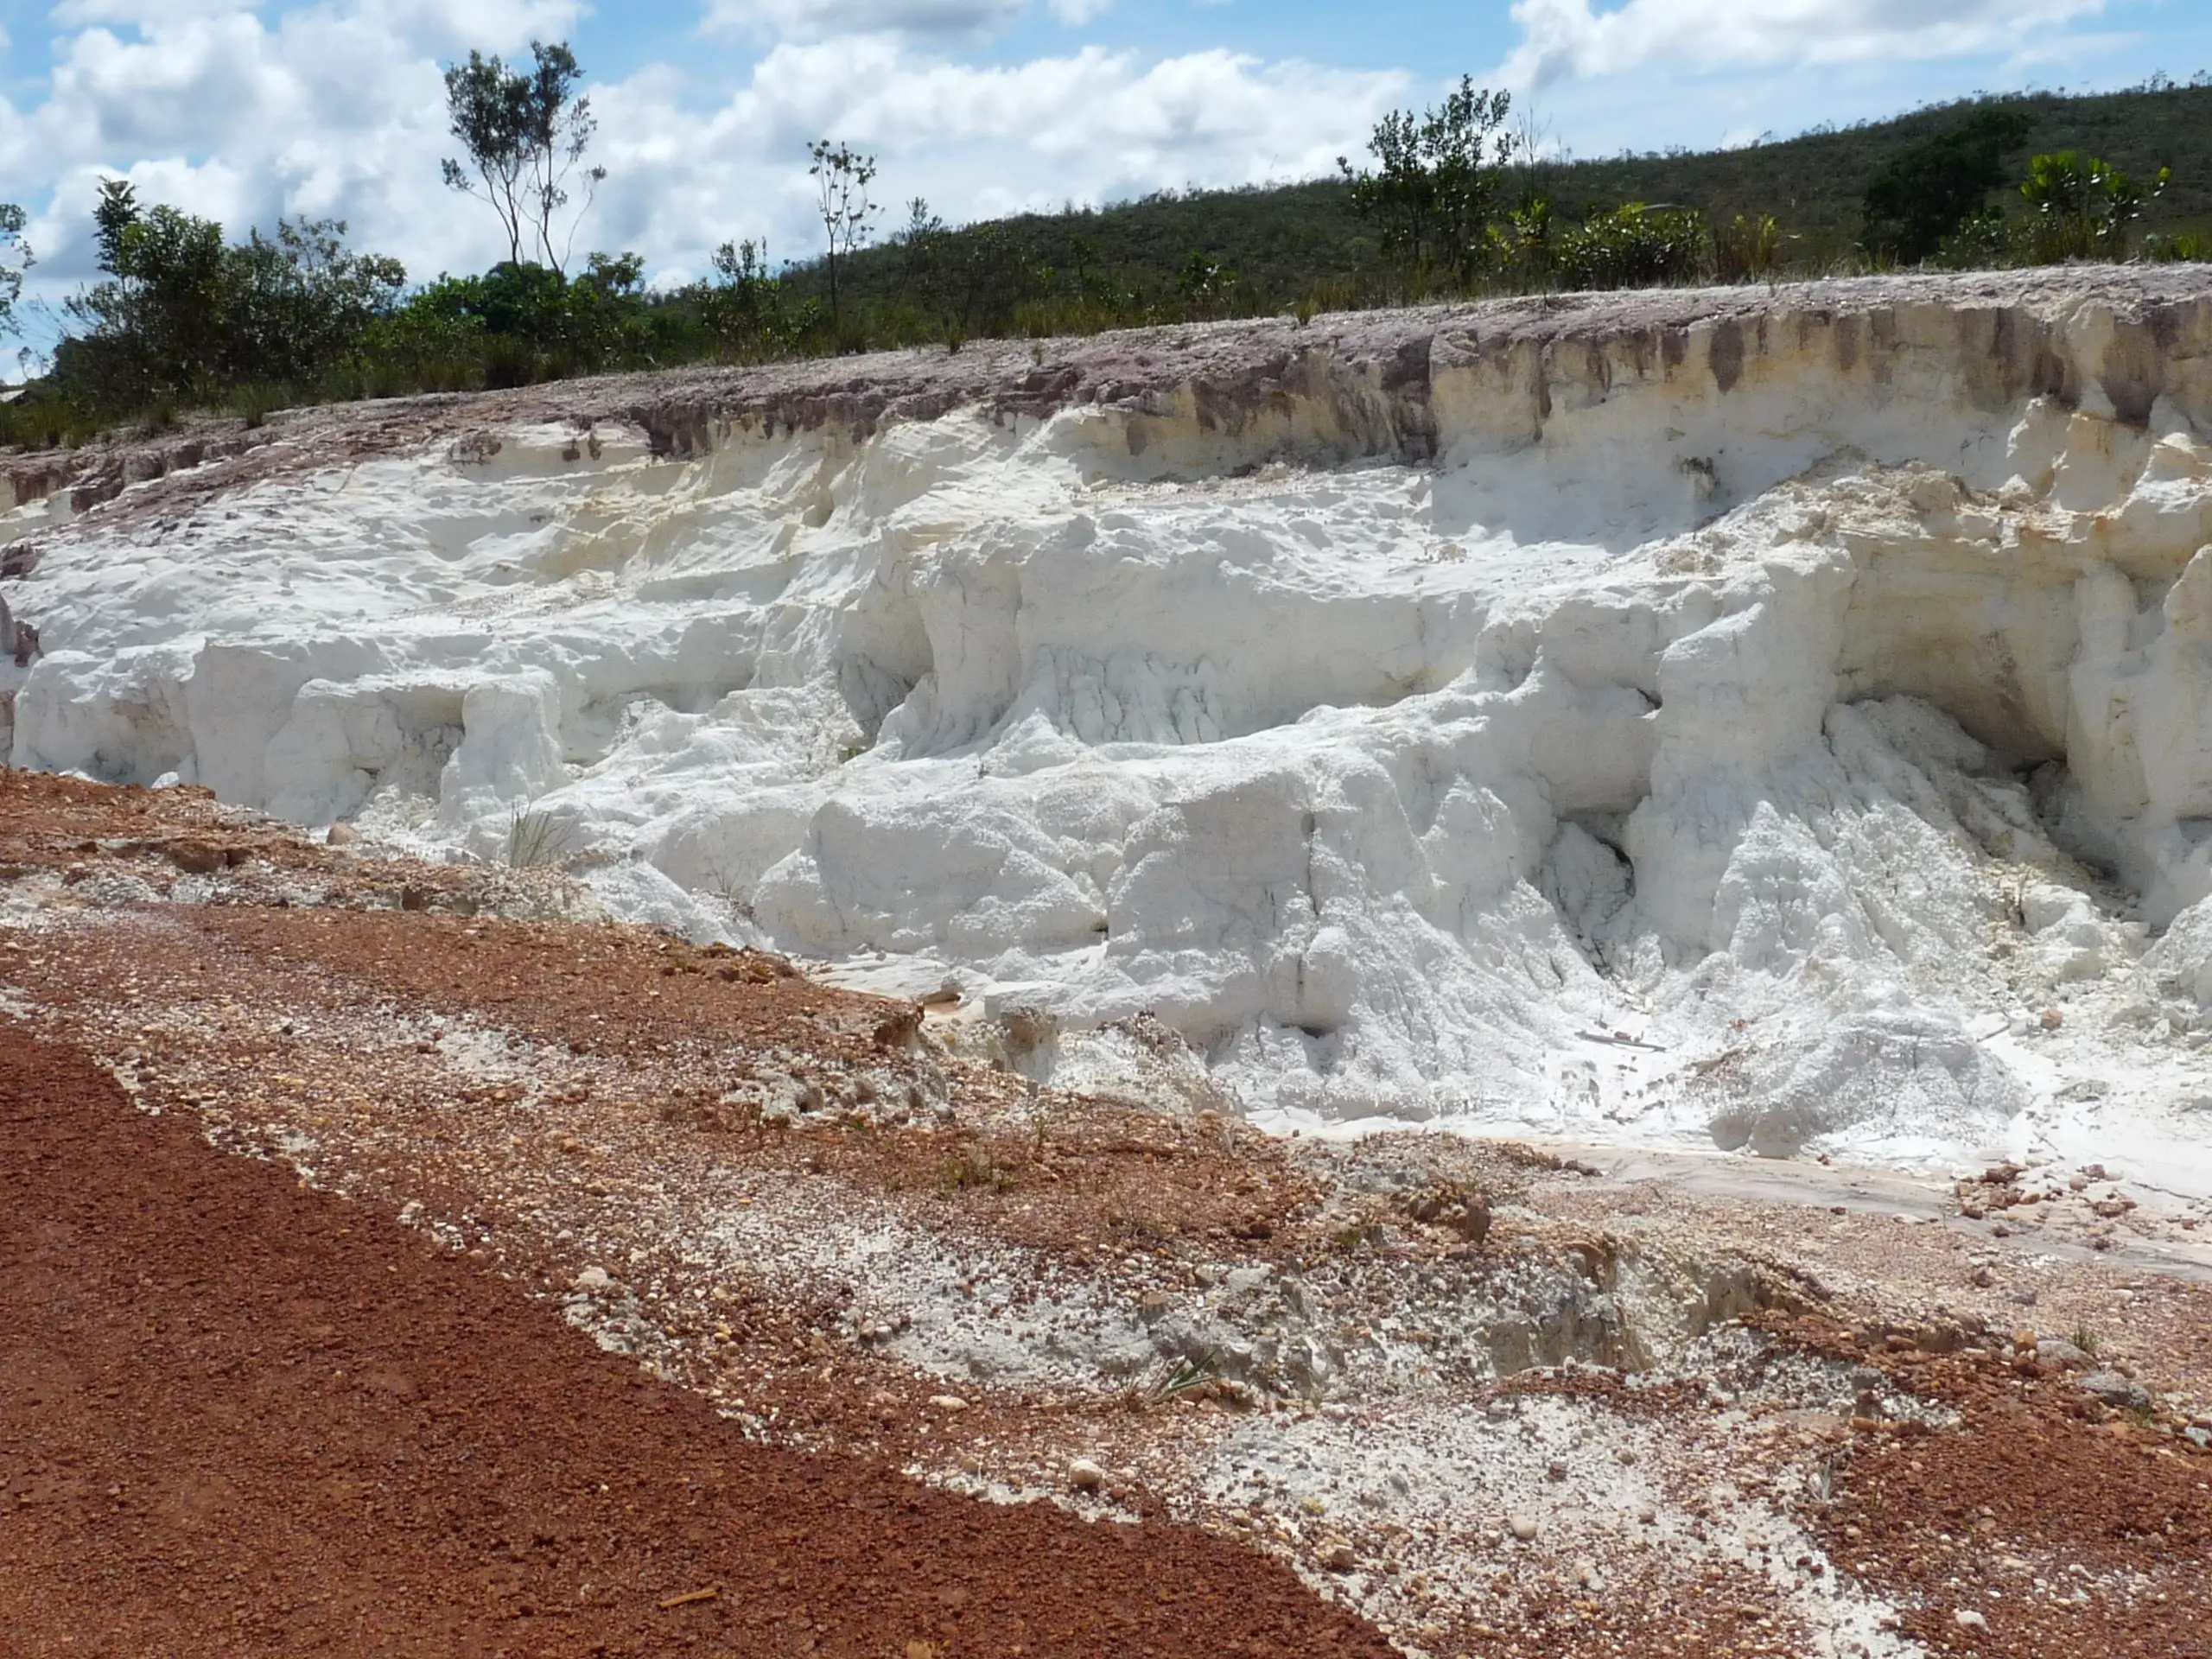
If you’ve considered potentially making your clay, then you’re in luck. You can make some great clay yourself. Before we get into recipes on how to make them, whether they are low-fire, high-fire, or other types of clay recipes, let’s talk about how you can make your local clay.
To start, it’s important to understand that clay is about 75% of the crust on the earth. Lots of times, due to its basic nature, you can find it right outside your home. Look for rivers and streams outside, and make sure it’s about 5 feet below the surface of the ground itself, especially if you have sticky soil.
You can from there dig down, and start to determine if you can use it. You should be able to coil the clay around, and typically, the more flexible the clay is, the thinner the coil will be.
You also can run it between your fingers, if it’s smooth, and feels round, it’ll be thrown easily. If it’s gritty and sharp, it’ll be more gritty, but good for firing.
From here, you want to do the following:
- Cut it up into tiny pieces and then lead it in a bucket of water until slacked
- Mix it and pass it through a sieve to get the other materials out
- Put it through a finer grit to get more out of there
- Once dried out, you can use this
- From here, you can then add different parts to this, and we will discuss some of the different types of recipes that you can try
- Just remember, if your form isn’t holding enough, you add more ball clay
- If it’s too sticky, add fireclay
- If it’s too dark or is brittle, you add kaolin
This will help if you’ve struggled with getting started on clay. Now that you have your own, we can discuss some of the different types of recipes.
Basic Earthenware Clay Recipe
Here is a basic earthenware clay recipe. You want to use local earthenware to mix this all. To do this, add the following:
- 60% local earthenware clay
- 15 percent Edgar plastic kaolin
- 5% talc
- 20% plastic fireclay
From here, mix this all together, and you’ll be able to then throw it, fire it, and get a beautiful earthenware clay recipe.
This is a basic porcelain throwing clay that you can use. This is a good one for dinner mugs, and if you want something heavy and thick, this is usually pretty good. It actually can get into an oxidation atmosphere very easily, and to great results. You want to fire this to cone 9.
White Porcelain Throwing clay
To create this, get clay with the following in it:
- 10% grolleg
- 30% C&C
- 30% flint
- 10% EPK
- 20% Kona F-4
- 2% macaloid
From here, you take all of this, mix it, and then put it into the kiln. Always make sure that you do have it up to about cone 9, and make sure you don’t let it go too high since it does tend to melt.

A Glassy Porcelain Clay Recipe
This is another great pottery clay since it’s white and translucent. You want to fire this one to about 9-10 to have it fully hardened together. But, if you want to you can get it to about 8 to help make it look like glass. It is very white and translucent, and perfect if you want something simple that will work. To do this, get the following:
- 20% Cornwall stone
- 10% flint
- 30% grolleg
- 40% bone ash
- 2% macaloid
From here, mix all of this, and then fire it up to minimally cone 8, ideally cone 9-10, whatever you prefer, and what you want to get out of your firing of this type of clay.
Tile and Sculpture Stoneware
This is a stoneware sculptured body that’s ideal for tiles and sculptures. It’s very coarse, and it has about a 4% shrinkage rate and a 4% absorption rate when you’re using this. If you fire it up to about cone 10-, it has a darker brown, but at cone 4, it’s almost white. It involves a lot more parts, and you should be mindful of these.
To make this, you need to add the following:
- 11.75% EPK
- 16.75% Tennessee 10
- 10% minspar 200
- 8.5% fine grog
- 8.5% medium grog
- 13.5% Hawthorne 40M
- 16.75% tile 6
- 8.5% Foundry Hill cream
- 6.75% flint
From here, take all of this and add about 21-25% water, mix this well. This is usually for about a batch of 100, so if you want to use more of this, you should always try to adjust it as needed.
Goshen Stoneware clay
This is another type of clay that’s used primarily for stoneware, and it does work for raku, but if you do use it for bigger pieces, always add more grog and sand. Usually, these are used in parts per dry weight, so you should make sure that it’s the pound amount. You can adjust this as needed.
To do this, you want to grab the following first:
- 13 pounds of cluster feldspar, which is a flux that you use to prevent the stress from quartz inversion
- 6 parts of flint, 200 mesh silica to help with the glaze fitting
- 18 parts of OM 4 Ball Clay, which is a Kentucky clay that has very high plasticity and temperature.
From here, you want to mix all of these with some water, and you want to make it almost like a mush. At this point, you will then want to add the following to make it stay together:
- 21 parts of 6-tile kaolin, which is a Georgia clay that’s used to high-temperature fire items
- 14 parts of Goldart clay, which is a cheap stoneware that works well for throwing
- 10 parts of Hawthorne fireclay, which is a pretty plastic clay that fires to high temps, and it’s a Missouri clay
- 5 parts of grog, which is used to help lower the shrinkage of this
From here, you want to mix this with as much water as you used previously. If you have issues with it, you can always wait for it to air out. When done, you can then let it age for about a week or so before you use it. You can also add brown spots too.
If you want to add iron spots to this, you want to add 3-5 pounds per 100 of red potter’s clay to help with it. It’s a good one with a reduction atmosphere that’s around cone 8-10, but it also doesn’t show when you oxidation fire. You can mix it in from the start if you’re looking to add a reddish tint to everything.
Another Stoneware clay Body
This is another one that you can use in an oxidated and neutral reduction atmosphere, and some, tend to like this one a bit better. To do this, you need to add the following:
- 12 parts of cluster feldspar
- 13 parts of 35 mesh Hawthorne clay
- 13 parts of Kentucky stone ball clay
- 10 parts of Virginia kyanite
- 26 parts of Hawthorne Missouri fireclay that’s 20-mesh screened
- 26 parts of OM4 ball clay
From here, take all of this and use about 1 cup to a gallon of water and mix it with acetic acid when you’re putting it all together. This is something that you can use to help improve the plasticity of the clay since it will help to neutralize the sodium that’s in the water and anything that’s leaching from the feldspar.
Metallic Black clay
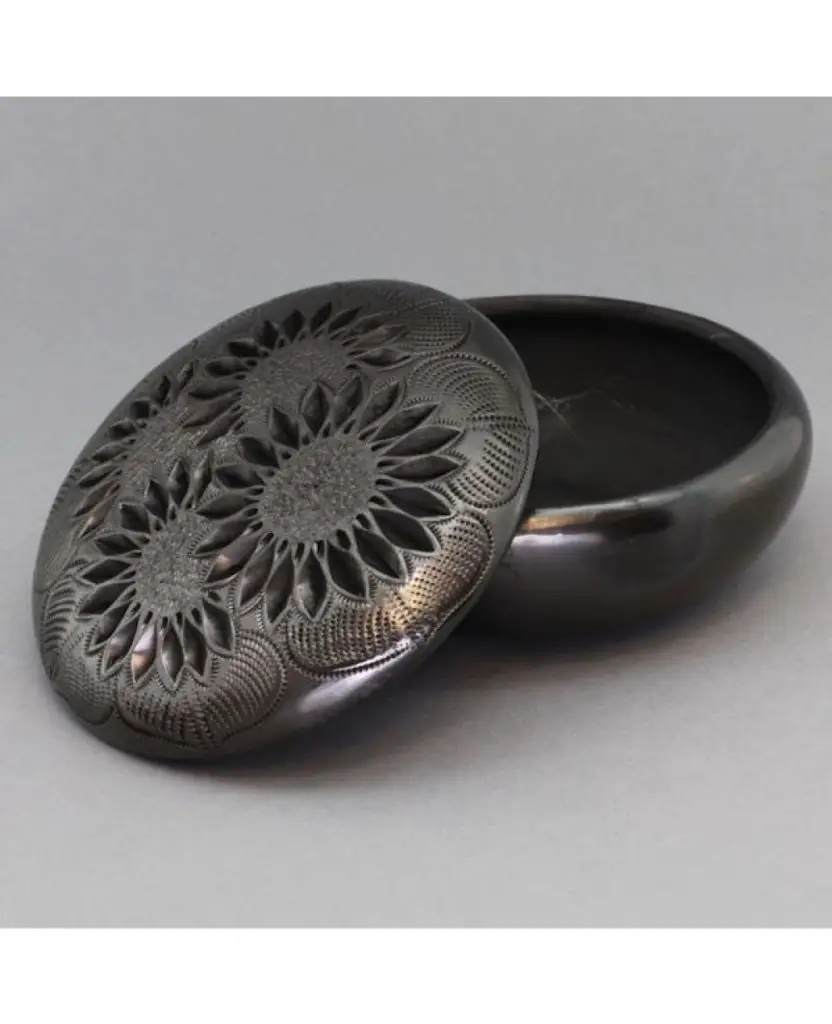
This is a clay that has a firing temperature of about cone 6,k and the texture of this is almost like satin if it’s fired for a while. It’s a beautiful, pure black clay, and works ideally for a neutral or oxidation atmosphere. It’s the perfect mid-range metallic sheen to add to your pottery, and how you make it is simple.
- 25 parts silica
- 25 parts gerstley borate
- 50 parts spodumene
- 2 parts bentonite
- 2 parts red iron oxide
- 4 parts copper carbonate
- .5 parts chrome oxide
- 3 parts cobalt carbonate
Put this on the stoneware that you just made, and you can then add it with a thickness that’s about a dime. It’s not safe for food.
Basic Earthenware Clay Body
If you’re not looking to get local clay into this, you can still create a killer earthenware clay body that works perfectly. To do this, you need the following:
- 3.5 parts talc
- 3.5 parts nepheline syenite
- 53.7 parts cedar heights Redart clay
- 3.5 parts mica
- 9 parts OM 4 ball clay
- 26.8 parts Newman Red clay
- 3.5 parts sand
- .7 parts barium carbonite
- 1.8 parts yellow ocher
- 1.8 parts bentonite
To do this, you take every part of this and then mix it. You want to make sure that you do add barium carbonite to reduce the scrumming that does happen on the surface of these clay bodies. Let it sit for about a week, and then use this.
Tile clay
This is the perfect clay if you’re looking to create a great tile piece. It’s simple, and it has a beautiful color to it. You want to fire this to about cone 04, and it’s got a matte texture. It’ll appear brown and works ideally in oxidation and a neutral reduction atmosphere.
To begin, get the following ingredients:
- .99 parts of barium carbonite
- 15.35 parts of Cedar Heights Redart
- 31.68 parts of Newman red substitute
- 12.38 parts of OM ball 4 clay
- 14.85 parts Talc
- 12.38 parts of Cedar Heights Goldart
- 12.38 parts of Hawthorne Fireclay
Mix this, and then add the following:
- 11.88 parts of fine grog
- 7.92 parts of medium grog
From there, you want to add four different toilet paper rolls for every single batch of this clay. You then want to tear up the paper and then put them into hot water, and then into the clay itself. From there, you want to continue to mix this until it becomes a pulp, and the pulp is fully broken down. It’s a good paper clay, and also a great tile clay that works wonders.
A Brown clay body
This is a brown clay body. It’s got a matte surface texture, fires to about cone 6, and from there, it requires a neutral and an oxidation atmosphere. If you’re looking for a simple brown clay to use, then this is the one for you.
To begin, you need the following:
- 60 parts of Cedar Heights Redart
- 15 parts of OM ball 4 clay
- 15 parts of Cedar Heights Goldart
- 10 parts of silica
From here, you simply mix it all, and then there you go, you have a clay body that you can work with. It’s a simpler recipe and one that allows you to have a beautiful brown clay body for your work.
Basalt clay
This is a unique type of clay since it has a matte and satin type of feeling to it. It fires to about cone 6, and it uses an oxidation and neutral reduction atmosphere. It is clay, but it involves more red clay bodies than anything, but what is added to it gives it a beautiful look.
To use this, you need to put in the following:
- 53.4 parts of red clay
- 20 parts of Kentucky ball clay
- 2.6 parts of nepheline syenite
- 24 parts kaolin
From there, mix this all until consistent, and then add the following:
- 21.3 parts of red iron oxide
- 4 parts of bentonite
- 8 parts of manganese dioxide
At this point, you should be able to mix all of this, and you can then use it to create a beautiful black basalt clay that works perfectly for you.
Everyday clay
This is a great porcelain clay if you’re looking to have a versatile recipe that works well for both throwing at the wheel and hand-building various structures. It is porcelain clay, so it needs to be fired high to about cone 10, and you want to get oxidation or a neutral atmosphere. It does have a white color to it as well, but if you add various stains and glazes, you can change that.
To make this, first, you need the following ingredients:
- 20 parts #6 tile kaolin
- 9 parts grolleg kaolin
- 21.5 parts minspar 200 feldspar
- 28 parts silica
- 16 parts EPK kaolin
- 4 parts OM4 ball clay
- 1.5 parts Pyrophyllite
From here, mix all of this with some water, and then add the following to this:
- 1.15 parts Vee Gum T
You can then mix all of this completely, put together your piece whether it be through hand building, or wheel throwing, and then, you can fire it and have a great piece for you to work with.
Slate Blue Porcelain
Do you want a unique color to your clay and one that feels like porcelain? Well, you’re in luck. This is a porcelain base that is slate blue, and it fires to around cone 8-11, and it comes with a satin matte texture to it. It’s got oxidation and a neutral reduction atmosphere, and it creates a beautiful blue piece that you will enjoy.
To begin, you put together these two ingredients:
- 50 parts continental clay’s domestic porcelain
- 50 parts Laguna Clay’s babu porcelain
Mix these until you start to notice the white clay turning into a brilliant blue color. You will want to make sure that it’s a slurry of these two. From there, you will add the staining mixture, which includes the following:
- Mason Stain 6540 Blue Gray
- Mason Stain 6531 Slate
These two stains should then be mixed with the slurry itself. You will then want to dry these to the right consistency on these plaster slabs. If you want to create an oxidation atmosphere, lower the temperature, and it will create a lighter color. A higher temperature will allow for a more saturated look. The stains can be used with any porcelain, and they make a nice base.
These clay recipes are great if you’re looking to create some beautiful pieces and ones that are unique. Remember, these are all based on a 100-part option, so you, in essence, want to make sure that you weigh these out, and if you want to make more or less, just make sure that you half and double the recipe. Using this will allow you to create some new and intricate ceramic clay, and if you’ve ever wanted to make some awesome pieces, now is the time to do so, since there are ultimately a lot of different actions that you can do with this and a lot that you can achieve with it as well. You can create a new clay that you’ll enjoy making, and new clay that rocks your world.


