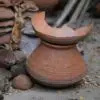
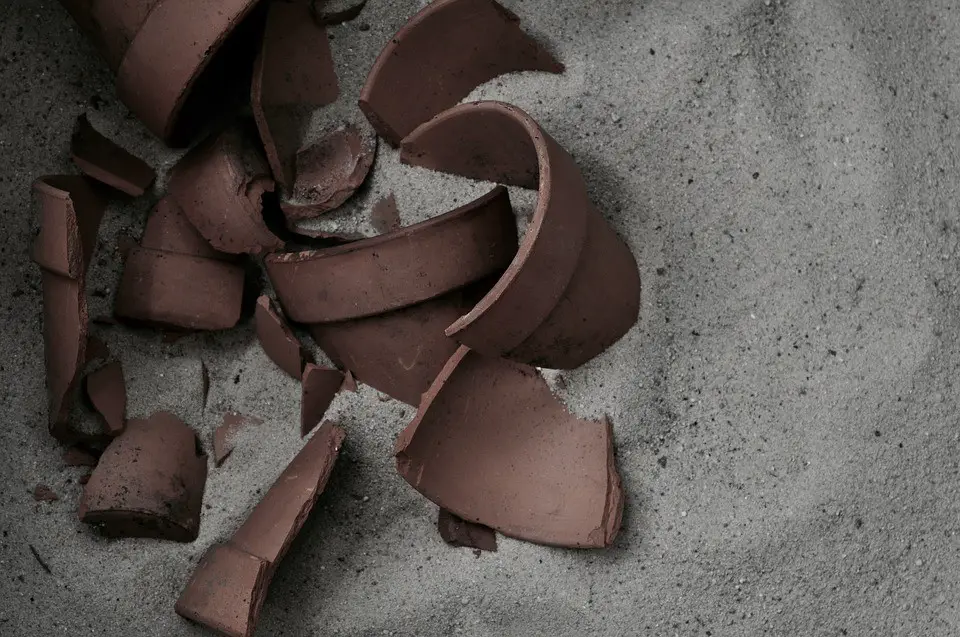
Let’s say that you’ve finally put together the perfect piece of pottery. It looks great, right? Everything seems nice and perfect, but then, it falls and breaks. Or maybe, you have a piece that you made in the kiln, and you thought it would be okay, only to experience the rude awakening that you broke the pot. Is there a way to fix this? Is it possible to not have a broken piece of pottery? The answer is yes, and you can fix it, this post will discuss how you can fix a broken piece of pottery to make it right for yourself again and to make it perfect for yourself.
Can you Fix it?
So, can you? well, you can, but the thing is, you can’t just throw it into your kiln, fire it up once again, and then make it whole. It’s just not possible.
There are a couple of ways to do this, and the only way to fix this object is by using two things, and they are:
- Having cold materials
- Having adhesive
These two elements are how you fix this, and you can fix this by mending it with a two-part epoxy adhesive. If you’re mending something that involves a modern adhesive, with either a filler, color glaze, or paint, you can still perform a repair to fix this, and you need to do it in two steps.
So virtually, regardless of the status of your pottery, you can fix this, and we will discuss how it’s done later on in the following sections.
The Two Steps
You’ve got two steps when it comes to mending these broken pieces, and they are as follows:
- Mending the pieces together
- Filling and sanding the visible lines that show the breakage, any gaps, and chips using various materials
Currently, this process works for only a couple of different types of pottery, and ones that aren’t porous, such as:
- Porcelain
- Resin
- Stoneware
- Glass
This is how you fix them, and ideally, you’ll need to use this means to fix the issues at hand.
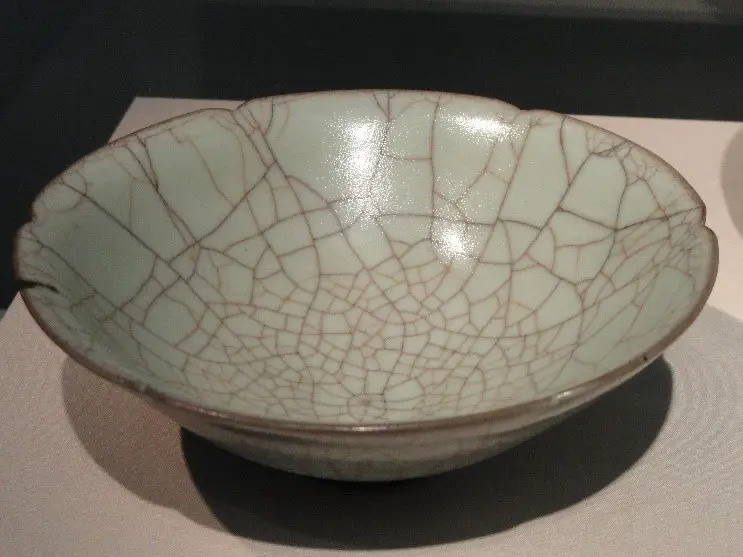
About Mending Terra Cotta
The problem with terra cotta is that it actually is a porous material, and this also involves anything that has either stone or plaster to it. This involves a couple of different steps that you need to take into consideration, and they are:
- You have to heat the surface of this to at least a hundred degrees Fahrenheit before you use the epoxy on there
- You want to make sure that you do this fast since it will improve the way you bind, and it will also reduce the workability and the cure time as well
- If you use this, you’ll be able to get the positioning on this in a fraction of the time
You do need to do a different sanding process for this as well and take more care to not ruin the pottery itself. But, we’re going to go over how you mend broken pottery, and how you can make this work.
Materials Needed
Before you begin, you’ll need a few materials to make sure that you get the best results from this, and they are as follows:
- Two parts of clear 5 mins clear epoxy
- A container that contains PVC pebbles, rice, or resin pellets
- A razor blade
- A rag
- Some clay
- A denatured alcohol or 91% alcohol
- A paper pad to put the epoxy on
- A stick or pin for putting the adhesive on
Now, before you begin, you’ll need to realize that this restoration is not food-safe, liquid-safe, or heatproof over about 190 degrees, and these items should not be used in cooking anything or serving food.
If you’re wondering what type of epoxy or glue you should get, you should try to get the PC clear epoxy one, since this one works the best without needing to get any sort of special instruments or tools. You want to make sure that everything is put on correctly too since this tends to be quite costly to remove.
Then, before you begin, you clean everything with alcohol, and from there, you want to get the sandbox that you put together, and you then want to make sure that they’re in the correct alignment. You should make sure that you “dry run” the matching pieces and make sure that you put the larger pieces into the pebbles to keep them in place. Put all of this into the box and keep it there before you add the adhesive to it.
This, in turn, will help with the following:
- Keep everything all matched up so that there aren’t issues
- Allow for the proper adjustment and matching of these so that you don’t have to worry about this.
How to Fix It
Once you have everything all put into place, here is how you fix your pottery.
- Take the larger parts of the piece and put it into there and make sure everything is fitted
- From here, put even amounts of the epoxy onto a pad of paper, or even cardboard
- Mix this well with either your pin tool, a paper clip, or a wooden stick
- Take the wooden stick or the pin tool and then put the epoxy mix on the piece itself
- Make sure that you use enough adhesive so that it covers the edge, with too little creating gaps, and makes a weak repair
- Put the broken pieces on top of the epoxy
- As a note though, you only have about a minute to a minute and a half from the start of the mixing to complete this, and if you’re not fast enough, it will make the piece look gummy, and you won’t be able to work with this period.
- To join these together, you quickly do so, all while applying a pressure that’s light on the area. You should make sure that you have tweezers to put together the pieces that are smaller as well.
- If you have an epoxy that squeezes off, you shouldn’t wipe this off, because that will create smearing.
- Once it’s finished, you want to wait about 20 minutes before you continue
- If your item is in multiple broken pieces besides one, you should make sure to plan this so that you don’t waste too much time and have enough so that everything fits together
- If you notice that you’re having trouble with this, you should number all of the pieces so that you know where to put every single one is put
- You should never try to do all of them at once, but instead, with pieces that have multiple broken joints, they should be cured before you move on to the next one to repair.
- When curing, make sure that everything is at least at 75 degrees, or a bit warmer, and make sure it’s got time to dry
- If you notice that the pieces aren’t staying together through the use of gravity alone, you’ll want to use clay on each of the sides to provide better and more support to the piece
- If you are finished putting it together, you’ll need to wait at least an hour or more before you move on removing all of this
- If you want to get rid of the unwanted epoxy easily, you will want to bend your blade to give it better access. You should also be advised to wear protective eyewear to help
- You can clean the surface with alcohol if you’re having issues with filler bonding, but as well make sure you have good eyewear in place
- From here, you scrape off the rest of the extra epoxy, and from there, you move on to the filling steps, which we will go over next.
When it comes to putting the piece back together, this, in essence, is the first part. Always make sure you’ve got protective eyewear in this case, and always make sure that you’re working with clean surfaces so that you’re able to create the best surface that you can.
What you need to fill
The filling is the next part that you should look at. We’ve put it together, but now, it’s time to fill and sand. You’ll need a few things for this, and they are as follows:
- Two parts of epoxy filler PC-11
- 220 grit sandpaper
- A rag
- Paper pad to mix your epoxy on
- A Dremel with an EZ lock sanding disk at about 120 grit
- 400 grit sandpaper
- Mini spatula
- A denatured or 91% of alcohol
Now, it’s important to remember in this case that ceramic restoration materials as well aren’t food safe, and they’re not heatproof, so this only works for decorative actions to fix the piece that you have.
The steps to make this
This involves some steps, and you’ll be able to read below just what each of them is:
- First, wipe down every single surface that you have with the alcohol to eliminate the oils and dust before you put the filler in
- You should mix in the parts of the proxy filler together, and you should work in a place that’s at least 75 degrees or warmer, you can even incorporate a small heater to make this work
- Next, you apply a layer of this filler that’s quite thin while you push this down to fill in the fragments and cracks that are visible on there
- From there, you want to let this sit and cure for about 12 hours or more and make sure that you have it at least at about 75 degrees or warmer. Some people throw it in a small oven that’s around 130-140 degrees and then keep it in there overnight
- You can also utilize the use of some heat lamps if you don’t feel like putting them in the oven. This is a great option because it allows for a good hardness to help with sanding. You should keep the lamp away from the item though, at least a foot or so, to avoid the potential of overheating
- You should then start to sand it with the 120-grit sanding disc on your Dremel, and make sure you utilize protective eyewear for this
- When you sand it, you should try to use the lowest speed possible to prevent burn marks from happening and make sure that you’re using low-pressure
- If you’re not a fan of using a Dremel, you can always start with the sandpaper at about 220 grit, and then finish it off with sandpaper at about 400 grit, taking care to make sure that you don’t scrape this too fast or anything
- If you notice that you have some cracks that are missed, you can always repeat this again and again
- From there, finish off the surface with some alcohol to prevent this for both painting and cold glazing
- A cold glaze is something that you can use to hide the repair lines that are present in there, and it will help with the details of this piece as well, so you’ll be able to create some seamless colors as well.
By properly fixing this, you can now take the time to ensure that your piece looks great by adding in some new glazes and the like. With the proper care, you’ll be able to truly get the most out of this, and you’ll be able to really feel the benefits of this as well. You can fix up those messes on your pieces so that you can keep them around, and they can end up looking great, and you won’t have to worry about your piece being messed up.
Choosing the adhesive
When it comes to pottery, you should choose the correct adhesive that you’re looking for. When it comes to choosing different epoxy, there are a couple of things that you should consider, and they are:
- It’s clear
- It dries fast
- It is set in two parts
If you need to in some cases, you may need to use a slower setting sort of epoxy in order to make this work in a better sense. If you are not sure if you’re choosing the right adhesive, look at the ceramic that you’re working with.
You should always go for an exact fit when you’re repairing ceramics, so you want to make sure that you have a precise area for the piece before you have the glue set. If you’re worried about it curing too fast, you may want to get one that takes a bit longer. Instant glue and those that take only five minutes might be too hard for those that haven’t done this before. You should choose the adhesive that best fits the applications that you’re going to use on this. You also should, for the purpose of repairing this, try to do a commercially branded one. That way, you’re getting something that others are familiar with, and you’ll be much happier with this as a result of this. If you’re quick, usually most adhesives will work.
Surface considerations
If you have a piece that isn’t cleaned up, you should always make sure that you have all of the surface nice cleaned off, since this is a key part of repairing the piece that’s broken.
If you’ve had a piece repaired in the past, you will need to do a couple of things, and they are:
- Get the old adhesive off
- Make sure the surface is cleaned with alcohol
With this as well, you’ll want to make sure that you wear gloves to protect your hands. These pieces can be sharp, and you may end up accidentally cutting yourself if you’re not careful. This is the most important part of your piece because if it’s not taken care of, it can cause the following:
- The adhesive may not stick
- The piece may come apart
- It will look uneven and poor
So, always make sure that before you begin, you always clean the surface, and make sure that you always have the surfaces clean. Oils are always on there, so make sure that you take the time to put all of this away, and you make sure that you’re able to really keep it all nice and clean, so you’re able to do everything that’s possible to make this look good.
Now, if you have a piece that takes a while to put together, make sure that you always make sure that you number it, and that you take your time with this. Always have tweezers and something small to ensure that you’re able to keep the piece looking good.
Filling in pieces that you have
If you have a piece that’s got missing pieces to it, and you feel like you actually want to use the filling to put it together, you can use a filler to ensure that it’s all okay. Some parts that you should keep in mind when it comes to fillers are the following:
- The adhesive adheres well
- You can work with it in the form of drying and sanding
- It’s water and oil-proof
- It won’t shrink when you cure this
- You can make it paintable, to help further cover up the mistakes that you have
- Will be able to handle high temperatures without having to worry about the filling shrinking or expanding. Ideally, it should be able to withstand at least 140 degrees without getting messed up. It’s optimal to have it at this temperature because this is the best one to help with sanding
If you’re wondering what the best adhesive is, you should try this and ideally figure out what works for you.
On Wearing Safety Gear
There are a couple of things you should have when working with this, and they are:
- Gloves
- Safety goggles
These two things are quite important because you want to make sure you protect your hands from the glass that’s present on this. There is a lot of glass that you’re working with, and it’s important to make sure that you take the right safety precautions.
With safety goggles, you’ll want to ensure that you get ones that cover your eyes. That’s because safety goggles will be used to protect your face while working with pottery. You are working with epoxy, so you’ll want to make sure no flakes get in your eyes.
A mask is important here as well. epoxy is toxic, and it can poison you. It’s best to make sure that you protect your face in case chemicals and toxins from the epoxy come in.
On Coloring
You should make sure that if you’re repairing the piece to give it the color, you make sure you color match the piece. This can be hard, and it’s why are some are against repainting, because of the following:
- It takes a long time
- It can be hard work to truly match it
- You will want to make sure that you have the correct color
Typically, you can use acrylic paints with extra pigments added in so that you can create something called hardeners, and with the adhesives, it’ll make it a whole lot stronger.
You should also make sure that you match both the glazed sheen with the light reflection in order to give the piece the right reflection without taking so much attention and putting it on the broken glass. You want it to be as correct in terms of color as you physically can. Take your time, and make sure it’s good.
When fixing up a piece of pottery, knowing how to add adhesives together is very important, and you’ll be much happier with the finished product. Not everything that is broken is a lost cause and you can fix pottery easily, and without too many issues with these simple steps to repair it and make it better as well.


