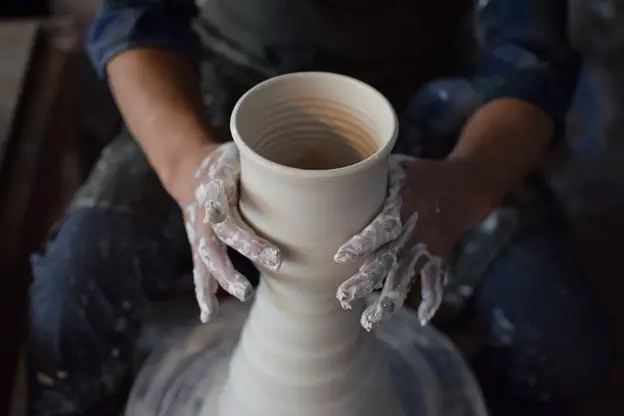
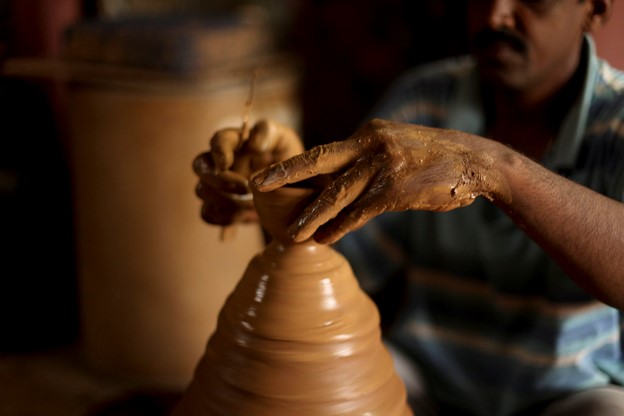
If you have ever believed the taglines “Learn pottery in a week” or “3-Days to Success as a Pottery Artist,” my friend, you have been fooled. Pottery is an art and only patience and a systematic approach is the key to success, and no hocus-pocus can help you learn it in a day or two.
Well, this doesn’t mean that pottery is too difficult to master, but with the right guidance, you can achieve results faster for what took me years to achieve. So, as a fellow artist, let me ease your pain and lay down my experience as a pottery artist on you.
Believe me, had I been guided or helped by someone with experience, it would have taken me a lot less time to master the craft; nonetheless, the results do please me, and that’s what counts. I still have a lot more to learn, but my experience to date can surely help someone in need.
So, here are 10 things I wish I knew before starting pottery as an artist. As a beginner in the world of pottery, I hope you would keep this in mind and master the art sooner than later.
To-Do or Not to Do: Let’s Solve the Dilemma
1-Kiln Firing with the Help of Shaving Mirror:
When I first started off as a pottery enthusiast, I had no idea how to work with electric controllers. My first-ever pottery kiln was an electric one with manual operations that I bought online. As luck would have it, operating it wasn’t as easy, and I shifted to a gas kiln the same year.
If you are someone firing a pottery kiln as a beginner, the key is to bring home a big but lightweight shaving mirror. When bisque firing, the kiln warm-up process has to be pretty slow and steady. And the lid must be propped atop the bisque till the water within the clay has completely evaporated.
With the help of the mirror, you can easily tell if the clay has been fired completely. All you need to do is hold the same above your kiln’s lid opening and see if moisture settles on the surface. If it does, you can see the mirror steaming up. Once you see no more steaming, close the kiln lid & continue the firing process.
This would help avoid any breakages that happen when the steam escapes way too fast.
Here is the list of ideal cone temperatures for bisque firing, along with their applications to help you fire the right way.
Cone Number |
Application |
Cone 4 |
Thin Glaze CoatHard Exterior for Twice-Fired Pottery |
Cone 5 |
Completely Dense WareUsed for Reduction of Glaze Fault FrequencyAllows Use of Low-Temperature GlazesSpray Applications, Heating Ware, Gum Additives & Deflocculated Glazes |
Cone 8 |
Softer Exterior for Twice-Fired PotteryAllows Short-Duration Kiln FiringMakes Use of Minimal Kiln Power |
Cone 12 |
Soft Enough for Easy CarvingCould be a bit Weak for Certain TasksIdeal for Thick Water-Glaze Slurry Applications |
2-Your Pottery Does Shrink (A Lot!!!):
When I started my journey as a potter, I had no idea that my ceramics would shrink so much. The ones I made were ideal only for the hobbits. If you are a beginner in the art, you would be amazed to see how much your clay can shrink post-firing. In general, clay can shrink about 13 percent from its original size after being glaze fired.
However, this number can vary substantially depending on the clay type or brand being used by you. To ensure that you get the right size post-firing, note down your ceramics’ rim diameter and height. In case it ends up way too small or even larger than you would want, you can adjust the size accordingly.
Here is a rough estimate of the inches your pottery item can shrink depending on its type.
Linear Shrinkage (Inch) |
||||||||||
Wet |
1 |
2 |
3 |
4 |
5 |
6 |
7 |
8 |
9 |
10 |
Bisque |
30/32 |
17/8 |
227/32 |
325/32 |
423/32 |
55/8 |
619/32 |
71/2 |
87/16 |
913/32 |
Bone |
31/32 |
115/16 |
27/8 |
313/16 |
43/4 |
511/16 |
621/32 |
79/16 |
81/2 |
915/32 |
Fired |
15/16 |
113/16 |
211/16 |
39/16 |
47/16 |
55/16 |
63/16 |
71/16 |
715/16 |
83/4 |
3-Distraction with Pottery Techniques:
When starting for the very first time, it is easy to fall for the bling and beauty of different pottery techniques, glaze styles, or decorations. However, the key is to choose a selected few and master them with time. Unless you have worked on the basics, you cannot master expert-level pottery techniques.
So, select maybe two to three techniques that are basic in nature and try to master them slowly and steadily. Every potter is different on their own. The reason potters have their signature techniques is due to the fact that they took their sweet time to learn the art and experiment with the technique to come up with new variations.
If you juggle between numerous techniques, you might end up learning nothing and cause blunders. So, be strict with yourself and follow your signature technique religiously.
4-Taking Notes is Important:
When learning a new form of art, it is easy to forget the dos and don’ts of the same. Had anyone told me how important this was when I started, I wouldn’t have messed up so much. But, gladly, I hope this isn’t something you would do and keep track of everything you achieve and even your failures.
There is a chance that you could repeat the same sequences multiple times without even knowing that you did it already. This is normal when you are learning something new. With regularly maintained notes, you can get into the details and understand what works for you and what doesn’t.
This would also help reduce any energy wastage or even money being wasted in pottery firing.
5-Focus on One Variable at a Time:
When it comes to pottery, there are 3 prime determinants that fall into the count. These variables are:
-
Clay
-
Glaze
-
Firing Schedule
Whenever your pottery turns out different from what you aimed it to be, it is obvious that you would want to change certain aspects of these variables. However, it is important that you stick to changing one variable in one go. When you keep the number to a minimum, it is easy to achieve the desired result as opposed to juggling multiple changes and ending up with a huge blunder at hand.
Further, if you happen to change many variables, it would be difficult to pinpoint the actual cause of the error and leading to a waste of time and product.
6-Do Not Fire Each of your Pottery Pieces:
It is tempting to fire all your pottery pieces as a beginner, regardless of how hideous they are. This is something I did as well when starting out as a potter. Not everyone has the kind of funds or time to keep throwing off the bad ones and keep experimenting with new clay.
You can surely improve better if you choose the best ones from the lot and reuse the rest to create new pieces. This helps save a lot of time when it comes to glazing the items or loading your kiln. This also means that the items you finally take out from the kiln would surely make you motivated and proud to keep continuing the art without leaving things in the middle.
If you are working on something new, try to create 10 different variants of the same & scrap, leaving one or two best options for firing purposes.
7-Patience is the Key:
It haunts me to explain how easy it can be to lose patience when learning pottery. This is especially true if you have no one around to guide you or tutor you on the dos and don’ts. From the clay lump wobbling around in the sides refusing to stay at the center to bowls laying flat on the wheel, there could be a number of issues that can make you feel like a failure.
However, trust me, things do get better, and the reward is worth the wait. It would surely take you 100s of hours watching the artwork firing in the kiln to achieve perfection, but the result would surely blow your mind.
Anyone can be good at the art, but you need to invest time and effort to find your calling and even have to get your hands for long hours.
8-Resist Spots are a Thing:
One thing every pottery must understand is that oil tends to repel glaze. In order to ensure the glaze sticks to the piece properly, you need to keep away any oils or lotions from the work table. This includes the natural sweat-based oil being secreted from your palms.
Make sure your hand is dry enough when glazing the piece. Failing to do so can cause the glaze to crawl, lift, or create numerous bare spots that cannot be removed once you have completed the firing process. The key is to use a pair of gloves or rubber/latex wear while you glaze your pottery to achieve optimum results.
One amazing option for you to try out is Wostar’s Nitrile Gloves Powder-Free Disposable Latex. This 100-piece combination is easy to use and doesn’t allow the natural skin oil to seep in while you glaze your pottery.
9-Wedging the Clay is a Must:
One thing I have learned with time is that wedging is important, or you will end up with your clay spinning all around the wheel except for the center. Most beginners simply take out a ball of clay and expect it to fall in place as they start working with it on the wheel.
However, if you try to evade wedging, it could be a counterintuitive approach. Remember that improper wedging can be pretty weary to craft or center. Apart from that, failing to wedge your clay could also introduce air pockets into the mix.
Remember, air pockets can lay your piece off-center. The right thing to do is take the clay off the wheel to start over & wedge the new piece perfectly. Check for moisture consistency and evade any possibility of hard spots while maintaining a smooth texture all throughout.
This sure is a tedious task but gets the job done in the right way for easier molding with no waste of time.
10-Understand Your Clay Type:
Not all clay items can be thrown or molded equally. If you are a beginner, it is important to understand the type of clay you are using for the project. The best way to go about it is to opt for smooth and strong clay with little or no sand/grog.
Clay with these features takes a bit longer to fall into the center space while giving you the right amount of time to create the wall. However, a piece too soft can collapse pretty fast. In case you aren’t using a pottery wheel and building it all by your hand, you can include more sand or grog to ensure it’s strong enough and holds during the molding process.
Make sure you avoid using a lot of sand or grog in case you plan on throwing. More sand or grog means your clay piece would stay up for a longer duration but would feel particularly coarse like sandpaper while hurting your hands as the wheel moves.
Conclusion
With pottery, you will surely make blunders, but these issues are what would make you an excellent potter. You may or may not hit the bull’s eye in your first go, but be ready to practice regardless. Your luck won’t always benefit you, but the experience would surely count when needed the most.
Do not try to hasten the process, as pottery cannot be learned overnight. Keep in mind these pointers to avoid getting into any blunders that could cause you unnecessary trouble. Remember, the dirtier you get with pottery, the better your pottery art turns out to be.
Best of Luck!


