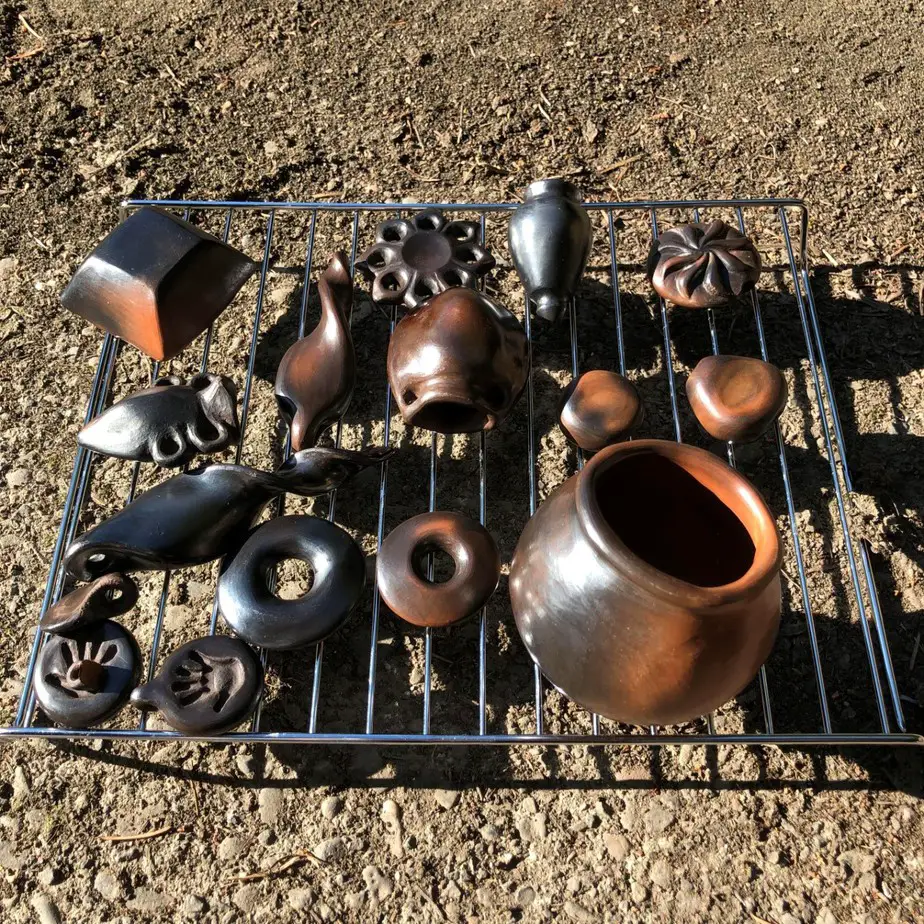
Have you just started your journey exploring the world of pottery? Do you have all the basics but lack the experience to handle a kiln, or don’t you have that kind of budget to buy one? Well, when you have that passion for learning, you can make do with cheaper options such as your BBQ machine.
A Word of Caution
Keep in mind that firing clay involves the use of high temperatures; one must practice cautionary measures to protect themselves. Here are some rules that you must adhere to.
- Always wear gloves and protective eyewear to avoid any nicks and burns when dealing with high-temperature tasks. For added safety, you can try out the Kim Yuan Extreme Heat/Fire Resistant Gloves that are made of leather and perfect for oven, grill, welding, or pottery firing.
- If this is your first time firing your pottery using non-traditional techniques, make sure to have an expert help you out in the task to avoid any dangerous mistakes.
- In case of burns, make sure you avoid using ice on the burnt skin as it can lead to further damage to the skin. The key is to allow normal, room-temperature water to run over the burnt area.
Now that you know some caution tips when firing your pottery with non-traditional techniques let us get straight to the method by which you can use your BBQ grill to get the same effect as a kiln.
Using BBQ Grill for Pottery Firing
The best way to use your BBQ Grill for pottery firing is to make use of an old BBQ that you don’t use anymore. This would ensure you don’t have to worry about damaging any new machine. Make sure your grill is a minimum of 4 feet in height with 30-inches in diameter. Also, ensure that the grill also has at least 18-gauge metal.
This means a large grill will give you access to more space for firing and project placement. You can easily achieve at least 1800oF heat to ensure glitch-free Raku Firing. Plus, this setup would also help you fire raw clay at 1200oF.
Here is a chart that explains everything that happens to your ceramic pottery when it goes through different temperature settings:
Temperature (oC) |
Temperature (oF) |
Events |
| 1400 | 2552 | Porcelain range end (Kaolin Clay) |
| 1300 | 2372 | Stoneware range end |
| 1200 | 2192 | Earthenware range end (red clay) |
| 1100 | 2012 | Clay starts to convert into a glass with crystal formation, increased material density |
| 1000 | 1832 | Bisque and sintering formation starts |
| 900 | 1652 | |
| 800 | 1472 | |
| 700 | 1292 | Bisque formation with carbonaceous material burnt out |
| 500 | 932 | |
| 300 | 572 |
In addition to this, a special fiber fabric made of ceramic can be used for covering the grill that helps the setup withstand any heat requirements needed for firing.
Here is the process to set up a pocket-friendly BBQ Kiln for pottery firing.
1-First, measure the propane burner’s diameter from end to end. Now, cut a center hole in the grill’s bottom that is about an inch larger as compared to its diameter. Next, measure & mark the grill hole that opens on the inside.
Now, punch holes all along its line using an awl or ice pick & a hammer up until the eventual opening gets large enough for the side shears or tin snip blades to get through. Next, cut along this line & remove the metal piece.
2-In the next step, you need to cut through the ceramic fiber to help cover the exterior as well as the interior of your BBQ grill. Now, measure the grill’s length at the top along with the height as well. Divide the height in half in order to find its radius.
Multiply this particular radius by the number 3.14 to bring out the grill’s circumference. In case your grill has a length of 48 inches with a height of 30 inches, you can come up with a radius of 15, which ultimately gives the circumference 47.1 inches.
3-Now cut two 36-inches wide fabric made of ceramic fiber in a lengthwise manner. This would be used to wrap up the exterior of the BBQ grill. For a circumference of 47.1 inches, you need to cut off two separate fabric parts of length 471/2 inches each.
4-Apart from this, you also need to cut 4 different fabrics of different lengths to cover its bottom, top, as well as an interior portion. For example, chop down 4 fabric of circumference that is rounded about half an inch inside the grill.
In case you have a fabric piece of 47.1 or 471/2 inches, you must divide it by 2 to get 4 fabrics of 373/4 inches in length.
5-In this step, open your grill & apply an evenly distributed layer of the refractory putty that is about ¼ or ½ inches over the interior of the grill. Now, press the ceramic fabric on top of this putty and keep it in place. Repeat the same on the sides as well as the bottom of your grill.
6-Now, position your fabric on the grill’s top with the edges extending past the grill top to cover its top section in entirety. Position the 2nd fabric piece on the opposite end of your BBQ grill’s top. Now, pull in the fabric to ensure there is no unevenness when the grill lid is closed.
7-Next, position the awl or ice pick on the top-center position of your BBQ. Using the awl or ice pick, pierce through the fabric, creating a punch hole that also goes into the metallic surface and the refractory putty.
8-Cut down the high-temperature 17-gauge into 6-inches lengths.
9-Open your BBQ grill & ask any helper to place the ceramic button (1-inch) over its hole placed on the grill’s outer surface. The 2nd button needs to be placed on the interior of the grill. These two ceramic buttons must be secured with the help of thread that wire through the ceramic buttonholes. Finally, seal this thread with a tight twist on the ends and secure it safely.
10-Secure the left-out inch of the ceramic button on the bottom & top of the grill that allows you a scope to hold your ceramic fabric securely after 12 inches distance.
11- Now, position your propane burner at the opening of your grill. Next, secure the same in place using a 17-gauge wire that is designed for high-temperature. Make sure you punch holes through its grill body with 4 holes that exist on the opposite ends of one another. Eventually, thread your wire through its holes to make a sling-like pattern. Finally, twist the wires together in order to secure the same.
12- Finally, position 6 firebricks all-around your grill’s outer section using a propane burner within the grill. Make sure you place the kiln on the shelf over the firebricks.
Conclusion
So, the next time you plan to do something new and innovative with your pottery, make sure you try out this method and get the best results with minimum investment. Moreover, you get to recycle your rusty old BBQ grill without the need to invest in something new!


