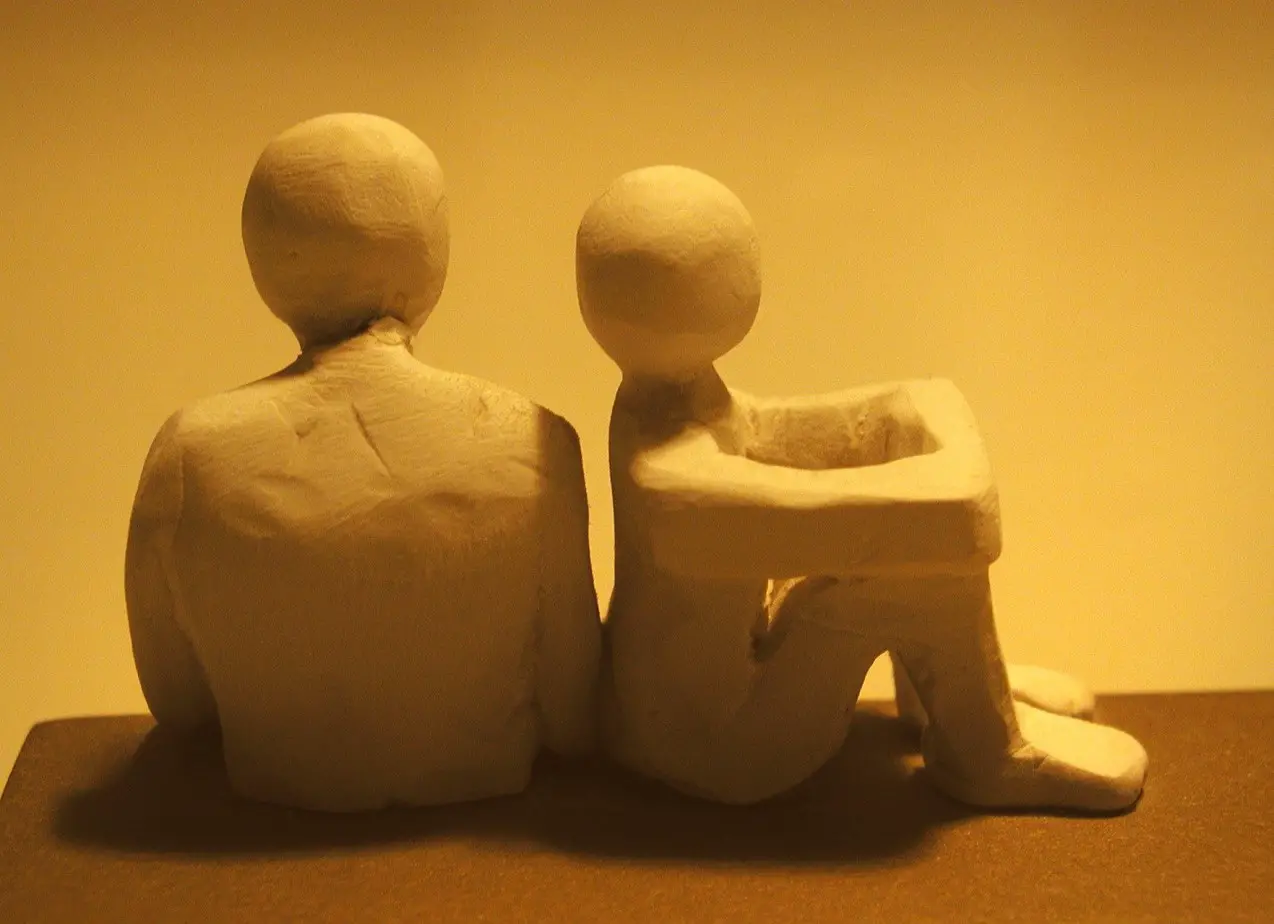
For beginners, working with regular clay can be a bit tedious. Everything from selecting the clay type to the final firing process requires a lot of practice and a keen eye. Today, more and more artists are opting for an easier-to-use option: air-dry clay. This clay variant is simple to work with. The only problem is that you get a shorter time frame to work on the designs as it tends to dry out when exposed to air after a certain time frame. But, the ultimate question here is whether you can color or glaze your air-dry clay. The answer is yes. However, you cannot use traditional glaze recipes for air-dry clay as this clay variant cannot be kiln-fired. The key is to formulate a homemade recipe that works best with no need for firing.
So, in this guide, we will dive deeper and find out the answer to your question, “Can You Glaze Air Dry Clay”?
But, the ultimate question here is whether you can color or glaze your air-dry clay. In this guide, we will take a quick look at the question, “Can You Glaze Air Dry Clay”?
Air-Dry Clay: Can You Glaze It?
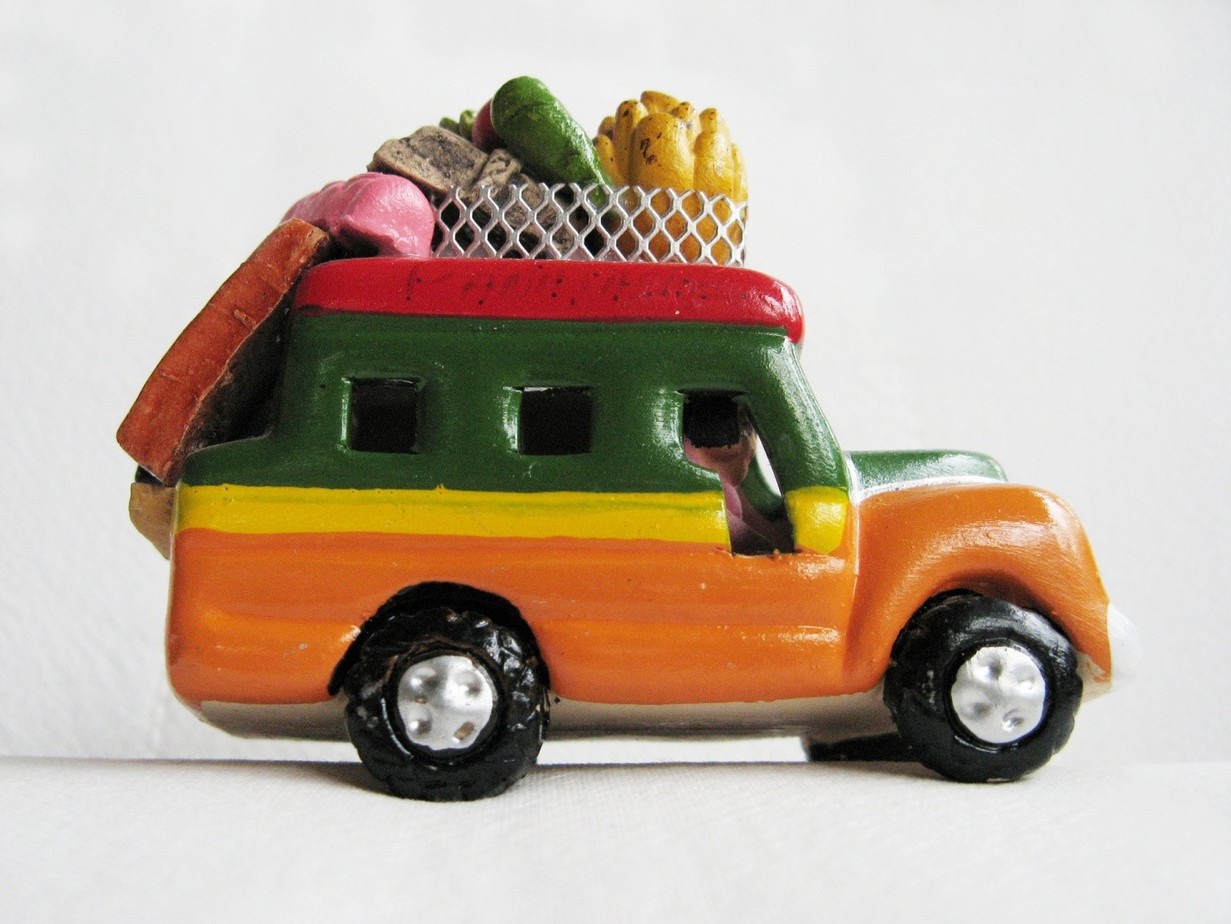
Given the fact that air-dry clay doesn’t need to be fired, you don’t necessarily have to opt for kiln firing with this clay. The chalky and matte finish that comes with air-dry clay is something that most potters air for. However, you can surely experiment with the glaze and make your air-dry craft all unique and shiny. If you are looking for good-quality air-dry clay, the DAS Air-Hardening Clay is a perfect choice. This white-colored block of 2.2lb is perfect for potters who have just started as well as expert crafters.
Glaze is used mostly to color or waterproof the air-dry clay. However, traditional glaze that is used for earthenware, porcelain, or stoneware clay, helps seal it and impart a beautiful texture or color to the final product. These types of glazes have to be fired at particularly high temperatures inside a kiln to help the artwork achieve permanency. With air-dry clay, firing in a traditional kiln is impossible as it will burn away in such high firing temperatures. Instead of glaze, you can use white-colored craft glue like Mod Podge. It is used to seal the clay. However, this surely won’t make the clay completely waterproof. Not just that, the Mod Podge, when exposed for a long time in the sun can lead to yellowing. You can opt for acrylic sealer, varnish, or even epoxy resin to seal the clay for waterproofing.
Here are the types of glazes you need to keep in mind before you opt for a homemade recipe.
| Types of Glazes | Properties |
| Transparent Glaze | The glaze is similar to glass and allows you to see through the clay project |
| Colored-Transparent Glaze | This glaze tends to darken the project & tends to give in a muddy color to the underglaze |
| Opaque Glaze | When you apply this glaze, you cannot see the surface of the project |
| Glossy Surface | Using this glaze brings in a shiny surface that reflects light |
| Matte Glaze | This glaze has zero shine & absorbs light without any reflection |
So, here is a quick glaze recipe for your air-dry clay that doesn’t have to be fired for permanency.
Glaze Recipe: Here is How to Make It!
To prepare the glaze recipe for air-dry clay, you will need:
- Clear Varnish
- Clear Glue
- Water
- Mixing Bowl
- Acrylic Paint
- Foam Brush or Paintbrush
- Wooden Mixing Stick
Before you start this glaze mix, keep in mind that it isn’t suitable for polymer clay-based craft items. This is because the varnish tends to erode this clay with time.
Here is the process to make the glaze:
- Pour the complete bottle of the clear varnish into your mixing bowl
- Add two tablespoons of the clear glue along with 3 tablespoons worth of bottled water & mix it
- Do not worry if your mixture seems lumpy when you start with it. Just keep mixing & everything will surely come together to bring in a smooth texture
- Your glaze might look a bit cloudy. However, it will surely dry and clear
- If you do wish to add some color, you can mix it with a teaspoon of your favorite acrylic paint
You can separate your mixture & prepare different colors as required. In case you aren’t sure about the transparency of the glaze, try to add a small section of paint every time during the mixing process till you obtain the tint you require.
How to glaze your air-dry clay?
Before you glaze the air-dry clay, you need to follow a thorough process:
- Sand down the edges of the air-dry clay model, especially where you feel that the clay is rough. You can wipe away the dust by using a dry piece of cloth.
- Next, apply one single coat of homemade glaze. This glaze should evenly coat the entirety of the project. Do not worry if the glaze starts dripping all over, you can correct it with the help of a brush.
- Air-dry clay tends to be porous. So, it will surely get absorbed into the air-dry clay & dry out quickly.
- Once the initial layer has dried out, you can add in multiple layers till you get the desired effect. Make sure you wait for the previous layer to dry out before you add the next one.
- Adding 2 to 3 layers will help you get a faux and shiny glazed finish.
- Make sure you use sticky tacks to keep the project lifted when kept on the work surface. You wouldn’t want the glaze to glue onto the work surface.
- Allow the air-dry clay in a room that isn’t exposed to dry sunlight or dust that might settle on top of the glaze.
Keep in mind that this air-dry glaze clay isn’t food-safe but only meant for decoration.
Can You Use a Spray Can To Glaze Air-Dry Clay?
If you are not good with brushes, you can still glaze your air-dry clay with the formula we concocted above. Simply pour it inside a spray can and shake it well before you start to glaze the air-dry clay artwork. However, the process of working with the spray can is a tad different than using a brush to paint the glaze.
- Once you are done sanding down the piece, clean it well with dry tissue or cloth.
- Now, place your artwork inside a cardboard box with one side open to avoid the glaze from being sprayed all around your workspace.
- Next, add some old newspaper or tissue paper on the base of your artwork to prevent the glaze from sticking to the work surface.
- Shake the spray can well before you start spraying and ensure that you maintain a distance of 6 to 12 inches while spraying the glaze on the air-dry clay project. Doing this ensures that the glaze spreads evenly. The closer you are to the artwork, the denser the spray force. However, if you are too close to the air-dry clay piece, you might observe that the glaze is being sprayed in patches that don’t look good and the glaze might even crackle if the layering is too thick in places while thin in others.
- Spray each face of the sculpture in one attempt instead of bursts or breaks. Before you try to spray the glaze on the base, make sure you let the top portion dry out properly. Remember to work in layers and let each layer dry out properly before you apply the next one.
When working between each layer, make sure you clean the spray nozzle thoroughly to avoid dust or gunk from blocking it. Most artists prefer spraying the glaze on the artwork as it helps avoid the unwanted brush marks that are almost unavoidable when applying the glaze. Spraying the artwork helps distribute the glaze coat evenly imparting a smoother texture to the surface once it has dried.
Things to Keep in Mind When Glazing the Air-Dry Clay
Air-dry clay isn’t the same as your normal clay. This means you have to take care of certain aspects of the glazing process. So, here are certain aspects that you need to keep track of:
- Do not color the air-dry clay until it has dried up completely. Failing to do so can lead to cracking after the glaze dries up. So, make sure you wait for the air-dry clay to dry even on the insides.
- Tempera, acrylic, and poster paints bring in the best results with solid and bright colors.
- Icing coloring and food coloring will also give a similar result.
- For a pastel color or light color, you can try out pastel chalk.
- Make sure you set up the work surface in a proper manner.
- Ensure the use of disposable gloves to avoid the color or glaze from sticking to your palms.
Conclusion
Air-dry clay isn’t generally food-safe. This means you can only use it for decorative purposes. If you want you can use a food-safe glaze for your air-dry project but it isn’t necessary. With the right glaze, you can ensure that the project is waterproofed and colored as well. Several glaze recipes can easily be cleaned without losing shine. Your glaze doesn’t have to be pricey or ruin your pocket. You can make your very own glaze at home as the one mentioned above. So, use this colorful and cheap gloss to seal the clay craft.


