When it comes to a popular choice in the world of pottery, air-dry clay is no doubt a popular choice. It is a comparatively inexpensive and easy-to-use product for crafting needs. With Air-Dry clay, the choices are endless. While air-dry clay is surely an easy choice things can go wrong when you don’t know the right way to use it.
You might end up with a sticky mess or crumbly power-like clay that doesn’t mold properly. But, before we realize the top 3 mistakes that can happen when using air-dry clay, let us know more about using this clay variant.
What is Air-Dry Clay?
Air-dry clay is the ultimate modeling material that can help crafters achieve a top-notch finish with no need to fire up your expensive kiln. This versatile product can be made use of for several crafting projects. This clay variant hardens & cures when kept at average room temperature and after it dries. It can easily be painted & decorated in several ways.
Air-Dry Clay Crafting: What Can I Make?
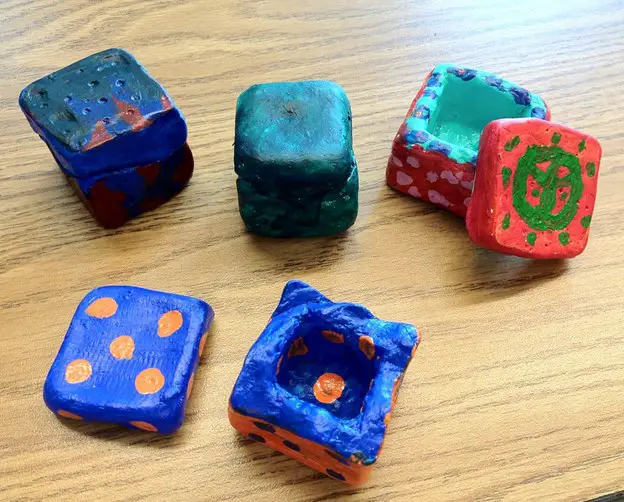
Air-dry clay can be used to model almost anything from clay tiles to Christmas decorations with no need for a pottery wheel or kiln. This clay can be used for fixing damaged items & also for filling in the cracks. Unfortunately, this clay isn’t waterproof or food-safe. However, the application of varnish prevents the finished product from cracking when kept outside.
Air-Dry Clay: Average Drying Time
This clay starts hardening post-air exposure. Air-dry clay does stay moist for some time to help you craft the project with ease. However, you need to ensure that the leftover clay should be wrapped & stored within an airtight storage bin. This way, you can use the remaining clay for different projects. Air-dry clay doesn’t connect with water in a way similar to that of kiln-firing clay. However, once air-dry clay hardens, it cannot be reverted to a working state.
Air-dry clay has to be dried out completely before painting. The overall time it requires to dry would vary depending on the project’s thickness and size, which usually varies between 24 hours and 72 hours. Make sure you don’t fasten the process for drying via heating, as it can lead to the formation of cracks on the surface. Instead, let it dry out naturally.
How Can You Use the Air-Dry Clay?
The best thing about using air-dry clay is the fact that it is very easy to use. All you need to do is knead the air-dry clay, and once you get a dough-like consistency, you can easily start shaping it as per requirement. You can also use clay and water to create the slip formula to help keep the clay pieces stuck together.
Make sure you don’t use a lot of water in order to avoid the cracks that form while the clay is in the process of drying up. If you are using a porous table to work on, such as a wooden table, ensure that you protect the area as it could be hard to remove the hardened clay that enters into any cracks. You can use a sturdy plastic placemat or kraft paper to ensure that the cleaning process is quick and hassle-free.
Does Air-Dry Clay Crafting Require Any Equipment or Tools?
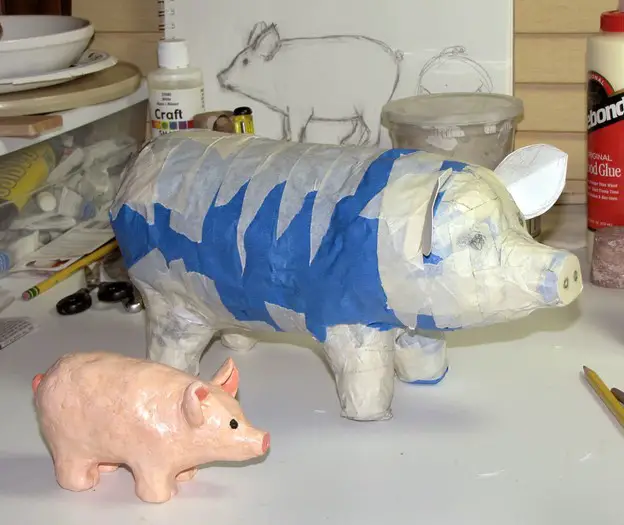
Like any other craft, even air-dry clay requires tools and equipment to pack in designs and patterns. However, this clay is also ideal for creating imprints, textures, and mini-models. Moreover, you can also use cookie cutters to cut shapes that can be used to create gift tags and Christmas decorations.
Keep in mind that any pottery item crafted using air-dry clay must not be used for food preparation purposes.
How Can I Decorate Air-Dry Clay?
You can add details by rolling the clay onto a textured surface & adding colors such as acrylic ones or watercolor. Once the air-dry clay has dried out completely, you can put the paint directly onto the surface. Acrylic paint gels well with air-dry clay. However, it would help if you made sure a lot must not be applied in a single go.
Doing this could lead to additional dry time and might lead to cracking issues. Watercolors are absorbed better with air-dry clay. However, the color might not come across as vibrant as the acrylic ones. You can make use of decoupage papers & Mod Podge to varnish and embellish the project. Sequins and buttons seem great when pushed directly onto the surface of the clay before hardening or drying. You can also make use of a glue gun to stick the embellishments onto a varnished or painted surface.
Now that you know about the basics of using air-dry clay let us get onto the 3 mistakes that you must keep in mind.
Top 3 Mistakes When Using Air-Dry Clay
1. Not Caring About the Cracks/Breakage:
Given the fact that air-dry clay doesn’t need to be fired, it could lead to cracking issues when left to dry out normally. However, the clay only shows signs of cracking or breaking when it is handled wrong. This is especially true for beginners who do not know how to do the basics in the right way.
If you wish to know the right way to avoid the breakage or cracking of air-dry clay, read on!
-
Use A Surface With Wax-Lining:
This particular clay is very sticky to work with. If this clay gets on the work surface, you might have some trouble removing it. Also, if your clay piece dries up on the work table itself, it can stick to the surface and break off if you try to remove it.
It is strongly recommended that you need to line the surface with the help of wax paper, vinyl placemats, or silicone. Further, it helps minimize the stress level you put on the air-dry clay as it won’t need to be yanked off the work table.
-
Knead It Well:
After you have taken out the air-dry clay from the packet & before you begin the shaping process, you must spend multiple minutes in the kneading process. This particular process is termed ‘Conditioning.’ Use your knuckles to ensure proper kneading. This will help ensure the material gets soft & ready for the rolling process.
Firm and proper kneading loosens the clay platelets & helps with proper assimilation. Air-dry clay that isn’t kneaded well could be very tight and might not be easy to work with.
-
Don’t Roll the Clay Too Thin:
If you wish to avoid the cracks and breaking of air-dry clay, make sure you refrain from rolling your clay too thin. Instead, ensure that the thickness is nothing more than 1/4th of an inch. This makes up for an optimum thickness leading to faster drying while ensuring minimal cracking.
When you sculpt with the use of air-dry clay, you get access to a low-maintenance material for sure. However, you need to ensure caution when rolling out the clay. With air-dry clay, success comes only when you maintain a balance between efficiency and durability.
-
Add Appropriate Amount of Water:
As it is for thickness, a similar rule applies for the use of water as well. The key is to go a little each time to ensure water doesn’t take over the consistency of clay. If the clay is too watery, it would be hard to shape it, and it would crack post-drying. On the other hand, it can become very soft & pliable when you start.
If you happen to add less water, it could make the mold very stiff and hard to mold. Keep adding a small amount of water every time you knead and stop when the dough feels just right. You must keep the clay fairly moist during the crafting process but not at all wet. Keep in mind that water can always be introduced to the mixture but can never take it out of the same.
Here is a summary of the air-dry clay issues and their quick solutions:
| Issues | Solution |
| Clay Sticking to the Surface | Using Wax Paper, Silicone, or Vinyl Placemats |
| Clay Too Hard | Kneading Properly |
| Clay Too Thin/Cracking Post-Drying | Keep the Thickness Close to 1/4th of an Inch |
| Clay Too Watery or Dry | Not Adding Appropriate Amount of Water |
2. Not Using Slip for Strong Joints:
When it comes to air-dry clay, the most vulnerable areas to cracking or breaking are the joints of the same. This is why most potters consider single-piece structures as the strongest. However, most creations made of clay require the use of multiple pieces bonded together.
To ensure that your craft stays strong, you need to understand the right way to keep the connections together for a long time. To keep the joints in check, make sure you use a wet and glue-like substance known as ‘slip.’ If you happen to do this, make sure you don’t add a lot of moisture to the original piece.
The slip consists of watered-down clay, which serves as a bonding agent between two seams and ensures a strong connection between the two. To achieve perfection with the slip, you need to ensure that the two seams you plan to join are reasonably dry. You can also use a toothpick to create a crosshatch-like pattern within these connecting surfaces.
Doing this enables the seams to interlock together as opposed to being pressed down. Slip is a rudimentary form of glue that is made to stick the clay pieces together. You can create it by soaking the clay scraps in a good amount of water until it softens into a watery and slurry form.
Next, stir this mixture and push it through the wired mesh to remove the lumps. Once the lumps are gone, you can use this mixture and apply it to the surface with the help of a paintbrush.
3. Failing to Store Air-Dry Clay Properly:
This, without a doubt, is the worst thing you can do when using air-dry clay. Remember, the healthier the air-dry clay is when starting the project, the better your chance to see a perfect final project. The leftover clay has to be sealed within an airtight bag or container such as a Tupperware box.
Refrigerator bags or sandwich bags are fine as well as long as they are of the sealable type. In case there is little or almost no air, the air shall stop drying & remain in a malleable condition. However, storing the clay after a partially completed project can be a tricky affair. This is especially true in case your project has large pieces. Each sculptor has his/her own technique. Experimenting with the storage techniques can be helpful for you. If you are looking for a storage solution, you can try out the IRIS USA Quart Clear & Black Storage Bins. These bins come with a durable lid that can be sealed securely with the latching buckles for clay storage.
The best strategy commonly used by air-dry clay crafters includes wrapping the same with clingfilm to trap the moisture inside. You can also make use of gardening spray to mist the clay now and then lightly.
The process mentioned above works best when you opt to resume the work within 24 hours. If you do plan to make a particularly large, ball-like piece, you can opt for the bulking technique. This effect can be achieved by molding the solid clay sections. However, this technique might lead to a lot of clay wastage.
It requires using a huge amount of clay and could lead to an uneven and long drying process. To counteract this, the sculptors tend to use a hollow mold made of lightweight clay-like tinfoil. This brings down the risk of cracking as a small volume of air-dry clay is used.
Conclusion
With these factors in mind, you can ensure that your project is successful and without any basic errors. Of course, as a beginner, you would come across several errors during the crafting process. However, when you practice these tips, you can ensure that your efforts do not go to waste.


