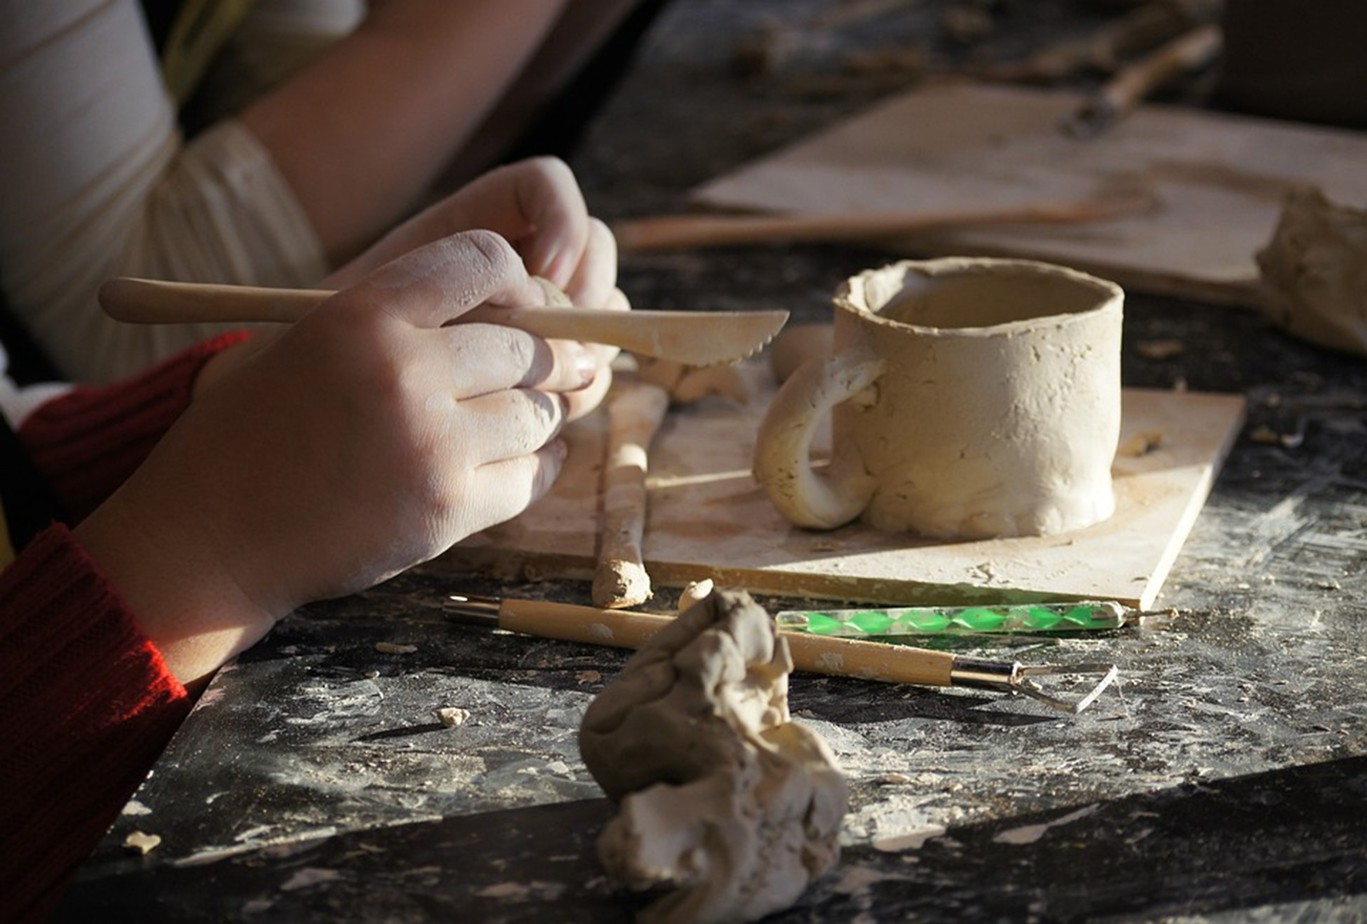
Sculpting with air-dry clay is fun and popular among beginner DIY artists and crafters. This clay is very easy to use, and you don’t even require an oven or kiln to provide it a hard finish. Apart from this, air-dry clay is mostly non-toxic and mineral-based, making it perfect for kids too. But, what would make your artwork better than a plain old design?
Well, adding some colors to the mix would be great to add to your air-dry clay portfolio. Adding colors shows your creativity & personality. No two crafters would use colors for their artwork in the same way. However, the colors you use for painting regular clay might not be great for air-dry clay.
While some colors are waterproof, others start bleeding or chipping within hours of being applied onto the clay surface.
So, what is the best paint to use with air-dry clay?
The answer is acrylic paint. Most crafters suggest that air-dry clay can be colored best only with acrylic colors. This is because they tend to hold up perfectly when compared to other types of colors like Tempera or oil paint. Apart from being a durable color, this paint variant is also pocket-friendly for most crafters. So, it sure is a win-win situation for all. For most modeling projects that involve the use of air-dry clay, acrylic colors work perfectly as they tend to be thicker in texture and can easily be diluted with the use of water, depending on the thickness you desire.
Why Use Acrylic Color to Paint Air-Dry Clay?
Air-dry clay isn’t waterproof or water-resistant even after drying. If you leave it exposed to water or moisture for long, it will absorb the same and turn back to its old consistency. To ensure the hard and durable design remains intact, it is better to seal the clay.
Acrylic colors serve as a colorful way to seal the clay. These natural and permanent sealers are available in different qualities, thicknesses, & pigment loads. However, if you wish to fire the clay post-painting, it is better to stay away from regular paints and opt for the ones that are ideal for firing purposes.
Further, acrylic colors do not require sealing after drying up. So, they serve as the best option to paint your air-dry clay.
Here are some popular types of paint and how they fair on air-dry clay when painted on:
| Type of Color | It doesn’t gel well with the clay, and might start to chip off after drying |
| Acrylic Color | Considered the best option for color air-dry clay, even coverage, and smooth texture |
| Oil Color | Not as good as acrylic color but does the job (It might be corrosive to the clay) |
| Chalk Paint | It doesn’t gel well with the clay and might start to chip off after drying |
| Tempera | Ideal for air-dry clay coloring, at par with acrylic |
Should air-dry clay be painted before or after drying?
The answer to this completely varies depending on what results you seek. Painting the air-dry clay before it dries up might slow down the drying process. This helps avoid any cracking that is popularly seen with air-dry clay that dries up faster. On the other hand, painting on air-dry clay after it dries leads to better and more vivid color representation.
Apart from this, you can also mix up the color with the air-dry clay during the kneading process. This will help add beautiful faded color to the clay. When painting with air-dry clay, keep in mind not to use too much water. Doing this can introduce additional water to the clay, which might soften the project a bit or even lead to major cracks once it dries up completely. This would ultimately ruin your project. So, try to use the colors as they come without watering them down too much.
There are two ways you can color your project. Either by kneading the color with the air-dry clay or painting after it has dried out. If you wish that your project would be a uniform color with a tint, dyeing the clay with acrylic before it completely dries out would get you an amazing result.
- Tempera, acrylic, & poster paints bring in the best and solid colors to your artwork which are bright and vivid.
- Oil paints might also work well to color your project, but they might be a bit corrosive & hard to clean.
- In case you are looking for a vivid and deep color for your project, you can try using artist-grade oil paint or acrylic color.
- If you are looking for light or pastel color, you can knead a few drops of acrylic with the air-dry clay.
- You can get ready-made colorants for air-dry clay available in the market. However, the colors available are very limited. Plus, they are also expensive compared to other colors.
Main Methods of Adding Colors to Air-Dry Clay
To attain seamless finished results on your air-dry clay sculptures, it is essential to learn accurate color-adding methods. It is a crucial step that further decides the overall outlook of your project; hence, it should be performed with utmost caution and accuracy. There are two primary methods of adding colors to air-dry clay sculptures. You can use them according to your preferences and requirements. The main methods of adding colors to air-dry clay are as follows:
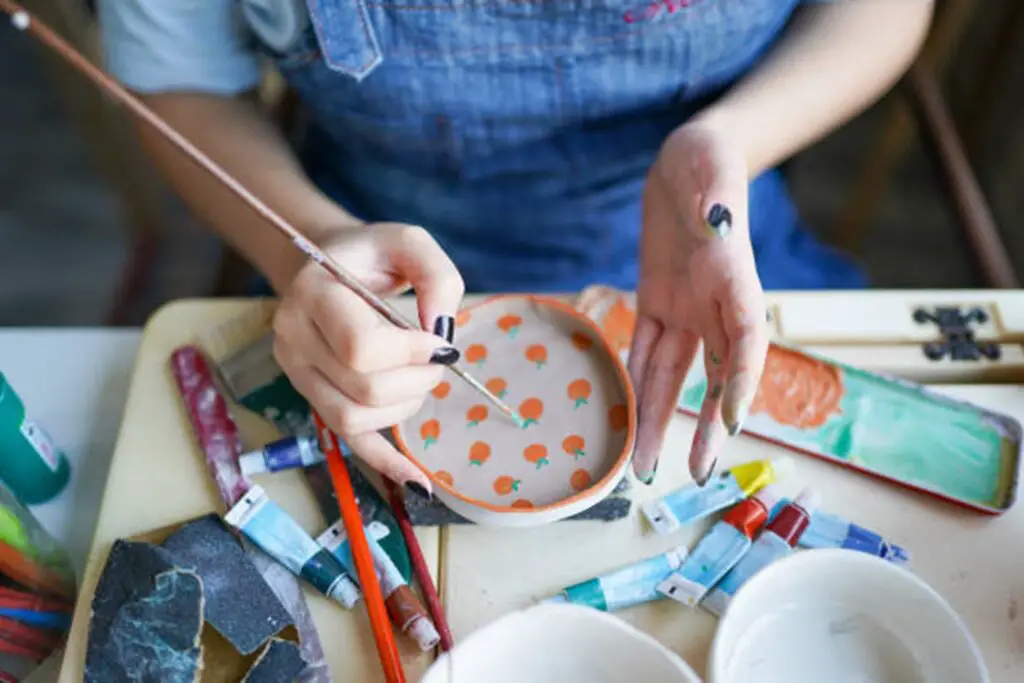
1. Adding Color Directly to the Surface:
Painters and sculptors widely use the method of directly adding color to the clay surface to give their creations impressive outlooks. In this technique, you can remove the color in your brush and start painting your air-dry clay model once completely dry. This method gives you complete control over the color selections and allows you to correct or alter the colors readily.
2. Mixing Paint in the Wet Clay:
Mixing the desired color in the wet clay is another popular method many use to add colors to their clay works. In this procedure, you must add the color directly into the clay mix while it’s still wet and knead it accordingly. Then, when you are ready to shape your clay, you can do that. It is a highly time-consuming but less messy procedure than the above one. However, this procedure’s only flaw is the inability to correct the color quickly since the whole clay has already retained the color.
What brushes should you use for air-dry clay painting?
Air-dry clay, when wet, might not be as easy to color. If you use normal brushes to paint your artwork, you might see the hairs sticking onto the clay and hampering an even application of the color. To avoid this from happening, you need to select the best and strongest brushes available in the market that do not leave hair during the application process.
To test the brush, you can slightly pull on its hair. In case the hair starts to come out pretty easily, do not buy or use the brush. Keep in mind that a decent brush with a strong design doesn’t have to rob your wallet. If you take care of your brushes correctly, they will last for years. The Soucolor paintbrush set is a perfect choice for beginner-level artists. It comes with 20 different brushes of varying shapes and sizes.
After the paint dries off, sealing is a must, even with acrylic colors. If you fail to seal the paint properly, it will eventually start peeling off with time. The sun would change the paint’s color with life when kept outside. Moreover, water can wash off the paint when exposed for a long. You can opt for a varnish or an acrylic spray to seal your work.
One of the most common problems you might encounter after painting your sculpture is peeling off the air-dry clay. This problem should not be ignored, as, with time, it may lead to the breakage of the whole model. The sun would change the paint’s color with life when kept outside. Moreover, water can wash off the paint when exposed for a long time. You can opt for a varnish or an acrylic spray to seal your work.
However, there’s another super easy solution to this problem. Since the paint requires a rougher surface to sit on, using low-grit sandpaper to smoothen the sculpture’s surface will significantly help. This way, the surface will not be too much smoothened out, providing a stronger adhesion for the paint to stay. So, the next time you worry about your air-dry clay peeling off, simply resort to this technique for the best results.
Varnish is an amazing sealant as it is easily available and can be applied with the help of a brush. This will seal the color properly, especially from the sun and water. Normally, the varnish is used for sealing the wood. However, it can be used to seal so much more.
If you plan on using the matte varnish, try to apply a single layer of it. Applying multiple layers would make it dry in a foggy manner. On the other hand, with gloss varnish, you can easily apply multiple layers depending on your needs.
Gesso with Acrylic Base for Coloring
Priming your sculpture with Gesso is another technique that can help you color air-dry clay. Gesso is actually a powerful combination of different materials that are mixed with the acrylic base. However, as opposed to the acrylic colors, Gesso helps create a tooth-like surface to help the paint adhere to with ease. This combination is traditionally white. However, you can also purchase clear or black Gesso, depending on your needs.
Plus, you can always tint the Gesso with a small scoop of acrylic paint mixed into it.
Advantages of priming your pottery work with Gesso:
- Water can be added to the primer to make it think and help preserve the details
- Relatively cheaper and a tube can last for long
- Temperature or weather isn’t an issue
- Can easily be removed in case you mess it up
Why Should Your Prime Air-Dry Clay Before Painting?
Priming is also important if you want your artwork to last for long and the color to stick to it for years. Here are some of the direct benefits you get when you prime your air-dry clay before painting.
1. Delivers Uniformity:
When it comes to the core components, air-dry clay is actually water-based. As opposed to cold porcelain or epoxy clay, the air-dry clay has a porous surface. When you paint the first layer onto this clay, it will soak the water content like a sponge. This is why priming it with Gesso helps you apply the paint in a rather uniform manner.
Apart from this, in case you plan to use mixed media for your sculpture, priming helps with the unification of these elements before you paint on it. In simple words, it helps create a rather cohesive piece.
2. Sealing the Piece:
Gesso helps serve as a definitive moisture barrier that comes between the air-dry clay and the paint. It also acts as a barrier between the clay and the elements from the world outside. Air-dry clay is water-based & even though it won’t simply rehydrate, it sure is sensitive to issues such as humidity.
Apart from this, sealing your air-dry clay is critical if you happen to use water-heavy options for painting, such as watercolor. Doing this helps keep the clay intact with no damage whatsoever. On the other hand, if you plan to use oil paint, you need to keep in mind the fact that oil can be corrosive. This is why you should apply a minimum of 3 gesso primer layers to create a barrier that is thick enough.
3. Ideal for Adhesion:
Gesso doesn’t just seal the artwork but also allows the paint to stick onto the surface properly. As mentioned earlier, Gesso forms a tooth-like layer or slight texture that makes it easy for the paint to stick to the surface.
If your air-dry clay surface is way too smooth, the paint won’t stay well as it doesn’t have anything to stick itself to. This is where you run risks related to the peeling of the colors.
4. Adds to the Strength:
This is something one must never underestimate. The stronger your project, the more it is going to last. This is because you put in all that work to ensure that your artwork is durable and doesn’t break away easily. The Gesso functions as a layer comprised of slightly flexible yet durable material on top of your work. It also provides a bit of reinforcement to the sculpture.
Unless you are sculpting with the use of stone or bronze, sculptures can be very fragile. With Gesso, you can add that extra strength to the mix.
Glaze vs. Paint: How are they different?
The prime difference between paint & glaze is that the glaze doesn’t change the overall appearance of the thing it is being applied. On the other hand, paint is used to color as well as protect the surface of the air dry clay.
Glaze can be used as a clear and protective layer that is painted over the surface. However, you can easily apply some ticks to give the surface a higher sheen. However, the prime purpose of glaze is to serve as a protective layer and allow the layers beneath to come through properly.
Keep in mind that glaze needs to be fired, and you cannot do that with air-dry clay. So, the only way to protect the air-dry clay surface and add some colors is to paint it with acrylics.
Should you seal your air-dry clay project before painting?
No, you don’t need to seal the project before you start painting. However, if the air-dry clay sculpture is to be kept outside, you must seal it to provide a water-resistant finish. Sealing helps preserve the vividness of the colors and keeps them unaffected by the moisture outside.
How can you seal the air-dry clay sculpture?
After painting your air-dry clay, sealing the sculpture helps extend its longevity. You can use things such as varnish or ModPodge to seal your pottery sculpture. You will likely achieve optimum results with the use of water-based varnish or artist-grade sealants such as epoxy resin or acrylic sealer.
This will help seal the craft while making it water-resistant as well as preventing it from the de-coloring that happens due to sun exposure.
Conclusion
With these pointers in mind, you can successfully paint your air-dry clay the best way with perfect tint and colors. Remember, less is always more with air-dry clay coloring. It will help keep your artwork protected for a long time, and you can always showcase your artistic side.


