
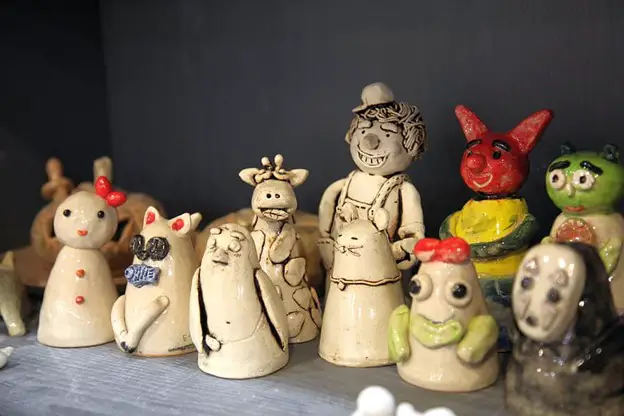
When looking for cheap and easy-to-use clay, air-dry clay is the best to start with. It is commonly used by beginners as well as a favorite among kids. With air-dry clay, you don’t need to worry about purchasing an expensive kiln to harden it to a durable state. If you are someone who loves to experiment, air-dry clay is an ideal option.
However, one thing that ails most air-dry clay users is the fact that the drying time can be tedious and slower than that of traditional clay that needs firing.
So, what can you do to fasten this drying process?
The quick and easiest method to dry up air-dry clay is to put it in an oven.
Oven-Drying for Air-Dry Clay
Drying your air-dry sculpture in the oven is very easy and simple. All you need to do is simply place parchment paper on the baking tray and place the sculpture on top of the tray. When you do this, make sure you keep the oven door a bit open and start heating the same to a 200oF temperature.
Now, leave your sculpture inside the heated up oven for a minimum of 20 minutes, depending on the thickness of the model. Finally, turn off your oven & leave your sculpture inside the oven as it cools down.
Is baking the air-dry clay safe?
Yes, baking the air-dry clay in the oven is definitely a safe practice. However, one must be careful while doing this. The first thing is that you must place the sculpture inside the oven before you start to heat up the same. If you fail to do that, there would be cracks forming all over the sculpture. This happens due to a sudden change in temperature.
A quick transition from the cold & wet clay to a hot oven will lead to several issues for your sculpture.
So, here are few rules that you must keep in mind when baking your air-dry clay within an oven:
- Place your sculpture on the baking tray by placing parchment paper above it
- Always place the sculpture inside a cold oven and not a preheated one
- Spike the temperature to 200oF
- This is the lowest temperature that is warm enough for you to get started and will help bake the moisture out from the clay
- Allow the sculpture to bake for a minimum of 20 minutes
- Leave the sculpture inside the oven until it slowly cools down
If you happen to remove the hot sculpture right away from the oven, it will expose it to the cool air outside, and the sudden temperature change can introduce cracks in the sculpture. In case you aren’t careful, you might risk breaking or scorching the sculpture.
Does the Oven Harden Your Air-Dry Clay Sculpture?
Most pottery artists associate the use of a kiln to harden the clay sculpture. However, while most clay variants can handle the heat, not all are meant for the same. On the contrary, oven-bake clay is hardened with the help of an oven. Although air-dry clay is of the self-hardening type, it might take some time to harden to a durable texture.
So, what is the point of baking it?
Well, baking is done to dry out the clay as opposed to hardening it. The process of moisture dissipation in the air without the use of an oven is fairly slow and would take up longer. When you pop it into the oven, this process fastens. Air-dry clay, in general, takes about 48 hours or more to dry out and harden completely. The drying time mostly varies depending on the season, weather, & environmental conditions.
Air-dry clay isn’t meant for baking. It has specific ingredients that harden only with gradual moisture loss. One of the major ingredients is cornstarch. Other types of air-dry clay are based on paper. However, they work in the same manner. An excellent example of paper-based air-dry clay is the DAS Air-Hardening Clay. This 2.2lb block is white in color and ideal for users of all ages.
These ingredients, when exposed to fairly high temperatures or open flames like an oven or a kiln, can burn down or be flammable. Plus, the temperature can lead to quicker loss of moisture from the surface’s exterior as compared to the inner parts of the sculpture. The uneven process of drying can lead to severe breakage or cracking.
How does an oven help fasten the air-dry clay?
While the best way to ensure a perfect result when using air-dry clay is to let it normally dry, drying it out in the oven could also be a good choice. Drying the air-dry clay in an oven can help by:
-
Lowering the Humidity:
Placing the air-dry clay sculpture in your oven helps remove the moisture while creating safe conditions for the sculpture to dry in a rapid fashion. With a lower level of humidity in your clay sculpture, your project will dry off faster than ever.
-
Safe Heating Source:
Heat causes the moisture from the clay sculpture to evaporate quicker. Keeping your sculpture in the oven ensures that you get access to a moderated source of heat and something that can be monitored throughout. With natural heating sources, you cannot control the temperature or heating conditions. With an oven, you can regulate the temperature and avoid cracking and burning.
Alternatively, you can also use your hairdryer to mimic the similar drying effect with your air-dry clay sculpture. However, the process can be very labor-intensive, and you surely wouldn’t want to keep holding the dryer for a long time.
Here are some ways you can fasten the drying of your air-dry clay:
Method |
Result |
| Sun-Drying | A good method to dry, but the heat cannot be controlled, which might lead to burning |
| Oven-Drying | An ideal method to dry the air-dry clay; however, keep the temperature range in mind to avoid burning |
| Drying in Fan | This is an ideal way to dry out the air-dry clay. Simply keep turning the model upside down or sideways for even drying |
| Hair-Dryer | Hair-Dryer can fasten the drying process of your sculpture. However, the process is very labor-intensive |
Conclusion
With air-dry clay, you aren’t actually baking the sculpture, rather simply allowing the moisture to dissipate in a faster way. And, while you do that, do not forget to flip the project sideways or upside down to ensure even drying out of the sculpture.


