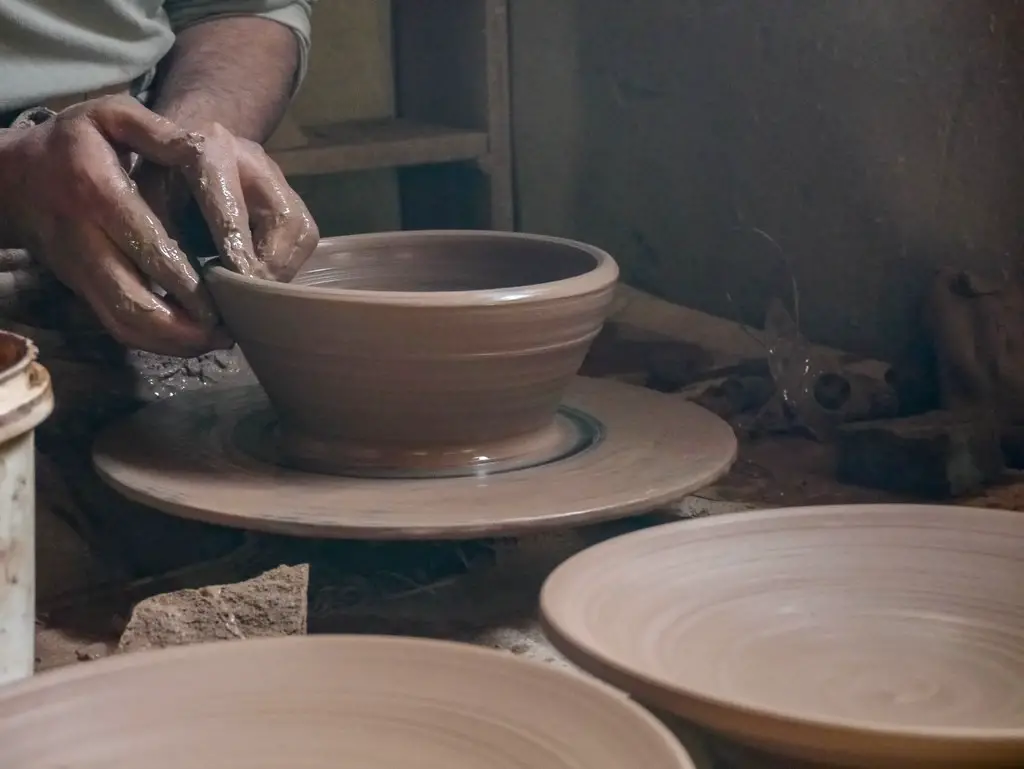
Pottery is not a field of art that anyone can master overnight. It is a demanding piece of skill for a beginner to hone. It requires an ample amount of time to perfect the art of ceramics and pottery. Many people start with a great deal of enthusiasm and leave the hobby mid-way after a few months or so.
From centering the clay to heating the clay, there are a ton of reasons why many people fail at pottery. Even after spending months at the wheel, they do not progress and eventually give up.
In this article, we will discuss the most common reasons for flop pottery work. Let’s have a glance.
1. Failing to pick the right clay:
Many people, especially beginners, are always confused about what type of clay to choose. Picking the right clay is the first important step of pottery. There are three types of clays available, namely, earthenware, stoneware, and porcelain. They differ in properties like porosity, firing temperatures, plasticity, etc.
It is also important to understand the texture of the clay that you are going to need. If you are hand-building, then clay with grog, sand, or both should be your preference as it will prevent cracking. However, keep in mind that the clay type should not be too vulnerable; otherwise, it may collapse. Hence, the clay must have enough strength to stand on its own.
On the other hand, if you are using a pottery wheel, then smooth and strong clay is a good choice. Using the rough ones containing sand or grog would hurt your hands, and you wouldn’t be able to throw for longer hours. The porcelain is very smooth, and it is very comfortable to work with.
Clays are available in a broad spectrum of colors, and choosing the right one is important. The color you pick must be backed by the type of end product you are trying to make. For example, if you want the glaze to emerge more vividly, you should prefer a white or buff-colored clay such as Pottery Clay – Low Fire White Cone 06 – Rocky Mountain Clay’s CT3. In case you want some bright and vibrant colors, then red-colored clay is a good pick. Always remember that clays appear darker when wet.
Here, we present a list of minerals present in clays and their corresponding crystal system to where it belongs.
| Mineral name | Compound name | Crystal system |
| Kaolinite | Aluminum silicate hydroxide | Anorthic |
| Nacrite | Aluminum silicate hydroxide | Monoclinic |
| Halloysite | Aluminum silicate hydroxide | Hexagonal |
| Kaolinite-montmorillonite | Sodium Aluminum silicate hydroxide | Unknown |
| Illite-montmorillonite | Hydrate Potassium Aluminum Silicate hydroxide | Unknown |
| Dickite | Aluminum silicate hydroxide | Monoclinic |
| Nontronite | Sodium Calcium Iron Aluminum Silicate Hydroxide Hydrate | Monoclinic |
| Rectorite | Sodium Aluminum Silicate Hydroxide Hydrate | Hexagonal |
2. Not joining a proper course on pottery:
If you want to take up pottery seriously, there is no other alternative than joining a course or class on pottery. You might want to learn things available on the internet for free, but you cannot experience it until an instructor with the required expertise in this field guides you on your way.
There are ample things to learn about pottery, from firing ceramics to glazes, decorations, and whatnot. Before starting, you need to have a piece of proper knowledge in this field.
You must know the types of clays available for you to work with, which kind of kilns you would require, and at what cone temperature you should fire your clay item. Your instructor is experienced and can shed some light on these areas.
3. The clay gets too hard:
If the clay becomes too hard due to some reason, it becomes difficult for you to push it. To introduce moisture into the clay, you may cover the clay with a wet piece of cloth and keep it away from dry places, or you can spray water on the clay balls and start wedging them again.
4. The clay is waterlogged:
Since a lot of water enters the clay, it may be tough for you to throw it on a wheel. It is very likely to collapse. If it was initially full of moisture, you need to dry it and wedge the clay again. It might also be possible that you are wetting it too much while centering it on the wheel.
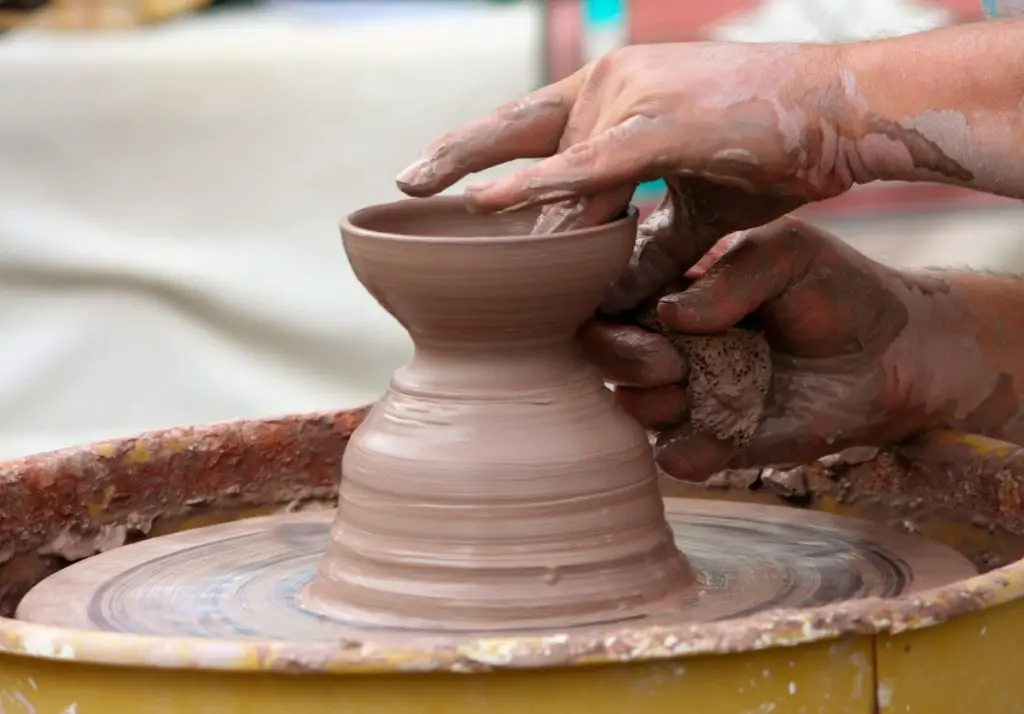
5. Difficulty in centering the clay:
If you are a beginner, you may feel it difficult to center the clay. If the clay feels too dry to your hands, then you need to wet your fingers or sprinkle some water over it with the help of a sponge dipped in water. It will make the process easier for you. Many people spend long hours centering the hard clay and get no results.
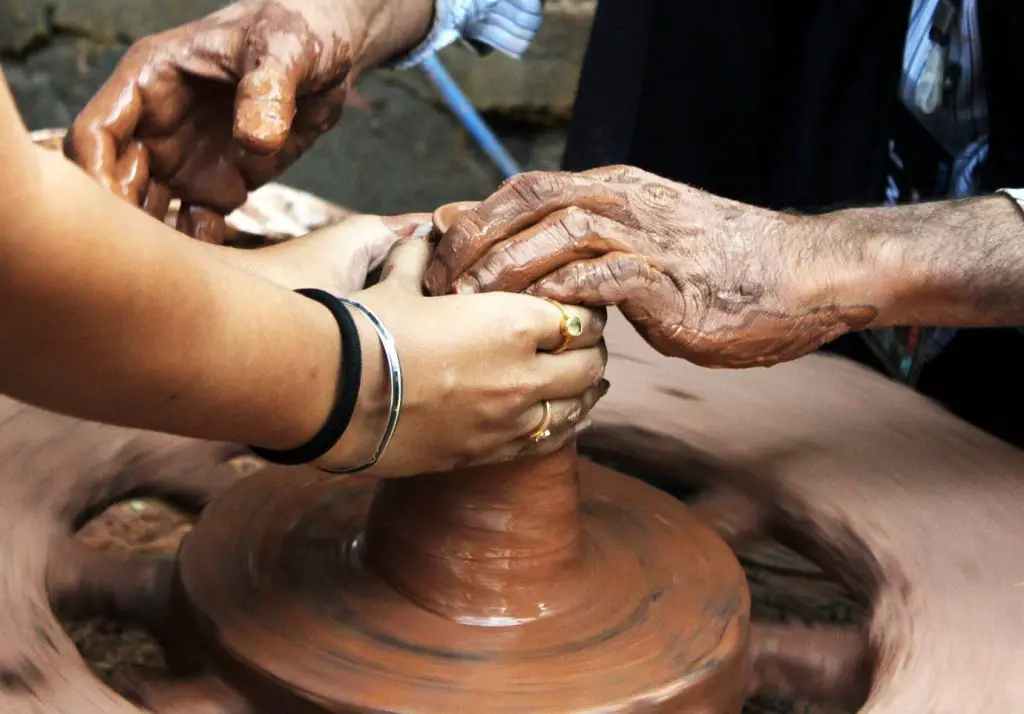
6. Wrong arm posture can damage the pottery:
Potters often neglect this and start throwing clay at their wheels. However, not having the correct arm posture may damage the shape of your pottery, even crush it, and you won’t get the desired outcome. Beginners are more prone to making this mistake.
If you are centering the clay with your hands out while extending your elbows wide away from the body, then you are very likely to feel immense pain in your forearms within a couple of hours; since you are using the muscles too much. You may even end up crushing your piece in the process of making it a beautiful piece of art.
Hence, it is of sheer importance that you should be aware of the way your arms are positioned before the wheel forms a triangle and your elbows are close to your body. This technique will save your energy and also enable you to sit for long hours at the wheel as you will not be tiring your muscles quickly. Apply pressure gently to the clay and do not hunch excessively.
7. Pressing onto the clay too much:
People have a misconception that applying a larger force would provide them with better and quicker results. Unfortunately, it is not the case. Pushing the clay too much with a large force can make the pottery collapse or even break it, which is not a great outcome for anyone.
Secondly, you are going to tire yourself out by doing this and won’t have the energy to continue. Last but not least, pushing the clay too much can shift the center of the clay, which results in an undesired shape of pottery.
The best way to do this is to apply light pressure for short, yet regular intervals. Wet your hands and apply the pressure directly on top of the clay. Slowly let your hands in without putting much pressure. This process would furnish you with the best results and satisfaction.
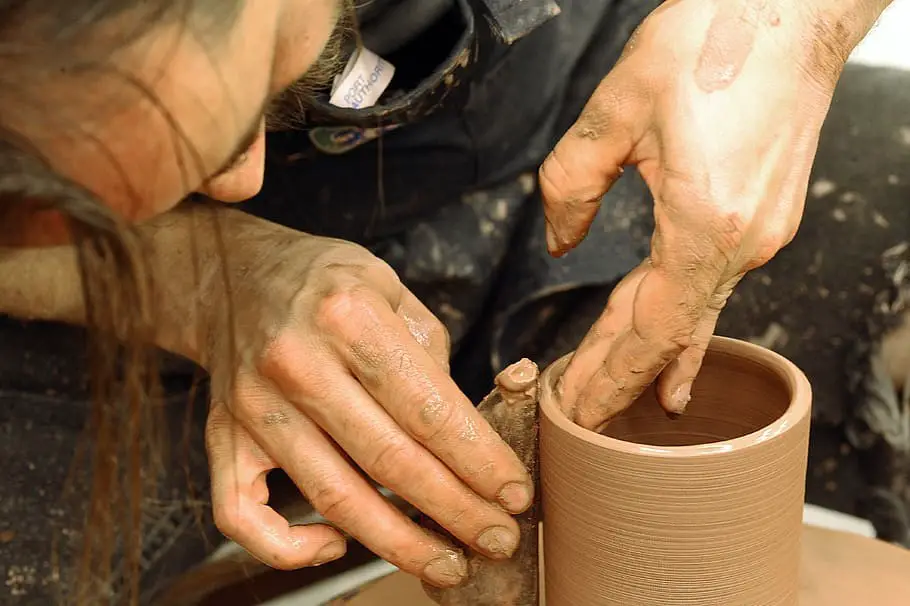
8. The Pinching Technique:
The pinching technique is used by potters to fix the top end of the pottery or the walls. The problem is that many people get it wrong. Too much pinching causes thinning of the walls, which may collapse and develop cracks in the body of the clay on firing.
Pinching should be done properly, and one should make the walls as even as possible; otherwise, the pottery may crack. Always ensure that your hands are wet if you have a fear of tearing up the walls of the pottery.
The best way to avoid this is to start working from the top all the way down. To smoothen the walls, you can use a small sponge dipped in some water and apply it lightly on the walls. To make the rims sharp-edged, it is better to slow down the wheel and compress it by applying a little pressure.
Below we have provided a list of clay minerals and their groups.
| Family | Group | Layer |
| Phyllosilicates | Kaolinite | 1:1 |
| Phyllosilicates | MMT or Smectite | 2:1 |
| Phyllosilicates | Illite | 2:1 |
| Phyllosilicates | Chlorite | 2:1:1 |
9. The Volcano and Mushroom Effect:
You may sometimes find while you are centering the clay that it has taken a mushroom shape. It leads to the formation of air pockets in the clay due to the trapped air and causes difficulty in centering it.
If the clay takes the shape of a volcano, there is a high probability that air will get trapped in the small cavity on the top.
These effects can be prevented by pushing the clay down while pressing onto the topside of the pottery with a ‘karate chop’, and curling the fingers of the other hand around the walls.
10. The clay goes off-center just after the centering process:
It is a very common occurrence noticed by the potters. Just after the clay is centered, the clay goes off-center again when the hands are removed. The reason behind it is that you have pulled out your hands very quickly. The key to tackling this problem is to pull the hands out slowly rather than doing it hastily.
11. Using a slow pottery wheel:
If you gear up the pottery wheel to a higher speed, it will be much more convenient for you to center the clay, as you will feel more command over the centering process. Slowing the wheel can put you a step behind, and you will find it difficult to center the clay.
12. Formation of air pockets in the clay:
Air pockets formed inside the clay would interfere with the centering process. Air molecules are much lighter than the clay and would keep shifting the clay from the center.
They are generally developed when the clay is not wedged correctly, or if the base of the clay is flat, instead of being rounded at the time of placing it on the wheel. Clay balls having flat bases can trap air more easily than their rounded counterparts as the latter has a smaller surface area and lesser chances of forming air pockets.
13. Buying expensive materials:
People often fail to understand that purchasing expensive materials can improve the quality of your product but not art. If you are weak at pottery, buying costly items wouldn’t be of any use, as they are not going to magically create perfect pots for sale. It depends on your skills and what caliber of pottery you are going to make. If the products are expensive, they can ensure you long-lasting, vibrant, colorful, and more robust items – not the artistry.
So, do not be engaged with the false idea that buying costly materials would improve your artistry.
14. Not pre-heating the firing place:
On pre-heating the kiln, the curing process is much more efficient, and the product is tougher. Pre-heating minimizes the chance of getting your pieces burnt. They are more efficiently fired at the required temperature for a given time duration without the pitfalls of cracking, burning, etc.
15. Replicating the works of other experienced potters:
Every potter has a unique repertoire that he/she uses in the pottery. They have been learning the skill for years. As a beginner, if you want to replicate their work, then you are going to fail badly within the next week. Remember that any skill requires time and dedication.
Learn to have patience and follow your instructor in the pottery class. Keep in mind that art is all about putting new ideas to life. You shouldn’t compare their work to yours and feel demotivated.
16. Ideas are nothing if they are not put to work:
Often people come up with a lot of ideas, but they don’t use them at the wheel. They might marvel at a brilliant technique they have in their mind, but the next day, they do nothing about it.
New ideas are the steps to create astonishing pieces of pottery. So, if you have some new ideas in your mind, reach out to your instructor and ask him/her to assist you in it.
Conclusion:
Remember that failure is like a coin; it has two sides. On one side, you have a feeling of hopelessness and despair. You may feel like giving up. But on the contrary, you have a different side, where you have a reason to do better and improve accordingly.
Again, pottery is a skill that is time-demanding and requires patience and practice. The reasons for failure mentioned above are the most common ones. Try to avoid them as much as possible. Keep in mind that the more you practice, the better you become. Always work in the right direction, and one day, you too will be able to make astounding pieces of pottery – from cups, plates, mugs, and whatnot!


