Air-dry clay is a fun and popular way to create various artistic projects. But it is also a pretty costly product. As a budding craftsperson or artist, you need not feel pressured to get a box of air-dry clay to stand out with your creations. There is no pressure to buy air-dry clay, and it is easy to create this clay at home to hone your crafting skills. If you wonder whether this process will require you to hoard some hard-to-find ingredients, you are justified in thinking so but worry not since this is not the case. You create pottery clay with something as simple as your home flour! If you wonder how to create pottery clay with flour, this article has everything you need to know.
Why Make Pottery Clay with Flour at Home?
While store-bought air-dry clay is generally safe for kids and pets, you must know what goes into making commercial air-dry clay. However, when you make air-dry clay at home with flour, you know exactly what goes into the mixture. This way, you can ensure it is entirely safe. Even if a kid or pet accidentally consumes it, you won’t have to worry about any side effects.
So, without further ado, let’s get creative with flour and make some safe pottery clay that is just as good as the commercial ones.
Is It Even Practical to Make Pottery Clay Out of Flour at Home?
As someone new to this, you may wonder if creating pottery clay with flour is practical. If you still need to do so, there is a lot to trying out this technique. Let us understand this practicality in detail.
1. Cost and Accessibility:
One of the best advantages of making flour-based clay at home is its cost and accessibility of ingredients. Flour and salt are everyday household items that are readily available. It makes it a budget-friendly option for your craft projects, especially if you want to experiment without investing in costly materials.
2. Ease of Preparation:
Creating flour-based clay is a straightforward process. The ingredients are easily measured, and the dough can be kneaded without any particular apparatus. It suits beginners, children, or anyone looking for a quick and easy DIY activity.
3. Versatility in Shaping:
Flour-based clay is versatile when it comes to shaping and molding. It allows for much creative freedom, making it suitable for various craft projects such as ornaments, sculptures, and decorative items. Its flexibility facilitates easy shaping by hand or with essential tools.
4. No Firing Required:
Flour-based clay air-dries naturally, unlike traditional ceramic clay, which requires firing in a kiln to achieve durability. It eliminates the need for a specialized kiln setup, making it more accessible for those who cannot afford to set one up. Remember that the finished products may be more fragile than kiln-fired ceramics.
4. Customization and Safety:
Since you are making the clay at home, you can customize the recipe and experiment with different flour, salt, and water ratios. Additionally, the ingredients are non-toxic, making it a safe option for crafting with children.
Limitations and Considerations
Even when the practicality is undeniable, there are certain limitations to keep in mind so you do not get ahead of yourself in treating the clay as a typical clay type:
1. Durability:
Traditional pottery clay is more durable than flour-based clay. It will be more fragile, making it suitable for decorative items rather than functional ones. It may not withstand rough handling or exposure to moisture either.
2. Limited Applications:
While suitable for specific craft projects, flour-based clay is not recommended for items that need to hold water or endure prolonged use. It lacks the strength often seen in fired ceramics.
3. Short Shelf Life:
Flour-based clay may have a shorter shelf life than commercially available pottery clays. It is best used as a short-term alternative or medium after preparation.
Thus, making flour-based clay at home is practical for various crafting purposes, primarily when cost, accessibility, and ease of preparation are vital concerns. It is an excellent option for creative projects, but it is also essential to know its durability limitations. Traditional ceramic clay and kiln firing will be a better choice if you want to create more functional pottery.
Creating DIY Pottery Clay with Flour
Recipe. 1
Ingredients Required
- Flour (2 Cups)
- Vegetable Oil (2 Tablespoons)
- Salt (1 Cup)
- Food Coloring
- Water (1 Cup)
- Mixing Spoon and Large Bowl
Procedure to Make Pottery Clay with Flour
- Mix the Salt and Flour:
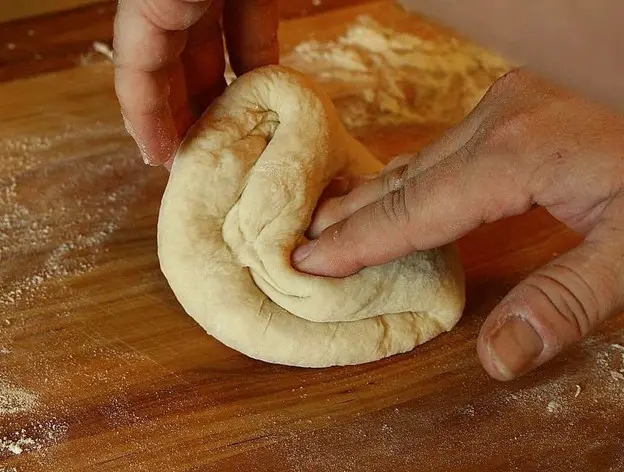
Take a large bowl in which you shall add the flour and salt. Dry mix the two and evenly spread it out. Gradually add the vegetable oil to the mixture. Slowly add water to this mixture to achieve a smooth, clay-like consistency. This process requires extra care; add only a little water since it can overrun the mix. Remember, adding the water slowly is the key.
- Add Color to Your Clay:
It is an optional step, but if you want your DIY air-dry clay to be of different colors, you can color it with food coloring. Start by separating your dough into multiple portions depending on your desired colors. Keep the clay dough pieces in different bowls and color them accordingly. Make sure you wear gloves as the color might stain your hands.
Once you mix the clay, keep it in an airtight container in a cool, dry place like the refrigerator. Ensure it is kept in a place with little moisture, or it might start developing mold. This handmade clay has no preservatives, so you are advised to use it as soon as possible. Ideally, the clay shall last for about a week but no longer than that.
Recipe. 2
This particular recipe uses all the same ingredients as above. The only thing new here is the cream of tartar. It helps create clay dough that is firmer when compared to the recipe above. Pottery clay created from this recipe is perfect for simple projects, so let us check out the ingredients and how much they should be used.
Ingredients Required
- Salt (1 Cup)
- Flour (2 Cups)
- Cream of Tartar (4 Tablespoons)
- Water (2 Cups)
- Vegetable Oil (4 Tablespoons)
- Food Coloring
Procedure to Make Pottery Clay with Flour + Cream of Tartar
- Mix All the Dry Ingredients:
A homogenous mixture of all the dry ingredients shall be created in a bowl before you add the wet ingredients.
- Mix the Wet Ingredients:
Next, add all the wet ingredients, like oil, food coloring, and water, into the mixture. Finally, add the cream of tartar to the mix.
- Cook the mixture on Low Heat:
Add your mixture to a pot and start mixing it on low heat. Keep stirring constantly. It is important! Keep going until the clay begins to thicken. Once the clay pulls away from your pot’s sides, you can stop stirring and switch off the stove. Let the clay cool down before you start using it. Then, if you wish to store it for the next session, you can place it inside an airtight container or a ziplock bag. You can use the Progressive Prepworks Airtight Storage Containers to keep your flour clay safe. These lightweight plastic containers feature a silicone gasket that creates an airtight seal.
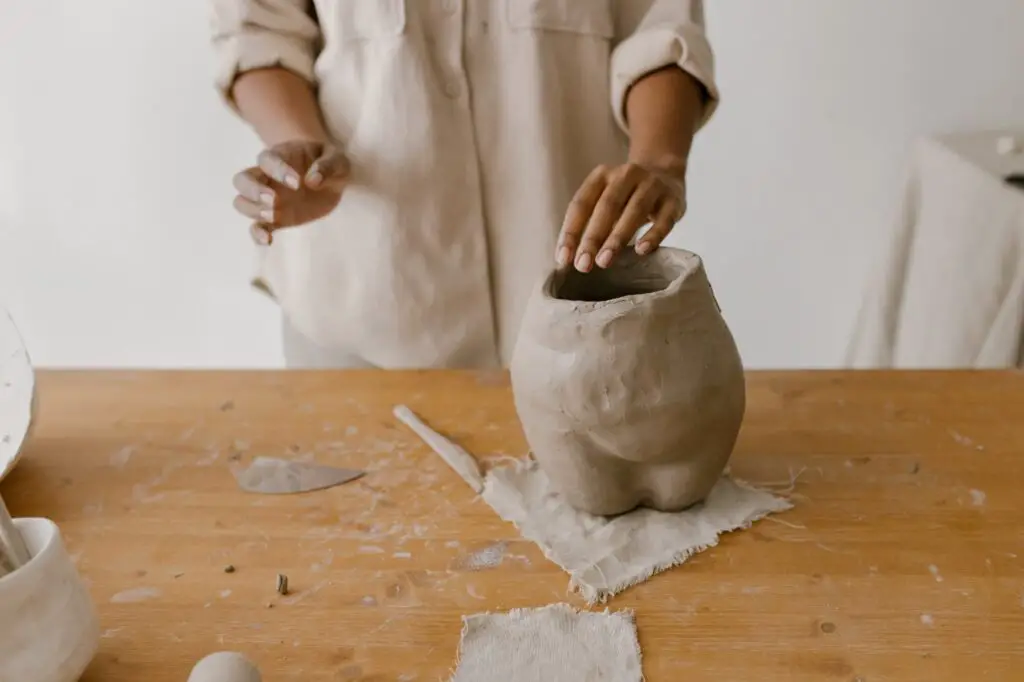
Your clay is now ready for use. You can now start molding the clay into several desired shapes. In most cases, the clay piece will dry up when left out in an airy place. However, if you wish to speed up the drying process, you can put it inside your oven to bake at low heat for a long time. The exact baking time would defer depending on the thickness of the project. However, it would help if you didn’t make your project too thick, which can cause cracking issues.
Mistakes to Avoid When Preparing DIY Clay with Flour
Even a project as simple as this could be ruined by basic mistakes. So, remember a few pointers before you start making clay at home.
| DIY Flour Clay Mistakes | Result and Solution |
| Not keeping the DIY clay in an airtight container | Even though the project contains salt, the clay can form mold in the long term. The key is to use the clay within a week and store it only in a dry place like a refrigerator. |
| Baking the clay in the oven for too long | Flour-based air-dry clay is prone to burning. So, you must refrain from baking the clay for over a few hours. The best way is to let the clay air dry. |
| Not sealing the clay immediately after it dries up | Commercial air-dry clay tends to have additives that avoid unwanted moisture absorption. However, the same isn’t valid for homemade clay. So, it would be best if you sealed your air-dry clay sculpture after molding it with the help of a primer. |
Conclusion
So, if you wish to start your journey as a pottery artist, make sure you experiment with the help of these DIY air-dry clay recipes. It will help you save money in the long run as you achieve perfection with your pottery skills. Remember, there is always a chance you might make some mistakes the first few times. However, it would be best if you kept experimenting. So, keep going, and you will surely be a pro pottery artist.


