You went to a store and couldn’t resist the temptation to get your hands on that air-dry clay! Well, what would you do next? Obviously, create something new and interesting with it. If this is the first project you plan to carry out with the air-dry clay, remember that the journey isn’t a straight line. Unless you have someone to guide you in the process, you need to research properly before starting out on your crafting adventure!
Needless to say, not every pottery project would be a successful one, even if you have had experience in the past. There are numerous factors that play a role in the perfect execution of your pottery project.
But, since this is the first time you using the air-dry clay, you need to understand what it actually is.
What is air-dry clay?
For someone that doesn’t like the traditional kiln firing pottery, the air-dry clay serves as a versatile choice for pottery enthusiasts. This craft item is ideal for beginners who have just started to venture into the pottery world.
To make the air-dry clay a permanent one, you do not have to heat it in a kiln or cure it in high temperatures like polymer clay. The air-dry variants easily dry up, harden, and cure even at room temperatures. After it has dried up, it can easily be painted or decorated in different ways.
What are the uses of air-dry clay?
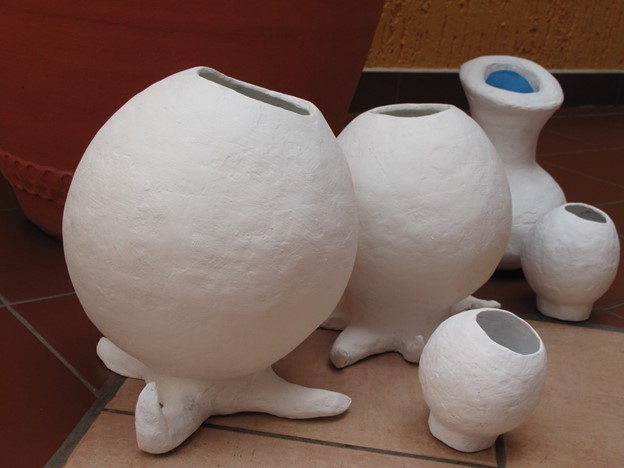
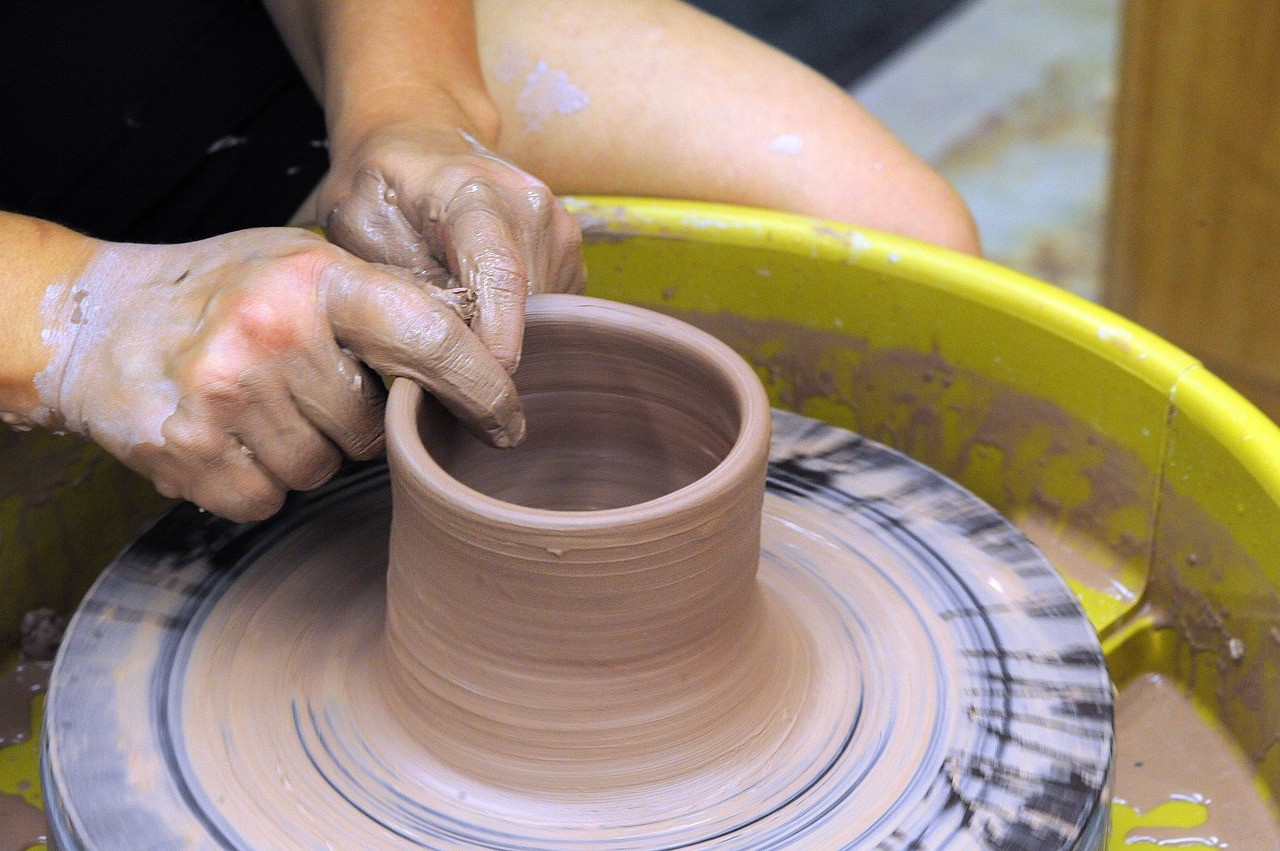
In general, air-dry clay is used to slab, score, pinch, coil, or weld pottery items. It can also be used in the form of modeling clay. Further, this clay variant is ideal for being used as card embellishments along with several other projects.
Keep in mind that the project after finishing has to be dried out thoroughly to ensure there is no possibility of damages. Although the timeline for air-drying varies between 24 hours to 72 hours, it could take as long as a week depending on the thickness of the project.
Even if your project seems completely dried out, do not start toiling with it up until you complete a week’s timeline. This ensures zero damage to the project when handling the post-drying processes.
Here are some quick features of air-dry clay that you must know about:
| Name | Air-Dry Clay |
| Material | Water-Based |
| Shelf-Life (When Kept Unopened) | 1-Year (approximate) |
| Dry Time | 24 hours to 72 hours |
| Features | Non-Toxic, Self-Hardening |
| After Drying Texture | Completely Solid |
Tips for First Time Air-Dry Pottery Crafters
Here, we bring some of the tried and tested tips to help you achieve perfection when you try pottery for the first time with air-dry clay.
We hope, trying these tips would avoid any hassles that might ail you in the process and ensure that your money and time aren’t wasted.
1-Prep the Work Surface:
When working on your very first pottery project, do not be surprised in case you find unwanted particles stuck to the clay. It could be anything from your dog’s hair to lint blowing around in the air. The key to prep the work surface before you start molding your air-dry clay.
It is recommended that you make use of any high-quality craft mat made up of silicon. Alternatively, you can also use a tea towel or wax paper to take care of any dust or debris that might settle on your air-dry clay work surface. Plus, doing this allows easy transfer of the pottery project without any remnant sticking to the surface.
2-Handle the Stickiness:
When crafting, initially, air-dry clay can be quite sticky. It can stick to the hands, work surface, or even the carving tools. Plus, you also need to keep in mind the fact that not all air-dry clay is created equally. There will always be a slight difference in the feel and texture.
A bit of lotion rubbed on your hands could help with this situation. This will help minimize the stickiness that comes with the air-dry clay with easy moldability.
3-Cover the Project:
In case you are halfway through the project and do not want to continue, the key is to place a slightly damp cloth or paper towel on top of the project to cover it all. Next, apply in one or two layers of cling wrap all around.
This avoids the clay from completely drying out while ensuring that it’s ready for being crafted the next day or the upcoming few days. However, if you plan to take a break from your crafting sessions for more than a day or two, it is better if you use an air-tight box to store your clay and avoid the clay going to waste.
4-Avoid Unnecessary Thinning the Clay:
In case your clay is way too thin, it would eventually cause cracking and chipping once it starts drying up. Remember this and ensure that you lay a solid foundation for your project. Make use of an adjustable rolling pin to create even thickness all around your clay project.
5-Smooth Finishing:
When sculpting the air-dry clay, you might come across multiple imperfections. In case you plan to smooth out the imperfections, it could be done easily with a bit of water dabbed onto the surface. Use a sponge or your fingers and dab the water all around to smooth out different areas.

Make sure you avoid introducing a lot of water to the clay. This can consequently increase the overall dry time. Additionally, you might notice several rough areas post the project drying process. This is nothing to worry about. You can correct this with the help of fine-grit and high-quality sandpaper.
6-Joining and Adding Clay:
Several crafters complete their project by adding or joining the clay. The key is to make use of the slip or score. You can scrape the surface of your air-dry clay using a toothpick & sculpting tools. This ensures that your clay can stick around to something.
On the side, make a bit of slip water (clay that is watered down to a paste-like consistency). This can help join two clay pieces together while creating a strong and durable bond minus the cracking or breaking.
7-Sculpting the Details:
When sculpting the smaller details, you can add some strength to your clay by using a balanced mixture of water and PVC glue. This wash will ensure that there is a reduced risk of cracking or breaking.
8-Drying the Clay:
The best thing about air-dry clay is the fact that it dries up all on itself, and you do not have to pitch in extra effort to help it dry. However, it is important that you get the carving and molding process completed before the clay dries out completely.
When drying the clay, ensure that it isn’t exposed directly to sunlight or doesn’t dry up way too fast. In case this happens, it can lead to cracking or peeling issues. Keep your project away from dust and direct sunlight in a well-shaded area to ensure slow and evenly distributed drying.
Additionally, flip your projects whenever possible. This would ensure that there are no wet places remaining when you finally plan to paint your project. Normally, any project would take up to 24 hours for drying. However, complete curing is possible only after 72 hours.
9-Coloring the Project:
You can color your air-dry clay project in two different ways, the first being before the drying process and the second being after. After you are done segregating the clay into equal halves, you can add acrylic paint, food coloring, or even watercolor to the same. A bit of water with the color makes the consistency even all around.
On the other hand, you can also pain the project after it has dried out. Make sure you wait for a minimum of 72 hours before you start the coloring process. The key is to make use of a high-quality pint such as acrylic to add colors as desired. If putting up layers, allow the previous one to dry out completely.
10-Sealing the Project:
Now, this particular segment of air-dry clay pottery does come with its own set of controversies. After thorough study, one can establish that your air-dry clay cannot ever be truly waterproof. However, it can be made water-resistant to its best capability.
When sealed with the help of an acrylic-based varnish or glaze, air-dry clay can make the clay water-resistant in feature. You can either opt for a glossy finish or a matte one depending on your choice. Additionally, the use of ModPodge helps avoid chipping or fading in any manner.
How Much Does Air-Dry Clay Cost?
Given its unique feature to dry out automatically, air-dry clay might cost you a bit more as compared to normal clay that is fired in a kiln. However, this brings you the ease of molding and helps create projects faster without the need to invest in a kiln. Although normal clay is way cheaper, the cost factor tends to increase substantially when you have to pay up for a kiln. This isn’t the case with air-dry clay.
Do You Need Any Equipment or Tools to Craft with Air-Dry Clay?
Just like any type of clay, while you might be able to mold it with the use of your hands, the key is to get the minute details in perfectly and end up with a gorgeous-looking piece of art. In case you are wondering what could be the best toolset for a beginner, you could opt to get your hands on the Meuxan Pottery and Sculpting Tool Assortment. This toolset packs in 30 different types of tools to help you craft with ease.
Here is a list of some popular crafting tools used with air-dry clay pottery art and along with their use case:
Type of Tools |
Use Case |
| Small Ribs | Used to Round of Edges and Corners |
| Large Ribs | Shaping and Smoothing |
| Edger | Rounding Bowl Lip/Carving Mug Foot |
| Double-Ended Trimming Tool | For Precise Cut and Shaving |
| Wire Cutter | To Cut Through Clay |
| Scraper | To Add Designs and Patterns |
| Hole Cutter | To Create Holes for Adding Handles |
| Ribbon Tool | For Carving and Shaping |
| Sponge | Dabbing Water for Dry-Out Prevention |
| Double Loop | To Carve the Smaller Sections |
| Needle Tool | To Place Delicate Add-Ons |
| Fettling Knife | Sculpting, Cutting, and Scraping |
| Vinyl Case | To Store the Pottery Neatly |
Can You Make Models with Air-Dry Clay?
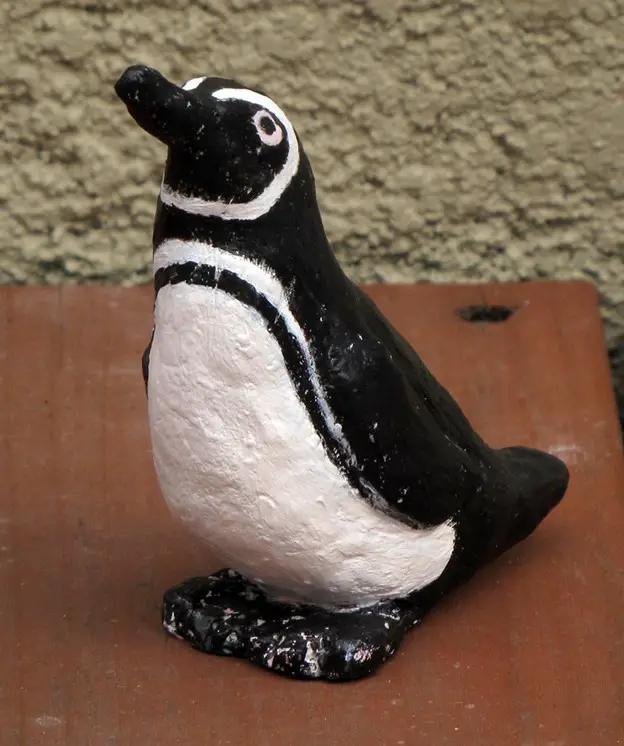
Yes, you can definitely create interesting project models with the help of air-dry clay. In order to create these small figurines, models, or antlers, you can make do with wire tools to create an armature that helps hold the clay in its place.
You can shape it whatever way you like, and it doesn’t actually have to be perfect but strong and thick to help you apply clay as you go. Additionally, rolling pins are of great help when it comes to air-dry clay for flattening the project in an even manner. It also helps smooth out any rough edges and bumps.
How Can I Decorate Air-Dry Clay?
As mentioned earlier, coloring your clay is a part of decoration and can be done either before molding or after the drying of the clay. Apart from this, you can also introduce decoupage papers to the project with the help of Mod Podge. The very same Mod Podge can be used to varnish or embellish your project.
Sequins and buttons look simply amazing when pushed directly into your air-dry clay’s surface before it starts getting hard. Once your clay has hardened, you can use hot glue to help stick on any additional embellishments.
Conclusion
Here is everything you need to know before you get started with your very first air-dry clay project. Remember to avoid mixing clay in large batches as it can dry out while you are working and lead to unnecessary wastage of product. Keep your clay rolled into a cling wrap and stored tightly in an air-tight container while you work with a small section at a time. We hope you can keep on experimenting with these pointers in mind and end up with some gorgeous pottery items!


