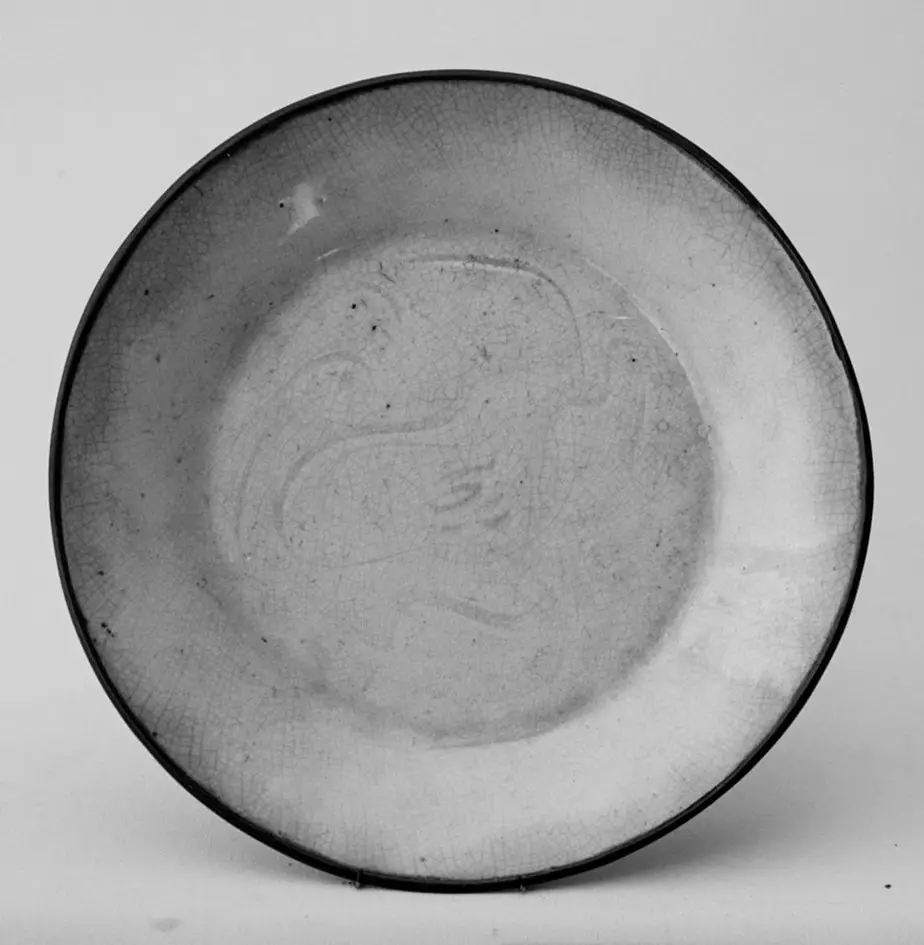
You have learned how to throw mugs or bowls on your pottery wheel, but how do you plan to throw any plate on your pottery wheel? With the wrong technique in place, you would see your mud plopping all around the wheel with no shape formed. What an utter waste!
So, how do you throw some best-quality plates on your pottery wheel without actually wasting anything?
Here is a quick rundown of the best ways to throw some unique plates on your pottery wheel.
Plan Out the Plate
The first thing you need to do is to plan out your plate’s size. This makes it easy for you to decide the exact clay amount you need to create the plate. On average, potters make use of 2 pounds of clay approximately to create a plate. You can also add a bit more in case you tend to struggle to keep the pieces thick enough.
Having some extra clay will also help keep the plate thick while preventing any close trimming through your plate’s foot ring. Keep in mind that you can easily trim extra clay. However, it could be hard to add some extra after you have thrown it on the pottery wheel.
Wedge the Clay
Next, you need to consider wedging your clay prior to throwing. Doing this makes your clay fluid enough for an even throw and molding in the pottery wheel.
Use the Exact Clay Amount
Last but not the least, you need to make use of the same clay amount in case you plan to throw multiple pieces. This is especially true in case you plan to throw plates of the same size. Having the same clay proportion will help you easily replicate the pieces without having to struggle for perfection.
To make things easy, you can use a scale and weigh out the same!
You also need to ensure that you understand the clay type in order to understand which one throws better for creating a plate. Here are some types of clay used for pottery purposes:
| Earthenware | Porcelain | Stoneware | ||
| Types | Terra Cotta | Low-Fire Clay (White) | Porcelain | Mid or High-Fire Stoneware |
| Workability | Fine-Grained with No Grog, Tends to get Coarser with the Grog | Smooth and Fine-Grained Clay | Smooth, Fine-Grained Clay | Medium & Toothy Body, Gets Slightly Coarse with the Grog |
| Best Uses | Used for Functional and Sculpture Ware; Ideal for Glaze Treatment | Ideal for Decoration; Isn’t meant for bowls or cups | Perfect for bowls, cups, platters, teapots, and more | Best for platters, cups, bowls, teapots, sculptures, & slab work |
| Color | Dark Brown or Reddish | Stark White | White (Might become translucent) | White, Brown, or Buff Grey |
Effortless Steps to Throw a Plate on Pottery Wheel
Now that we have helped you start off without any mistakes let us understand the right way to throw a perfect plate on your pottery wheel.

Centering your Clay and Opening
When you start throwing a pottery plate, it starts with perfectly placing the clay on your wheel, followed by centering it the right way. The technique involved in throwing a pottery plate is fairly similar to that of a vase, bowl, or even mug. However, you might add in a technique or two to make things easier.
When centering the clay, you must remember to go low and wide as opposed to tall or thin. Once you attain a form representing lower and wider make in comparison to the shape that represents a mug or vase, you can start to open up the plate and start forming in a way similar to a bowl.
You need to go at it following a 45-degree angling technique to achieve a gentle yet moldable slope.
Plate Compression
After your clay has widened to a proportion similar to the bowl, you can start compressing the lips in a downward as well as outward pattern, eventually creating a plate-like shape. Make sure you avoid pulling its lip in an upward and outward direction as it leads to air and sludge getting trapped beneath the edge of the plate.
An important criterion of throwing a pottery plate is to compress the middle section of the same to help prevent any cracks from spoiling your ceramics. In case it’s hard for you to determine the thickness of the clay just by looking at it, you can opt for a needle and pierce it into the clay to check the same.
On average, the right way to achieve a well-built plate is to opt for 1cm thickness on the entirety of its diameter. You might want to opt for a thinner plate, but trimming is easier with thick clay as opposed to thin ones.
Alternatively, you can also thin out the plate with the use of a sponge and hands. Keep in mind that extra clay allows you to create a well-defined section in between your pottery wheel floor and the rim. It also helps avoid flopping or chipping post bisque and glazing process.
Creating the Rim
Make sure you create a smooth and leveled plate in case you plan on eating on the same. You must also plan a gentle sloping that goes into the middle of the plate. This would allow the liquids in your meal to stay concentrated in the middle as opposed to sliding off from the sides.
Make sure you don’t overwork your clay as it can lead to the rim flopping down or, in simple terms, droop over.
Cut Off the Plate with a Pottery Bat
When you are finally done throwing the plate, make use of the right wire tool to cut off your plate from the wheel’s pottery bat. To help make things easy during your cutting process, you can make use of Mudwire’s Green Handle Cutoff Tool. This durable cutting tool is created with the use of durable polymer handles that provide you with a comfortable grip.
However, when cutting your plate, make sure you leave the same on the pottery bat until your clay rim attains a hard leather texture. Next, gently place one more bat atop the rim while your plate stays in the midsection.
Now, flip this sandwich over and gently take the bat off from the plate’s bottom. This technique allows you to easily get the plate off your bat along with drying and trimming.
Conclusion
With plate throwing, the key is to understand your clay type, the design, and the thickness you need, along with its usage. If you do not plan to eat anything on it and mean to use it only for decorative purposes, you might not have to angle it. Getting the right throwing technique requires patience, so do not feel disappointed in case your first throw doesn’t turn outright. Simply keep practicing!


