When you decide to learn pottery, you might feel confused and unsure about where to start. You might wonder if you need to know anything before joining the classes or if your progress is not how you expected it to be.
Well, if you’re a person aspiring to learn pottery and want some quick tips before you go full-fledged into it, you’re at the right place. Read this article to learn some pottery tips that will significantly help you as a beginner.
1. Understand That The Beginning Can Be Rough
Like any new skill, learning pottery will also take time and patience. When you start going to classes or try to research it, you’ll find that the art of throwing pots comes with a lot of practice, pain, and patience. Equip yourself for ups and downs because even professional potters undergo curves while throwing pottery.
As you start to make pots, the learning curve will be favorable if you do not give up after initial mistakes and try to learn consistently. Though you might feel like giving up, it’s crucial to think about the happiness you will have when you make your first piece. So, believe in the learning process and don’t quit.
2. Wedge Your Clay Properly
Wedging is when you knead the clay well with your hands to remove the air bubbles and distribute the moisture content evenly in the clay. It makes the clay into what a potter calls a homogenous mass, perfect for centering and working further. Using the clay fresh out of the bag is the first thing you should avoid when learning to use clay.
It’s an essential preparatory part that will ensure that your clay is easy for you to handle in the pottery wheel so that you don’t have to wrestle with clay when centering it. While at it, make sure that you don’t wedge the clay in the wrong way. That will do more harm to you than good. If your wedge method puts more air into the clay, you must discard it and start wedging a new piece of clay for work.
3. Maintain The Proper Arm And Body Position
Just like a painting that comes together beautifully with meticulous care and control of the painter, pottery is a skill that needs particular care on the part of the potter. If there are mistakes or the clay does not center even after you wedge, then the error is in the positioning of your arm or body.
Your arm and body need to work together and be in the proper position to throw the clay properly. Here are some tips to achieve the appropriate posture to throw pots.
A. Position Of The Body
-
Make sure your back is straight, and anchor your arms to the side of your body or thighs for better support and control.
-
Lean over the clay so that your back is straight.
-
Keep your legs near the splash pan.
-
Don’t only use your arms and hands. Use your whole upper body when you move over the clay.
B. Placement Of Your Arms
-
Keep your elbows away from the clay, and keep your back straight and your body firm while sitting.
-
Be careful about the force you apply on the clay.
-
Hold your elbows inside or towards you.
-
Use your anchor hand to hold and the other hand to control the clay.
You don’t have to exert yourself while throwing pots. You must position your arms and body correctly and control the clay for your pottery to work out.
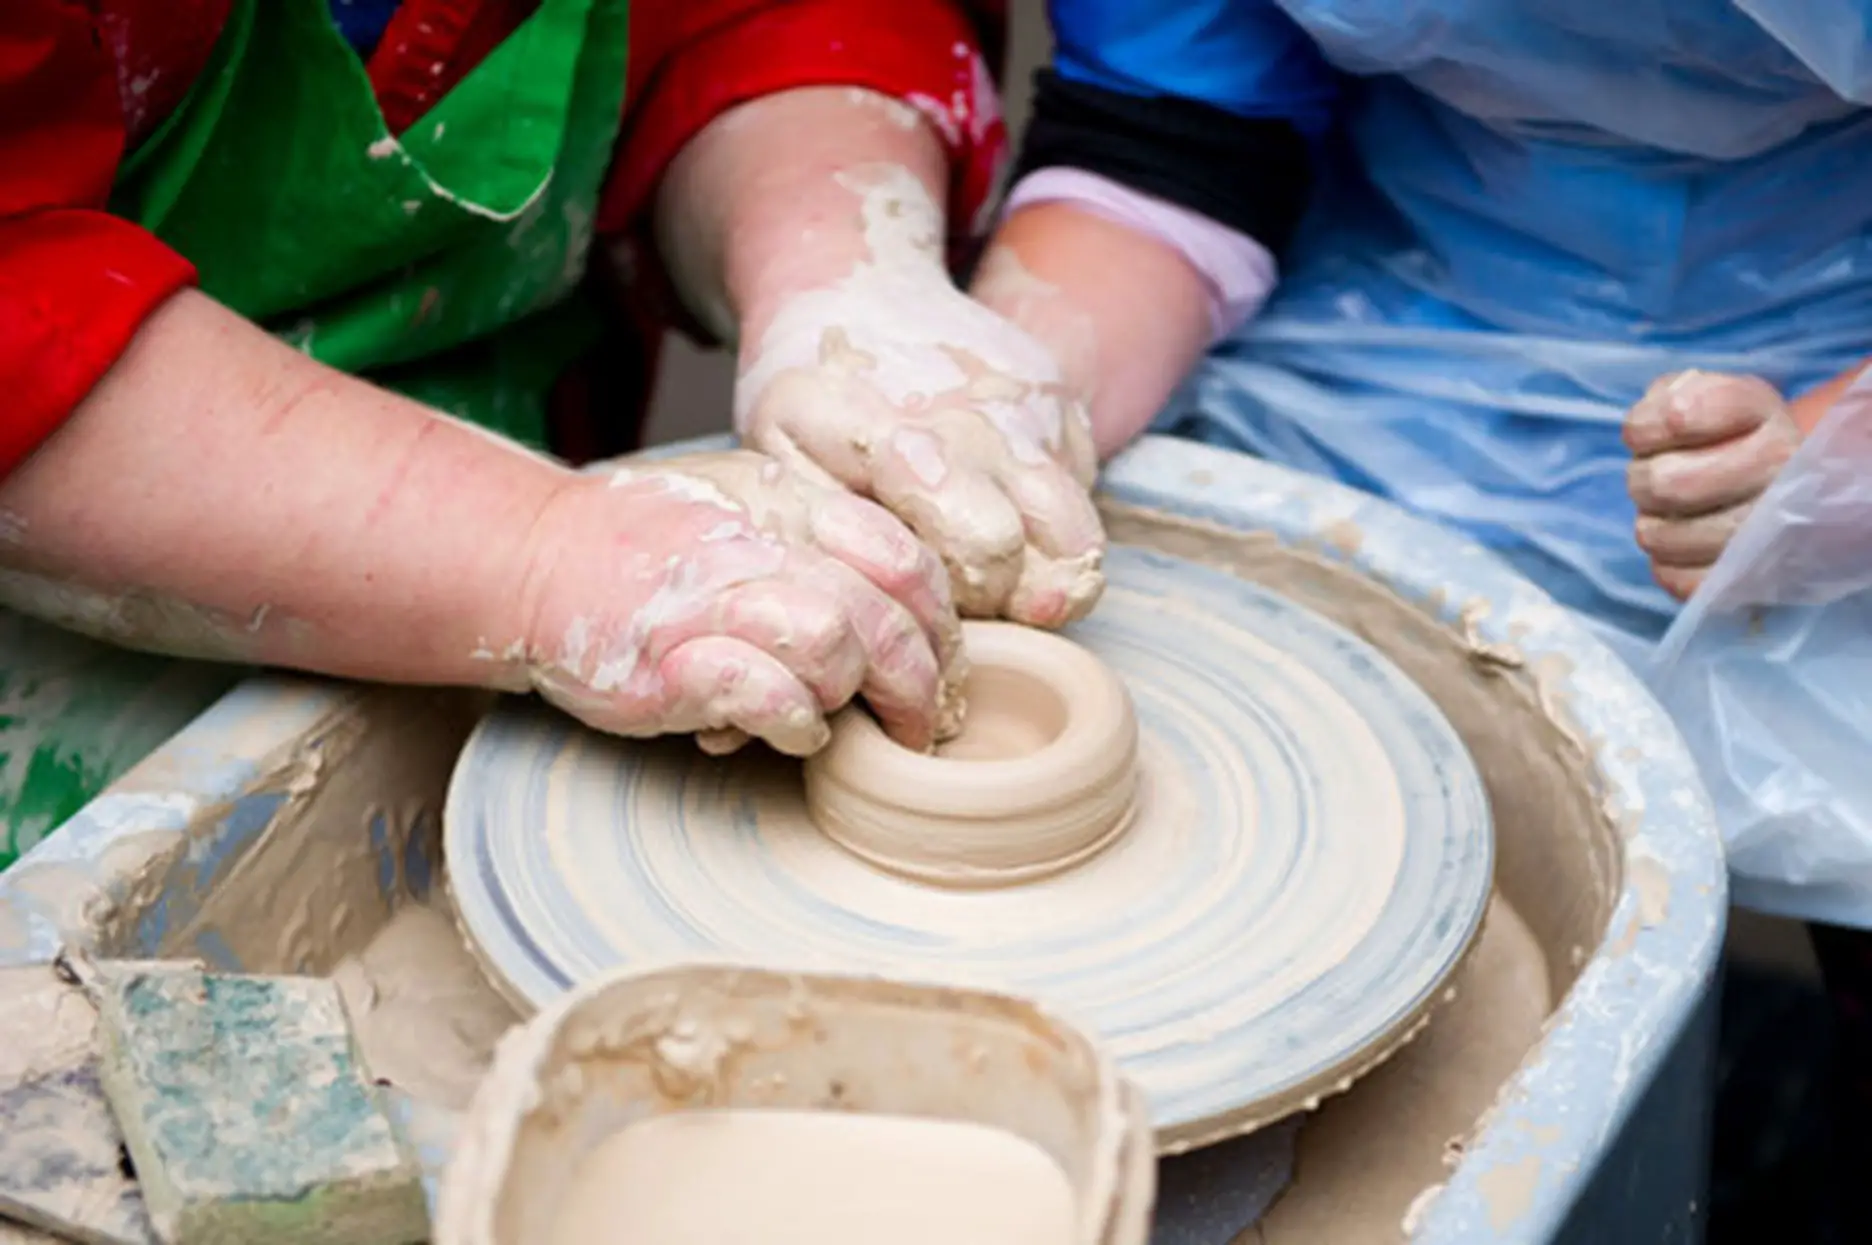
4. Learn Centering Effectively
Centering is one of the critical phases in throwing pottery. Though it might be a little hard to center your clay, coning is a process that will help you center it better. As the wheel turns, add adequate water and squeeze the clay upwards with the palm of your hands.
Repeat this process in an upward and downward motion so the clay is mixed well and gets to the proper form to be centered properly.
5. Be Patient While Opening The Clay
Rush and impatience are two things that will hinder you from making pottery. When you’re opening the clay, do it slowly. If you push down the center of the clay in a quick manner, then you are going to end up with a misshapen clay mass. And on the downside, there’s no way to fix it except by reshaping it again.
Here are some steps that will help you open the clay perfectly.
Step 1: Wet your fingers in a bowl of water.
Step 2: Keep your thumbs over the clay mass’s center.
Step 3: Slowly apply pressure downwards and open the clay gradually.
Step 4: Position the anchor hand on the side and push the clay downwards to make it open continuously.
Step 5: Remember not to apply too much pressure while opening the clay.
Step 6: Make sure you wet your fingers when it gets dry. The correct moisture level is vital for your clay to open appropriately.
Step 7: Repeat the above steps until you reach the clay’s lower part.
Step 8: Use a needle tool to ensure that you accidentally don’t go too low.
You need to be patient and keep trying to get the clay open properly.
6. Use The Right Clay
Using the correct type of clay when throwing pots on the pottery wheel is very important because not all clay is easy to center on the wheel or easy to shape. A simple way of finding if the clay is suitable for you is to see the texture of the clay. If the clay feels rough and like sandpaper in your hands or you’re using more force than usual, it indicates the clay is not suitable.
As a beginner, smooth clay will give you adequate time to center the clay and pull the wall. Clay with an excessive amount of sand takes time to be centered and will eventually hurt your hands when you are throwing it. As there are various clay types available, try working with them until you find which one suits you.
7. Practice Consistently
As we established early, pottery is a skill you can master only with repetition and continuous practice. When learning a new technique or trying to get your body positioning or arm placement right, you will gradually master it with practice and time.
There might be times when you might repeat mistakes and would question your skills and development. But understand that even professional potters sometimes make mistakes. Make the mistakes your opportunity to learn and keep practicing till the technique comes naturally to you.
8. Never Compare Your Progress With Others
One of the worst mistakes beginners of any hobby or skill make is comparing their progress and output with other beginners and sometimes even professionals. Comparing yourself with other potters will only make your progress slow and inconsistent.
Each beginner has their learning phase. To some, pottery might be an easy art to learn. With patience, practice, and belief in yourself, you’ll gradually improve too. So focus only on your learning, and you will see your pottery skills progressing sooner than you thought!
9. Weigh The Clay
As a beginner, it helps to weigh the clay you use each time. The mass of the clay you work with will play an essential role in control and shaping. So during the learning phase, use the same amount of clay to ensure you get the hang of handling the clay in different techniques.
You can gradually change the amount of clay as per your progress.
10. Avoid Exerting Too Much Pressure
Clay is very soft and easily malleable. As a beginner, it might seem that you put a lot of force into keeping your clay centered. But this is an issue you need to notice well. If you’re using your anchor hand to exert too much pressure on the side, you will struggle to keep the clay centered.
It will not only lead you to reshape the clay to start again, but you will be tired soon. Though you would have heard along the journey that you might need extraordinary physical stamina to throw pots, it is not true. You have to work with the clay and learn to control it better. Over time, throwing pots will be an easy skill for you!
11. Add Water When Necessary
Both too much water and dryness can make or break your pottery piece. If there’s not enough water, the clay will be rough and rugged, making it harder for you to center and shape. On the contrary, if there’s too much water, the clay will collapse after you center it, leaving you to start the centering process again.
Let’s look at the two possible issues with water and see how to deal with them.
A.Too Much Moisture In The Clay
Even though you might find centering easy with wet clay, it will be hard for you to start shaping it. So here are some tips to avoid extra moisture before you begin throwing pottery.
-
Try wedging your clay in a surface like hardwood or plaster that will absorb the excess water. If you feel that your clay is textured firm, then it is ready to use.
-
If you find that wedging the clay doesn’t remove the water, then lay the clay flat on wood or plaster. It is a long process along which you need to start wedging a new mass of clay.
B. Not Enough Moisture In The Clay
Like dealing with too much moisture, the best way to make your clay have enough water is to wedge it with water. Below are the two tips for introducing water into your dry clay.
-
Add water to the clay and keep wedging until it reaches the desired texture.
-
If wedging doesn’t work, let the clay get dry and try recycling it.
12. Be Mindful Of The Wheel Speed
There are different speeds for different techniques. You cannot use the same rate to work with your clay when trying different things. Learning to control the pottery wheel is an essential skill that you’ll develop over time. Read below to know when to slow down or when to go fast.
A. Fast Pottery Wheel
The higher speed of the wheel increases the centrifugal force and flattens your clay faster than you expect. So, starting with a cylinder, you should choose high rates to get a bowl or a plate. Higher speeds also help in centering the clay. The wheel must turn at medium-high speed so that you have firm control over the clay to center it properly.
Pulling up walls when the pottery wheel is not going fast enough will be a headache. So set your wheel to turn at a medium to medium-high speed when doing it.
B. Slow Pottery Wheel
It is essential to control the pottery wheel speed as per the piece you’re making. If you aim towards a tall shape like a vase, your wheel turning speed must be slow. Also, slow speeds are easier to handle when you are just learning pottery.
As a beginner, the best speed you can start with is low-medium. You’ll find the best rate to work with as you practice.
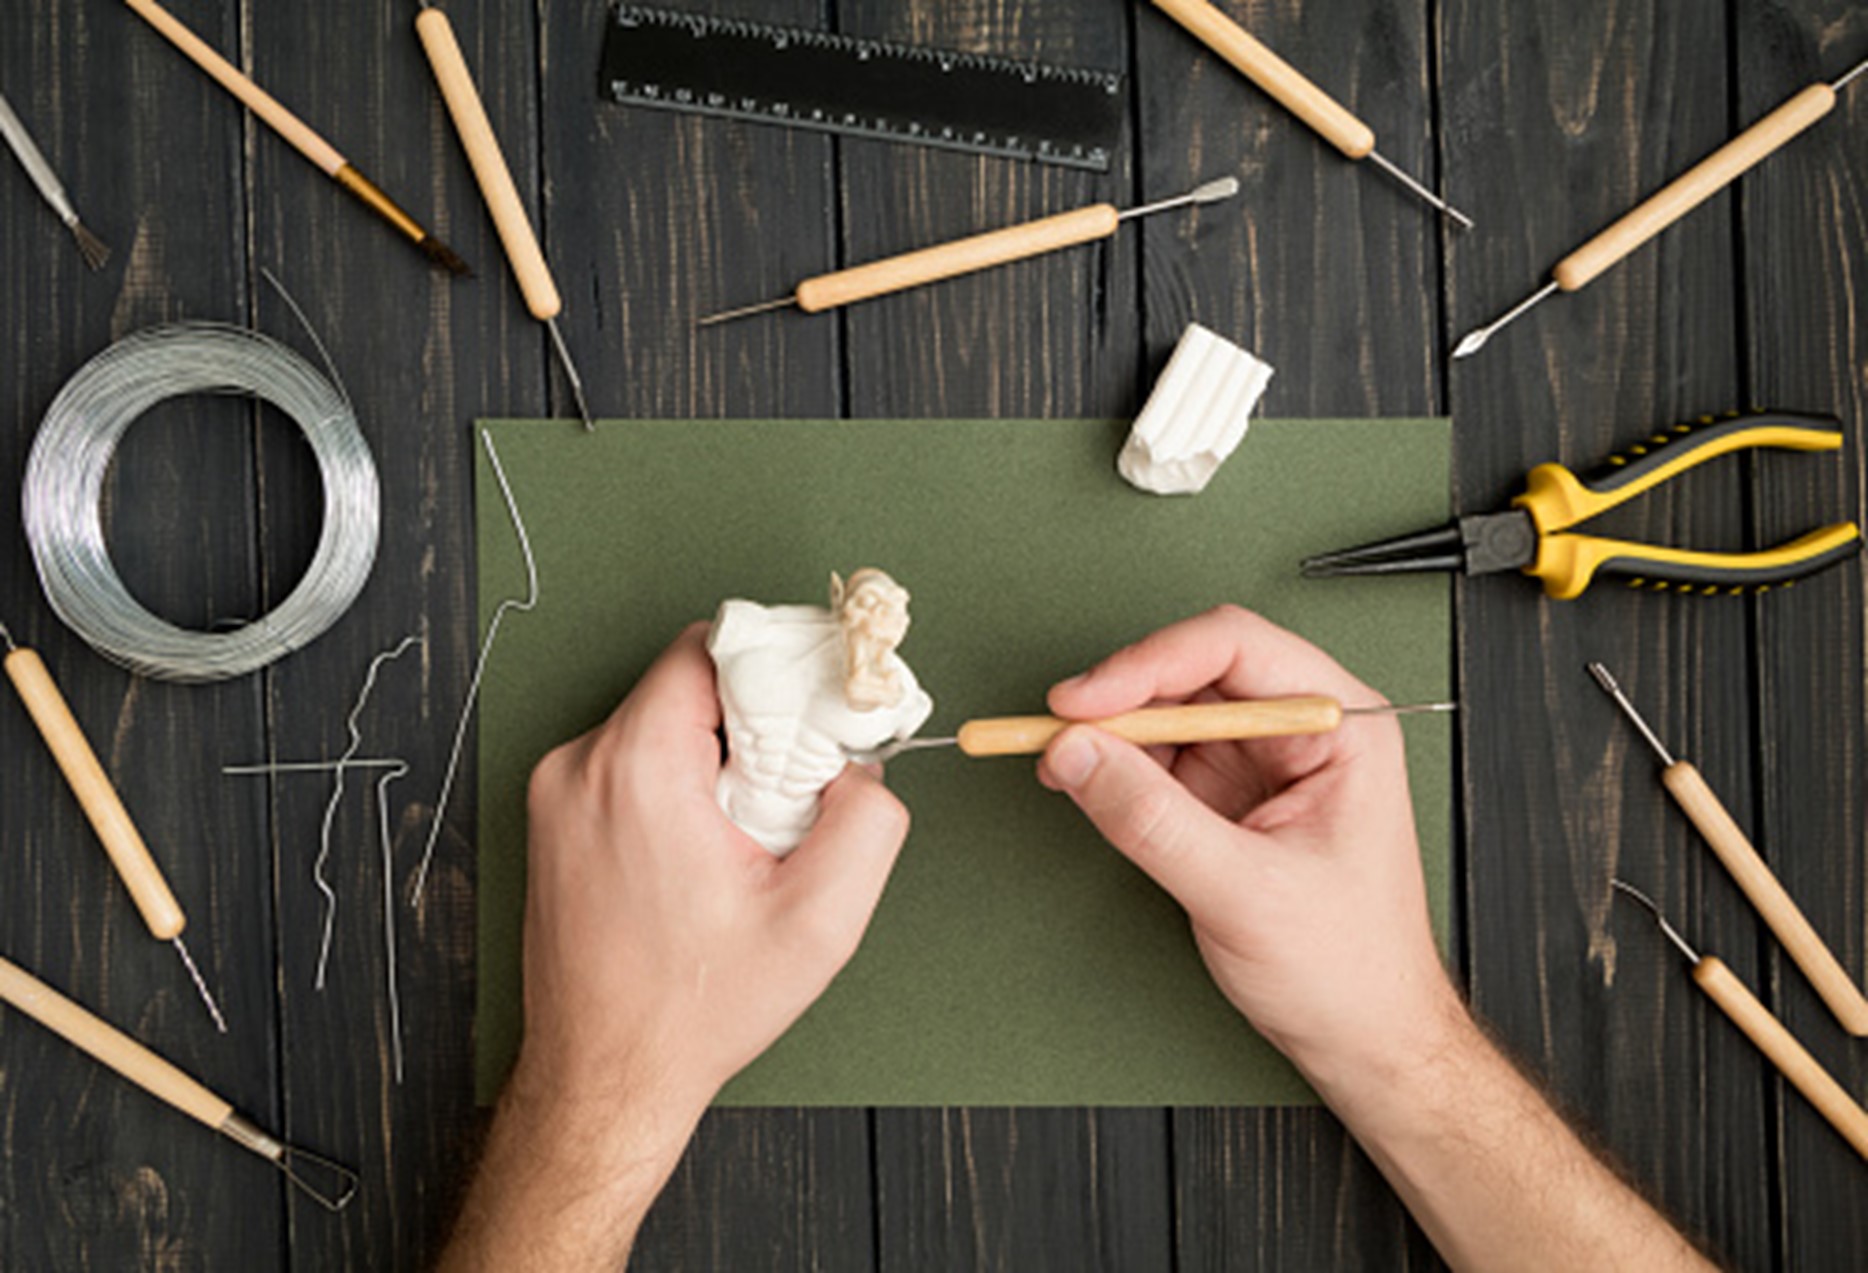
13. Buy The Right Tools
Using the right tools is one of the most significant ways to improve your pottery-throwing skills at the beginning. Potters use more than 35 tools when they design a piece. But as a beginner, you need to start with some tools to learn the basic techniques. Specific tools you must use while beginning your pottery are
-
Wooden knife
-
Sponge
-
Cheese wire
-
Ribs
-
Pin
-
Pottery wheel
-
Needle tool
-
Trimming tool
The tools are not limited to them because as time goes on, you will learn to handle more tools to make a beautiful piece of pottery.
14. Do Not Let Your Cylinder Collapse
As a beginner, forming a cylinder will demand your patience and time. In the learning phase, your cylinder will collapse, and the walls might be uneven. But once you develop the skills, it will be a rewarding experience. Some reasons why your cylinder might collapse and their counter methods are explained below.
A. Uneven Cylinder Walls
If the distribution of clay is not equal on all sides of the cylinder, you will be dealing with many other linked issues. If you don’t apply proper pressure, your clay will lose shape. And if you don’t center your clay correctly, then the chances of your clay becoming a shapeless mass are high.
B. Excess Water In The Clay
As you wedge, you might use a lot of water. Excess water in the clay will lead to the easy collapse of the cylinder. So, dry the clay with a sponge, and use a metal scraper to remove the slip from the cylinder side. Gradually increase adequate water as you need it.
C. Unequal Pressure
As you pull up the walls, be mindful so that you don’t squeeze and close your fingers too much. Try anchoring your left thumb to your right to keep the pressure from the fingers. It will ensure that your piece is even in thickness.
15. Dry It Properly
If you have made a complete piece of pottery, then congratulations on your progress! It is time to be more careful because even a completed work is not safe from some damage. One such issue is the piece getting cracks as it dries.
Though these cracks are hard to fix, there are some precautionary measures that you can take to prevent the damage from happening.
A. Use Wax Resist
If you see the bottom, the rim, or the handle developing joint cracks, then using Wax Resist will help prevent it from going further. The Wax Resist slows down the drying process and ensures that your pottery doesn’t crack when it gets dry.
Wide varieties of wax resist are available in the market, and choosing one of good quality and suitable for your clay is vital. Penguin Pottery – Premium Ceramic Wax Resist is an excellent choice. It comes with a lifetime warranty, is easy to apply, and helps you get the perfect finish you want.

B. Compress The Clay
Compressing is the first and foremost thing to do when working with clay. You might see cracks in the bottom and the pot’s rim if you don’t compress it.
Conclusion
The pottery tips for beginners mentioned above will undoubtedly be helpful when you practice consistently and work with passion. Whether a hobby or learning to become a professional, pottery requires patience and a persevering attitude. So, work along with the clay diligently and don’t give up, and you will see good results.


