Pottery is an intriguing art. It is a skill that takes patience, attention to detail, and a clear vision to transform your ideas into clay and make the desired ceramic. While the process may seem peaceful to watch, it is extremely painstaking to recreate. However, you do not need to be an expert to make pottery on your own.
If you have been curious about how to make pottery, but you’re not sure how to do so because you have only seen it being done in the studio, then you’ve come to the right place.
In this article, we’ll cover all you need- starting from the basic elements that are required to get started on your pottery journey, how to find the ideal material, and the steps to follow to make the best ceramics at home. This is the perfect guide that provides you with all the information on how to make pottery at home, and you’ll be amazed at how simple, yet effective it is for you to do, and there is a lot that you can get out of this.
You can make pottery at home quite easily and readily, and here, we’ll tell you just how it’s done. Read on till the end to find the easiest way to make pottery at home using minimal supplies that produce effective results just as professional equipment would!
A quick step-by-step guide to keep in mind
It is rather difficult to get pottery right if you do not follow the steps stated below in the right order at the specified times and temperatures. Small changes can lead to cracks and breaks that are undesirable and difficult to deal with as a beginner. We start this article with a quick rundown of the steps involved in making pottery:
- Decide what to make
- Put together all the required materials
- Shape your clay
- Air dry/ Dry the clay
- Fire the clay
- Apply glaze
- Firing the glazed ceramic
These are the general steps involved in making ceramics. The first step is what decides the rest of the procedure, materials, and the final product. Expert ceramists and mass manufacturers use this technique to make flawless ceramics. However, similar results can be achieved from a DIY pottery setup.
Set your intentions: Air dry Clay or kiln-fired clay?
The very first thing you need to decide as a beginner pottery enthusiast is the clay that you wish to use. This is largely dependent on the project that you wish to pursue. Different types of clays have different properties that make them better suited for certain purposes.
If you plan to make decorative pieces that are meant to be kept dry or not for containing food, air-dry clay may be the best option for you.
As the name suggests, air-dry clay can be easily molded by hand and dries within a day or two of molding. Sculpting is an easy process that doesn’t require expertise and can safely be used by people of ages- ranging from kids to adults. It also allows room for mistakes and corrections as it can be wet to make the clay moldable, making it easy to revive the clay and reshape it.
Clay types that require firing in the kiln serve greater purposes than air dry clay. They are food-safe, non-porous, and generally last longer than quick dry clay. However, such clays are more difficult to work with and have to be fired in the kiln and glazed to result in a perfect ceramic. Clay that needs firing is mainly categorized into 3 major types of clay- stoneware, earthenware, and porcelain, which will be discussed in the sections following. It may be difficult to understand the features of every type of material and follow instructions in the absence of a supervisor.
Although the composition of all types of clay is similar, several small differences lead to different properties of each type of clay. Depending on your project, you can choose the best-suited type of clay, which further determines the remaining materials you will require.
Get the materials!
Making pottery requires few materials with detailed application and precision to derive optimal results. It is essential to know the purpose behind using each element and the types available to find a variant that is suited for your project.
Irrespective of the clay type you choose to work with, to make pottery, you have some materials that you’ll need to get, and they include the following:
Clay
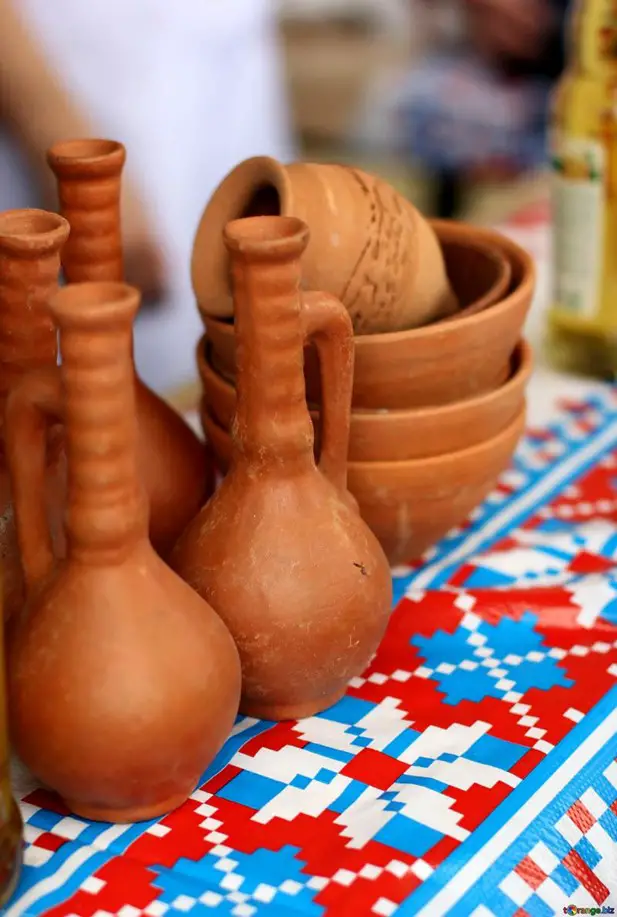
Clay is the primary material used in pottery. Various types of clays differ greatly in the way they should be handled, the temperature at which they should be fired, and the glazes that work well on them. For beginners who are looking for a quick project, air-dry clays that don’t require firing are the easiest and quickest to work with. If you wish to experiment and use more challenging techniques, clay that requires firing in the kiln may be a good choice for you.
There are 3 major types of clays and each of them is made of an altered composition of minerals like silica, alumina, magnesia, sand particles, etc. The naturally occurring element has particles that are less than 4 mm in size. The different types of clays are stated below
| Parameters | Stoneware | Earthenware | Porcelain |
| Firing Temperature | Mid-high temperatures 1100-1300℃ | Low temperatures 804-1154℃ | High temperatures 1200-1300℃ |
| Post-firing Appearance | Tan appearance | Earthy and natural look | Pale grey/ white |
| Opacity | Opaque | Opaque | Translucent |
| Absorption after firing | Non-Porous | Porous | Non-Porous |
| Strength | Hard and Durable | Relatively less hard | Strong and durable |
| Uses | Dinnerware, vessels | Tiles, bricks, and pots | Tableware, food-safe containers |
Glaze
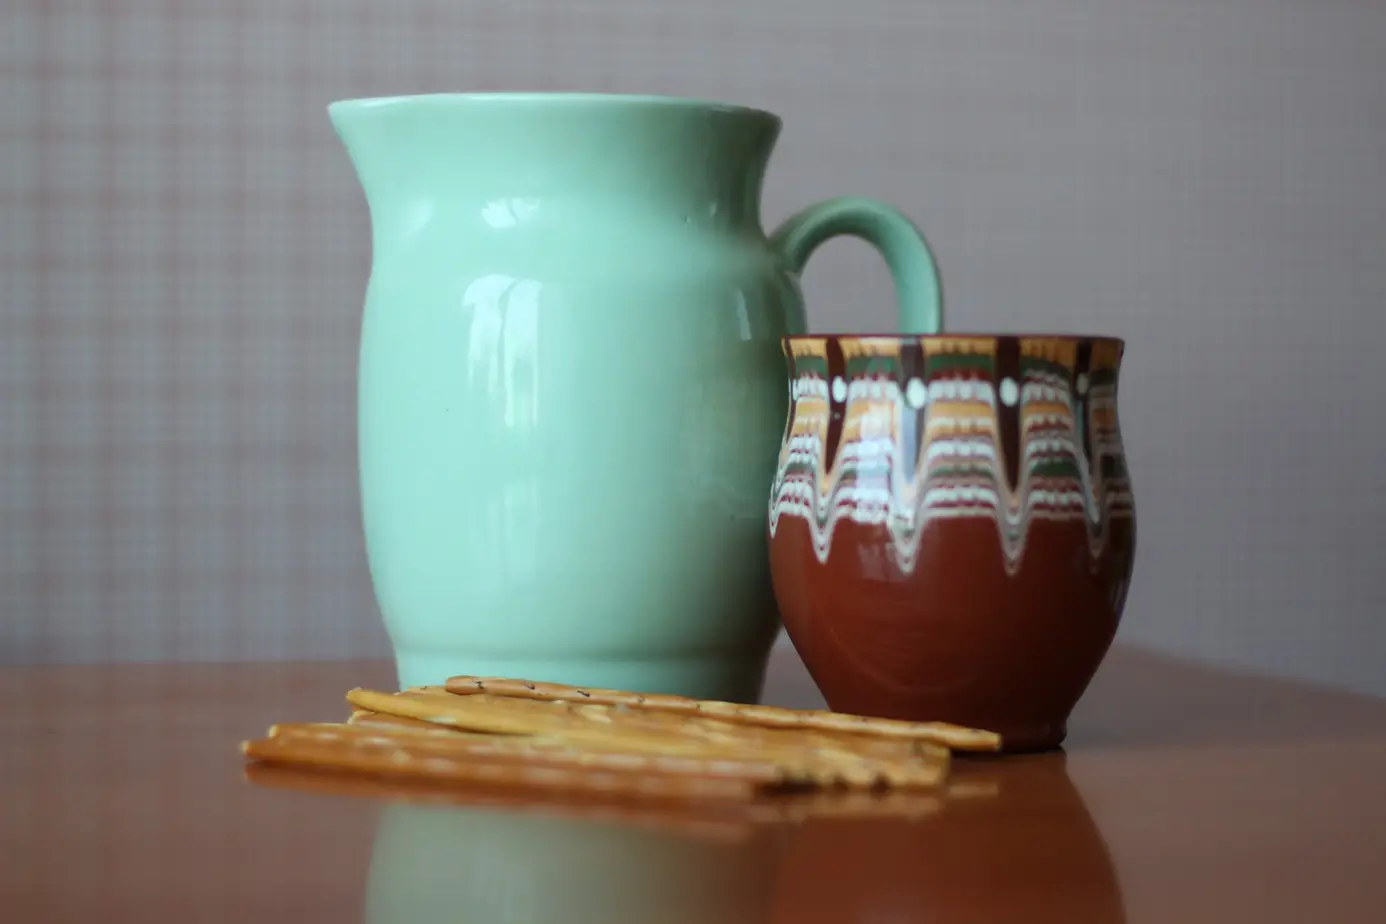
The glass-like coating on ceramics is the result of a glaze applied on top of the fired ceramic that is glazed again to allow the glaze to settle on top and stick to the clay underneath. Glazes are not just added for decorative purposes but also offer functional benefits such as filling up the pores, thereby making the ceramic less porous, and making the surface stronger and more durable.
They help improve the visual appeal of the ceramic by providing a glossy, matte, opaque, or textured finish. Usually, a clear glaze is preferred and it helps enhance the pattern, texture, or design made on the clay underneath. It is essential to keep in mind that pottery that has been glazed must be fired to bond the glaze to the clay.
There are multiple options of glazes available. It is necessary to keep in mind to use a glaze that is compatible with the clay used. In case incompatible clay and glaze are used together, the difference in their firing temperatures is likely to cause over-shrinking or under-shrinking of the glaze. This results in crazing, that is tiny cracks on the surface of the glaze that may run deep enough to affect the ceramic’s stability. The table below can help identify the best-suited glaze for each type of clay.
| Parameters | Feldspathic glaze | Lead glaze | Tin glaze | Salt glaze |
| Compatible with | Porcelain | Porcelain and Earthenware | Earthenware | Stoneware |
| Appearance | Transparent | Transparent | Opaque White | Transparent |
Glaze can also be used to add color to a ceramic. So, if you’re looking for the best quality glaze for your next pottery project, you can buy Mayco Stroke & Coat Wonderglaze Glaze Set. These are low-fire cone 06 pottery glazes suitable for all forms of ceramics, whether dry bisque or wet.
A kiln
After discussing glazes, it is only obvious to discuss a kiln. A kiln is a type of oven that reaches extreme temperatures. For most beginner potters, they may consider getting a kiln, but if you’re not sure whether or not you want one, you can use your oven as a temporary kiln.
The benefits of firing in the oven are the following:
-
Takes less time
Since the oven heats from all directions if you’re making small pottery. However, for big-sized pieces, we recommend getting an electric kiln or using a professional potter’s kiln. If the clay you’re using can be baked at 100°C to 230°C, you can consider using the oven.
-
Can make decent pieces
While it doesn’t support the firing of large pieces, your oven can most certainly help in firing smaller pieces of clay like bowls. It is however essential to check the clay and its instructions to know the ideal firing temperature and time and adjust the oven accordingly.
-
Good for learning
Since beginners usually start with smaller ceramics, firing them in the oven is a manageable act. You can also learn to adjust the temperature and time for firing as you proceed and gain more experience.
But, a kiln is a step up from an oven. However, while they are expensive, they allow you to do the following with them:
-
Fire more pieces in one go
Kilns have much more surface area than your oven which has 2 racks/ trays worth of space in it. Depending on the type of kiln, you can either lay them all on the same level or set them in different racks that provide greater space to fire more pieces of pottery at the same time.
-
You can fire to hotter temperatures
While most ovens only heat up to 200–230 °C on average, kilns are made to fire up to 1,500 °C. This is to allow most types of clays to dry and mature since the high fire clays require temperatures as high as 2381F or 1305C. Since the kilns heat up fast and stay hot for long periods, it allows the clay to be fired at high temperatures in short periods, providing optimal conditions for the pottery, such that you can minimize the chances of cracks or crazing.
-
You can make ceramics from pottery
Remember, ceramics is the chemical changes of the pottery as it is heated up. Pottery is just the shaping of it, and if your goal is to just learn how to make items, then an oven might be your better option.
But, if you like to learn how to make stuff that you can use in real life, not just for decorative reasons, then the kiln may be a better option.
How to decide if you need a kiln?
When choosing a kiln or an oven, always consider the following:
- The space you have
- Your budget
- Whether or not you have the time to work with a kiln
When working with an oven, you get the benefit of convenience, and it doesn’t take as long, but the downside of you can’t use many glazes and it can only fit a particular size and number of ceramics. But, with a kiln, you can use a lot more clays and glazes, with the downside that you will need to spend more time, money, and space to make them.
What you choose is ultimately up to you though, and the level of expertise you wish to gain, the extent to which you wish to pursue the hobby, and what you want to make. If you consider pottery to be a long-term interest that you wish to pursue, buying a kiln may be justified.
A means to make it
This process is completely dependent on the ceramist’s vision. There are multiple ways to shape your clay into the desired outcome. You can either choose to mold it by hand, throw it on the pottery wheel, or use pre-made molds to replicate the shape of the mold. Mass manufacturers use other techniques that facilitate the production of larger batches.
As a beginner, it is easiest to sculpt by hand or use a mold to replicate the shape. A puki is an example of a shaped mold that can aid in this process. Any wooden surface with a desirable shape that can help in making the desired shape can be used as a mold after it is dried and sanded down to prevent the sticking of the clay to the surface. You may also consider throwing the clay on the pottery wheel as an alternative if you have patience and the willingness to explore and learn. We do not recommend complete beginners to try pottery wheels as the speed, clay amount, and water are all variable factors that require some level of expertise or guidance to understand.
Molding tools
This is an optional material required in the process. Tools that are meant for sculpting have delicate tips that allow fine sculpting to make precise details and clean the edges of the pottery. Experts simply use their fingers to get the desired shape from their clay. You can start by using tools like spoons, scrapping tools, and knives to sharpen edges, cut clay, and give texture. Brushes and sponges are other tools required to dampen the clay without leaving any imprints on it.
Other decorative materials
Some ceramists use other materials to provide greater detail and improve the appearance of their ceramics post-glazing or pre-glazing. This can be through different paints, stick-on decorations that can be stuck to the ceramic using adhesive and then glazed over, carving into the ceramic using needles, etc. It allows complete customization of the ceramic to make it truly unique.
We’ll go over the best type of each of these for beginners doing pottery at home in the next section.
Choosing the right kind of materials for your project
It is critical to find materials that are compatible with your use. In this section, we explore the best options for beginners while keeping in mind the different types available which were explained in the previous section.
The Clay of Choice
First, consider your clay.
As stated earlier, you have three options, and they are
- Low-firing earthenware
- Medium-firing stoneware
- Porcelain that fires high
All of these are great options, and you also have polymer clay too, which is good if you’re using this in an oven.
But, if you’re starting, we suggest going with medium-firing clay, because it has the following properties:
- Takes less time to make
Molding stoneware clay is a relatively easy experience as it does not dry out too fast. It also has a stick-proof surface, which helps beginners keep the clay together without worrying too much about the clay sticking too much to the workstation. Usually, such situations lead to adding too much water to the clay which results in cracking, and crazing and affects the overall look of the ceramic, and may even affect its structural integrity.
- Dries fast
Drying the clay is essential to prevent it from exploding in the kiln. Once sculpted, your clay should be left to dry in a well-ventilated room without too much wind or heat. Incorrect drying may cause cracks in your ceramic. Stoneware dries within 2 weeks of molding it. If your ceramic is dry and not cold, it means it is bone dry and is ready to be bisque fired.
- Is good to start with
As a beginner, you may change the direction of your project based on the progress made. Stoneware is excellent in such cases as it has versatile applicability and its features make it sit right in the middle of the clay spectrum. It is easy to work with and gives you durable and non-porous results which can be used for making any piece of pottery- be it a vase, plate, or vessel.
- Generally is easy to work with
The reasons stated above make it extremely easy to work with, even without the guidance of an expert. Stoneware clay does not necessarily require glazing, although going the extra mile and completing the process will make the ceramic more non-porous, durable, and usable for versatile purposes.
Your clay is the first medium you’ll need to consider, but you should also look at glazes of choice.
Your Glaze Choices
Your glaze choice affects how the piece looks, and also its properties of this. Some of the different factors that go into glazes include the following:
- Whether you want to waterproof your pottery
- Whether you want to add a nice, shiny finish to it
- Whether you want to add a specific color to it
- The kind of clay used to make the sculpture, its firing temperature, and related properties
All glazes are applied based on the firing temperature. You should make sure that the temperature of the pottery glaze fits with what you’re trying to make since it will only work if it’s fired to the correct temperature.
If you get a glaze that doesn’t fit the temperature of the clay, it causes the following:
- It’ll melt if it’s too hot
- It’ll not adhere if the pottery is fired too low
- It won’t change to ceramics
- The mismatch of temperatures of the glaze and the clay will cause cracks
Glaze plays a major role in determining the final look of the ceramic. Since it is a big part of it, remember to pay keen attention to the above-stated factors when choosing your glaze. As per our previous recommendation, if you have chosen to use stoneware clay, it is ideal to use a salt glaze on it that will leave a clear, shiny layer allow the color of the clay to be visible, and give the ceramic a rustic appearance.
Getting Started
- Now that we have discussed each element, the options available, and the options we recommend, we move on to the actual process of making pottery.
Preparing your Clay
You’ll first and foremost want to make sure that you have a lot of water on hand, and your clay as well.
You have two ways to make your pottery piece, and they include the following:
- Hand building
- Wheel throwing
Personally, for functional ware, we recommend the wheel-throwing since it creates a more rounded shape. But, if your goal is to create decorative pottery that has a unique structure that isn’t the same all around, then hand-building is a cool option.
But, if you’re doing hand building, you have a few different ways to do it, and they are as follows:
- Slab pottery, where you make slabs, attach their score, and slip them together, is ideal for flat structures
- Coils, which involve rolling out coils attaching them to a flat surface, and then blending them, are good for more rounded or cylindrical bowls
- Pinch pottery, where you pinch and pull the clay outwards to create a unique shape, good for those who want something a bit easy
But if you’re someone who thinks this is a little easy, you might want to consider throwing pottery on the wheel, which we’ll discuss in the next section.
Throwing Pottery
Throwing pottery is a good way to begin, and it’s not as hard as you think it’ll be. To do it, you need the following:
- Some clay
- A plaster slab
- A potter’s wheel
- A big bowl of water
- Throwing rib
- Potter’s needle
- Cutting wire
- Sponge
To do this, there are a few instructions you’ll want to follow, and we’ll list them below:
- Grab a bit of clay to work with and make a ball
- From here, throw the clay against a flat surface and knead it to get rid of air bubbles, then throw it back into a ball, and then put it on the wheel with the bottom on the ground
- Keep your body centered over and put the legs on the ground, and start spinning at a decent speed to throw
- Wet the hands in the water and then cup the clay, squeezing it into a cone-shape
- Keep your hands wet and then push down into the center, to help flatten and keep everything evenly rotated
- Continue to do this until it’s balanced and positioned without being unbalanced
- Once ready, make a hole in the center and then use the other hand to keep the outside stable by cupping it, and from there continue to push the finger outwards
- Make the hole larger and continue to do this, and from there, you’ll want to make the walls as thick as you need to
- From here, you can start to use your fingertips against the inner wall and use your thumb to keep everything in place so it won’t slip
- Once you are satisfied, use the sponge flatten everything, and make it gently apply pressure
- From here, you’ll want to use the potter’s needle and put it where you want to level it so that it’s rounded, and then once done, you just cut and lift it off.
- Slowly stop the wheel and then use the cutting wire put it behind the pot and move it
This is all there is to it, and you can make it into whatever shape you’d like it to be. At this point, we move on to the drying process, which we’ll discuss below.
Dry it Out!
Drying is not a fun process, but it’s something that needs to be done. On average, you’ll need to dry everything to the point where it’s bone-dry.
To dry a piece of pottery, you essentially do the following:
- Take the pottery off and then put it in a place where it can dry through the different stages
- Let it sit there until it’s bone dry
- You can test it by touching it, and if it’s cool to the touch, it’s got to dry a bit more
- Keep it in a place that lets air circulate to the greenware, and keep it away from the dirt and dust
- Dry each piece separately, and never with the extra elements on top, such as a lid, since it’ll stick together
- Don’t touch it until it’s bone-dry
Now you’ve read here that you can’t touch it until it’s bone dry. The stages of the pottery include the following:
- Greenware, which is when you take it off the wheel
- Leather hard, which is usually when people apply any slips to the piece
- Bone-dry, which means it’s dry and ready to fire
Never put a piece that isn’t bone-dry into the kiln or firing medium. That’s because, if you do this, it’ll end up cracking and exploding, and the shape can be affected as well.
Once it is fully dried though, you can then throw it in the kiln, and we’ll discuss the final stages of this in the next section.
Firing Time!
Finally, you’ve got to fire the pottery so it hardens and keeps its shape. The best way to do this is, of course, to know what you’re working with.
Different clay takes different temperatures and different times.
To fire, you should do the following:
- First, check the temperature that you need, and from there, you set the kiln to that temperature once the pieces are put in
- Make sure to never put the pieces in after since they can crack and explode
- Never leave the kiln unattended, even if this happens for a long time
- You’ll then want to wait for it to gradually get hot, and let it fore for as long as needed
- When it hits that point and it is done, you then let it slowly come down. Never let it come down quickly
- When you think you’re ready to open it, very slowly open it. If it’s still hot to the touch, you then wait until it’s done
- From there, you can add a glaze and then fire this once again
Some people like to do two firings, which is good because it reduces the chances of the piece being compromised, but you can also single-fire this.
To single-fire some pottery, you do the following:
- Apply your glaze to the leather-hard stage
- Let it slowly fire to the temperature needed
- Let it sit at that temperature and slowly come down
This is a much riskier type of business, but it definitely can be a wonderful thing to try
When done, you let it cool and then display it as you see fit!
The Price for This
You may wonder how expensive this can get. The answer is it varies.
The expenses you incur include the following:
- The kiln you get
- Whatever wheel you want
- The type of clay and glazes you need
Some people can get by with spending a couple hundred on this, others spend upwards of four grand on this!
A way to offset the cost is to do the following:
- Use your oven and basic polymer clay to start with
- Slowly get all of these items, don’t get them at once
- Learn with hand building first and then move on to wheel throwing
- When buying a kiln, it’s better to get one that’ll last you a while than something that’ll only be used for a few firings
- Consider how much you’ll be using this before you buy it
Remember, if you’re just starting, you don’t have to commit and buy a lot of pottery materials at a high price if you don’t want to, but if you think it’s worth it, then great, that’s ultimately your choice, your money!
The DIY route
What we’ve discussed so far is the traditional setup involved in making ceramics. However, if you are on a budget or are just testing out the hobby if it is the right fit for you, you may not be inclined to spend excessively and may only be willing to purchase the necessities. In such a case, we have the DIY method, where you can make the pottery by using household items, and minimal expenditure to result in beautiful ceramics.
What you will need?
In this alternative method, the use of regular household supplies is promoted and such objects substitute for specialized tools related to pottery. If you wish to use this method, you will need-
- Clay of your preference
- Bricks
- Sand
- Plywood
- Mold
- Water
- A cloth
- Fuel for burning, for example, charcoal
- A rolling pin
- A smooth surface tool like a spoon
That’s all! Using these substitute products you can make pottery without excessive expenses. However, you may require more time to complete the process.
Steps to follow
Most of the steps involved are similar but just require the use of different tools.
1. Prepare your surface
Find a space in your house where you can spread out and put the materials around. Lay the cloth on a table or the floor that you will be working on and place a piece of plywood on it. This will prevent your workstation from moving excessively.
2. Measure your clay and get molding
Using a string or a knife, cut out the portion of clay required for your project. For this technique, we suggest using simple ideas like bowls, plates, or small containers as the desired output. Roll out the clay, preferably stoneware as recommended, into an inch-thick flat surface. Place your desired mold on or underneath the clay and begin to shape it to replicate its size and shape. Make use of water to smooth out the edges and clean up any excess clay in undesirable sections. Using wooden molds will prevent the clay from sticking to it and allow a mess-free process. In case your clay is too sticky, ensure that your mold is completely dry and if possible, sand it down.
3. Smooth the surface
Once you’re happy with the shape, use a spoon or smooth-surfaced tool to smooth out any irregularities on the surface. This will help get rid of any unwanted texture on the clay.
4. Allow it to dry
After smoothing the surface, give the clay some time to dry. Do not keep it directly near the window. Keep it in a well-ventilated room.
5. Make your DIY kiln
Your clay may take a day or two to dry. Once it is dry completely, such that it is not cold to touch, prepare your brick kiln. This may be a long process that requires some laborious effort but provides effective results. Use the sand, bricks, and fuel to build your kiln. We recommend doing this outdoors in a place with minimal vegetation. This kiln will be covered and will not produce much smoke. Our article on building a brick kiln by yourself can help you in this process.
6. Keep an eye on the kiln
After placing the clay in the kiln, ensure that you are around at all times while the kiln is burning. We recommend keeping the fuel source separate from the clay. This is to prevent the clay from getting stained.
It may take a couple of tries to find the optimal temperature, fuel, and time required to perfectly fire your clay, but with experience, you should be able to perfect it and understand pottery and its essence.
Although this method takes more effort and time, it allows beginners to explore the complete pottery experience without having to spend too much.
Pottery is a unique art form that requires the use of creative skills, multi-functioning, and keenness for detail. With several factors involved that are variable and can be altered to produce different effects, it can often be stressful to produce pottery pieces. However, when approached to learn without pressurizing oneself to excel on the first attempt, it is an experience like no other that teaches patience and makes one more confident in their abilities.
Making pottery may seem like a difficult task that involves various materials. The plethora of resources that direct beginners to purchase bug investments like kilns and pottery wheels put pressure on them and push them to failure even before starting.
Making pottery at home is the perfect way to escape this route. This process detailed in this article allows pottery enthusiasts to have fun while learning how to make it at home with this complete guide. A few basic materials like the right clay and glaze, an oven to fire, or a kiln if required, and some basic sculpting tools can set you to the right start with just the right amount of equipment. You can now start putting together your pottery pieces, and if you’re ready to take the plunge and learn how to do it, now is the time to do so.


