
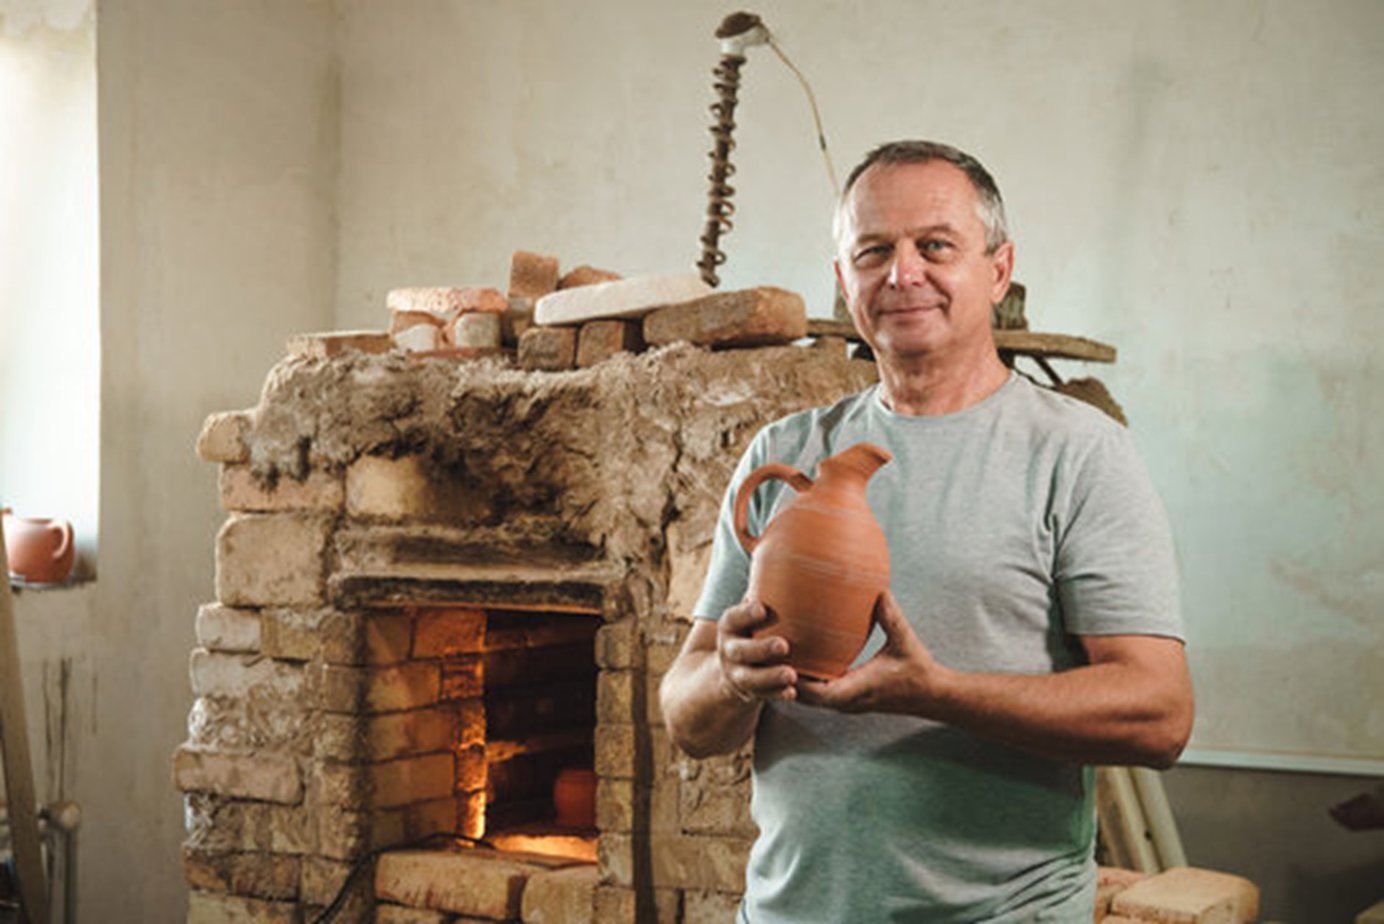
A kiln plays an integral role in pottery. Clay materials are shaped, dried, and fired in a kiln to produce final pottery products. Over time, kilns have developed from old methods of fuel pit firing to new high-tech modern forms. However, the brick kiln is a type that has been in use in older times and even today.
A brick kiln is an insulated chamber or oven that uses heating for hardening, drying, or chemical changes, especially for pottery. They have always been the most efficient and adequately constructed pottery methods requiring less labor.
Nevertheless, a simple brick kiln with no mortar can be pretty easy to create at home. They are too easy to construct, have no thermal strains during the heating and cooling phases, and are strong enough to tolerate loading and unloading pressures.
So, here in this article, we will discuss how you can make a DIY brick kiln at home.
Various Forms Of Brick Kilns
Brick kilns come in a variety of styles, and the majority of them can produce high-quality results. Over many years of operation, they have proven to be modest in capital expenditure, moderate in labor requirements, and capable of producing remarkably high yields of good quality charcoal suited for all industrial and home uses.
So, here are some of the types of brick kilns. Have a look!
1. Slope-Type Beehive Brick Kiln
This brick kiln is in the shape of a circle and 4 meters in diameter and is constructed on a slope. It requires fewer bricks in formation and is found in Brazil. It should be protected by creating a barbed wire fence around it. The kiln floor should be smooth and wet clay should be put on it.
2. Schwartz Kiln
It is an improvised system of brick kilns used in modern days. Here hot gasses pass through an exterior fire grate into the kiln for heating and drying the wood for carbonization. This kiln needs a lumpsum amount of steel for its grates, chambers, and doors.
3. Argentine Brick Kiln
This kiln is made entirely with bricks, and a mortar of charcoal or mud is created. It has two doors and support of iron or steel. The doors are closed with bricks after firing completion, and this simple task is repeated every other time. The foundation base is made with rows of bricks and mud mortar. All holes must be open, and branches and leaves are thrown into the fire to keep it alive.
4. Brazilian Beehive Kiln
They are circular and dome-shaped kilns made with ordinary bricks, and their exterior is in direct contact with air. The yield is of better quality and requires low cost, which can be built simply in a week. It has a stable structure and can be made again on another land. The maintenance is easy, requires no timely repairs, and needs no electricity or water.
For your convenience, here we have provided a comparison table based on the advantages of the 4 types of brick kilns mentioned above.
Slope-type beehive brick kiln advantages |
Schwartz kiln advantages |
Argentine brick kiln advantages |
Brazilian brick kiln advantages |
Use comparatively fewer bricks than the other kilns |
Require a substantial amount of steel |
Large and medium-sized and require no steel |
Made from local materials like clay and sand mortar |
Relatively easier to operate and are well-liked among local independent charcoal producers |
Hot gases from an external fire grate are routed through the Schwartz kiln to provide heat for drying and warming the wood to begin carbonization. |
Bricks can be used again and recycled for better results |
With a stable structure, it facilitates better output |
Homemade DIY Pottery Brick Kiln
Sawdust firing is the easiest way to fire clay. However, it can be used to fire pottery, and one must be cautious and professional while carrying out the steps to create a sawdust kiln.
So, here are the steps to create a DIY brick kiln.
1. Gather All Materials Needed
You need to collect the following materials.
- Bricks
- Steel mesh
- Sawdust
- Steel sheet
- Newspaper
- Light fuel
- Matches
2. Form The Basic Structure
A smooth and clear land should be selected with no grass or greenery because you must take precautions not to spread the fire. Use dry and local house bricks to position on the ground. Executive Deals Insulating Fire Brick can be a good choice for homemade kilns as they are lightweight, heat tolerant, and energy-efficient

Make two layers in the base with 24 bricks to create insulation. The heat must be preserved well and kept alive. The pit firing method needs a hole the size of the pots you’re going to place in the space of 1 foot.
3. Create The Walls Of The Kiln
The bricks must be laid on the narrow side for a larger space inside the structure. Then you might need fewer bricks for the length of the wall.
The positioning must be solid and closer for a robust structure with gaps to let in air for the fire to keep burning. The pit must be deep to keep the earthenware away from the air.
4. Fill Fuel In Layers
The layer must be a couple of inches thick to place your pots on. In addition, they must have a distance filled with fuel like wood or sawdust.
The kindling must have smaller pieces of wood on the bottom and large ones on top. Next, you must preheat it to keep the process dry by keeping the pottery around the pit and lighting a fire.
5. Create A Support Model For The Kiln Walls
Use a mesh wire on the top for every new layer of pots so that they don’t fall as the fuel burns out. This sheet must be 24×24 inches in dimensions, and after this is placed, use a new position of bricks to keep this sheet intact.
The second layer is also made of two bricks, and the fuel must reach the top to keep it burning for longer.
6. Add A Layer Of Lightweight Fuel
There must be newspapers with kindling wood around them, and for easier burning, add another lighter fuel to it. Meanwhile, keep a fire extinguisher, and a blanket as the kindling turns into charcoal.
The perfect fire must spread to the entire material. Place the steel sheet on top of the kiln carefully, leaving a little space on the top to let in air.
7. Keep The Fire Burning
Keep the kiln burning for 30 minutes and cover the entire kiln with the steel lid in stages of 10 minutes. Use some more bricks on top to keep the lid in place and to keep it as a seal.
There must be some space between the air that keeps the fire inextinguishable. Leave the kiln overnight; it must have cooled down the following day.
Tips To Create A Perfect Pot From Your Brick Kiln
If you want your pottery item to have a perfect finish after burning it in the homemade brick kiln, follow the tips below.
- Align The Dimensions Of Your Pots With The Kiln
If you wish to fire numerous potteries, note the length and width. Multiply this by 1.5 to decide the interior dimensions of the kiln. You must also create multiple compartments to support more pots. Multiply the length to the width by the height to find its volume.
Calculate the volume of the interior by multiplying the length by the width and height of the interior. Next, subtract the interior volume from the exterior volume and divide this by the volume of 1 brick. Now, you can decide the number of bricks you’ll need.
- Form Square-Shaped Brick Kilns
A square or rectangular kiln shape will give greater volume than a cylindrical one. However, these kiln shapes are common, more expensive, and complicated.
There’s no mortar at the foundation, so you must keep the bricks tightened against each other. Also, it will help in the production of high-quality pottery items.
- Ensure Systematic Arrangements Before Pottery-Making
The place must be legal for burning, and you must pull out all weeds. Keep all materials neatly organized near the site. The area must be wide, or you must reduce the planned size of your kiln.
You must also purchase a corrugated sheet of iron for the roof. It should be placed on top of the kiln and removed to protect it from rain.
- Facilitate Best Burning Conditions
The fire may take 12 hours to cool off after burning for about 3 days. While handling the fire in the kiln, you must use protective gear and heat-resistant goggles for protection against the smoke.
Clay bricks are best for kiln buildings as cement cracks up in the heat. Washing the kiln between firings with alumina hydrate mixes will lengthen the life of your kiln and produce quality pots.
Best Practices For Effective Brick Kiln Operation
Factors involved in the practices of brick kiln task operations are internal fuel mixing, smoke emission protocols, and more. So, you must ensure that each of them is appropriately followed.
1. Store Fuel Properly
The coal should be raised on a solid platform with perfect drainage arrangements. In addition, the coal must be kept in a storage area with complete ventilation, and the height of the coal stack must not exceed 1.5 meters lest it loses its heating value.
2. Consider The Size Of The Coal
It must be kept in mind that the coal is completely burnt and catches fire before the next feeding. Therefore, the coal size must be as minute as powder and properly graded. It gives a good brick quality and quick igniting that releases heat to the top.
Large coal releases heat to the bottom of the pit while smaller coal combines air-fuel better and improves the combustion rate.
3. Check The Fuel Quality And Feeding
Coal with high ash content or high sulfur must be avoided in brick kilns.
Feeding must be done in more lines to increase the firing zone, which leads to better combustion and reduced stack emissions.
4. Facilitate Regular Brick Kiln Maintenance
Your brick kiln must be double-walled to keep leakage away, and it must also be plastered with sand, clay, and cow dung.
It must be kept above ground level with the proper drainage system. A shed will also save tons of coal and give shade to the person working on it.
5. Take Care Of Fugitive Emissions
Air breakers or sheds should be built to reduce fugitive emissions.
Coal should be crushed in enclosed spaces, and trees must be planted on the outer borders of the area. Keep the ash layer in the preheating zone covered with a plastic sheet.
6. Ensure Proper Insulation
After the construction and before the firing, the exterior must be insulated with mud and bricks. It prevents heat loss, so the bricks are well-fired, and fewer uses for firewood. The insulation thickness should be around 150 mm and broken, and dry bricks can be used from a previous firing for better outcomes.
Thus, the bricks are laid as a layer of mortar and then plastered with mud. This plaster should have no clay because that will make it fall off. This plaster is of two layers, and it must have sand to prevent cracks in heat.
7. Take Preventive Measures For Fire Hazards
For safety, the kiln must be covered with multiple layers of bricks or wire, and a full-face mask must be worn with hand gloves. This is for protection from coal handling and the gasses that arise in the hole.
Stabilizing roads should be built, and water must be sprayed over the ash layer before the removal.
Conclusion
Why buy an expensive kiln when you can make a convenient homemade kiln which is a great project venture? So, by following the instructions mentioned above, you can easily make your own brick kiln. However, you need to take care of safety. So, always keep a fire extinguisher nearby to avoid any fire hazards.


