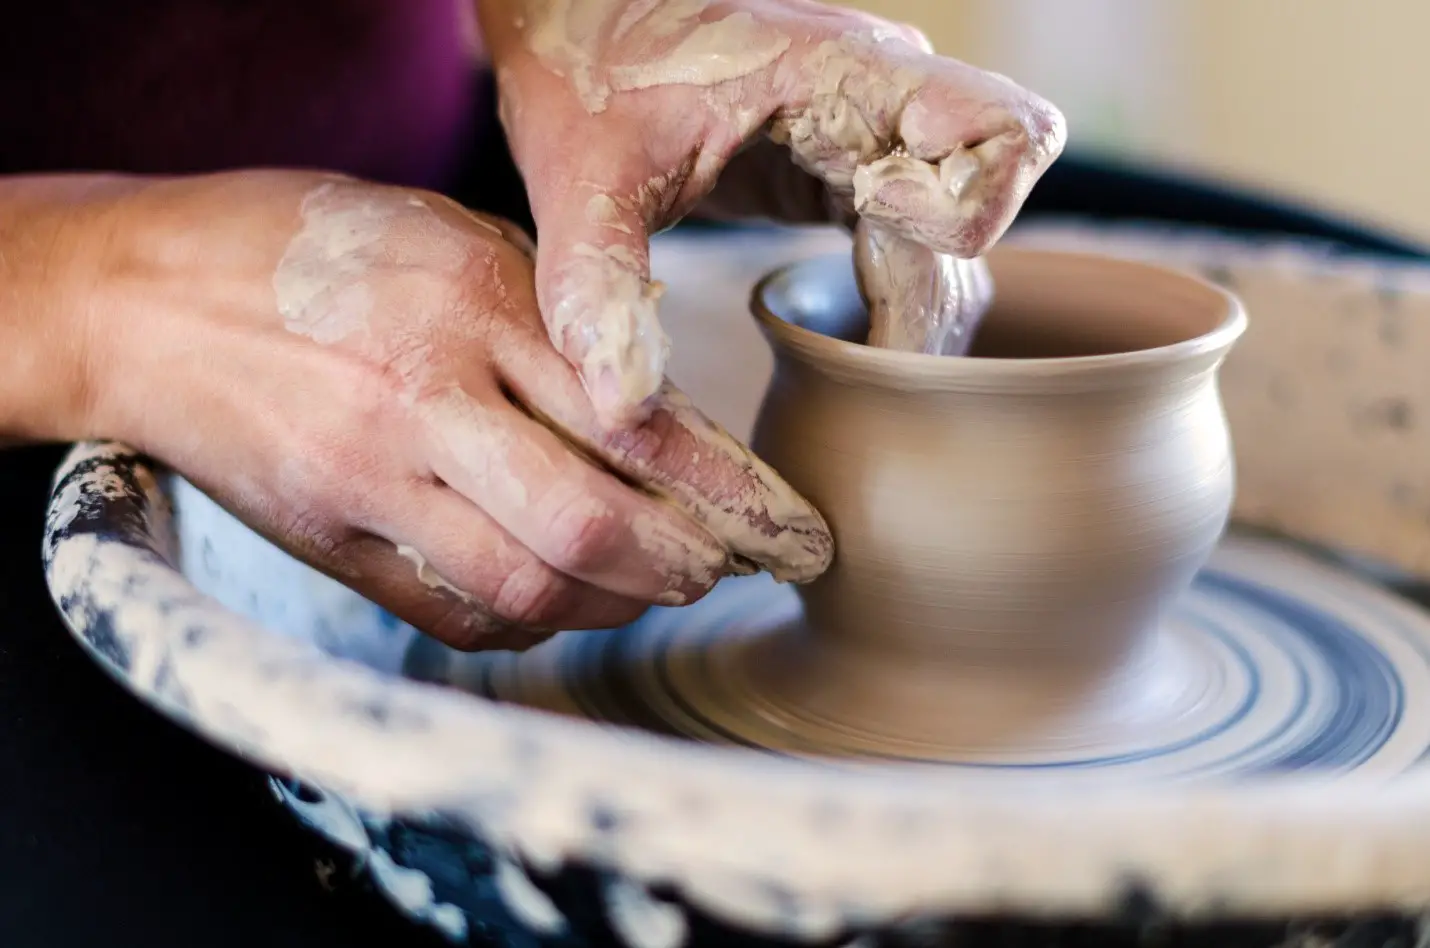
Handmade pottery is a beautiful and unique art form that has been enjoyed for centuries. There’s nothing quite like the feeling of creating something all by yourself. However, a few common mistakes can be made during pottery-making, which could ruin the final product. In this article, we’ll discuss the most severe mistakes to avoid when making handmade pottery, so you can create beautiful pieces that you’ll be proud to display and use.
Making pottery is an intricate process that requires patience, precision, and an understanding of the materials and techniques involved. If you’re new to the craft, it can be easy to make mistakes that can lead to frustration and disappointment. But don’t worry! With some knowledge and practice, you can avoid these common mistakes and create beautiful, high-quality pottery.
One of the most important things to keep in mind when making pottery is the importance of proper preparation. Whether it’s preparing your clay or your tools, taking the time to do things correctly from the start will save you a lot of headaches down the road. And once your pottery is complete, it’s just as important to take the time to glaze and fire it to achieve the desired result properly.
Continue reading to discover the most common mistakes that potters make. We will also give you tips on how to avoid them, so you can create beautiful, high-quality pottery that you’ll be proud to show off. Whether you’re just starting or a seasoned pro, there’s always room for improvement, and these tips can help you take your pottery-making to the next level.
1. Not considering the functionality of the pottery
Beginners often make the significant mistake of not considering the functionality of the pottery before creating clay projects. Pottery is not just a decorative piece; it’s also meant to be used. If the pottery is not functional, it may not be able to hold liquids or any other material, for that matter. It may also have sharp edges or corners that can scratch or cut.
Therefore, it is important to first list why and for what you want to create the ceramics. Once this is established, you will have more room to perfect your art.
Tips for considering the functionality of the pottery before starting the craft:
- Think about how the pottery will be used before you start making it
- Test your pottery as you go for functionality by adding water or other liquids to see if it leaks
- You can also know a lot by testing the weight and balance of your clay project
- Please pay attention to the thickness of the walls and the shape of the pottery, making sure they are functional and comfortable to use
- Pay attention to the finishing of the clay pots; smooth out any sharp edges or corners
- Think about how the pots will be cleaned
- Consider the final use of the pottery, whether it will be used for decoration or functional purposes
Once all of these points are established, it will be easy for you to get ahead with the rest of the steps.
2. Not Preparing the Clay Properly:
One of the potters’ most common mistakes is not adequately preparing the clay. Clay is a natural material that can be affected by weather, humidity, and even room temperature. If it’s not prepared correctly, it can lead to issues in the final product, such as cracking, warping, and uneven surfaces.
Preparing your clay is essential for creating high-quality pottery. The process is known as wedging. It involves kneading the clay by hand to remove any air bubbles and ensure that it’s the right consistency for your project. It’s also important to condition your clay by adding water or other materials to make it more pliable.
Tips for preparing the clay:
- Use a clay conditioning machine which helps to remove any remaining air bubbles and makes the clay more consistent
- Use a clay roller for even distribution of water and air bubbles
- Make sure that the clay is at the right temperature, not too cold or too hot, for wedging
- Carefully inspect your clay and remove any debris before working with it
- Don’t be afraid to experiment with different techniques and materials to find what works best for you
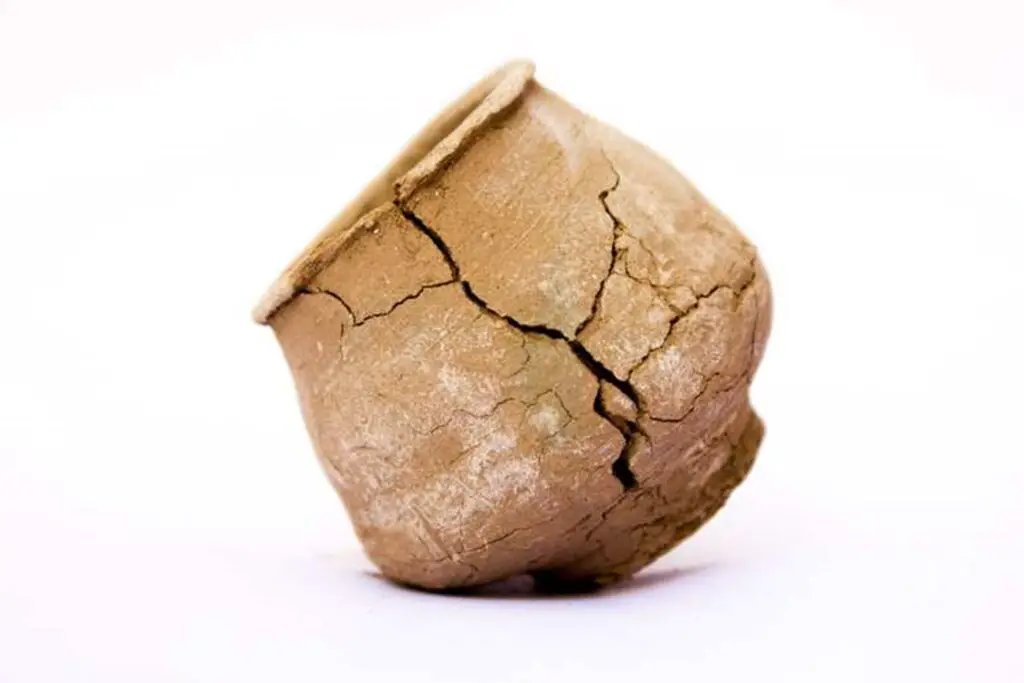
3. Not Paying attention to the drying process
Another common mistake potters make is not paying attention to the drying process of the pots. Pottery needs to be dried slowly and evenly to prevent cracking and warping. If the DIY-ed clay project is dried too quickly, it can cause the clay to shrink unevenly, leading to cracks and other issues. If it’s not dried correctly, it can also cause problems when fired in the kiln.
Tips for drying the freshly prepared clay pot:
- Allow the pottery to dry slowly and evenly, ideally in a controlled environment
- Avoid drying pottery in direct sunlight or with a fan blowing on it
- Use a pottery drying rack to keep the pottery off the ground and allow air to circulate it
- Keep an eye on the ceramics and move them to different areas of the drying room, as it ensures even drying
- Be patient, and don’t rush the process. It’s better to take the time and let the pottery dry adequately than to overdo it and risk issues later.
4. Improper use of Tools
Pottery making requires various tools, from the potter’s wheel to the kiln. Picking up the wrong tool or misusing the right ones can lead to issues such as uneven shapes, scratches, and cracks in the final product. Therefore, it’s essential to understand the correct way to use each tool and the right tool for getting the job done right.
Tips for proper use of tools:
- Learn how to use each tool properly before starting your pottery project
- Choose the right tool for the job
- Keep tools sharp and in good condition
- Use tools that are designed for pottery making
- Clean and maintain the pottery apparatus regularly
- Store the tools properly to avoid any forms of damage.
- Use protective gear, including gloves, mask, and goggles, when working with the pottery tools
- Always read the instruction manual before using any equipment
- Practice using the tools to become more proficient with them.
- Do not use tools that are broken or damaged
- Use a tool rack to keep the tools organized and easily accessible
Three different stages for clay firing:
| Firing Technique | Temperature Range |
| Bisque Firing | 1000-1200 degrees F |
| Simple Firing | 1800- 2000 degrees F |
| Glaze Firing | 1700-2300 degrees F |
NOTE: Temperature ranging from All three steps is essential for gaining the desired results. Typically, beginners assume that regular firing and glaze firing are similar steps. But Glaze firing specifically is used in preparing ceramics that are needed to be glazed at higher temperatures for a polished and smooth finish.
5. Skipping the Bisque Fire
Bisque firing is essential in pottery-making as it hardens the clay and removes any remaining moisture. Skipping the bisque firing step can lead to issues such as warping, cracking, and collapsing during the glaze firing process.
Bisque firing is typically done at a lower temperature than glaze firing when the clay body is not yet fully vitrified. This step allows the clay body to dry and harden before glazing and final firing.
Tips for making the most of the Bisque Fire Technique:
- Do not skip the Bisque Fire step
- Follow the manufacturer’s instructions before using the clay for pottery making. The instructions must have clearly mentioned the right Bisque firing temperature and time.
- Once you have Bisque-fired the clay projects, allow the pottery to cool completely before glazing
- Keeps a close eye on the clay project during Bisque firing to avoid overfiring or underfiring.
- Use a thermocouple or pyrometer to measure the kiln’s temperature during the firing
- Use a kiln controller to regulate the temperature during Bisque firing
- Keep detailed records of the firing, including temperature, time, and any issues encountered
- Always keep safety in mind when firing a kilnKeep the kiln adequately ventilated to avoid carbon monoxide buildup
- Follow the recommended schedules for Bisque firing
- Inspect the pottery after Bisque firing to ensure it is ready for glazing.
One of the most critical steps in creating pottery is firing it in a kiln. However, if the firing process is not done correctly, it can lead to various issues, such as uneven glaze, cracking, and warping. The temperature and timing of the firing process are crucial for how the clay project turns out.
Tips for adequately firing the pottery project:
- Use a kiln thermometer to monitor the temperature in the kiln.
- Follow the manufacturer’s instructions for your specific kiln
- Do not overload the kiln, leaving enough space between the pottery to allow heat to circulate.
- Use a kiln vent to control the amount of oxygen in the kiln.
- Gradually increase the temperature in the kiln to avoid thermal shock.
- Make sure that the pottery is dry before firing it.
- Use a pyrometer to check the temperature of the pottery
- Be patient, and don’t rush the firing process.
- Keep records of the firing process, including the temperature, time, and type of pottery so that you can replicate successful firings in the future.
6. Incorrect Glazing Techniques
Glazing is essential in pottery-making as it gives the pottery its final finish and protection. However, if the glazing technique is not done correctly, it can lead to issues such as uneven glaze, bubbles, and cracking. Therefore, it’s essential to understand the glaze recipes and application methods to avoid any problems.
Tips for correct glazing techniques:
- Understand the glaze recipe you are using and follow the manufacturer’s instructions
- Make sure the pottery is clean and dry before glazing.
- Apply the glaze evenly and in thin layers rather than thick layers.
- Use a glaze sieve to remove any lumps in the glazed surface
- Avoid applying glaze to areas that will be in contact with food
- Use a glaze sprayer for even application
- Avoid over-application; otherwise can lead to glazing running off or pooling in certain areas
- Let the applied glaze dry completely before firing
- Use a glaze calculator to measure the right amount of glaze
- Experiment with different glaze recipes and application methods to find what works best.
How to choose the right glaze for your ceramic projects?
When choosing a glaze for your ceramic project, consider the compatibility with the clay body you are using, the thermal expansion coefficient, the color, surface finish, safety, and the final firing temperature. It’s a good idea to test different glazes on a smaller scale before applying them to a large project to see how the glaze behaves during firing and ensure that you are happy with the final result.
So, if you are looking for a high-quality glaze to add that shine and smooth finishing touch to your finished clay projects, you can opt for the Penguin Pottery Premium Pottery Glaze. Its wax resist ability makes it suitable for creating beautifully crafted ceramics for regular use.

Conclusion
Handmade pottery is a beautiful and rewarding craft, but it’s essential to be aware of the common mistakes that can occur during the process. By avoiding mistakes such as uneven thickness, poor centering, improper clay mixing, incorrect glazing techniques, improper use of tools, and skipping the Bisque Fire, you can ensure that your pottery will turn out just as you envision it.
Remember that practice makes perfect, and you will become more proficient in your craft with each piece. Take the time to experiment with different techniques and be open to learning new things. Try out all the tips we have discussed in this article, and you will surely see an improvement in your pottery. Happy pottery making!


