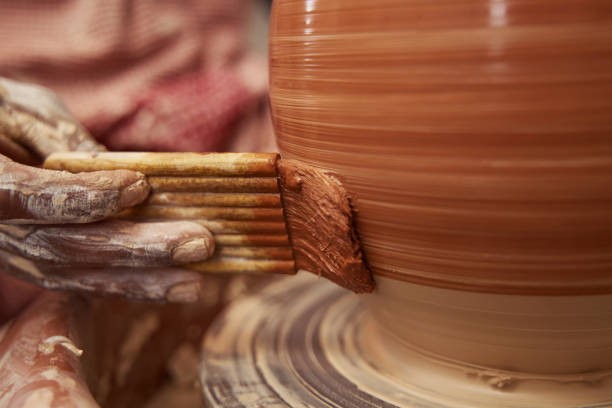
Remember the last time you glazed your pottery piece and fired it in a kiln? There is a chance the glaze must have stuck to the kiln shelf. There are very few experienced potters that manage to get away without the glaze sticking to the shelf post-firing. So, if you are someone who doesn’t have the experience to create perfectly glazed pieces without ruining the kiln shelf, the use of a wax-resist is recommended.
While we have discussed the right way to use wax-resist, do you know how to clean it?
Using wax resist doesn’t just help you create some unique pottery pieces but also helps avoid the glaze in the base from sticking to the shelf.
Cleaning Up Wax Resist After Kiln Firing
The wax-resist can be a boon for beginner pottery artists that need to play it safe. It also gives artists access to decorative glazing & is useful for glazing feet, lids, rims, and other locations that need to be glaze free. However, once the firing process is complete, you need to wipe off the resist to obtain the final results.
A great method to clean the wax resist on your pottery piece is with the help of boiling water. But, you need a step-by-step method to get it done the right way. Plus, you also need to learn the best ways to clean the wax container and brushes.
You can use an electric kettle to boil water for cleaning purposes. So, let us check out the best ways to clean wax resist.
In order to ensure that the cleanup process is easy, you can place a take-out lid or plastic plate underneath to catch any stray droplets that fall on the work surface during the waxing process.
- To get rid of the wax resist, you need to re-bisque the fired piece. Moreover, you can get rid of the wax resist from the pottery piece with a scraping or sanding action.
- You can also pour some boiling water in a flowing action on your bisque ware. However, the issue is that the wax might seep into the bisque ware’s pores. So, it might be difficult to remove it completely with this action.
- The best way to get rid of wax-resist is to fire it in the kiln. The wax will burn off when the pottery piece is fired at anywhere between 200 to 500 degrees Fahrenheit. Keep in mind that the burning process of the wax might create smoke or a smell that isn’t good for your health. So, it is ideal for minimizing the use of wax-resist when firing a pottery piece indoors. Make sure your kiln is ventilated as well.
Cleaning The Wax Jars And Brushes After Use
In order to prevent any cross-contamination & to keep things functional plus efficient, make sure you designate about 3 to 4 brushes for waxing purposes. The brushes should be of different sizes to ensure you can get into details when creating a decorative piece.
These brushes can sit inside the wax pot for long hours & with time, there could be a dense wax buildup on the brush. The buildup can also be seen on the wax jar’s rim. So, let us check out the step-by-step method to clean the jar and brushes.
Step-1
Start by separating your wax resist brushes and place them in a separate empty bowl. If the entire brush is coated with wax from the bottom to the top, you need to clean the entire thing. On the other hand, if only the tip is coated with wax, you can make do with a small bowl as well.
Place your brushes inside the empty bowl and prepare boiling water using a kettle or on your stove. Once the water starts boiling, wear a glove or, using a mitten pour this water slowly over the brushes. If you see a thick wax buildup on the brushes, you can use a high-quality fettling knife to remove the excess buildup.
When pouring the boiling water on your brushes, give the brushes a gentle swirl to help loosen the wax coating. Now, pick a toothbrush and gently rub it on the brush to get rid of any remnants.
Step-2
If the buildup is very heavy, you can throw away the water and repeat the process for as long as required. Make sure you refrain from pouring the water down the drain. Doing so can cause clogging of the drains. Alternatively, you can let this water cool and then dispose of the solidified wax.
Step-3
Once the cleaning process is complete, wipe off any remaining water with the help of tissue paper.
Step-4
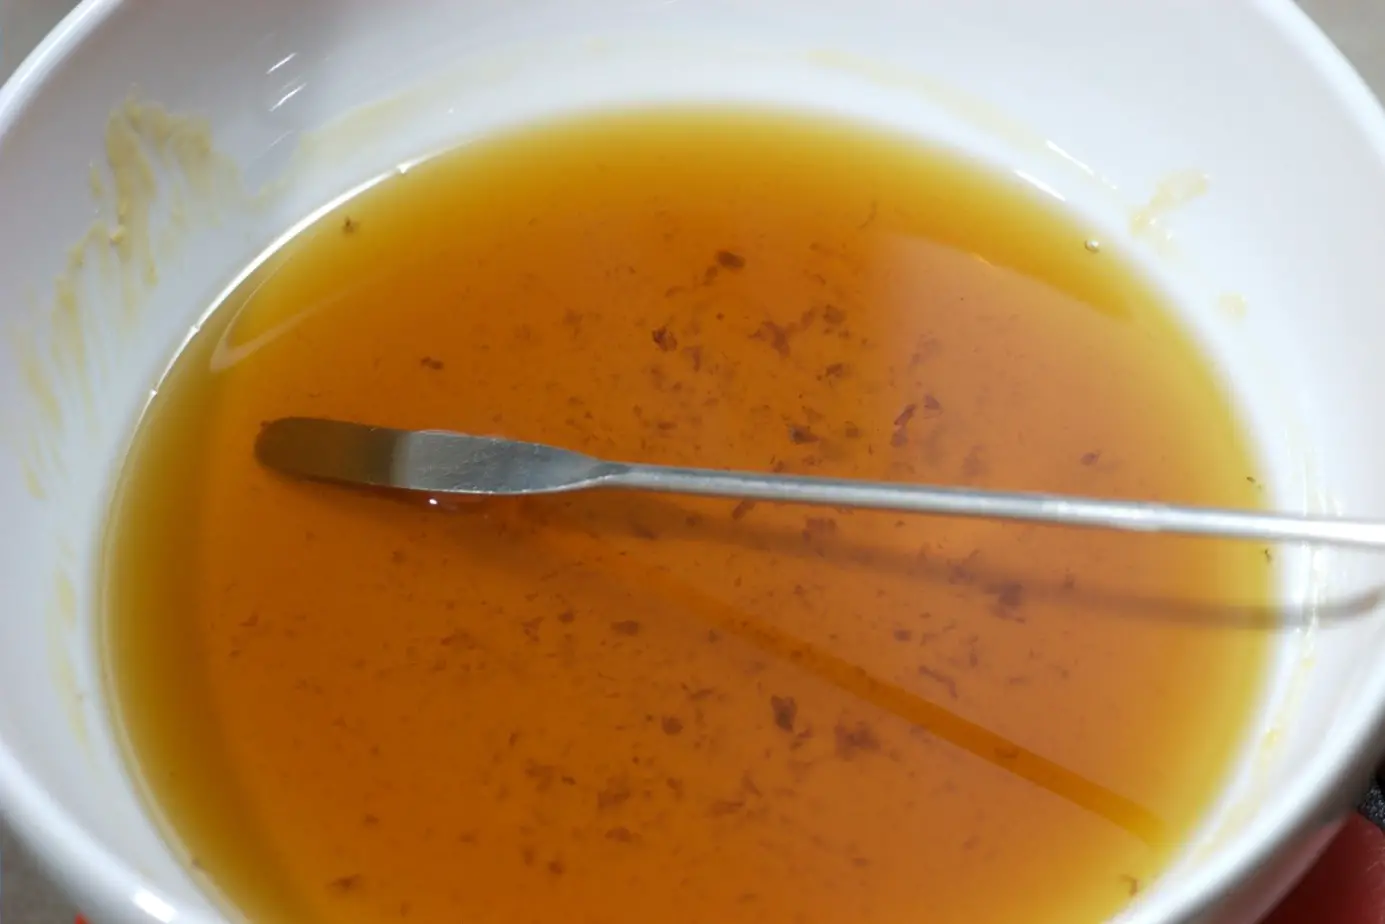
To clean the cup, you can use a sturdy fettling knife. A great choice is the Jiakai Wooden Handle Fettling Knife. This tool features rust-free stainless steel, which is useful for carving, sculpting, and trimming. Start by cutting off the wax buildup from the container’s rim. If required, you can pour out the wax into any spare container & use the same boiling water for cleaning up the entire jar.
If the container is beyond saving, you can switch to another air-tight container. A wide-mouth jar would be the best fit for storing wax resists.
| Wax Resist Cleaning Procedure | Effective For |
| Scraping & Sanding | Ideal for removal of thick wax resist coating |
| Boiling Water | Ideal for both thick and thin coating of wax resist |
| Wet Cloth Cleanup | Ideal for thin wax resist coating |
| Re-Bisque Firing | Ideal for removal of dried wax resist |
Conclusion
After cleaning, let the container and the wax dry out completely. This will help avoid any moisture seepage into the wax resist. Depending on the usage frequency, you might require a fresh wax cup only once per year. However, if your usage isn’t much, you can keep the brushes and containers for longer. So, the best way to keep your wax resist brush and container clean is with the help of boiling water. It is an easy, quick, & effective way to ensure that your wax-resist lasts longer.

