Tenmoku glazes have long been a favorite coating type for ceramic artists throughout centuries. They are characterized by shiny dark brown and black colored effects. They also have many variations that one can experiment with. This article will show you the extraordinary world of Tenmoku glazes, what they are made of, and the best recipes you can try to get stunning color effects on your pieces.
What Are Tenmoku Glazes?
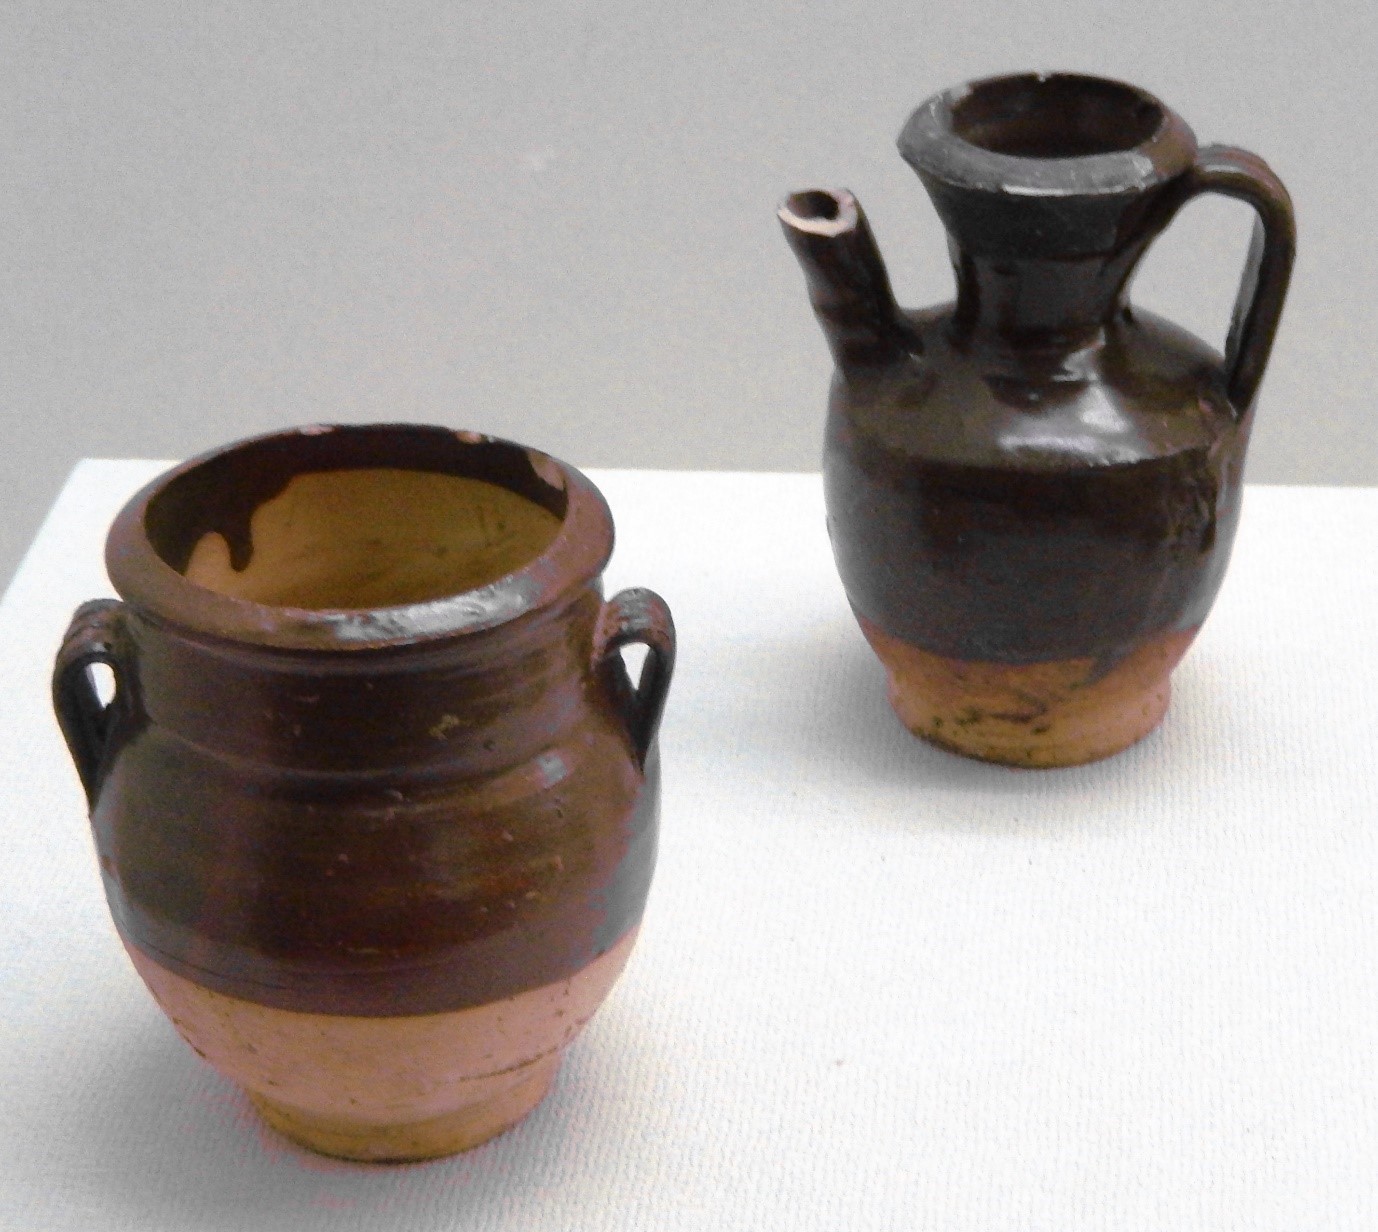
Tenmoku glazes come from East Asia, especially China and Japan. They are iron-rich coatings that boast intensely glossy shades of rich dark brown and intense black. “Tenmoku” in Japanese means the Tianmu Mountain in China. During the Song dynasty, tea bowls with the Tenmoku glazes were imported from this mountain.
Essential Ingredients and Tools for Tenmoku Glazes
Tenmoku glazes have vital ingredients and tools that help you get the perfect finish. Let us explore these in detail:
- Key Ingredients
Here are the key ingredients of Tenmoku glazes.
| Ingredients | Importance |
| Silicia | It provides structure and stability to the glaze, promoting adhesion to the ceramic surface during firing. |
| Feldspar | It acts as a flux, lowering the melting point of the glaze and facilitating the formation of a glassy surface. |
| Red Iron Oxide | It is the primary coloring agent responsible for Tenmoku glazes’ characteristic-rich dark brown or black color. |
| Manganese Dioxide | It enhances color intensity when added in suitable proportions, particularly in achieving a deep black hue. |
| Copper Carbonate | It imparts warm brown tones to the glaze, adding depth and complexity to the final coloration. |
| Soda Ash | It modifies surface texture, promoting the formation of a matte finish and enhancing tactile qualities. |
| Rutile | It introduces metallic flecks and radiance to the glaze, creating shimmering effects for visual appeal. |
- Necessary Tools
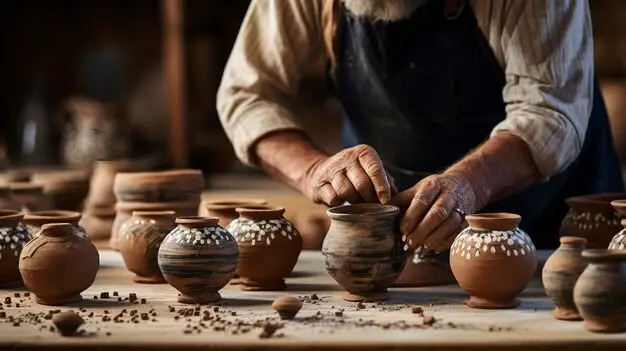
Tenmoku glazes would help if you had essential tools like a scale, measuring cups, mixing bowls, and a sieve for filtering. Ensure you have a fully functional kiln with high-temperature capabilities to reach the perfect dark gloss finish with the glaze.
- Safety Measures
Before proceeding any further, ensure you are all set and safe. Wear fully-covering clothes, gloves, and a respirator. The WAKYFLX 6800 Full Respirator is the perfect option to protect yourself from chemical and dust poisoning. Keep the workplace well-ventilated to allow fumes from the glaze and firing to escape as soon as possible.
5 Easy Tenmoku Glaze Recipes to Try Out
Now we come to the exciting part! We have assembled five functional Tenmoku glaze recipes to allow you to experiment fully. From the classic recipe to more refined and particular recipes, you can try it all:
Recipe 1: Traditional Iron-Rich Tenmoku Glaze
First is the classic or traditional iron-rich Tenmoku glaze recipe you must master to move on to variation recipes. Here is what you need to do:
Ingredients
- Silica
- Feldspar
- Red iron oxide
- Bentonite
- Water
Preparation Steps
- Weigh how much silica, feldspar, and red iron oxide you want to put into the mix.
- Mix the dry ingredients thoroughly to ensure homogeneity.
- Gradually add water while stirring until the mixture reaches an even consistency.
- Add bentonite as a suspending agent to prevent settling.
Firing Temperature and Duration
Place the kiln at a temperature between 1200°C-1300°C. Tenmoku glazes are usually fired for 8 to 10 hours.
Characteristics and Color Effects
This classic Tenmoku glaze recipe brings a glossy dark brown touch to the fired ceramic wares, making them look precious.
Recipe 2: Black Tenmoku Glaze with Added Manganese
Now, we have a variation in the traditional recipe that presents a darker shade. Here is how you can make such a glaze:
Ingredients
- Silica
- Feldspar
- Red iron oxide
- Manganese dioxide
- Bentonite
- Water
Preparation Steps
- Add all the ingredients (silica, feldspar, red iron oxide, and manganese dioxide), but this time, substitute a portion of red iron oxide with manganese dioxide for a darker color.
- Make a homogenous mix of these dry ingredients before slowly adding water.
- Add bentonite into a consistent mix to ensure there are no lumps
Color Variation and Effects
The addition of manganese dioxide intensifies the black coloration of the glaze, resulting in a dramatic and opaque finish.
Recipe 3: Copper-Modified Tenmoku Glaze for Brown Tones
Moving on, if you want to try out more of the brown hue, here is a copper-modified Tenmoku glaze recipe:
Ingredients
- Silica
- Feldspar
- Red iron oxide
- Copper carbonate
- Bentonite
- Water
Preparation Steps
- Put together weighed-out quantities of silica, feldspar, red iron oxide, and copper carbonate into a homogenous mix.
- Add water to this mix until you get a smooth consistency.
- Put bentonite into the mix at the end to ensure no impurities.
Achieving Rich Brown Hue
Copper carbonate is perfect for adding a warmer brown shade to the finished piece. Adding it to the glaze adds more depth and complexity.
Recipe 4: Soda Ash Variation for Intense Black
Further, we have the perfect recipe for those trying a hand at a more intense black hue:
Ingredients
- Silica
- Feldspar
- Red iron oxide
- Soda ash
- Bentonite
- Water
Preparation Steps
- Put together silica, feldspar, and red iron oxide. This time, replace a portion of feldspar with soda ash when creating a homogenous mixture.
- Add water and stir till you get a smooth mixture.
- Add bentonite before glazing to ensure the mix is lump-free.
Impact of Soda Ash on Color
Soda ash is a resourceful ingredient to alter the texture of the glaze and bring out a velvety matte black color.
Recipe 5: Rutile Addition for Metallic Sheen
The last recipe on the list is for everyone who loves to create shiny art. Here is how you can attain this Tenmoku glaze finish:
Ingredients
- Silica
- Feldspar
- Red iron oxide
- Rutile
- Bentonite
- Water
Preparation Steps
- Put rutile into a dry mixture of silica, feldspar, and red iron oxide.
- Make a homogenous mix before adding water till a smooth consistency is achieved.
- Put bentonite into this glaze at the end.
Achieving Metallic Effects in Tenmoku Glazes
Rutile provides the fired piece with a shiny metallic effect. It is essential to enhance ceramic wares’ visual appeal and sophistication by using this material.
Tips for Successful Application of Tenmoku Glaze
Last, we bring you the tips for a successful application. The perfect finish does not always come from adhering to prescribed quantities and temperatures. Once you have mastered the basics, you can become more vigilant about the techniques you are using and the experiments you can do with the glaze:
- Proper Glaze Application Techniques
Tenmoku glazes are for those who are patient and take their art seriously. Use functional equipment like brushes, spray guns, or dipping methods to adequately cover your piece.
- Understand Kiln Atmosphere and Its Effects
Kiln temperatures can profoundly impact the color of your piece. Oxidation and reduction can reveal a range of dark shades. You can try various durations and temperatures for each piece and see what you like best!
- Experimentation and Adjustments
These recipes encourage experimentation since you can experiment with your glazed piece’s various brown and black shades. You can follow the prescribed recipes you find here or anywhere else or keep close track of self-curated recipes.
Conclusion
Tenmoku glazes allow artists to experiment with various dark-hued glossy glaze finishes. They can work their way through classic recipes and bring variation with time for experimentation. You can find your artistic calling in this unique glaze through the recipes.


