Glazing is a real struggle, especially if you are not sure of what you are doing. It can make or break the whole look of the piece that you have been working on for days. Though glazing takes a lot of patience, it is a fun-filled process to do, and seeing the piece turn out the way you have imagined in your head is something special. But this can only be achieved if all the necessary steps are done in the right way. Even though glazing is more like an art and craft project, it requires some medical operation-level preparation to get started. So, here is how you can get the preparation process done, so you do not miss out on anything.
Cleanliness is everything
Cleaning things makes the rest of the process easy. It also makes sure that those small impurities do not leave any impression on the piece once it is glazed. Clean your hands, brushes, the piece you are going to work on, and even the sponge and cloth that you might be using to wipe off the excess.

Let things dry
Since water is not such a good friend for your glaze, once you have everything cleaned and washed, it gets wet. So, the next process is to dry everything, so it becomes easier for you to work on it.
Tip: Using hot or warm water instead of tap water makes the pieces dry quicker. But it should be kept in a dry area or places with sunlight for at least 30 minutes. You should not feel the wet surface while you glaze it. So, keep the piece against your skin to check if it has that cold nature to it.
Get things ready
While everything is set to dry, it is the perfect time for you to get the other things ready. You can utilize this time to set up the working area and take all the essentials that you need for the process. Always have a spare brush, extra cloth for wiping, and two separate bowls of clean water to clean your tools during the glazing process.
Choose the type of glaze
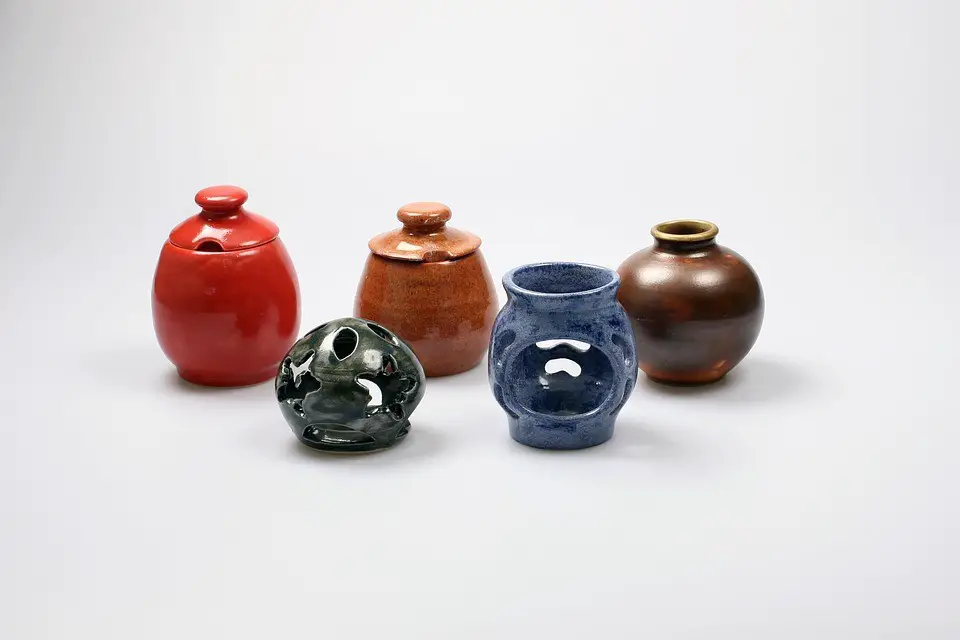
There are two major glaze finishes for you to choose from. You can either go with a glossy translucent finish or the matte finish. Both have their own benefits. So, it’s you who has to decide what you want for your piece to enhance the beauty of it.
Glossy finish: This glaze will enhance the thicker portion of the piece and make it more highlighted. And by default, it gives your pottery piece a shiny finish that will make it reflecting even with the tiniest bit of light.
Matte finish: This glaze does the exact opposite and offers a matte finish to the thicker portion of the pottery piece. The less the thickness, the more it pops out – thanks to this glaze. It also gives it a solid finish that is not very reflective and makes it perfect for a toned-down yet elegant piece.
Do not forget to wax
You would not want to have the glaze all over the kiln or even at the base of the piece when you set it for the firing process. Here is where waxing comes into play. Though it is a vital process, many people usually forget this step. It will prevent any glaze that you apply on the piece from sticking to the base of the piece.
Typically, you need to wax the foot of the piece that you are glazing. But make sure you do not wax more than half of the foot region and not less than a quarter of it.
Tip:
- Always use a separate brush or sponge for waxing.
- Make sure to have at least half of the foot waxed if the glaze is runny.
Note: Once the wax is applied, it is next to impossible to remove it. So, look for droplets that might spill on the piece while you are applying wax to regions where you do not want to glaze.
Mix the glaze properly
Usually, you may find yourself with pieces that have imperfections on them, ruining the spotless beauty that you are aiming for. In most cases, this happens because of the glaze itself. While you mix your glaze, make sure you mix it thoroughly till the bottom of the container is kept in. Otherwise, it may leave you with a patchy finish in some places that is not so good to look at. Sometimes, there might be trapped air bubbles in the glaze that can cause it to have an impression of it when you keep it for firing.

To avoid such things from happening, always mix the glaze for more time than you think it requires. You can always use a tool to mix the glaze instead of hand mixing it. Also, when you are going with multiple levels of glazes, make sure you prepare the glazes in advance before you start the glazing process. It will help prevent any dirt from falling on top of the glaze when kept aside to get the first layer dry.
Once all this is done, you are set to go for the glazing process. The best way to make sure that your glaze turns out exactly the way you want it to look is by having the tedious preparation process done properly. Try preparing a checklist of the glazing process, so you do not forget any step as you work on it. And if it is your first time glazing pottery of your own & it turns out a little wacky, then don’t worry; there is always a learning curve, especially for something so delicate and time-consuming like pottery.
Conclusion
We hope that this article has helped you clear all your doubts regarding glazing. In the beginning, you may not get the desired results as glazing is no cakewalk. However, with continuous practice and keeping the basic things in mind will help you to get the desired results.
All the Best!


