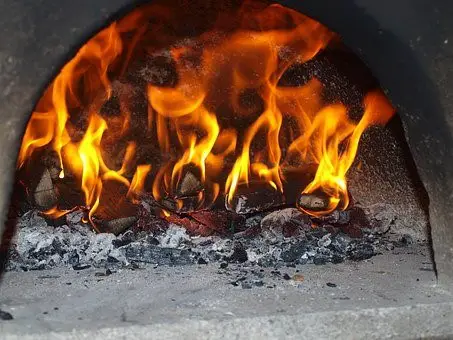
Compared to the other steps and processes of pottery making, baking the clay might seem to be easier. But it’s certainly not. There are plenty of tricks that need to be maintained while baking clay.
Baking plays a vital role in crafting pots by turning a simple lump of clay into ceramic ware. Here, the clay is heated in a high-temperature range so that it can go through a lot of changes. In the first phase, the water bonds present in the clay starts breaking apart. The second phase leads to the complete evaporation of moisture from the clay. The final stage makes the clay semi-porous with a stone-hard surface.
Baking is usually done to turn a soft and pliable clay into a hard pottery piece, which can bear daily usage. Henceforth, it provides the clay with enhanced strength to become too tough to get washed away with water.
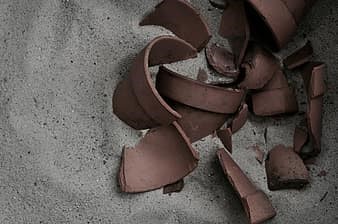
However, mishaps are unpredictable. So, at times, disasters like the breaking of the clay during baking or post-baking might happen. But do you know why this issue occurs? Well, there are several reasons behind this kind of mishaps. Knowing the exact cause behind this problem will help you to work on it and prevent such disasters in the future.
So now, let’s start with the facts that you must know about the breaking of the clay after baking.
Things to focus on:
While baking pots, always remember to use polymer clay type. It is so because only polymer clay reaches out to maturation through baking. Other varieties of clay, including earthenware, stoneware, and kaolin, are too strong to be baked and require super high temperatures for firing. Following we have given a few reasons why clay breaks off after baking and how you should treat it during the process:
1. Wrong temperature set-up and baking time:
You can’t ignore the fact that various types of clay require different temperature set-up to reach the maturation stage. When the temperature set-up goes wrong, it harms the clay texture and leads to the breaking of it. Here’s what happens when the temperature set-up and heat distribution don’t occur evenly.
- Uneven clay baking is unable to eliminate the fragility of the clay body.
- The too-low temperature takes a lot of time to bring about changes in the clay, which promotes the crumbling of the pot.
- Baking the clay at too a high temperature quickly burns the outside surface of the pot and leaves the interior uncooked. It ultimately leads to the cracking of the clay.
Besides, the baking time plays a crucial role in deciding the fate of your ceramic ware. Though each variation of polymer clay has its own set of baking time duration, the average time for baking a clay should be 35 minutes. Baking for some more time attributes the clay to more strength. But exceeding the time for too long is not at all suitable for your ceramic.
- As baking for a short time doesn’t correctly fuse or burn the clay, it makes the clay weak and fragile.
- Baking for too long also might lead to discoloration or darkening of the clay.
Thus, it is necessary to bake your clay for an apt time.
Nevertheless, the baking temperature and time go cohesively. While baking, you need to take care of both these factors.
Here’s a temperature graph that you should follow while baking polymer clay.
Polymer type | Temperature | Baking time |
| Sculpey | 275°F | 10-25 minutes |
| Premo | 275° F | 30 minutes |
| Cernit | 215-270.5 ° F | 30 minutes |
| Fimo | 212- 265 ° F | 30-40 minutes |
To solve temperature and baking time-related problems, you need to follow some essential tips to avoid such clay breaking.
- Always make sure that the heat is spreading evenly throughout the clay body.
- Baking for more than the estimated time won’t make you go wrong every time. But baking for a too-short period is a big NO!
- Always read through the required baking time and temperature set-up given on the label of your clay. A specific temperature for a particular type of clay cures it properly.
- If you are using a mixed clay, then consider choosing a middle-temperature range to bake it properly.
- Check your clay if it has been baked appropriately. Press your fingernails against the pottery surface after it has cooled. If it leaves a mark or feels soft, then you need to consider baking it for another session.
- If you are planning to bake your clay twice or more times, then don’t bake it for more than 35 minutes in the first stage.
- For a single session of baking, consider one full hour or a few more minutes to obtain a properly finished and strong clay pot.
2. Unstable oven temperature:
You might have already understood the importance of baking temperature. But the source of the temperature also plays a significant role in deciding the perfection of your baking process. Sometimes your oven might provide you with fluctuating temperature. This sudden interruption in oven temperature facilitates uneven baking, which can very likely cause damage to your polymer clay.
- A sudden rise in temperature burns out your clay, which can leave unwanted spots on your pot. Also, it can fade the color of your polymer clay.
- At the same time, a sudden fall in baking temperature is not so friendly for your ceramic ware. It causes under-baking, which ceases the flux and fusion process of the clay.
- This unwanted fluctuation of temperature promotes uneven baking, which is another main reason behind the breaking of your clay post-baking.
However, don’t worry. You can easily fix this problem to save your polymer pottery from such kind of damage.
- Consider putting a flat ceramic tile on your oven shelf to stabilize the temperature fluctuation. This tile will also offer your polymer clay an even surface to sit correctly.
- Except for the shelf you are using to bake, remove any other metal object from your oven. Metal has its own impact on absorbing too much heat, which should be prevented.
- Rather than using foil for creating a tent for your clay, use clean white paper or cardboard to ensure even heat distribution.
3. Variation of clay thickness:
It is a more likely concern to consider clay shaping rather than baking. While building the structure of your pot, if you don’t ensure even thickness throughout its body, then it will end up being a non-uniform surface. Uneven thickness in different places also creates trouble during the baking process.
- Uneven clay thickness leads to uneven baking. The thicker place remains unbaked, and the thinner area tends to get baked fast.
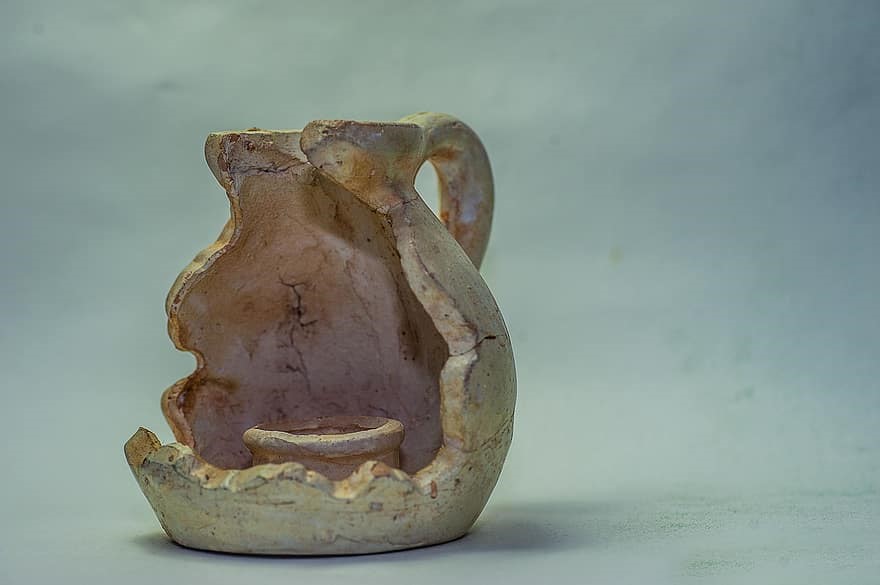
- A huge difference in clay curing takes place at different portions of the pot, which in turn, breaks the polymer.
- The variation in clay maturation due to the difference in thickness increases the fragility of the final product after baking. Improperly baked clay tends to have multiple hairline cracks, crumblings, blisters, and breakings from various areas, leading to the complete ruining of your project.
To avoid such problems, you should take proper measures.
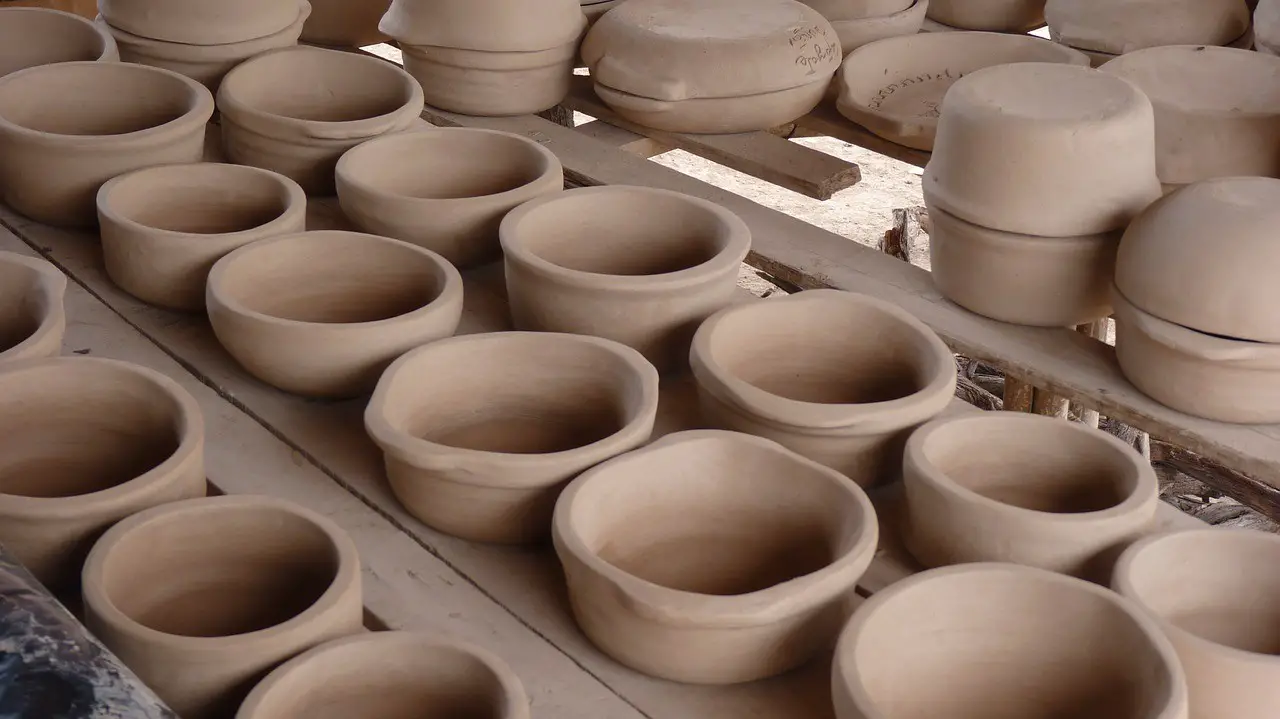
- Make sure that the thickness of your clay is the same everywhere.
- Always put your pottery upside down inside the oven to get the heat distributed equally.
4. Improper drying of clay:
It is essential to dry your clay properly before placing it inside the oven for baking. Once you are done with giving a shape to your clay, you need to let it dry. An improperly dried clay can ruin your entire pottery project when it comes in contact with high temperatures.
- The presence of excessive moisture in your clay doesn’t react in a friendly manner when it is heated. The water present in the clay tends to evaporate faster, which can cause explosions.
- Also, clay with high moisture content takes more than the estimated time to become dry, which is quite frustrating.
So, to prevent such issues, always make sure you are doing the following steps:
- Don’t use too much water while forming the wall of your pottery.
- Let the clay sit for more than 1-2 days to become completely dry.
- Always check if your clay has appropriately dried. Touch your clay to make sure there is no moisture left in it. If the clay body feels cold to touch, then you need to let it sit for some more hours or a day to become completely bone dry.
5. Using a weak clay:
While working on a pottery project, you have to make sure that your clay is strong enough. Weak or feeble clays tend to have a lesser amount of plasticity and bonding compound, which hampers the durability of the polymer.
- Baking a thin and weak clay can break your pot into pieces.
- Not all types of clay are made to serve the same purpose. Some are strong enough to bear with high-temperature, while some can’t withstand high heat.
So, here’s what you can do.
- Consider using strong polymer clays like Premo, cernit, Pardo, fimo, etc. 32 Colors Polymer Clay Starter Kit is perfect for oven baking and sturdy enough to be used for various purposes.
6. Using improper glazing substitutes:
Using the wrong kind of glazing substitute causes abnormal heat formation. Your polymer clay can’t be compatible with any random glaze, as their maturation temperatures won’t match.
Also, the presence of chemicals in the glazing mixture makes your clay undergo a lot of processes like fusing, oxidation, and reduction, which can have an abnormal impact on your polymer.
Here are the types of glazes or paints that you should avoid using.
Glaze type | Reasons to avoid |
| Spray varnish | There’s no doubt that a spray varnish gives a shiny coating to your polymer clay body. But it doesn’t dry out or get completely absorbed into the clay body, thereby assuring no adhesion. Also, the dampness of varnish abnormally reacts when it comes in contact with heat. |
| Nail polish | There’s no doubt that a spray varnish gives a shiny and glossy coating to your polymer clay body. But it doesn’t dry out or get completely absorbed into the clay body, thereby assuring no adhesion. Also, the dampness of varnish abnormally reacts when it comes in contact with heat. |
7. Removing the clay out of the hot oven:
It is one of the biggest mistakes that beginners tend to make while baking clay. Removing the too hot clay from the oven right after baking will do nothing but result in the cracking of your pot. The sudden temperature change can create a considerable amount of stress on the clay body, leading to cracking or breaking of the pottery piece. So, to avoid such situations, you should maintain some measures, as stated below.
- Once you are done with baking, turn off the oven and allow the temperature inside the oven to become normal.
- Let the polymer sit inside to cool down naturally, along with the oven temperature.
- Bring out the clay after cooling to avoid sudden stress on the pot due to temperature changes.
8. Presence of trapped air bubbles in the clay:
While building the walls of your clay, be double sure that there are no air bubbles trapped in the way. The presence of air bubbles in the pottery wall makes the polymer much more prone to cracking during baking.
- The trapped air bubbles cause uneven spreading of heat on the polymer surface.
- It leads to more than one cracked line, which makes the clay body fragile enough.
To prevent trapping of air bubbles, pay extra attention during the time of conditioning your clay. Giving the right conditioning to the polymer clay prevents air bubbles and also cracking or burning of the pot.
Conclusion:
We have tried to cover the major reasons that lead to the breaking of your clay after baking. However, before working on your pottery project, it is always recommended to undergo several practice sessions to understand the facts and techniques of clay baking. Also, it is wise to always with smaller projects, especially if you’re a beginner. Experiment with your attempts to understand the temperature conditions of a particular type of clay and beat such baking-related problems.
However, it is not always the mistakes in your techniques, but also the quality of clay that has a great impact on how your pot behaves during and after baking. Hence, it is crucial to choose a superior quality clay to get the desired results. We hope the tips mentioned above will help you in understanding the baking process even better.
Happy sculpting!


