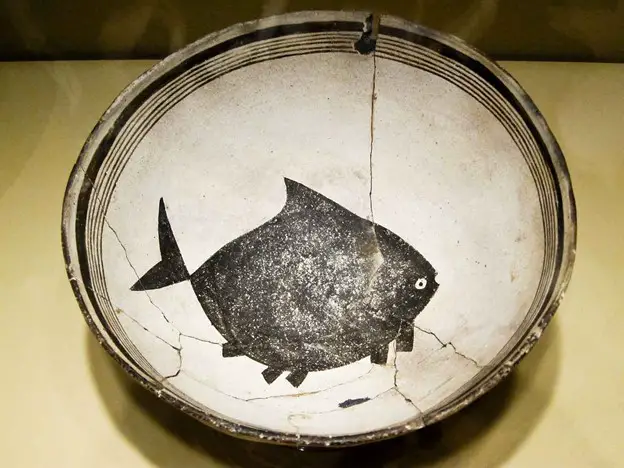
Ceramics and pottery arts are something that can highlight your décor and can transform your space into an attractive one. But despite all the pomp and show these articles display, they are very delicate and can easily chip off if you tend to handle it carelessly or due to a small jerk.
Such an incident is no less than a sad affair that can turn off your mood instantly! At this moment, you will definitely find yourself running here and there to find out ways to fix the same; isn’t it true? Sometimes, many people use glue as an instant savior, but sometimes this hack can turn out to be a failure too, or even if it works out, it may not serve you for long.
As a result, you may end up throwing that pottery piece, but throwing things away is always not a solution. There is still a hope to fix and get that pottery piece back to looking new by using an epoxy resin method. So, if you get your favorite pottery items chipped or broke down into two, then don’t worry.
In this article, we are going to tell how to fix chips in your favorite cup, plate, mugs, and other precious items that you cannot afford to lose.
What is the difference between super glue and epoxy?
Many people have a glitch in mind whether to use super glue or epoxy for fixing chips. So, let us pen down the primary differences between the two:
Epoxy |
Super Glue |
| It is made of two components – the resins and the hardener. | It is made of cyanoacrylate. |
| It works well for filling voids and triggers strong bonds. | It tends to harden at a fast pace and develops strong bonds when exposed to air and moisture. |
| It cannot be used directly; you need to mix the resins and the hardener evenly. | It can be used directly by squeezing it out from the bottle. |
What are the necessary staples you would require to fix the chips in your pottery?
Before starting the mending process, make sure that you collect all the essential staples so that you do not have to fetch for things at the last moment. For fixing chips in pottery, make sure that you wear your protective eyeglasses and get the following items on your desk:
- Paper clips and pin tools
- Wooden sticks
- Clear Epoxy
- 91% alcohol
- Razorblade
- Rice sand
- Protective eyewear
How to fix chips in your pottery?
Now that you know the difference between epoxy and super glue and what are the essential elements you require – let’s check out the steps you need to follow to fix your pottery item.
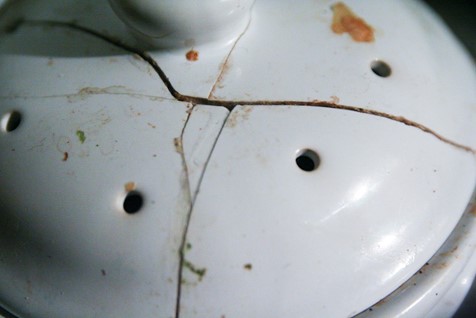
Ceramic pieces Cementing
- Firstly, clear the surface where you will be working and prepare a rough draft before regarding which part will fit in which location, especially if your pottery creations have broken down into multiple pieces. Ensure the same beforehand so that you may not end up joining the wrong pieces.
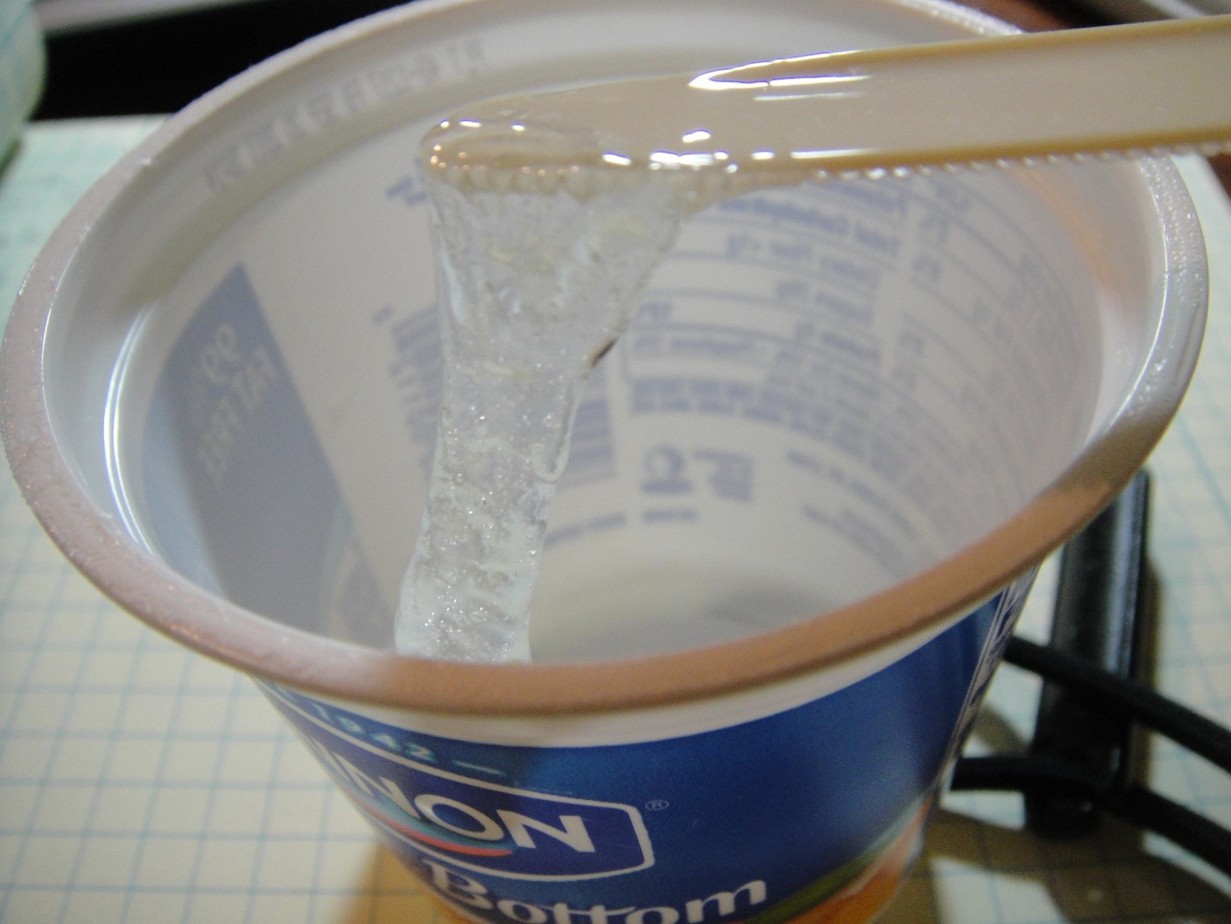
- Next, pour some clear epoxy on a cardboard sheet and mix it thoroughly, making use of a pin tool or wooden stick.
- Once you have mixed it well, apply the epoxy mixture evenly on the surface with a wooden stick. The application of a small quantity of Epoxy mix may result in weak repairs.
- Now, keep the broken pottery item on top of the Epoxy. Make sure that you complete the whole process within one or one and a half minutes before the Epoxy starts becoming gummy and loses its effectiveness of binding the pottery material effectively.
Subsequent pieces cementing
- In the same way, join the other pieces of the broken pottery item. While moving ahead to fit the next piece after fixing the first piece, clean any epoxy that may have protruded out to the space of the next piece to avoid smearing. You can consider cleaning the Epoxy using a pin tool and alcohol so that Epoxy doesn’t invade the space of other parts that need to be fixed.
- Also, don’t forget to take care of the time constraint for the completion of fixing each piece.
- Now, once you have joined all the pieces, leave the whole thing for curing without disturbing it for some time. Consider curing the article at 75°F for better results.
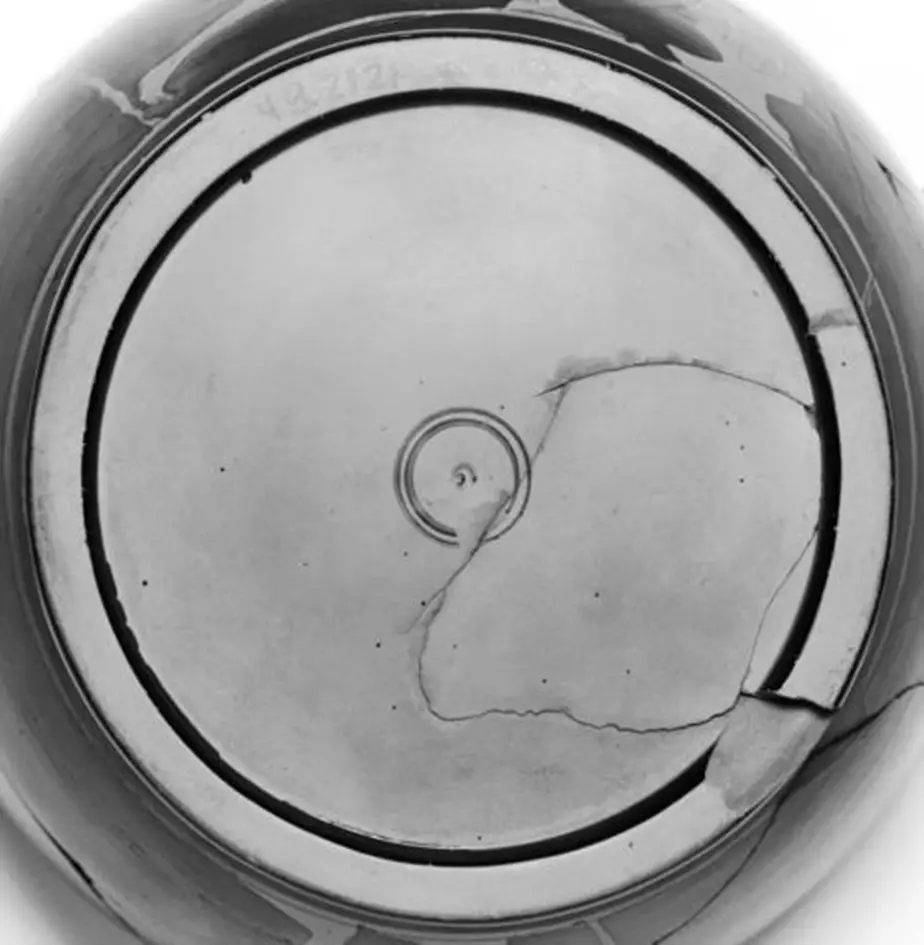
Chip cementing on the other side of the platter
While moving ahead to fix the rear side of the pottery piece, you need to follow the same process as mentioned above. But once you have completed the fixing part, let the platter stay still for a couple of hours. Further, all the unused small pieces can be thrown away. However, take a gap of 20-25 minutes before you invert the platter and start fixing the other side of the Epoxy.
Removal of excess Epoxy
After letting the platter stay undisturbed for a few hours, clear off the excess of Epoxy using a bent blade. But do wear your protective eye gears during the removal process to prevent any accidents.
Filling
Now, once you are done with the curing and removal of excess Epoxy, next comes the sanding and filling. For this, make sure that you get a few essentials’ namely 220 grits sandpaper, lock sanding disc, epoxy filler, 440 grit sandpaper, spatula, paper pad, denatured alcohol, and a rag.
Once you have collected all the afore-mentioned things, you can start by wiping the surface with denatured alcohol to get it free from any dust and oil before the application of Epoxy filler. Make sure that you are working at room temperature, preferably 75°F, and mix epoxy filler evenly.
You can consider heating the epoxy filler to 100°F by keeping it in a heater. Now, apply the filler over cracks and other places where the fragments are missing. Further, allow the epoxy filler to cure by leaving it undisturbed for at least one day.
You can also consider placing the article under a night lamp so that you attain an optimum level of hardness and can give a better performance during the sanding process. But make sure that the night lamp is at least 12-inches away from the repaired pottery item so that it doesn’t tend to overheat.
Sanding
Now the next step is the sanding process. You can make use of Dremel EZ lock sanding discs. Make sure that you apply light pressure during sanding and work at less speed to prevent any burn marks and patches. But leave at least 10% of the sanding process to sand it by hand.
Start sanding the article on one side, further turning the item upside down and sanding on the other side as well for the best results. After completing the sanding process, wipe off the dust from the surface.
Sanding for the second time
In the second phase of sanding, use 220-grit sandpaper, and start sanding the item using hands. Consider applying long length strokes over the surface for a smooth finish. Also, if you happen to find any cracks that might have been missed, continue the sanding process until the article has attained a perfectly smooth surface. Once the second phase of sanding is completed, apply some denatured alcohol, and clean it thoroughly.
Second phase of filling
The second round of filling can be initiated using a small sepulcher tool. Apply the filler and mix the epoxy filler evenly in two parts. If you happen to notice any defects, fill it with the epoxy filler and after application of the second layer of filler, leave it to cure in a warm surrounding.
A third or fourth layer of coating may be required if at all you happen to find any further defects while inspecting it with UV rays. Now once you are assured that there are no more defects, you can clean it with alcohol for the last time so that your item is ready for painting.
Painting and Glazing
For painting the creation, you can make use of acrylic colors as per your choice or as per the background colors of your pottery creations. You can consider using an airbrush over the lines where you have made the repairs, further tapering it with the integration of smooth and soft colors to match the background.
Once you have shown your artistry in painting the article by finely hiding the repair lines, leave it unattended for a day so that the acrylic colors dry off completely. Apply cold glaze over the painted areas. If you wish to get a translucent effect, you can try doing several coats of the epoxy mixture over the surface.
Conclusion
Though it sounds easy, fixing chips in pottery often can be more complicated than you ever imagine! While fixing chips, you might face problems placing the adhesive correctly on the broken area or getting hold of a particular broken chip to repair and reuse it again. Sometimes experienced potters also have to face the same wrath; you may also face the same, especially if you are a beginner. Thus, following all the right protocols to fix chips in pottery is necessary, and most importantly, keep patience.
All the Best!


