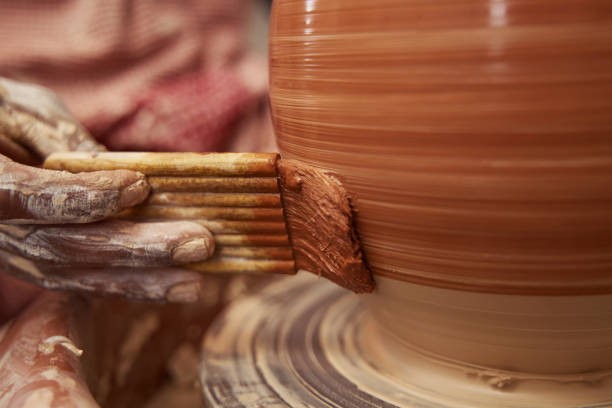
Cone 6 firing is amongst the most optimal and favorite firing temperatures because of its versatility and accessibility. At a firm 2167°F (1186°C), Cone 6 has a firing that helps you get durable, functional, and vibrantly glazed textures. This article is your comprehensive guide to Cone 6 glaze recipes. We have assembled the glaze recipes suitable for firing at Cone 6 temperatures so you can have a versatile pottery experience.
Understanding Cone 6 Firing
Cone 6 firing represents a midpoint in the ceramic firing spectrum of temperatures. It has a delicate balance between low-fire and high-fire. Clay bodies can mature to durability at this cone’s temperature, white glazes can achieve a fusion, and glossy finishes are much more accessible. Artists often use Cone 6 firing due to its compatibility with various clays, matte finishes, and glaze recipes. You can try the Orton Pyrometric Cones 6 for an accurate kiln firing. Its self-supporting build allows for easier use while firing. Here are some Cone 6 specifications you need to know about:
| Specifications | Value |
| Firing Temperature | Approximately 2167◦F (1186◦C) |
| Firing Range | Cone 6 lies in the Cone 5-7 orange |
| Heating Rate | Typically, 150-200°F (65-93°C) per hour to Cone 6 |
| Soaking Time | Typically, 15-30 minutes at peak temperature |
| Kiln Atmosphere | Typically, oxidation (plenty of oxygen) |
| Clay Body Maturity | Vitrification and durability achieved |
| Glaze Maturity | Fusion with the clay body, forming a glassy surface |
| Glaze Compatibility | Proper fit with clay body to prevent defects like crazing |
| Surface Texture | Glossy, satin, or matte, depending on the glaze composition |
| Suitable Clay Bodies | Stoneware, porcelain, earthenware (with appropriate glazes) |
| Effects Achievable | Wide range of glaze effects, from subtle to vibrant |
Considerations for Cone 6 Glaze Recipes
Cone 6 glaze recipes have some considerations you should know before starting with anything. Here is what we think you should know:
- Thermal Expansion and Contraction
Thermal expansion and contraction are essential in making Cone 6 glazes at home. Ceramic materials tend to expand when heated but contract when met with lower temperatures. The mismatched temperatures between heating and when you remove the piece from the kiln can lead to visible defects like crazing or shivering in the wares. To eliminate these issues, glaze recipes must be put together using the specific characteristics of the clay body. You can adjust the ratio of fluxes, Silica, and other additives to get a better recipe and, in turn, improve the overall quality of the glaze.
- Surface Tension and Viscosity
Surface tension and viscosity are important factors. They affect the appearance and texture of Cone 6 glazes. Surface tension can dictate if the glaze forms a smooth, continuous layer on the piece’s surface. On the other hand, viscosity is all about the flow and movement of the glaze in the firing process. To get the desired surface specifications, you must take good care of how you formulate the glaze and look into its composition. To adjust these factors, you can modify the glaze with different amounts of fluxes, Silica, and clay. As an artist, this shall help you achieve varieties of glossy, satin, matte, or other finishes per your preferences.
- Colorants and Opacifiers Suitable for Cone 6 Firing
Choosing the colorants and opacifiers is essential when you want fantastic Cone 6 glazes. Metal oxides like iron, cobalt, copper, and manganese give your ceramic pieces color. Common opacifiers like tin oxide or zirconium silicate help with an opaque finish and can provide opacity to colored glazes. You can experiment carefully with these colorants and opacifiers to achieve striking details.
Cone 6 Glaze Recipes to Try Out
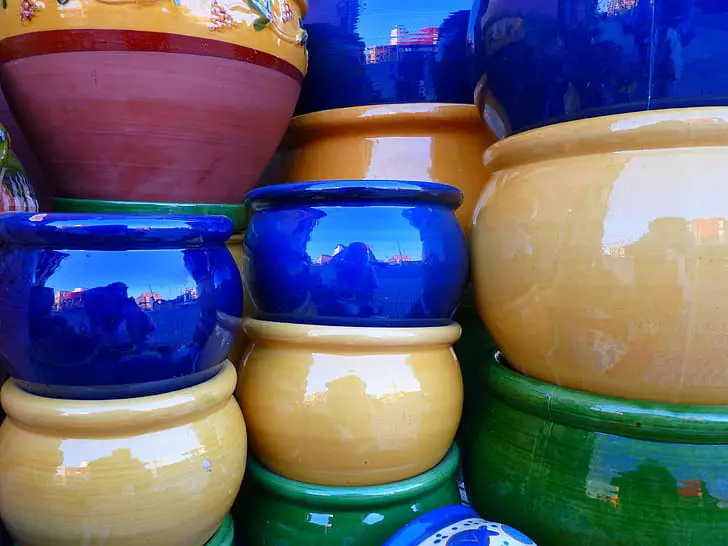
The wait is finally over! We have brought you some easy-to-create glaze recipes. Here are Cone 6 glaze recipes under three types of finishes: transparent, opaque, and colored:
A. Transparent Glazes
Transparent glazes are a familiar favorite amongst potters and ceramic artists. They are visually appealing and are often easier to achieve. Here are two transparent glaze recipes to try out for such a finish:
Recipe 1 – Clear Gloss Cone 6 Glaze
Ingredients:
- 50% Feldspar
- 25% Silica
- 25% Whiting
- Add colorants as desired
Instructions:
- Mix dry ingredients thoroughly.
- Add water gradually to achieve the desired consistency.
- Apply glaze evenly to bisque-fired pottery.
- Fire to Cone 6 according to the kiln manufacturer’s instructions.
Recipe 2 – Matter Cone 6 Glaze
Ingredients:
- 40% Gerstley Borate
- 30% Silica
- 20% Kaolin
- 10% Whiting
- Add colorants as desired
Instructions:
- Put all the dry ingredients together in a bowl and mix them.
- Slowly add water to them until you get a consistent mix.
- Coat the bisque-fired pottery evenly with the glaze.
- Put the Cone 6 in with the pottery and set the firing.
- Opaque Glazes
Opaque finishes are classy choices on ceramics. These may take a little more hassle, but they are worth it nevertheless. Here are two opaque glaze recipes for such a finish:
Recipe 3 – White Opaque Cone 6 Glaze
Ingredients:
- 50% Kaolin
- 30% Whiting
- 20% Silica
- Add titanium dioxide for opacity
- Add colorants as desired
Instructions:
- Ensure that all dry ingredients are mixed thoroughly.
- Keep adding water to this mix until a desired consistency is achieved.
- Cover the fired wares with an even coat of glaze.
- Follow the manufacturer’s instructions before firing the pottery and Cone 6.
Recipe 4 – Satin Cone 6 Glaze
Ingredients:
- 40% Feldspar
- 30% Dolomite
- 20% Silica
- 10% Kaolin
- Add colorants as desired
Instructions:
- Create a thorough mix of the dry ingredients.
- Add water to the mix to get a consistent glaze.
- Apply even coats as required on the pottery.
- Fire to Cone 6 according to the kiln manufacturer’s instructions.
Colored Glazes
Colored glazes allow for ample experimentation and thrill in ceramic glazing. Here are two exciting colored glaze recipes that you can try out:
Recipe 5 – Blue Celadon Cone 6 Glaze
Ingredients:
- 40% Feldspar
- 30% Silica
- 20% Whiting
- 10% Copper carbonate (for blue color)
- Add additional flux for a glossier finish
Instructions:
- Mix all the dry ingredients properly.
- Start adding water to the dry mix until the desired consistency is achieved.
- Coat your bisque-fire pottery with the glaze as required.
- Fire the pottery and Cone 6 at the advised temperature.
Recipe 6 – Iron Red Cone 6 Glaze
Ingredients:
- 50% Feldspar
- 20% Silica
- 20% Whiting
- 10% Red iron oxide
- Add additional flux for a smoother surface
Instructions:
- Create a dry mix with all the ingredients.
- Put water into this mix as required.
- Apply the desired layers of glaze to the pottery wares.
- Fire the pottery and Cone 6 as per the kiln manufacturer’s instructions
Conclusion
Exploring and experimenting with Cone 6 glaze recipes can open up a wide range of creative finishes for your precious ceramic pieces. By understanding the rules and specifications of Cone 6 firing, you can achieve stunning glazes through easy recipes.


