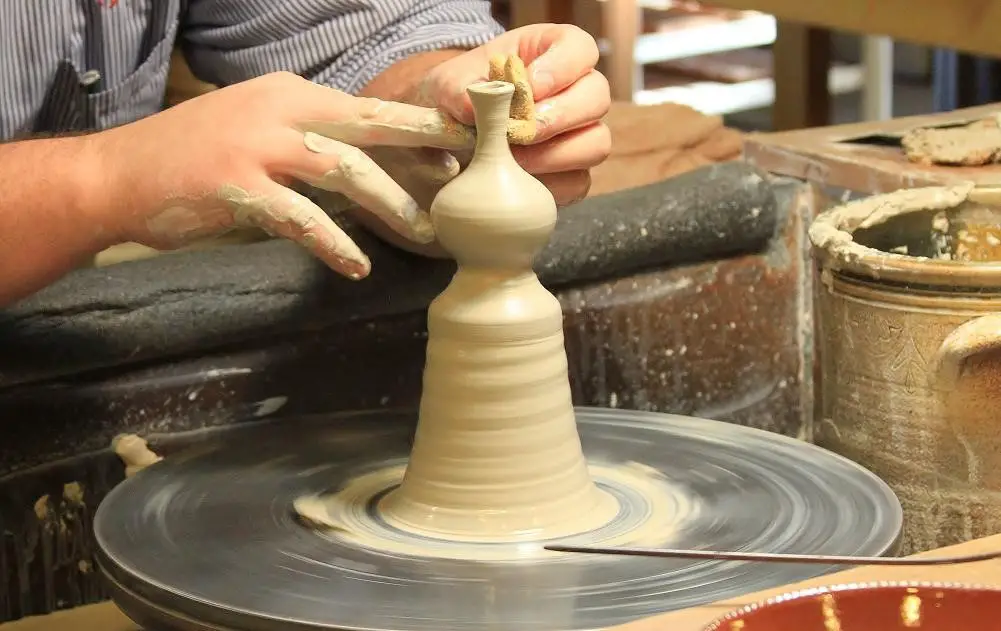
Recycling and reusing things is always a better idea. And, there is no limit to using and reusing clay in the case of pottery too. The perk of working with elements of Nature is that you can use them as many times as you want. Also, recycling is a good habit as it saves your money and effort in buying the material again and again. However, how many times you want to reuse your clay; depends upon the way you are storing it. If you take good care of it, then you can get the expected result for as much time as you reuse your clay.
The clay quality depends upon the particles and substances present in it. The presence of minerals also characterizes the quality and behavior of the clay. However, whichever material is present in your clay, aging will make it hard with time. But it can be reclaimed at any time with the help of specific useful procedures. So, in this article, we will discuss how many times you will be able to reuse your clay and which methods should you follow to do so.
Why recycle your pottery clay?
Before proceeding on how you can reuse clay first, let’s know why recycling clay is essential. Following are some of the potential reasons why one should reuse pottery clay:
It is worth recycling:
Why should you waste when you can go on crafting with the left-over clay? Or sometimes it’s just making your mistakes undone by recycling your clay. You can reuse clay every time if it is taken care of properly. Usually, it doesn’t require much clay to form a pottery piece. Even a little is more when it comes to using clay for your project. So, the excess left-over clay will help you in making something else, which might be quite profitable for you.
You can use the left-out clay in practicing to improve your skill:
If you are a beginner, then making mistakes at the initial stage is quite normal. In that case, don’t throw away the clay. Revive it and reuse it to improve your pottery practicing skills. The more you work with clay, the more it contributes to your goal to achieve perfection. While throwing on the wheel, you might get messed up with the clay. But it is good enough to use it again, so wait for some time until it becomes reusable, and then work with it again.
Sometimes you need to go on experimenting for a better understanding of the art. If you’re thinking of trying out something new with your project, it is better to practice the trick before the final implementation. Once you fire your clay, there is no way of reviving it. So, practice your firing skills on those left-over or reclaimed clays to learn various methods of firing according to your requirements.
Glazing also requires a lot of practice and experimentation to achieve perfection. Considering the usage of reclaimed clay for practicing glazing techniques might help you prevent yourself from messing up with bigger projects.
Saves your money:
No idea can be worse than spending your money over and over when you have enough clay to reclaim. Depending on how frequently you work with your pottery piece, a good amount of clay comes out when you scrape it. Throwing them is nothing but a loss of your money.
Also, practicing and experimenting with something new with fresh clay every time makes you waste a lot of clay and money at the same time. Why waste money practicing something when you can recycle the previous leftover clay? Spend your money in smart ways.
How many times can you revive your pottery clay?
As we said earlier there are no limits to reusing your clay. Depending on the substances and materials present in the pottery clay, you can know about its quality. Some clays tend to become rock hard quickly, while some remain soft for a long time, and a few become medium hard. All you need to do is understand the condition of your clay and revive it with the required techniques. Here are some of the tricks that you can use to reclaim your clay.
1. Reviving your bone-dry clay:
The bone-dry stage of clay is quite hard, but it’s still not too late. You can revive it by using some easy steps. Before jumping into the procedure, you will need some of the ingredients listed below.
Process | Ingredients used |
Reviving bone-dried clay | Old pillowcasesTiesMetal hookBucketsPlastic bagsWareboard or plaster moldSmall clothHammerMarker |
Follow the given steps to revive your bone-dry clay:
- Put a plastic bag on your plaster mold or wareboard, and then keep your clay on the plastic. Then place the wareboard
along with the clay inside an old pillowcase. Let it become dry.
- Let the clay sit for one week or more inside the pillow cover. Take it out once it is completely bone-dry. Place the clay off your wareboard
and place it onto another piece of rough cloth. Then break the bone-dry clay into pieces using a hammer. After that, place the broken pieces into a bucket.
Now take a fair amount of clay that you can handle at one time, and place it inside a pillowcase. Then, soak the pillowcase inside another bucket filled with water.
After one day, lift the clay and squeeze it to make sure there is no lump. If there are any lumps left, soak it inside the bucket for one more day. Lift and squeeze it again for another time until all lumps are gone, and the clay feels smooth and soft. After that, you need to hook up the clay cover at a raised place to let all the excess water drip out of it.
After 2-5 days, unhook the clay cover and check if it has become workable and malleable enough.
2. Recycling clay scraps:
While hand-building and throwing your clay, you are quite likely to have several scrap pieces. If your scrap pieces are not too much dry, you can use them again by recycling them. Here are a few simple steps that you can use to make those scraped pieces of clay reusable.
Take a fair amount of clay scraps inside your bucket. For instance, you can start by working on recycling your clay scraps when your bucket is half full of your scrap collections.
Make sure the clay scraps are entirely dry. If they are not, wait for 2-3 days for them to become completely dry.
Make sure that there are no large clay pieces. If there are any large pieces, break them into smaller and finer ones to let them slake down fast.
Cover the clay bucket with an adequate amount of water. Ensure that the clay scraps are wholly submerged in the water. If your clay scrapings absorb water too fast, add more water to the bucket to keep them submerged.
Wait for several hours or 1-2 days to let the clay become slurry. If it tends to have a layer of water on top of the slurry clay, pour the excess water out of the bucket.
Place the slurry clay into another bigger container and let it become dry for several days. Let the clay become quite dry until it gets workable enough.
3. Reviving air-dry clay:
It is quite normal for your air-dry clay to become leather-hard after some time. You can revive your clay anytime to use it again. Here is how you can restore your dried-out clay lump and make it workable.
Try to give some warmth to the hard clay using your hands. The natural moisture and warmth present in your hand will help in making the clay soft. Knead the clay properly with your hands and palms. Bend and twist the leather-hard clay until it becomes malleable. After that, put the clay inside a plastic bag and seal it properly. But this method works well only for air-dry clay; it won’t work with bone-dry clay.
If the clay is too hard, then only the warmth of your hand is not enough. You might need to heat the clay. You can implement the process of steaming your clay by putting it in a container filled with hot water. Let the clay seat for some minutes absorb the steam properly. You can also use other heating sources like a lamp, baking oven, or microwave for some time. The generated heat in the clay body will soften it.
- Once you are done with heating your clay, you need to roll it. Knead, bend, and twist the clay and then roll it in the form of bread dough. You can also cut the clay dough into small pieces to make the job easier and manageable enough for you. Put some pressure on your hands and then flatten the clay on a flat surface. Roll
the clay using a roller if it is too hard to do with bare hands.
- If warming and heating are not enough to soften your clay, then you have to undergo a more rigorous process. Break your clay into small and fine pieces. Place those pieces inside a plastic bag. Then, place the bag on a hard and robust surface and leave it for some time. Use a rubber mallet like ZEXETT Rubber Mallet to hit the clay
several times. Your clay will break soon and become softer.
Here are some more alternative ways that you can apply to revive your clay by adding liquid solutions.
Things to use for softening clay | How to use it? |
Sprinkling water | Sprinkle some water onto your clay with a spray bottle. And then, place the clay inside a plastic bag and let it sit for some time. After that, take out the clay and knead it several times. |
Liquid diluent | There are liquid diluents available in the market, specially made for clay softening. Use a little amount of liquid diluent, while kneading your clay to make it soft and pliable. |
Clay softener bar | Warm up your hard clay and then add a clay softener bar with it while kneading. Don’t add too much bar softener; it might change the natural color of the clay. |
Liquid clay | Liquid clay which is made of polymer material might help you. Adding the required amount of liquid clay to your leather-hard clay will soften it. |
Petroleum jelly | Take a reasonable amount of petroleum jelly in your hands and rub it onto the clay surface. Then, gently knead the clay by giving a little bit of pressure. It will quickly soften your clay. |
Here, we have highlighted all the possible ways that you can apply for reviving and recycling your pottery clay. It may take some time to make your too-wet scrapped and too-hard clay become workable again, but they are worth reclaiming and recycling. Clay allows you to shape-reshape, mold-remold it as many times as you want. You should not let go of this opportunity.
How to store your clay properly?
The lifespan of your pottery clay depends on the way you are storing it. You need to be more organized and cleaner with your clay storage ideas to avoid the wastage of pottery clay. Also, it is smarter enough to store your clay in the proper way than every time, giving a lot of effort and time to revive it. It saves your time, energy as well as money. Here’s how you can become more organized with storing your clay.
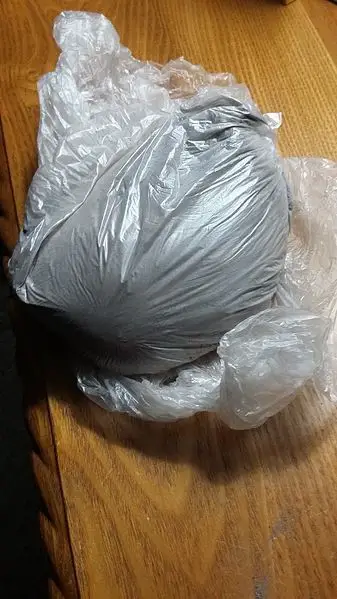
Use plastic bags:
While working on a pottery project, use plastic bags for holding your clay. Put a plastic bag inside the bucket, which is being used as a clay container. In this way, the bucket won’t get dirty. Also, it will be effortless for you to replace the clay from the bucket along with the plastic, without getting your hands dirty and messy. And you can even seal and store the left-over clay remaining in the plastic for further projects. Keeping the clay inside a plastic bag doesn’t let the atmospheric air make it dry.
Use one or more buckets:
Clay naturally has enough weight. So, when you add water to it, the clay becomes heavier. It is always useful to use several buckets to contain your clay while reviving it. Putting a lot of clay in one bucket will make you add too much water to it. So, put a little amount of clay in one bucket, and add later, depending on your requirements. Make your buckets more organized by keeping dates written on them. It will help you in understanding which clay-filled bucket to use first and thus avoid damaging the clay due to aging.
Store the clay based on its type:
Clay comes in different colors and with different characteristics. So, knowing the type of your clay, it’s better to understand the nature and features of the pottery clay by observing it properly. Keep them separate, because mixing the different types of clay might degrade its quality. Also, different colored clay needs to be contained separately.
Keep track of the additives:
You might need to add additives like grog, Epson salt, etc. to your clay body. Keep track of what you are adding in which kind of clay. It will help you in organizing the clay nature and prevent the hardening of your clay.
Strain your clay and keep them separately:
To get rid of all unwelcome objects, debris, and other particles, you should strain your clay correctly. Having unwanted particles in the clay creates obstacles in your work. It might ruin the texture of your ceramic body. To prevent such kind of problems, strain the clay properly. Also, do not forget to keep them separately to avoid getting mixed with the unstrained clay. It is one of the best ways to keep your clay job fuss-free.
Keep the reclaimed clay separately:
The clay you have reclaimed or revived to avoid wasting must be kept separately. Don’t mix the fresh clay with it. Instead, use the reclaimed clay for your practicing and experimenting purposes, and use the pure clay for final and newer works.
Store the clay in a moist place:
To avoid the clay from getting bone-dry and unworkable, you should store it properly. Put the clay inside a sealed and breathable bag. After that, store the bag in a place where there is enough moisture available. Avoid keeping the clay bag in a sunny area; it might dry up the clay too fast.
Avoid the clay from being contaminated:
Your clay might get contaminated with chemicals. You might not want your clay to become unworkable after coming in contact with substances like glazes, dirt, and debris. So, it is better to keep your clay covered to avoid such problems. And always maintain cleanliness to prevent your clay from getting contaminated.
What tools to use for reclaiming pottery clay?
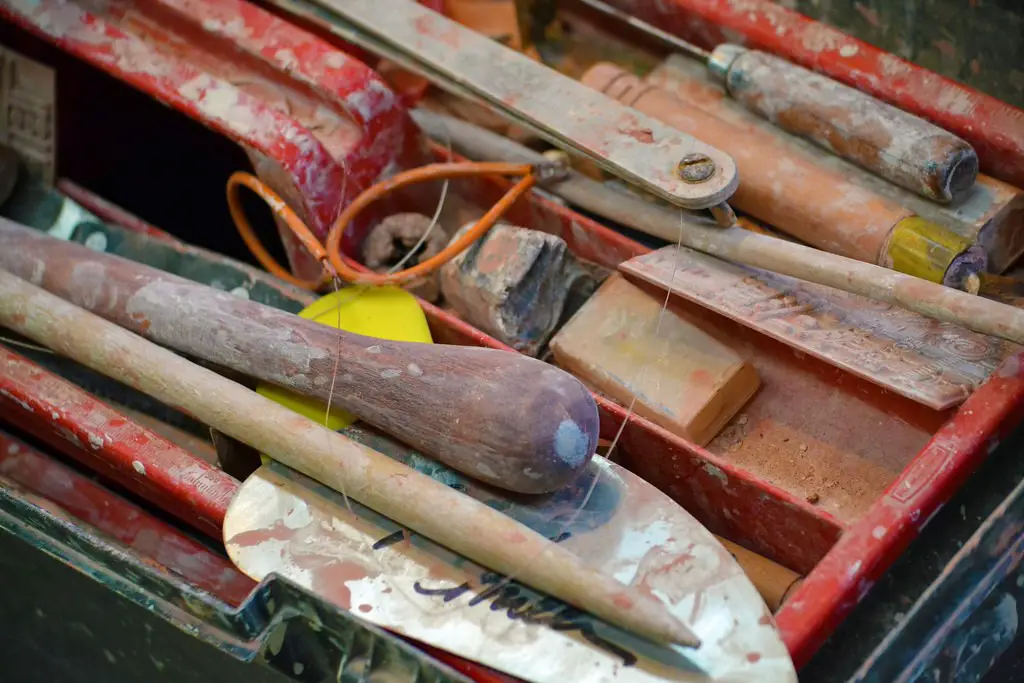
Here is a list of some tools that will help you in reclaiming your pottery:
Tool name | Usage |
Hammer | It will help you in grinding the too-hard or bone-dry clay. |
It helps you scrap off the excess clay from the pottery body. | Paper towels help in wrapping up the clay body to make it wet and get hold of enough moisture. |
Pottery scrapper | It helps you scrap off the excess clay from the pottery body. |
Sieve | This tool helps in straining the debris from the clay. |
Liquid diluent | Adding a little bit of diluent to the leather-hard clay helps in making it soft and pliable. |
Clay softening bar | Using a clay softener bar helps in reviving the hard clays. |
For the proper revival of your pottery clay, it is crucial to use the correct equipment at the right time. So, below are given a few tips for using the tools while reclaiming your clay.
Always use clean equipment to get your job done. After finishing your work, remember to clean your tools properly to avoid contamination of the clay, while using them the next time.
Take all the safety measures before working. Use face masks to avoid inhaling dirt and dust. Also, use glasses to protect your eyes from microscopic dirt.
Conclusion:
Reclaiming your clay is the best idea. It is always better to be organized from the beginning to avoid such clay-related problems. However, if still, mishaps occur, no need to worry at all. Only follow the steps mentioned above and give a new life to your clay, and go on with pottery making and sculpting as much as you want.
Happy sculpting!


