Pottery work is a rendition of all kinds of creative efforts that makes a pottery piece a beautiful and excellent one. Every little detail of a pot is followed up by a lot of small tricks that ultimately sum up a great piece of artwork. In the job of pottery, from throwing the clay, at the very beginning, to replacing the pot from the kiln after firing, everything needs to be accomplished skillfully to create a marvelous piece of pottery. Not only the basic steps of molding, shaping, bisque-firing, and glazing of the clay are enough, but some carving, trimming, cutting, and other small jobs are essential to give your pottery a complete and detailed look.
Trimming plays a vital role in giving your pottery a smooth and nice textured look. Also, tremendously trimming changes the rough surface of the earthenware. It transforms the pot’s makeover and makes it smooth. Like all other pottery skills, the trimming of vessels is also a technique to master appropriately. As a beginner, you need to know how to trim a pottery bowl accurately. But before learning the entire process, let us first know a little bit more about pottery bowl trimming.
What’s the importance of trimming your pottery?

If you want to know why trimming is essential for pottery bowls, check out the below table describing the importance of pottery trimming.
Aims of trimming pottery bowls |
Why is it important to achieve? |
Excessive clay removing |
It’s not possible to shape your bowl perfectly on the pottery wheel only by using your hands. So, trimming the clay body removes all the excessive clay present near the lower part of the pottery bowl. |
Creating a stable pottery foot |
Trimming out the pottery foot is vital to ensure the stability of a pottery bowl. The pottery foot helps the vessel to sit correctly on any surface. |
Ensures even thickness all over |
The wall of a pottery bowl needs to be evenly thick throughout as it ensures the durability of the vessel. So, if there are uneven layers on the pottery piece, then it needs to be adequately fixed by trimming. |
Creating a breakpoint |
Create a breakpoint at the lower part of a bowl or near its edge. It will help in preventing the glaze from running out of the pottery bowl and creating a mess inside the kiln. |
Complete look |
Trimming pottery makes the bowl surface look smoother and less rugged, and undoubtedly, gives the pottery a beautiful up-gradation. |
When does a pottery bowl become ready to get trimmed?
Once you are done with shaping your clay, you need to let it sit for some time to become dry while coming in contact with air. After the clay becomes leather dry or hard enough to work with, you can proceed for trimming your clay carefully. Make sure that the pot has the consistency of cheddar cheese or a bar of grated chocolate. It must not be so pliable that it will get imprinted with fingertips.

Check the consistency before trimming your pottery bowl. Clays that are too hard will not be easy enough to work with. So, keep checking the pottery bowl to achieve a precise amount of dryness and the right consistency before trimming.
How to trim a pottery bowl?
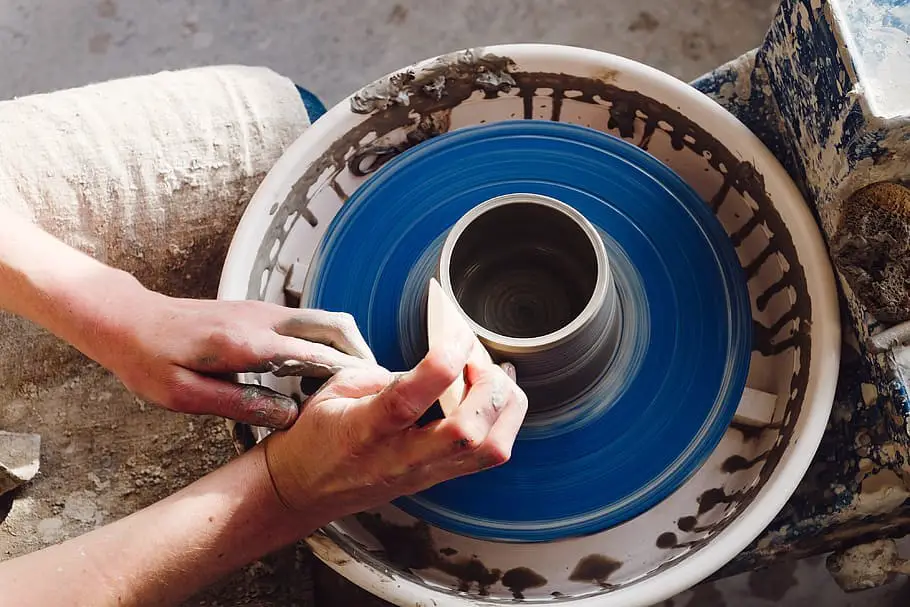
Now, let’s jump on to the sole subject of this article. Trimming pottery is an extremely easy task if you do it by maintaining proper rules and techniques. This pottery trimming process needs a little bit of trick and lots of patience and attention to avoid disasters. There are particular steps that you need to follow to get the desired result. So, let’s move on to the stages to learn more about the technique.
-
Gather your supplies:
The most important thing that you need to do at the beginning is to gather all the essential supplies at your workplace to avoid interruptions while working. You have to take the pottery bowl first, which you are going to trim. Make sure the vessel you are working on is leather-hard, and no kind of softness is present that can get affected with the touch of a finger. Make a quick measurement of your pottery bowl to analyze the direction of trimming. Gather all the trimming tools in your studio that you are going to use for trimming your pottery bowl.
-
Mark the places you need to trim:
Start with marking the area where you are going to trim out to place the foot of the pot. Measure the place using a measurement ribbon or your fingers and mark the point with a marker or pencil. The marking point should be near the joining of the sidewall and the bottom of the bowl. You can use a pin tool to push it through the bottom at the marked point and make a pinhole to understand the marking point. This mark will help in carving out the outer part of the bowl. Once you are done marking the trimming point, fill it with a little amount of soft clay.
-
Measure the thickness of the bowl clay:
It is essential to know about the thickness of the pottery bowl. Start measuring the depth of the pot from the center of the bottom. Push a needle tool through the middle of the bottom of your pottery bowl and make sure that the tool’s head appears at the outside of the bowl’s other end. Press your fingers onto the equipment while removing it and mark the thickness on a piece of paper. It is recommended to keep a record of the depth of your pottery bowl for the easiness of trimming it.
Now you need to measure the thickness of the pottery wall. Run your fingers evenly on the pot’s walls to understand the difference in thickness on the clay body. Mark a point on the wall from where the clay starts thickening up. Do not forget to keep a record of all these depths to match the thickness of the entire pottery body along with trimming it.
-
Scratch out for centering:
To trim out the foot of your bowl, you need to have a more prominent centering near the bottom line of the pottery. Mark a distance of 1 inch on the sidewalls of the pottery bowl from the bottom edge. And then, place the pot on the wheel. Then, slowly rotate the potter’s wheel while scratching the marked point with the help of a needle tool by spinning it gradually with the movement of the wheel. Don’t put much pressure; instead, be gentle while centering.
-
Affix the pottery bowl onto the wheel properly:
In case your bowl is too shallow or broad, you need to support it with balls of extra clay. And make sure that the bowl sticks onto the wheel properly so that it doesn’t become tough while trimming the pot. On each of the four sides of your pottery bowl where the rim end meets the wheel head, you need to push lugs of clay gently to fasten the model onto the wheel head steadily.
-
Draw a circle at the bottom outside:
Take the needle tool and spin the pottery wheel slowly to mark a circle on the outside of the bottom of the pottery bowl. Create the circle by softly moving the needle tool with the rotating wheel. This mark will help you estimate how much you need to trim inwardly near the edge of the bottom line. However, be careful while using such a sharp tool. Make sure that the needle tool is not scratching at any other place accidentally.
-
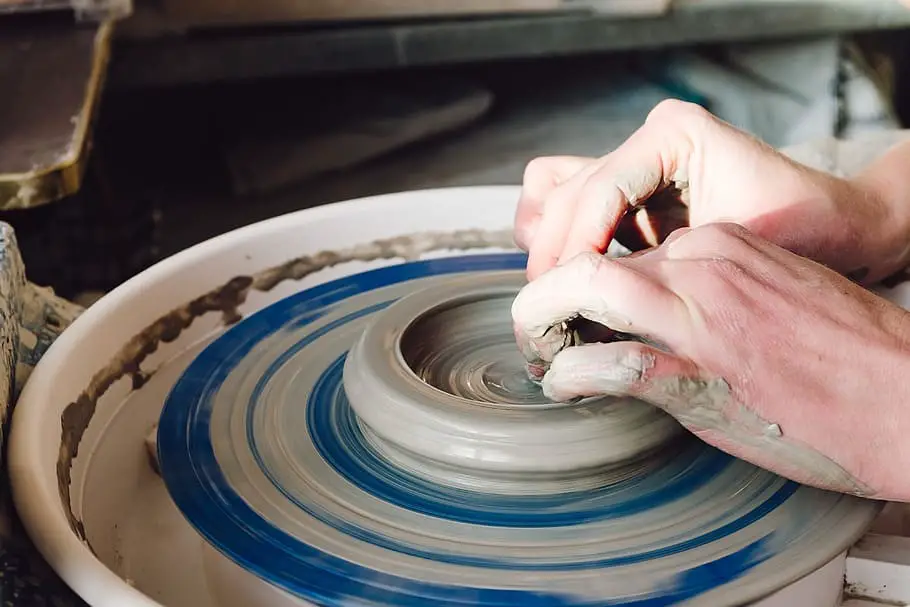
Start trimming the excessive clay:
Now you need to start with trimming by removing the excess clay. You can use Kemper Tools Special Ribbon Series Clay & Pottery Sculpture Tool for trimming your pottery bowl. Start from the highest edge of the vessel while moving the wheel at a standard fast speed. Make sure you are applying the round side of your trimming tool by moving it down at an angle of 45°.
Trim down the places evenly around the circle that you have drawn at the bottom of the bowl. Stop trimming when you reach the circular marking. One thing that you need to keep in your mind while trimming is that you must keep your wheel spinning fast and move your hands slowly to avoid unwanted accidents.
-
Cut out the foot of the bowl:
Now you need to cut out near the centering part that you have drawn earlier. With the help of the square side of the trimming tool, you need to cut out the centered corners for the foot. Trim the foot of your pottery bowl using the said tool by holding it at an angle of 45° and proceed by spinning the wheel slowly. This action is going to create an extra ridge outside the foot of the bowl. Smooth the edges by blending the ridge with the walls nicely to give the pot an excellent finish.
-
Measure the inside of the foot:
To trim away the inside area and make your pottery bowl foot look more prominent; first, you need to take the necessary measurements. Start measuring by placing the square end of the trimming tool near the bottom edge of your pottery bowl. Go on marking the area with the help of a needle tool to draw another neat circle.
-
Trim the inside part:
At the circled area of the bowl, hold the square end of the trimming tool and go on trimming along with spinning the pottery wheel at the right speed. Try to give soft pressures at the right corner of the trimming tool to trim out the place more evenly. Make sure that you apply the pressure in an even way to prevent the formation of additional ridges by the sharp and long edge of the blade.
Trim in a horizontal direction from the center to the start of the inner edges of your bowl’s foot. Keep trimming at this place exactly in this way, until you have reached half the thickness at the bottom part of your pottery bowl.
-
Finish it off:
Finish it off by making the edges smooth enough with the help of the trimming tool. Find out if there are any other unwanted ridges or marks, and blend them with the help of the square edge of the trimming tool. It will give your pottery bowl a clean enough look. Be quite careful while doing this finishing touch, and make sure that you are not creating any other marking. Once you are done, carefully remove the bowl from the wheel head by slowing down the speed of the wheel. Softly sponge those areas where the clay feels rough, and thus your pottery bowl trimming is completed.
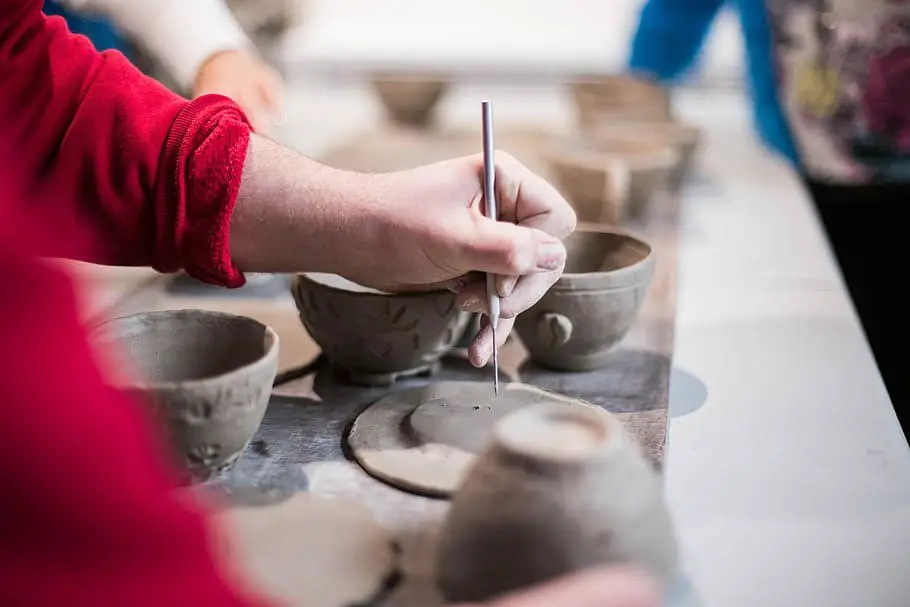
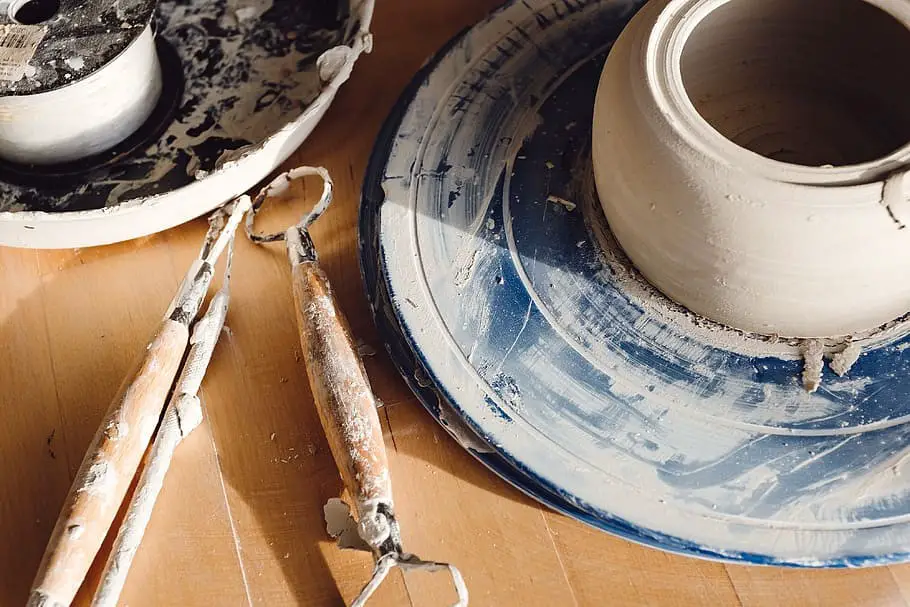
Tools that you are going to need for trimming your pottery bowl
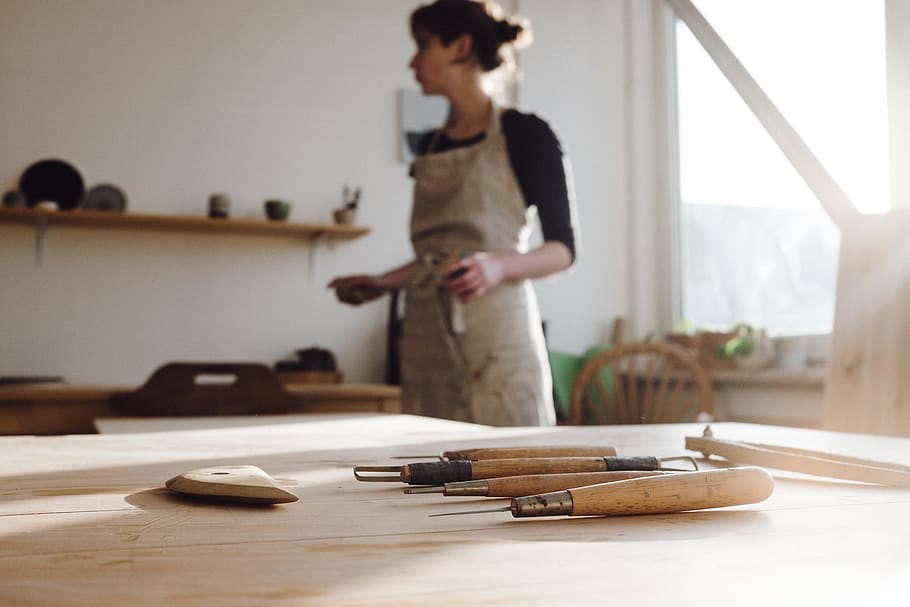
Pottery trimming is all about using various types of carving and sculpting tools. Without the help of proper tools, you are never going to achieve the perfect result. So you must have all the essential tools near you when you are going to start with pottery bowl trimming.
Though we have mentioned the usage of the crucial tools in the course of describing the steps, here, let us provide you with a clear idea about the tools that you are going to need to trim your pottery bowl.
Tools |
Usages |
Potter’s needles |
You will need it to scratch or pinhole the bowl. |
Fettling knife |
Flexible knives to cut out clay at any angle or curve. |
Loop, ribbons, and wires |
These tools find their uses for trimming the pottery bowl. |
Wooden modeling tools |
Sharp wooden tools may also be used for trimming the clay body. |
Sponges |
It is used to make the pottery bowl wet and remove roughness. |
Conclusion:
If you are a beginner, start following the right way to trim your pottery bowl. Abide by all the steps sincerely, while you are learning the process. Once you are adept at the skill, you can go on experimenting on your own to create different designs every time. All you need to be is careful and attentive enough while doing such a sensitive job as pottery bowl trimming. I hope the steps mentioned above will guide you in your pottery trimming ideas. Thus, go on sculpting as many bowls as you can.
Happy sculpting!


