If you had closely seen any tableware like porcelain plates, there is a small rim at the bottom of every container, which is known as the foot. The technique of adding a foot to your pottery is known as trimming. It helps to remove excess clay from the pottery item and gives it a proper platform to sit on the table.
Even though trimming is a tricky subject, every potter needs to learn how to trim. It requires enduring patience to bring consistency as one begins to trim the pottery. The most common steps involved in trimming are as follows:
- Drying your pottery to leather hard
- Determine the area that needs to be trimmed
- Re-centering
- Anchoring the pot
- Trimming the pot
However, before we dive deep into the trimming process, you need to about the right tools and when it is best to trim the pottery. In this article, we will walk you through the essential elements of how to trim your pottery.
What tool is recommended for pot trimming?
A complete set of Xiem Stainless steel clay rib is one of the most recommended tools for the ceramic and pottery trimming. They are absolutely flawless, lightweight, and flexible. They can be widely used for various purposes like shaping, trimming, cutting, smoothening, and finishing.
Mainly, it’s ideal for trimming because when you use them on leather hard clays, they do not cause any damage and form an impression. Xiem Stainless steel clay rib also comes with the complete package of eleven stainless steel ribs. It can be used on water-based clays, Sculpey, Fimo polymers, oil-base clays, and wax and plaster clays. Thus, it’s a handy and essential kit for the people who are into pottery and trimming.
When to trim pottery?

There is no definitive answer to this question as to the needs. But the general answer would be when the pottery becomes leather hard. Here leather hard means that your pottery item should be slightly soft and pliable but not wet and sticky.
The pottery should be firm enough to trim so that it won’t damage or distort while trimming. Apart from this, the base area of the pottery should be soft so that it can be marked with a thumbnail. However, it shouldn’t be so soft that a fingertip makes an impression on it. You can check it by drawing a quick sketch.
If your pot is too wet, the trimmings will be sticky and will stick back to the pot while creating a mess. If your trimmings are peeling off in a beautiful little spiral, then it is an indication that your pot is ideal for trimming, and you can continue the process. Now, you know when to trim the pottery, let’s check out the next steps for trimming your pottery.
What are the steps involved in trimming?
Determine the trimming spot
Though a trimmed foot on pottery gives it a nice appearance, if you want to add a foot to your pottery, you have to decide it before you throw the clay. It will help you to ensure that the pot has enough clay for trimming.
Before you start your trimming, make sure your pottery is leather hard, and its inner surface is the mirror of its outer surface. It means the wall and the floor of the wall must be of the same thickness, excluding the foot ring.
Placing the trimming spot
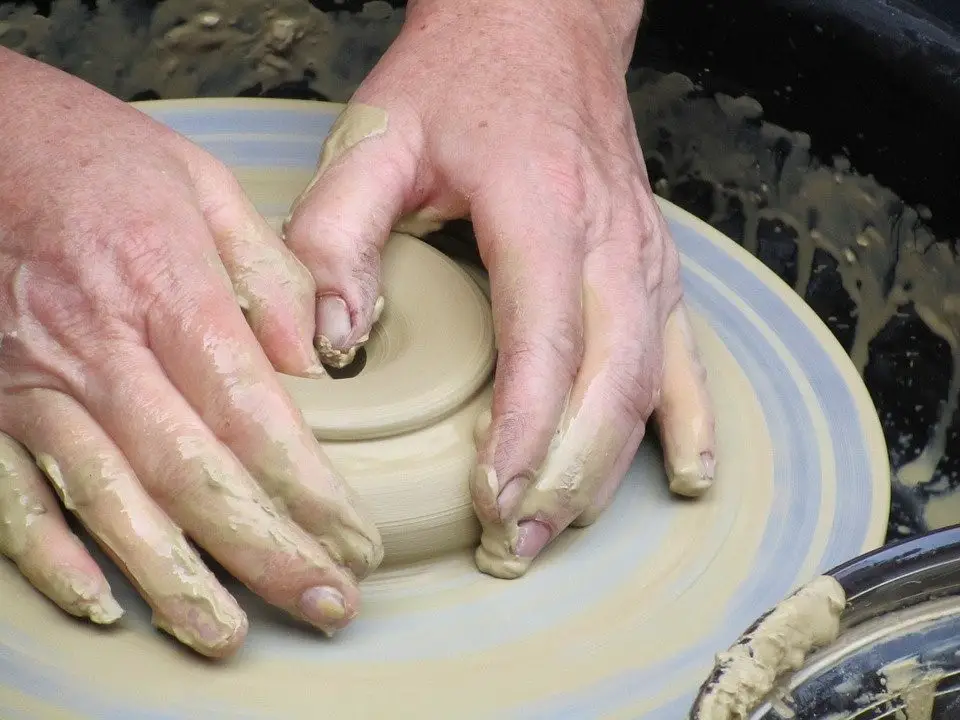
Gently, place the pot upside down close to the wheel head or clay pad. The aim is to place the trimming spot at the center. Move the pot closer by rotating the wheel. Hold your finger right at the point until the pot reaches close to your hand. With enormous practice, people place the pot at the center even without stopping the wheel. It is one of the quickest techniques to bring the trimming.
While placing the pot, ensure that you have the concentric rings marked on them. It’s essential if you have just begun to trim. When the pot is off-center, it’s easily visible, and you can adjust the placement.
Securing the trimming spot
As you place the pot at the center, it must be secured to the wheel. You can easily accomplish them using one hand kept on the center position and place a wad of clay against the pot with another hand, and apply some pressure to smear it downward. By rotating the wheel to one-quarter and repeating them, you can place the wads of clay on four sides of the pot.
Trim excess clay
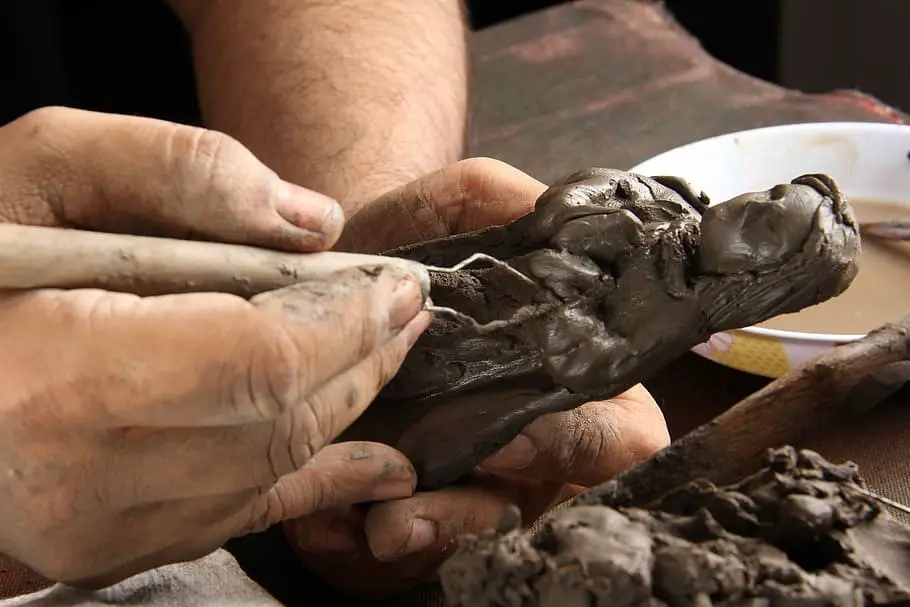
It is the last step where you trim the excess clay from the pot. For this, you will need a sharp-edged trimming tool. You need to hold the tool firmly in your right hand and simultaneously brace it with left. To keep the pot steady, you also have to keep one finger on the top of the pot. The trimming tool must always be held at the surface level parallel to the clay. If you change the angle, it changes the depth of the clay and cuts away the major part.
Therefore, always start by working on outside of foot ring. Cut the excess clay from outside. Now slowly trim outside the pot’s wall as needed. Gradually create the transition area from the untrimmed wall to the trimmed walls, so the pottery looks smooth and not disruptive.
Now trim the interior area of the foot ring. An ideal trimming is when the thickness of the outer to the inner surface should match the thickness of the pot’s wall.
How to check the trimmed pot’s floor thickness?
Your upside-down pot will act like a drum as there is air trapped in it. In order to check the floor thickness of your trimmed pot, tap the bottom of the pot. If you hear a sharp click, it means the floor is thick. On the other hand, if you listen to a hollow sound, it means the pot has been trimmed enough.
Once your pot is trimmed, release it from the bat and wheel and smooth the clay surface with damp hands or sponge. If you want to give your name to your pottery, it is time to add a sign to it.
Final words
If you look at some pots, you may understand that the outside shape does not reflect the craftsmanship. Even though they are hefty for their size, eventually, it looks raw and unmolded. That ruins the look and also the efforts that the potter has infused in creating one. Hence, trimming pottery can reduce the weighty hard earthen objects to a simple, pleasant to hold materials.


