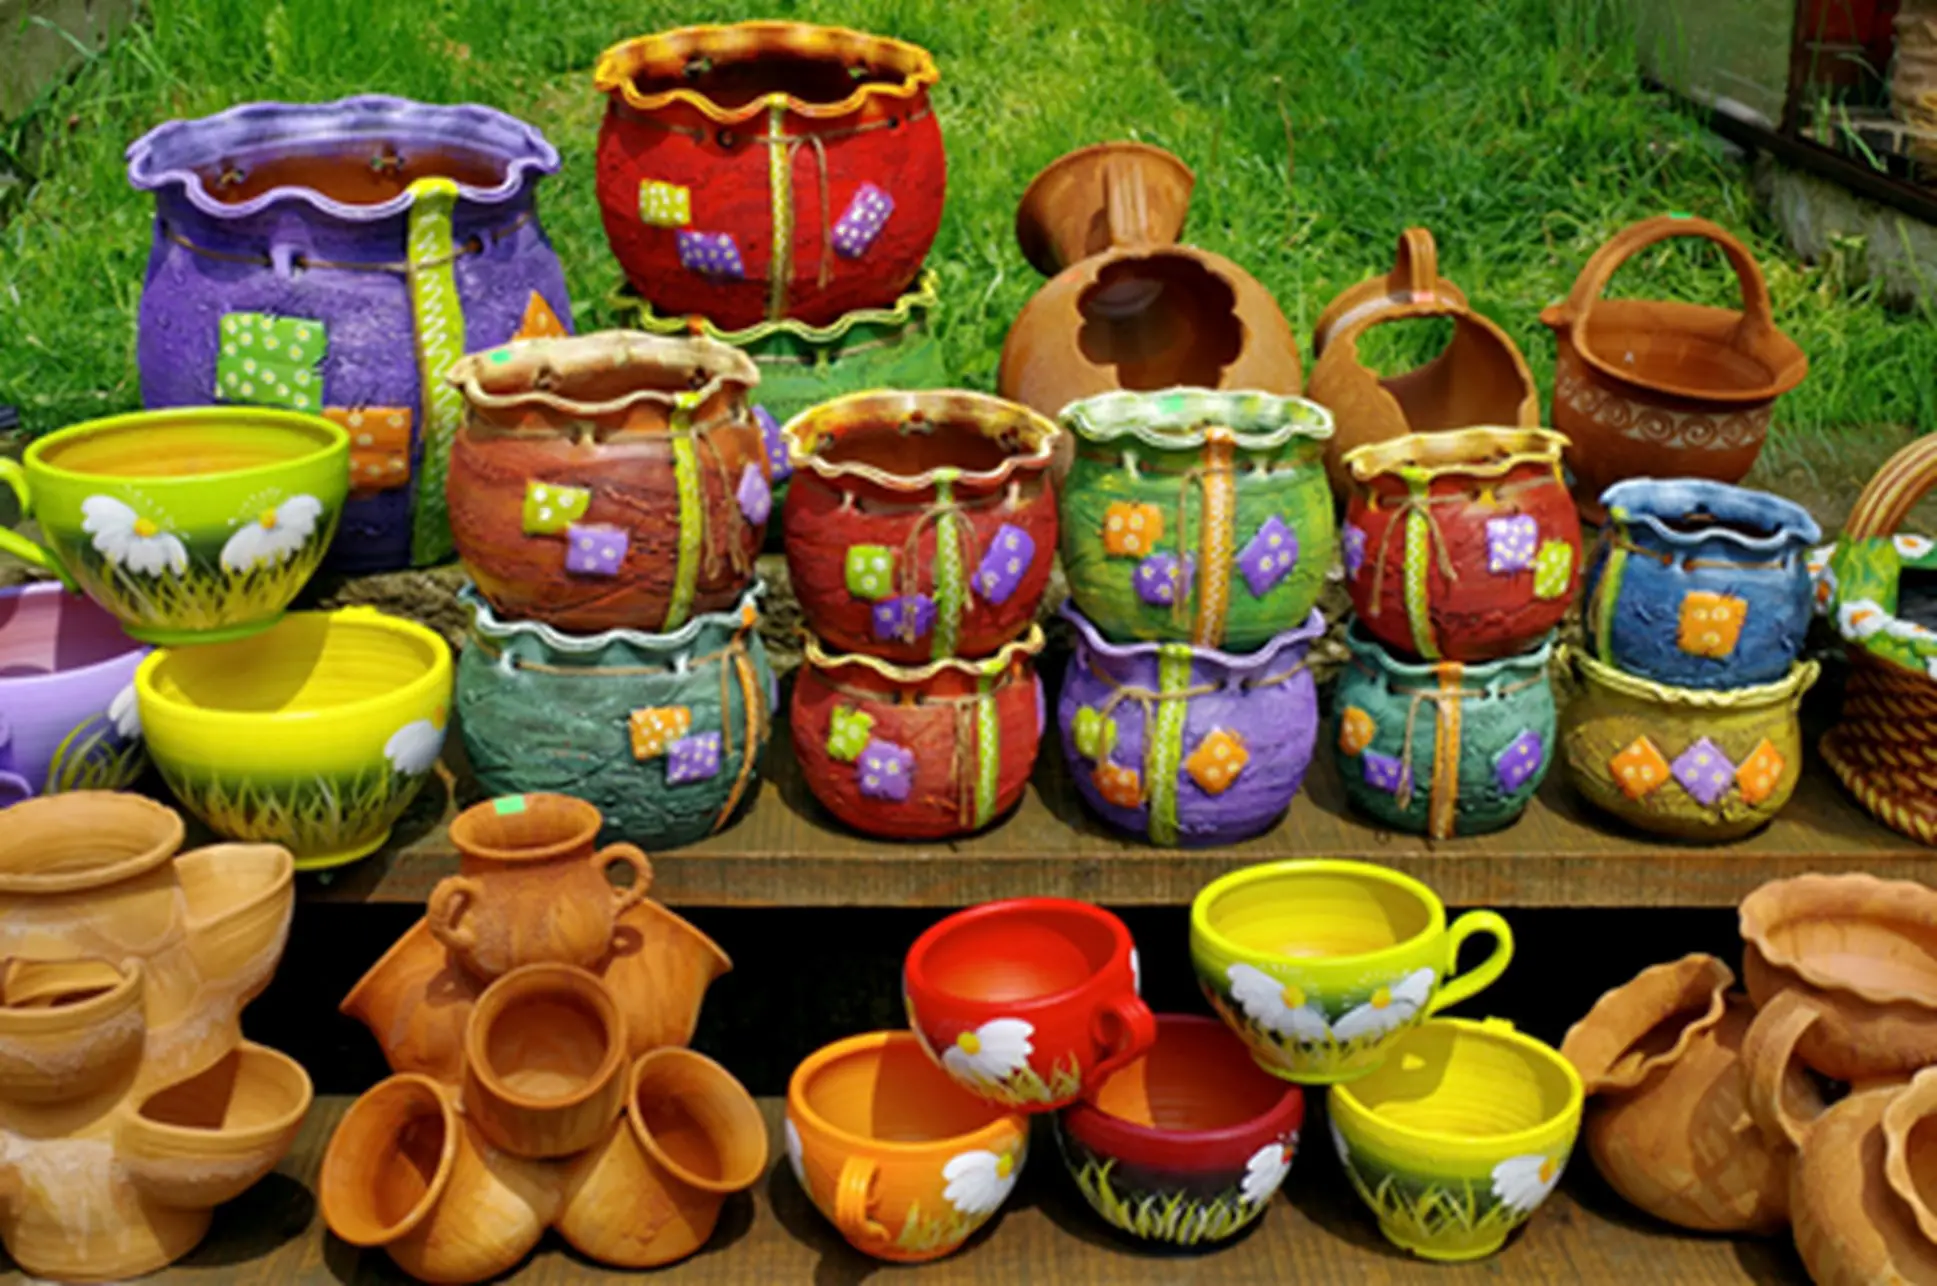
Do you like decorating your house with various colorful clay pots? If yes, learning about different clay pot painting techniques will help you achieve your goal.
Whether you are a beginner, you can still learn the art of painting clay pottery. Clay pot painting is a fun activity everyone of all ages would like to do. You can pursue it as a hobby or do this activity to add a fun element to your home garden in the form of clay pots.
Read this article to learn about the different clay painting techniques and particular prerequisites to achieve the desired results.
Things To Consider Before Painting The Clay Pots
Before moving to clay pot painting techniques, there are specific prerequisites that you should know so that you do the job perfectly.
1. Types Of Paint
The most important one is the paint used for painting the pot. Color has a significant impact on the final look of the clay pot.
You can use various paints to paint the clay pots depending upon the availability and type of look you want for your pottery piece.
Here are a few commonly used paints you could try while painting. However, every color follows a different painting technique.
Painting Techniques With Different Types Of Paint
There are a variety of paints available in the market, and each requires a different painting technique. Here a few of them are discussed.
- Acrylic Painting
Acrylic paint is undoubtedly the most versatile paint used for various purposes. It comes in several color shades and is used for almost all craft purposes. So, you can find a variety of acrylic paints. But ensure to opt for a high-quality paint such as Caliart Acrylic Paint Set.


When painting the clay pot with acrylic paint, it is crucial to start with a base coat and allow it to dry completely. Once dried, the next coat of paint should be applied for a clean look. Two or more coats of paint might be required after the base coat because the clay sometimes absorbs the color.
Here is the tabular representation of the acrylic paint types you can use to paint your clay pot.
| Types Of Acrylic Paint | Properties | Usage |
Heavy body acrylics |
Thick, high-viscosity textures |
Used for thick impasto technique |
Soft body acrylics |
Low viscosity |
Perfect for all kinds of techniques |
High-flow acrylics and acrylic inks |
Fluid nature |
Use to create watercolor effects and airbrushing |
Slow-drying acrylic paint |
Free flowing consistency |
Used for thin application and impasto technique |
- Latex Painting
Latex paint is commonly used to paint houses. So, if you have leftover latex at home, you can paint your clay pots. Latex paints are also available in spray form, making it easier to paint several coats on the pottery. However, while using latex paint, seal the pot inside. It will prevent moisture from causing the peeling of the paint from the outside.
- Textured Painting
Textured paint is the best option to add effects to your clay pots. These are available in various textures and can add a new dimension to your clay.
- Oil Painting
Oil paint is another popular paint that is used in art and craft. Thus you can use it for painting your clay pot as well. However, oil paints take a lot of time to dry completely, almost 6 months when applied to clay pots. Moreover, don’t use sealant afterward if you are using oil paint.
2. Preparation Of Clay Pot
After deciding the type of paint, another factor that should be considered is preparing the clay pot for painting. Before you start painting the clay pot, make sure to clean them even if you buy it from the market. You can put it under the running water and scrub it lightly with a pot brush or cleaning brush. It will help remove all the pot residue and prevent the paint from looking lumpy. After washing, let it dry for about an hour to remove all the moisture. It’s better to keep it under the sun to speed up the process.
Detailed Steps To Paint Clay Pots
There are several techniques for painting clay pots. However, we will discuss the acrylic paint method as it is the most common and feasible.
Before jumping into the steps, let’s see the materials you need for painting.
Materials Required
- Clay pots
- Foam sponge paint brush
- Acrylic paint of different shades
- Scrub brush
- Water
- Newspaper
- Spray Sealer
- Glue
- Decorative items(optional)
So, here is a step-by-step process to effectively paint a clay pot.
Step 1: Preparation Of Clay Pot
The first step, as discussed above, is to prepare the clay pot, whether new or old, for painting by washing and scrubbing them. You can use the scrub brush to wipe off the dust and keep the pottery under running water to eliminate the residue. Keep it under the sun for a day or two to let it dry completely.
Step 2: Set Up Your Workspace
Once the pot is dried, spread the newspaper to where you will be doing the painting. It will help prevent the surface from getting spoiled with paint.
Step 3: Thin Your Paint
Acrylic paints are thick, so it is recommended to thin them while applying the base coat to the pot. Clay pots soak up the color quickly. Thus, thinning them with water helps them to spread easily and quickly. To thin the paint, you need to take a decent amount of paint in a paint plate and mix a small amount of water. Remember that water might change the color of the paint slightly, so don’t use them in excess.
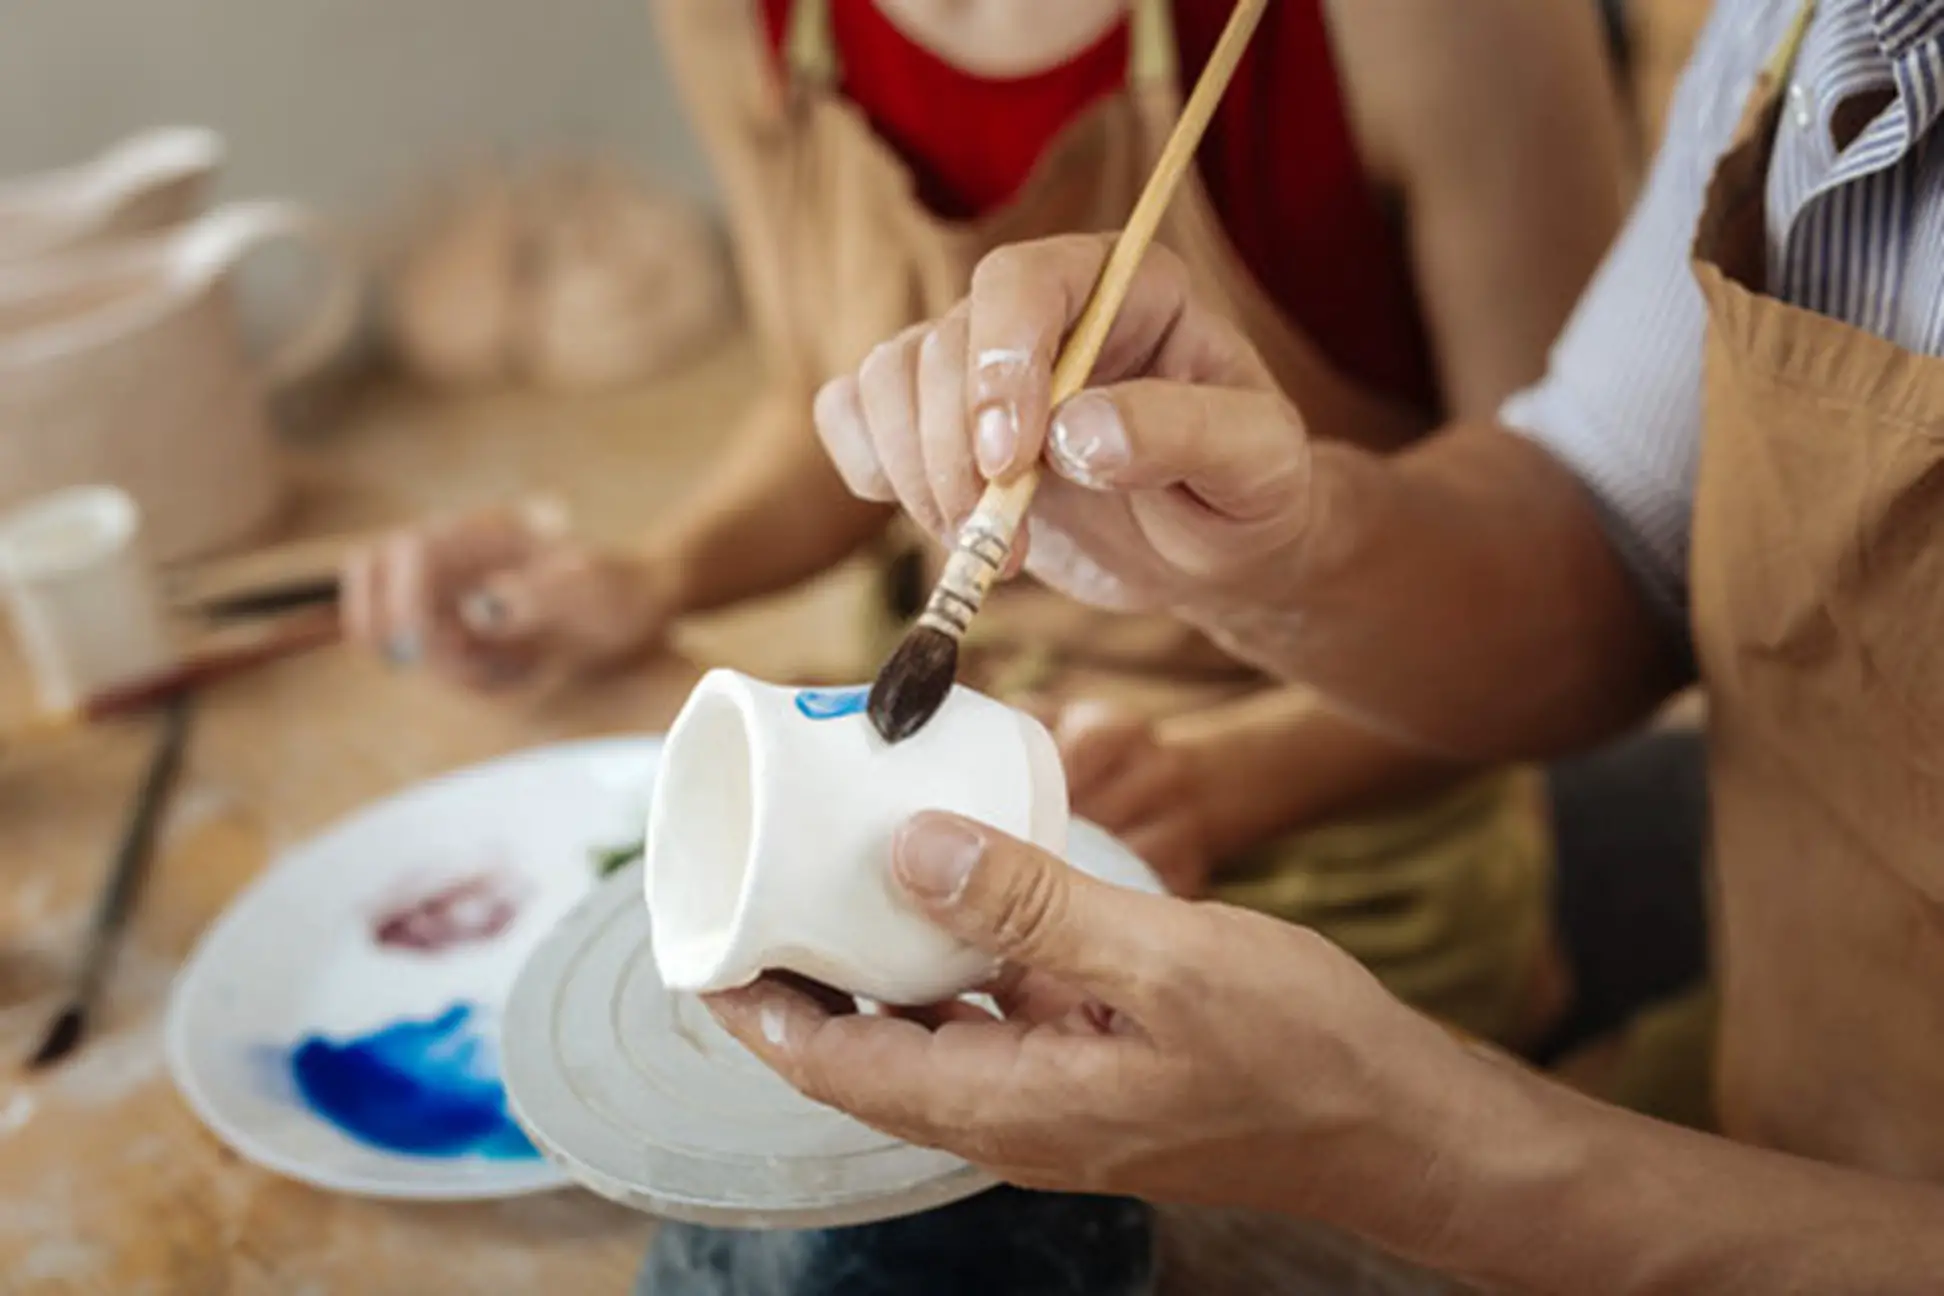
Step 4: Paint Your Pots
Now apply the base coat on the pot using a foam sponge brush. Once the base coat is done, apply the non-thinned paint on the pottery as an additional coat. The number of coats you will need to apply on the pot will depend on the quality of your paint. Allow the paint to dry at least 75% before allying the other coat.
Step 5: Decorate Your Clay Pots
After your pot is painted, you can decorate it as per your preference using different decorative elements such as mirrors, or you can use different colors of paint to draw a design. However, this step is optional.
Step 6: Let It Dry
Allow your pot to dry completely before moving on to the next step. Keep it aside for at least 24 hours for effective drying.
Step 7: Seal The Paint
To prevent your paint from chipping off, apply a coat of sealant. You can use a matte finish or glossy finish sealant. Let it dry. Your clay pot is ready for display.
Wrap Up
Painting clay pots is a fun and great way to add some handmade decorative elements to your home. Regardless of your technique, you can create various clay pot designs for your indoors and garden.


