Drilling holes in ceramic pottery pieces can serve a variety of purposes. But it’s essential to use the right tools and techniques to prevent damage to the pottery. Using the wrong drill bit or applying too much pressure while drilling can cause the pot to crack or break. So, it’s essential to follow the proper steps and take necessary precautions to ensure a successful and damage-free project.
This article will discuss the in-depth procedure of drilling a hole into ceramic pots. However, before knowing it, let’s learn about the different processes of creating holes in pottery.
Different Methods For Creating Holes In Ceramic Pots
Here are the different methods you can implement to make holes in ceramic pots and their advantages.
| Method | How Does It Work? | Benefits |
| Drilling | It involves using a drill with a ceramic tile bit to create a hole. | It allows for precise control and the ability to create holes of various sizes. |
| Punching | This method uses a pointed tool to create a hole while applying adequate force. | It can be done quickly and does not require specialized equipment. |
| Cutting | It involves using a tool such as a ceramic tile cutter or a saw to create a hole in the pot. | This procedure allows you to create multiple holes of different sizes with enhanced flexibility. |
How Can You Create Holes In Ceramic Pots?
Now, we’ll move on to the most widely used drilling method to create holes in your pottery piece. Here is the step-by-step guide to executing the technique.
Step 1: Gathering The Necessary Materials
Gathering the necessary materials is an essential step in drilling a hole in a ceramic pot. With the right tools, you can complete the project successfully and safely.
So, to drill a hole in a ceramic pot, you must have the following tools.
-
Drills
-
Diamond Drill Bit
-
Gloves
-
Goggles
-
Cutting wire
Step 2: Prepping The Ceramic Pot
Before you begin drilling a hole in a ceramic pot, it’s crucial to properly prepare the pottery piece to ensure the best possible results. One of the first steps in this process is marking the spot where the hole will be drilled.
To mark the spot, you can use a pen or pencil to make a small dot or line on the pot’s surface. Alternatively, you can use a template to help you get the placement just right. A template is a physical or digital guide that shows you exactly where to drill the hole based on the size and shape of the pot.
If you’re using a cutting wire, the next step is to score the pot’s surface at the marked spot. Scoring the surface helps prevent cracks from spreading when you drill the hole. To do so, gently run the cutting wire over the pot in a circular motion. It will create a shallow groove that will help guide the drill bit and prevent cracks from spreading. However, always ensure to buy a high-quality wire for effective results. For instance, the Tool Aid Windshield Cut-Out Wire might be a good option.
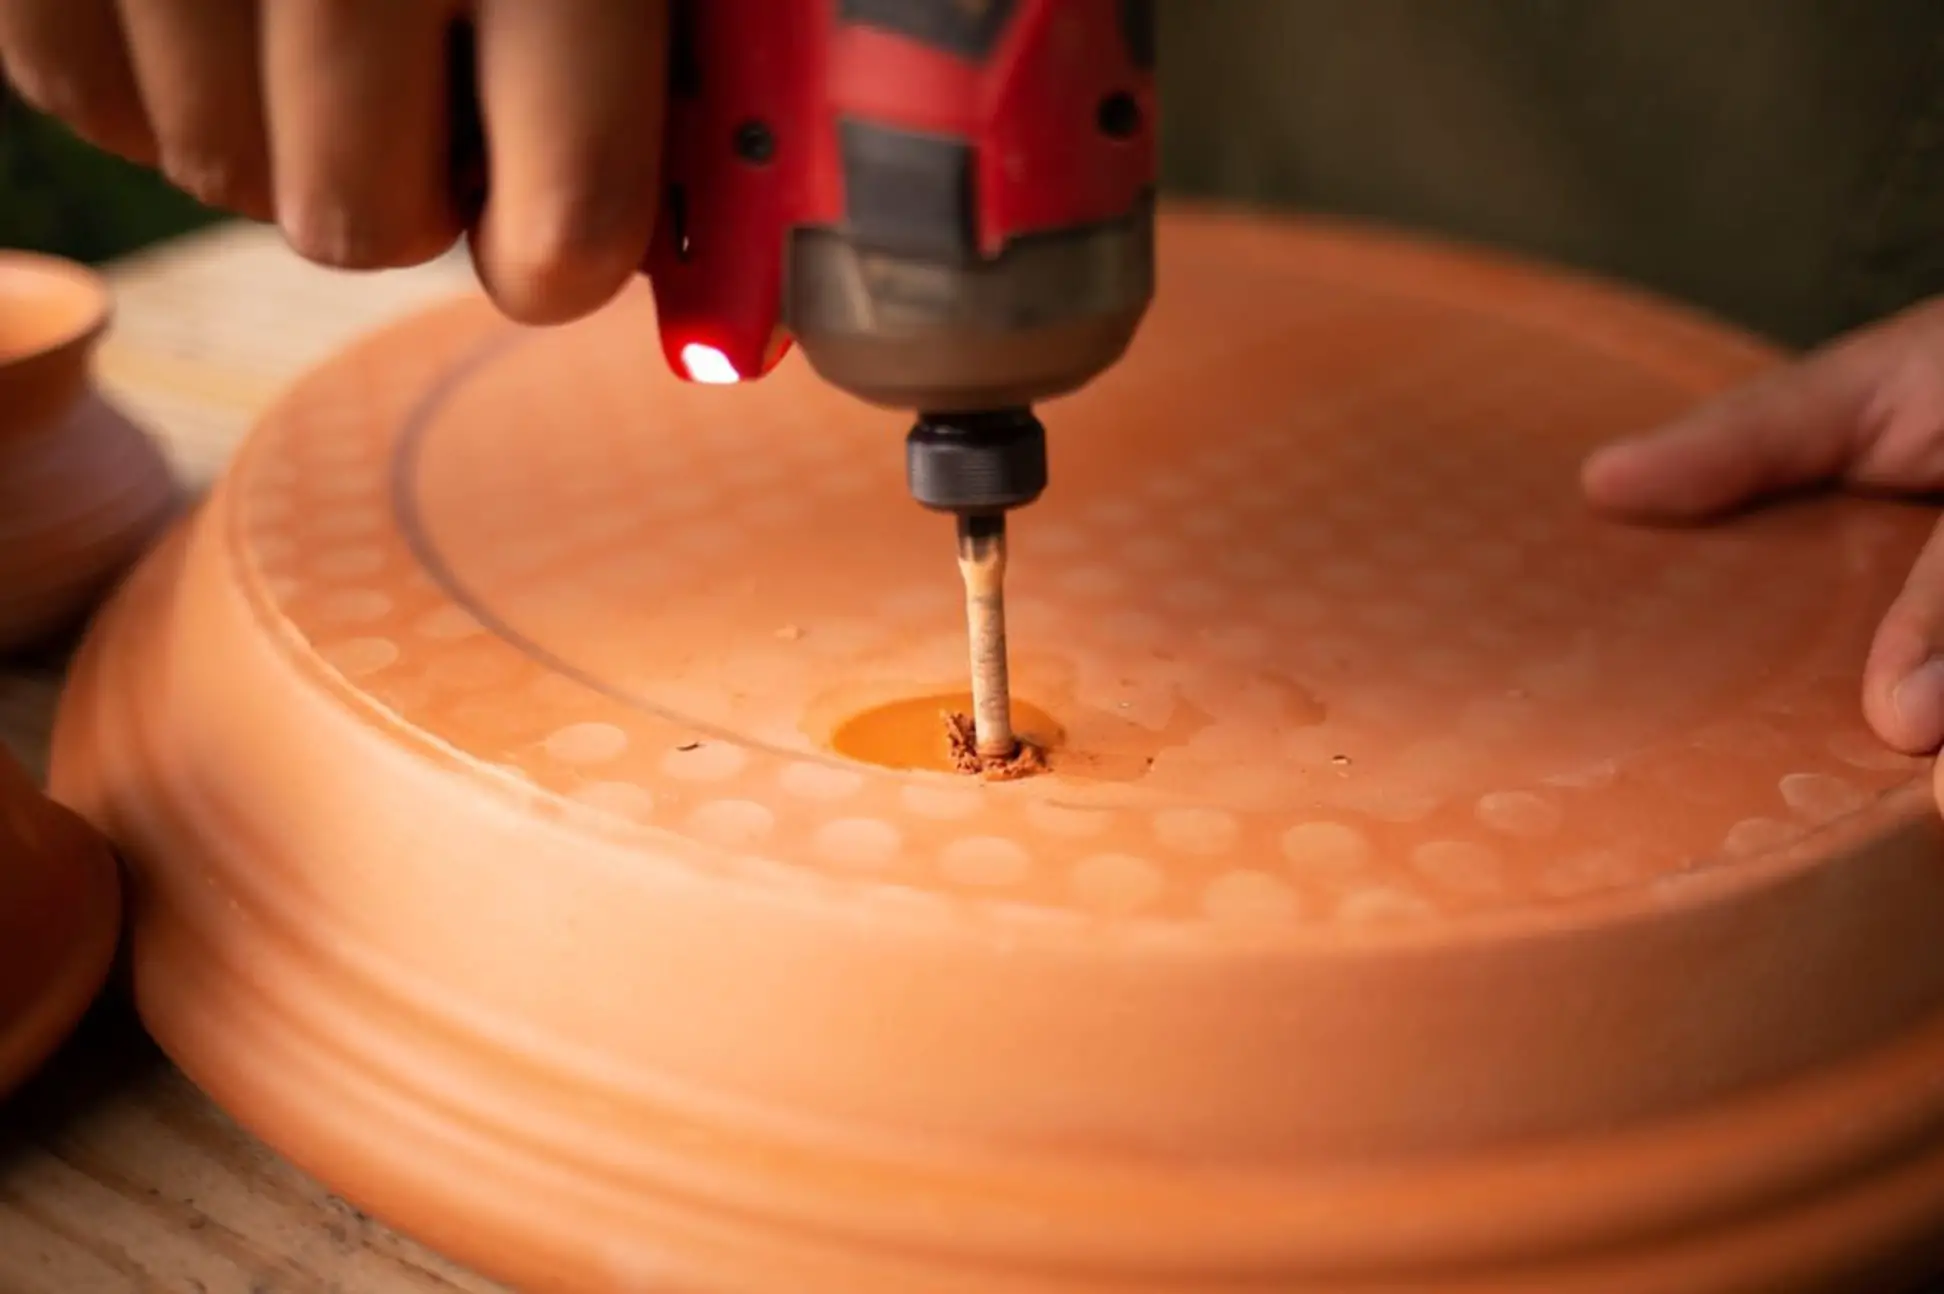
Step 3: Drilling The Hole
Follow the below-mentioned processes to complete drilling the hole in your ceramic pot.
-
Secure the pot in a vice or clamp to hold it steady while you drill. It will help prevent the pottery from moving or shifting while you work, which can cause it to crack or break.
-
Put on your gloves and goggles. It will help protect your hands and eyes from any flying debris or heat generated by the drill.
-
Select the appropriate drill bit and install it in the drill. Ensure the drill bit is securely fastened in the chuck and ready to use.
-
Set the drill to a low-speed setting. Drilling at a low speed will generate less heat and friction, which will help prevent the pot from cracking or breaking.
-
Slowly and steadily, begin drilling the hole. Maintain a steady hand and a slow speed to prevent the pot from cracking or breaking.
-
As you drill, periodically remove the drill bit and clear away debris. It will help prevent the drill bit from getting clogged and ensure you can see your progress.
-
When the hole is the desired size, stop drilling and turn off the drill.
Step 4: Adding The Finishing Touches
After you’ve drilled the hole, try to smooth the edges with sandpaper or a file. It will help prevent any rough edges from snagging on anything. You can use a waterproof sealant or epoxy to seal the hole and avoid moisture from seeping through. Follow the manufacturer’s instructions for applying the adhesive or epoxy, and allow it to dry completely before using the pot.
Taking Care For Safety
If you enjoy a good DIY project, drilling a hole in a pottery piece can be quite a rewarding experience. However, playing with ceramics and complex tools is not free from hazards like injuries and accidents. Here are some guidelines to practice safety and achieve your goal better.
1. Wear Safety Gear:
Make safety a priority while drilling ceramics. So, put on protective gear that safeguards your eyes. Wear full-coverage goggles so your eyes are not affected by the ceramic debris. You should also wear thick gloves so sharp edges do not cut your hands.
2. Choose The Right Drill Bit:
If you use a drill to make the hole, using a carbide-tipped or a diamond-bit one is essential. This type of drill is designed to drill through ceramics. It is durable when you wish to cut through any ceramic.
3. Work In A Well-Ventilated Area:
When working with ceramic items, ensure you work in a well-ventilated environment. Set your workshop outdoors to avoid damage, dirt, and dust. If you work indoors, use a high-performance dust mask at all times.
4. Secure The Pot:
Before working on the ceramic pot, ensure it is set on a stable surface. It will avoid damage and falling during drilling. Prevent slippery surfaces and prefer to use a sturdy pot, too.
5. Start With A Pilot Hole:
Always begin with a pilot hole that will guide the larger drill bit. Use the gentle pressure mode to prevent the pot from cracking.
6. Keep The Surface Cool:
Continuous water or coolant flow keeps the ceramic and drill bit cool. It prevents overheating and prolongs the life of the drill bit.
7. Be Patient:
Ceramics is a hard thing to crack through. If you are trying to make a hole in it, do it while practicing patience. Apply even pressure with your drill instead of applying full force from the beginning.
Remember to take your time when doing something related to ceramics. If you follow the guidelines mentioned above, you are much more likely to make a hole in a ceramic pot successfully.
Purposes Of A Hole In Ceramics
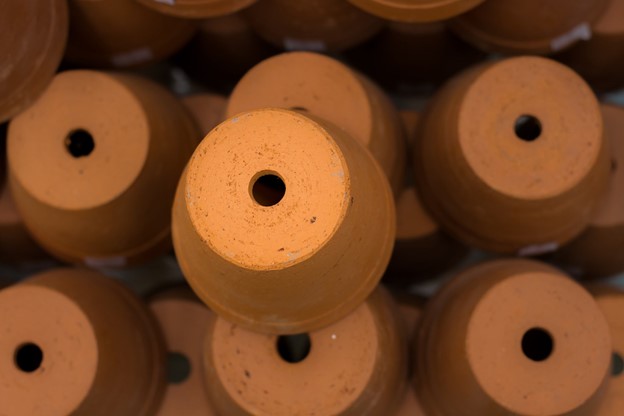
Drilling a hole in a ceramic pot can have various uses. It may be for enhancing aesthetic appeal or enhancing its functionality. Here are some applications of holes in ceramic pots.
1. Plant Drainage:
If you are using a ceramic pot for plants, drilling a hole in it is essential to facilitate proper drainage. Excessive water intake can be prevented through the hole, as well as the rotting of the roots.
2. Customization:
Sometimes, holes are just a functional addition to ceramic pots. You may use them as a tabletop fountain, in a DIY project, or anything else. The wholes can provide additional opportunities to be innovative and creative. This way, your ceramic pots can be customized for any use.
3. Hanging and Display:
There is another use for holes in ceramic pots used for planting purposes. You can convert these into hanging planters or decorations for your garden. Make strategic holes on the sides and hang them with a sturdy rope for a DIY decorative ceramic pot.
4. Preventing Waterlogging:
In outdoor settings, ceramic pots without drainage holes can accumulate rainwater, leading to waterlogging. Drilling a hole ensures that rainwater drains out, preventing damage to the pot and plants.
5. Artistic Creations:
For artists, ceramic pots can be a great canvas. Holes in ceramic pots can be used as focal points for mosaic designs, allowing artists to incorporate unconventional elements into their artwork.
6. Aquarium Accessories:
Drilled ceramic pots are popular in aquascaping and fishkeeping hobbies. The pots can be transformed into shelters for aquatic animals, providing a natural and aesthetically pleasing environment in aquariums or ponds.
Incorporating a hole in your ceramic pot promotes plant health and unlocks creative and functional possibilities, making your gardening and artistic endeavors more versatile and enjoyable.
Conclusion
Creating holes in a ceramic pot with a drill bit is a helpful DIY project, as it renders many uses. The steps mentioned above are useful to help you successfully drill a hole into the ceramic pot without damage. The right equipment and practice can yield the results that you need!


