Are you looking to bring a whole new life to your pottery? Well, why not try sponge painting for design?
This creates some really cool products and results, and here, we’ll tell you how to sponge paint pottery, and some of the reasons why people would consider using this technique to decorate their pottery.
How it Began
Sponge painting pottery has been around for a long time, and it was first popularized back in the 1800s in England.
Why did this happen though? Well, spongeware had a few benefits to it that other types of pottery don’t have, and they include the following:
- There was a lot of potential due to the location where this happened
- It rebelled against the formality that other pottery techniques had
- It was much simpler, to begin with
- It created an interesting result
- It actually is cheaper than some, and only required blues and browns for the coloring
While it did go away for a bit, it was actually revived in 1985 by a woman named Emma Bridgewater, and it is super popular still to this day.
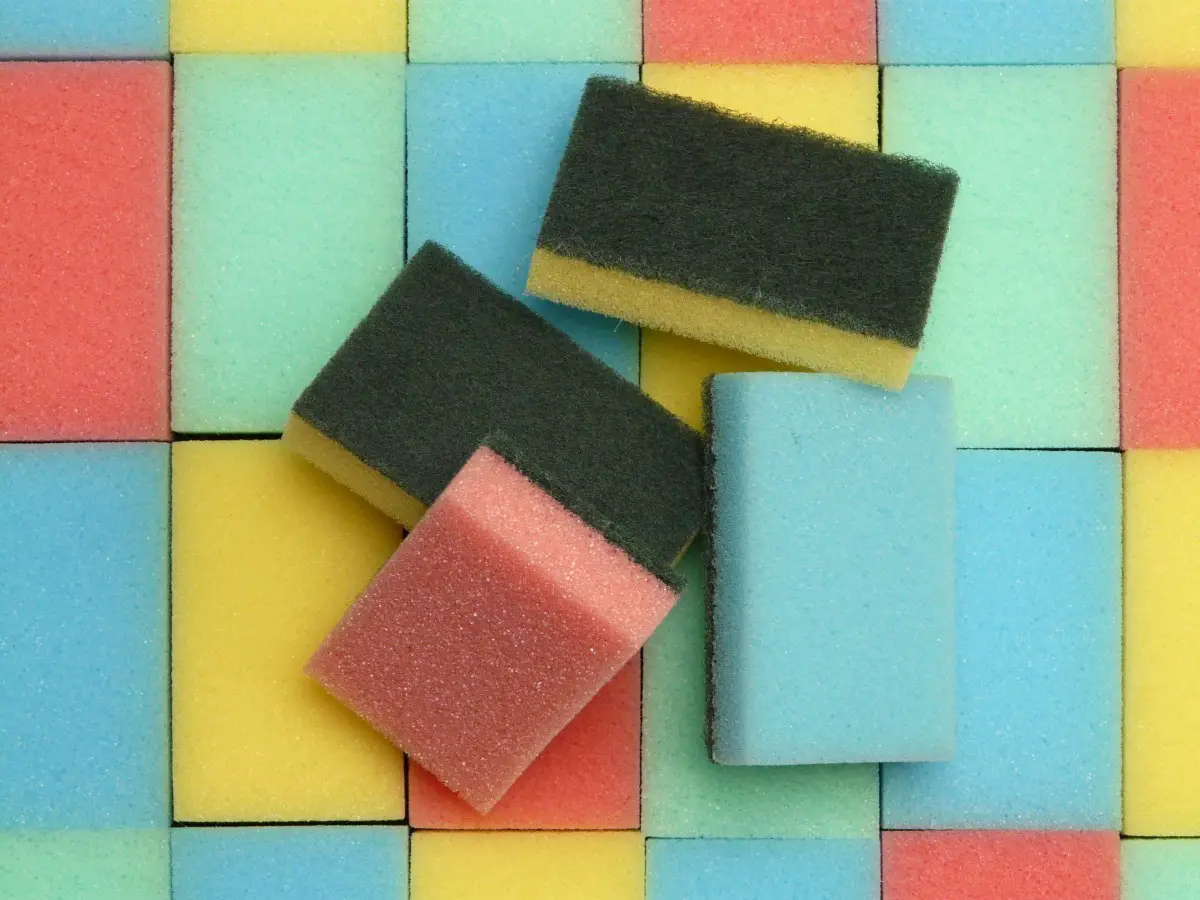
Choosing a Sponge

Sponges that are used in this can vary, and one way to help you choose is to look for ones that will benefit your pottery.
You have two types, and they are:
- Silk sponges
- Seawood sponges
Silk sponges have a couple of benefits to them, and they are as follows:
- They are usually more natural feeling
- Create a natural design
- Are very absorbent
- Are good for stippling and concentrated colors
In contrast, seawool also has its own benefits to it as well:
- They absorb a lot of colors
- It can take less time to use this
- They are usually a little bit better at getting more on a piece
If you don’t want to spend the money, you can make it easy for yourself and get a man-made or poly sponge. Both of these work just fine, especially if you’re not looking to break the bank on these.
The Process
The process is relatively simple, and it’s definitely pretty basic that anyone can do it. To do this, you begin with the following:
- First, make sure that you have the appropriate greenware and sponges
- Wipe down the greenware with damp sponges
- If there are any places you want to keep the original color, throw a wax resist on there
- From there, take a little bit of the color you want onto a palette, and then dip the sponge in there
- Press it onto the pot in a light manner, and then do it again before you reload it, in order to create different shades of color
- You can change up colors, and once you’ve dried up the color that was first there, you can then add a different color with a separate sponge.
- Fire it at the end to help keep the glaze maintained on there.
And there you have it, that’s really all that you can do with spongeware, and it’s so easy that you can really do a whole lot of cool effects with it.
Do you need Certain Colors?
While it was stated before that originally this was done with blue and brown glazes, the answer to that is no. you can utilize different colors for this, and there are certain ways to help create a cool effect with it.
The reasons why you should use different colors are as follows:
- It can look cool
- You can create patterned effects
- You can use a primary color glaze, and then a different color for another glaze
However, unless your goal is to make a rainbow, I suggest keeping it to a few colors. It can get a little bit overwhelming, and somewhat distracting if you’re not careful with this.
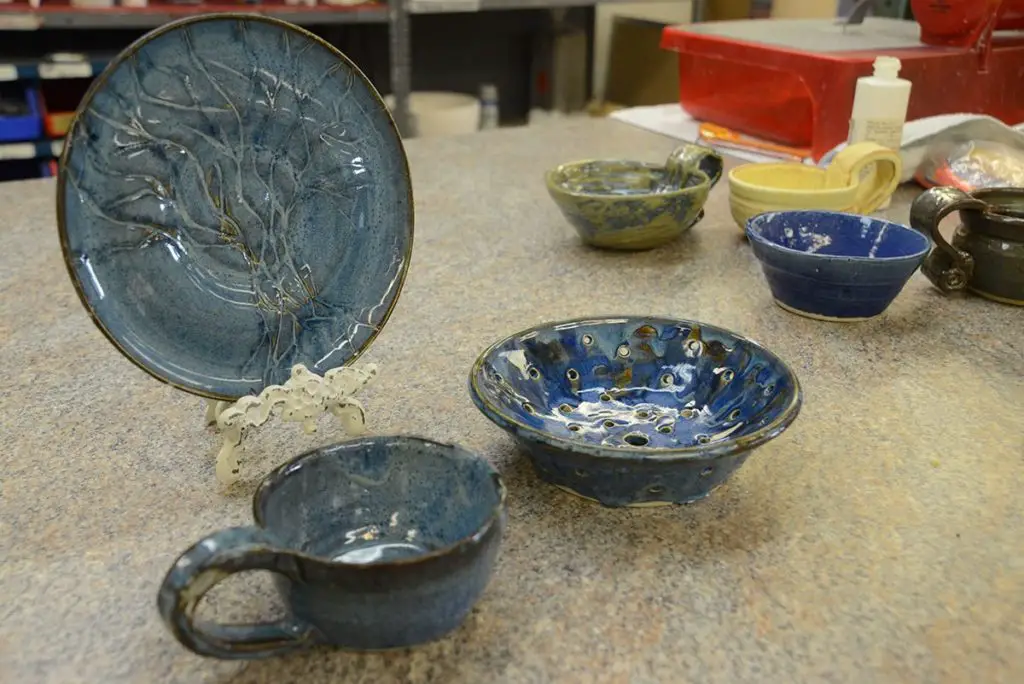
So what Effects can I create?
The answer to that is a whole lot. You can essentially do a lot with this, and here, we’ll talk a little bit about some of the ways to create effects:
- You can begin with just simple sponges pressed onto there
- You can create different types of spongeware, even using polka dots and star patterns
- You can use cut sponges to create more intricate work
- You can even create your own scenery on this with a sponge
- Nowadays, you can buy ready-cut sponges, or you can cut ut your own.
So how do you cut your own? Well, there are a few ways that you can do it, and here is the process of cutting them:
- First, draw your pattern, you need that
- Put it on acetate, and from there, you can use a soldering iron to cut through this.
- Be exact with this, and take your time
- Once you have the basic pattern cut, you can use scissors to shape the edges of this
And that’s it! You can create your own sponges and effects with this, and if you feel like your pottery is lacking, sponge painting might be the answer that you need.
There really isn’t a limit to what you can and can’t do with this, I just suggest making sure that the glazes are of the same cone to fire because you don’t want to fire at two different cones of pottery, that’s for sure.
Sponge it up!
Sponge painting pottery has a wealth of wonderful benefits to it, and you’d be able to really benefit from this whenever you begin with it. So yes, don’t be afraid to create your own pottery with the use of sponges, for it can really bring some better, more added effects to this as well, and you’ll be able to create the desired results from this.
It is a simple type of pottery that allows you to bring unique creations to the table that you may not have thought of before.


