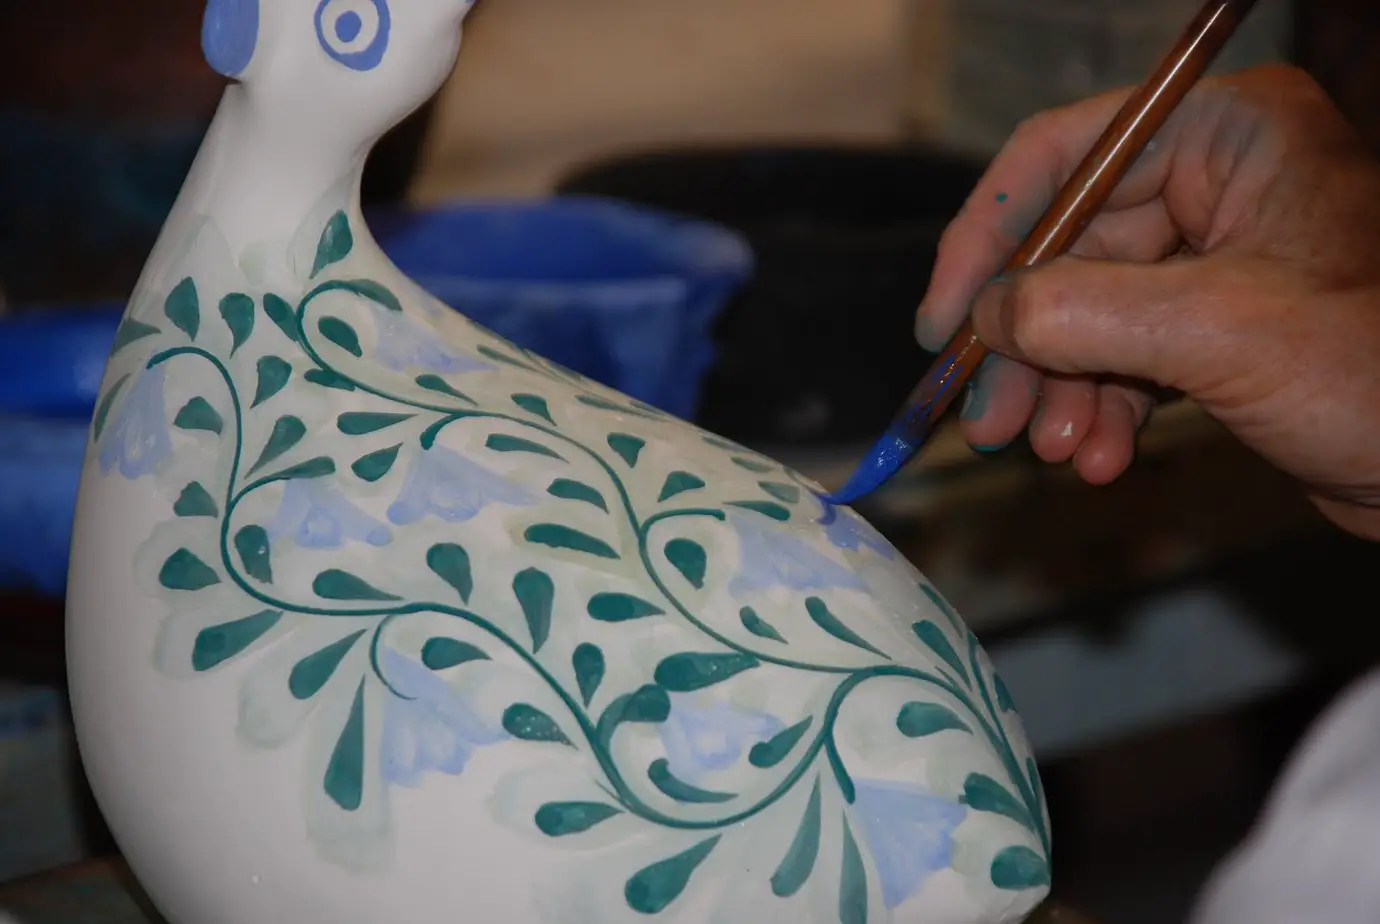
Painting pottery is something fun and simple activity, and it’s a means to help take your pottery to the next level. But, how do you do it? What are some of the key techniques that you should consider before you get into pottery painting? Well, you’re about to find out. In this post, we’ll discuss the different techniques needed to paint pottery and some of the simple ways to go about effectively painting pottery.
What kinds of Work Do You Want to Do?
There are different ways for you to paint your pottery, and it depends upon what types of material you want to use, and they are:
- Glazes
- Stains
- Acrylic paints
With glazes, you typically put this on an unfired piece to give it color. It can be used on any type of ceramic piece, but an underglaze is different from an overglaze. The difference is that underglaze is used in greenware, which is unfired ceramic. Once it’s applied, dried, and fired, you’re done. Overglazes are essential paints that you use on a piece already fired. After you’re done with that, you fire it on the kiln once more.
You can also use lusters, such as a gold luster, this is a paint that fires low and can be put onto a piece of ceramic that is glazed and then fired again, but this is at a low temperature.
Glazes are typically what you use, and if you’re thinking about starting with pottery, this is essentially the beginning step.
Then there are stains, which you put onto bisque-fired pieces. This is ceramic already fired, and this differs from the other two because of the following:
- You’ve already fired it once with either glaze or acrylic paint
- It is applied and then wiped down so that the stain is in the crevices
This is because it adds a bit of extra depth to this, and once you’re done, you can then put a sealer on top of this. You can create either a glossy or a matte finish with this, and you can either brush or spray it on. In a sense, these stains are how you end up creating a pretty piece of pottery, and one that has an extra bit of finishing to it.
Finally, you got acrylic paints. These are water-based, and the nice thing about them is that you can apply them without having to fire them in a kiln. There are some great benefits to using acrylic paints, and they are as follows:
- They were not expensive
- They are easy to put on, as stated before
- There are many different colors and brands
They’re super cheap, with some being less than a dollar for a small bottle, and if you’re beginning to paint pottery, this is highly recommended. You do however need to put a primer on this before you put acrylic paint. That’s because these are water-based, and they can absorb directly into the piece themselves when it’s applied. That can warp the way that it looks, and it can make it look unseemly. It also gives a much smoother application when you apply your paint. From there, you can put a sealant on top to make it glossy or matte if you so desire, that’s up to you.
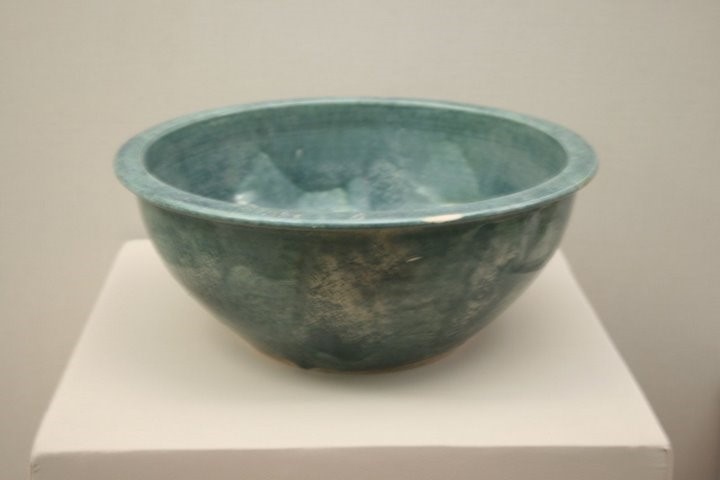
More on glaze
It’s important to understand the different types of painting in detail. Knowing how to glaze is quite important since it provides more than just a petty color, but rather, it does the following:
- It seals the pottery
- It can make it waterproof
- It can give your pottery more life
- It does have endless techniques to try
The nice thing about glazing is that it can make your work shine. If you feel like a piece is bland or something, then add a glaze to it, it definitely will change it.
However, it is important to understand that these glazes contain chemicals, and they act differently in different ways. However, you can learn a lot about this. You should make sure to bisque fire your pottery before applying these since it makes it easier and is good for those who want to begin with the process.
You’ve got different types of glazes to try out, such as:
- Gloss glazes create surfaces that are shiny and reflective
- Matte glazes that are dull and reflect light badly
- Transparent glazes that give a bit of shine to them
Now, if you’re going to be taking pictures of what you’re doing, it’s ideal that you don’t use the glossy ones since they might create weird reflections and won’t work as well, so keep that in mind. There are so many different opacity levels to try out however that it definitely can make a difference in your life.
To do this, it’s quite simple, and we’ll go over how you can accomplish different glazes. Glazing can make or break a piece, so it’s something simple to learn, but if you want to create a certain effect, you do need to make sure that you spend some time with it, especially if you have a certain look and color that you want. It’s important as well to keep in mind that some glazes work better with different pieces of pottery, so it’s best to try the different ones and read up on them before you begin.
To do, you’ve got two ways to do it, and we’ll talk about them below:
- Dipping the piece into the glaze itself and pouring it.
- Brushing them on
Now, if you want to make sure the insides are covered, especially if you want to seal it so that the pottery is safe to use, you’re going to have to dip it. If you’re a beginner as well, you’ll need to dip it. It’s a good thing to make sure that you have a space set for this since it does require a bit of time and effort, and it can be messy.
When you’re beginning with glazing, dipping tends to be the easiest way, but if you want to make sure that you have an even surface, you should brush it, but remember that brush marks do happen.
To dip it you do the following:
- Take the pottery
- Immerse it in a glaze batch
- Pull it out, and then let it sit to make sure that you have an even coat
For brushing, you do the following:
- Take the brush that you have
- Brush this on evenly
- Make sure to read your instructions so that you get the right color with the right applications
- You should make sure that if you’re using commercials, you read any precautions. They’re made for smoothing out your brush marks, but they sometimes can backfire
- You should make sure that you have an even consistency, and that the glaze itself is thicker
- Follow the instructions to create this glaze before you do
For pouring this, you do the following:
- Take a bowl that has the glaze in it
- Nearly pour it into there
- Get it around each of the surfaces
- Pour this out
You should make sure that the consistency is right for what you’re going for and give it the best type of different looks that you want from it.
When you’re glazing, you should definitely consider a few things, and they are as follows:
- Make sure that you have a clean bisque fire
- You get rid of all of the dust before you begin with either a sponge or a damp cloth
- You need to mix your glazes correctly based on the instructions
- When you have the glazes settled, the sediments will sink to the bottom
- You need to make sure that the glaze is mixed so that you get a consistency that’s smooth and even
- Do test glazes to see how they will work on your type of pottery, especially if you’re unsure of whether something will work
Glazing is typically the normal way to color your pottery, and it’s the best way to ensure that you get the right color and waterproofing that you want.
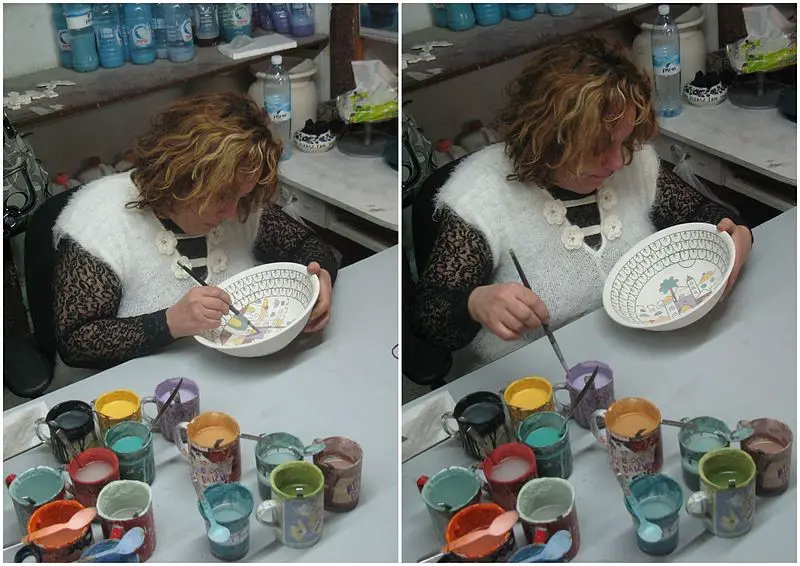
More on Stains
Stains are another amazing thing that you can do on your bisque ware in order to really help you get the best results that you want from this. stains are made of chemical compounds as well, so they do require a bit of time and patience. Once a stain is applied, you can’t get rid of it either due to its porous nature of it, and the problem is that it’s so small that you can’t fully clean it off. The stain soaks in, and this can be trickier for some. But, if you do want to really make a great impression with staining, you should definitely follow this guide below on using stains, and it’ll tell you how to apply them.
- First, draw it on. drawings that are done with a pencil will allow you to choose the image that you want before you fire it. pencils are made of graphite, so they’ll burn off
- You should use a mechanical pencil to keep a consistent line
- You can erase easily, so definitely do so. Use a soft brush to get rid of them
- Tile the surface to avoid elongating while you draw. It will help prevent the image from sliding and looking off
- Use foam to help keep yourself propped
- Check your image before you apply the stain
You can use stains in different ways to apply it to the picture. We’ll discuss a few of the means to do so below:
- You can apply it as a drawing, such as applying a little bit together to create a stain. Using red iron oxide will help keep it settled, and it can make it easier to load too much onto the brush. The brushes are important to keep small, especially when drying small lines. You should make sure that you test out the brush on the surface before you begin to apply this and remember to keep your piece tilted for best results.
- Used as washes. Washes are used to help make a design more intense, to give a better visual image to it, and even to help with mistakes. However, you don’t even have to use it in conjunction with the lines either. You essentially can work with the wash areas, and make sure that you use different levels of intensity to help create stains to create an image that fits. Ceramic stains work very similarly to working with brushes inks, and even watercolors. You should try to use a wet brush on a dry sort of bisque to give a wet-on-dry effect. If you want to get a damp fuzziness to it, you can dampen the bisque ware itself before you apply it.
- You should use distilled water, thin the lines, and use a toothbrush to scrub them off
- You can also use ceramic stains to mimic the ink and paint brushing. You can use this to mimic some of the best brush and ink paintings out there, and it’s actually how much Chinese porcelain pottery is made. Potters and those who do pottery have used this from the Chinese, and it’s quite intriguing to look at. You can use cobalt oxide on water, and it definitely will create an interesting image. Once you do that, you re-fire it at a bisque temperature, and you can make it using low-fire clay, and from there, you can bisque it to higher firing. If you re-fire to the temperature beforehand, it will create a good glaze on the design, will burn out the graphite, and it will sinter the state. This will help to prevent it from smearing when you put glazes on, and it keeps the stain from lifting and melting into the glaze. This will help prevent design fuzziness or even dispersing the image of the stain onto the glaze
With this, you should definitely apply the stains before a glaze. You can do an underglaze, and then an overglaze as well. Staining will allow for beautiful designs to happen, and if you want to give it a nice little addition, this, in turn, will help you prepare the piece of beautiful design as well.
More on Painting and techniques
The easiest way to get into pottery painting as well, is through acrylic paints and painting in that regard. That’s because of the following:
- It’s easy
- It’s cheap
- It gives you more room for errors and such
That’s what’s so nice about it. but how do you begin painting? Well, you’re about to find out. Here we’ll discuss how you begin with this, and some techniques to try.

First, you need a primer on the bottom. This is super easy to find, and essentially, you want to have a ceramic primer. You can do this after all of the pottery has been fired and it’s cooled off. A primer does the following:
- Will create a healthy base coat
- This will prevent the paint on top from sticking into the pottery itself
- Will bring the design out quite a bit
If you’re going, to begin with, this, having that primer on there will make it work. You can buy a simple ceramic primer and then apply it. You should also make sure that the piece has fully solidified and hardened since that will, in turn, prevent it from possibly absorbing too much into the pottery.
Now, once you’ve done that, you can now take your paints and create designs. This is the simple part, but one thing you might notice is that you’re struggling with getting the right design, or the right image. What can you do about it? Well, let’s discuss some of the best techniques for painting on paints that you can use on your ceramics.
- The sticker technique: this is a simple one that might seem kind of silly, especially since you use stickers, but it’s a great way to actually help with making it look really cool, and if you don’t want to have paint on one of the surfaces. Now, you want to use stickers that you want the design to be on. This can be hearts, stars, or whatever. You can put letters on there for names as well. put them onto the pottery once dried. You then apply thee layers of either paint, glazes, or whatever. This can be used for any pottery painting technique. Once it’s done, take off the stickers, and you can then have an image in different colors.
- Sgraffito Art: this is scratch art. In essence, this is painting the surface of pottery with one color, and then mixing it up with some stripes as well if you want. You can put two colors on there, or more, twice to dry. You then put two various layers of a solid glaze on top of these. You should make sure that they’re darker than the other. You should then let it dry. If you’re having issues with this, you can use a fan brush or a mop brush to apply a solid glaze. From there, get the skewer once more, and scratch in the design that you want, whether it be swirls, zigzags, or whatever, and from there, you’ll see the glazes underneath all of this. It can create some super unique pieces of pottery if that’s what you’re looking for. It’s quite fun, and something worth trying out.
- Sponge technique: finally, you have the sponge technique. This is something that comes in many different sizes and shapes, and you can do this for texture additions to pieces. If you want to create some cool textures and something quite fun, this is great, and it can make blending colors look way better. You should try to do light colors first, and then blend these into the darker ones, since this makes it work. You will also notice that it does have a heavier sort of application, so you only need about two layers to have a decent outcome from it. You can apply this technique by using colors that will blend quite well with this, and from there, you’ll be able to combine interesting colors. Also, use colors that are similar to a color wheel color as well to give it a nice and deep color.
With painting, you should take your time. You can use painting techniques in the same way that you do some glazing techniques as well, or even staining if that’s what you want to do. With this though, you’re using materials that aren’t as toxic as the other ones, and that in turn will help you with getting a great result from this, and one that shines. If you like to stain pottery, and you want to create some amazing textures and the like, you can do so with painting, and it will make a difference.
Painting pottery is quite fun, but do make sure when you’re trying this, you don’t have any of the chemicals that are there inhaled. They are made with some toxic ones, so you should make sure that you use them safely such as with a respirator and the like, and make sure that you do take your time with them. It is an art, and it does require some skill, so you should definitely use your time wisely in order to ensure that you get the best results possible.
With this, you’ve been given all the techniques necessary to help you paint some amazing pottery. It’s fun, and it’s a great step to incorporate into your pottery making, since it does involve some skills and technique, but it’s worth it, especially if you’re going to be creating new and amazing pottery that will shine, and pottery that definitely will rock your world in different ways, and with different factors to it as well.


