Pottery is a traditional form of art that is not too easy to master. The process is time-consuming and requires patience. It includes several steps, but one of the essential steps is throwing clay on a pottery wheel. The method of throwing, in turn, consists of 7 steps, namely, sticking, coning, centering, opening, pulling, shaping, and cleaning and trimming. Successful execution of each stage is necessary to craft a good piece of pottery work.
So, today, we will be learning the 4th and one of the most indispensable steps of throwing clay on a potter’s wheel, i.e., opening the clay. As a beginner, you need to be well acquainted with this skill to master the art of pottery. So, let’s have a glance at the opening of clay and its procedures.
What does opening clay mean?
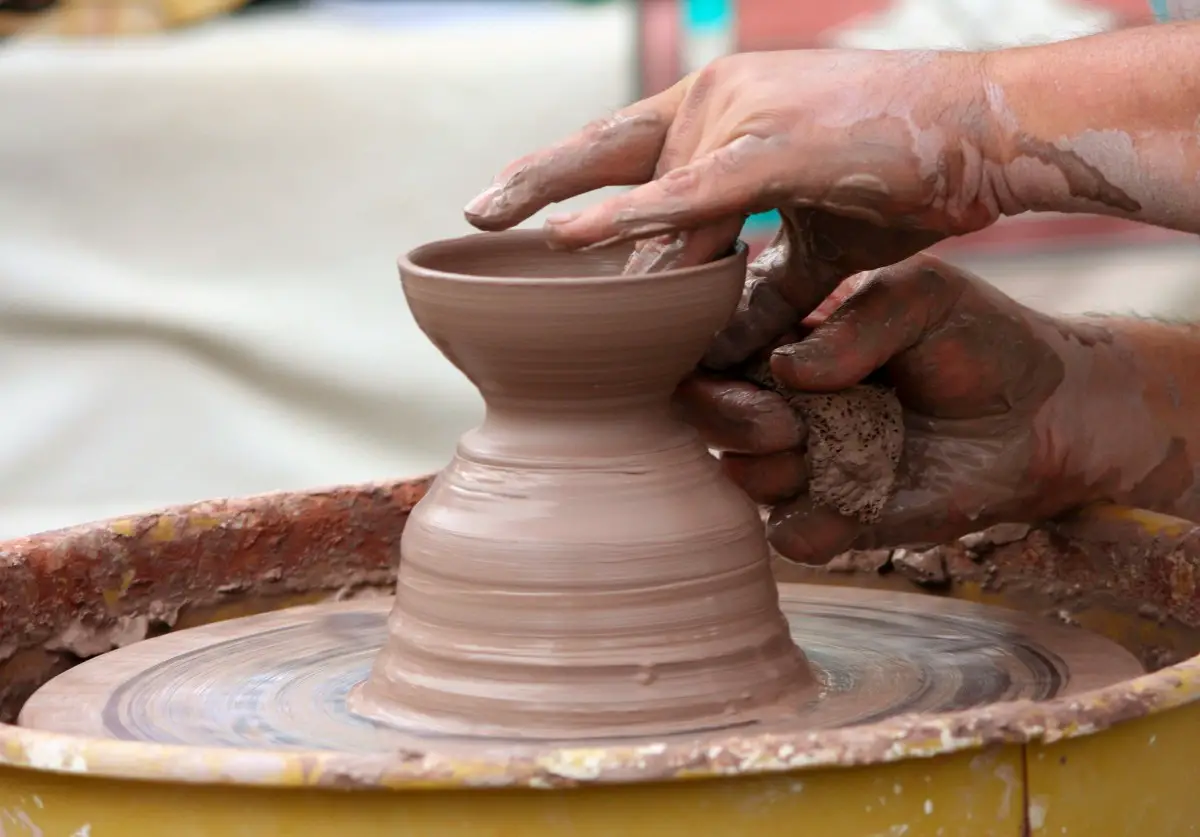
Opening the clay on a pottery wheel is one of the elementary steps in the conventional method of throwing. When the clay is already on the wheel & you start to open it up to shape the clay, this process is considered the opening of clay. It is the process of forming a hollow or well inside the lump of clay up to a certain depth. Make sure while doing so, to keep enough clay under the opening of the base of your vessel. This action is necessary to decide the inner shape of your pot and its wall thickness.
Thus, whether you’re an expert or a beginner, this step should not be ignored and must be very carefully executed. Unless you perform this step properly, you cannot proceed to the next processes; so learning it well is necessary to craft beautiful pots and vessels.
Steps involved in the process of opening up clay on a pottery wheel:
Being a very crucial step, many things need to be taken care of like the looks of the pot will depend on the opening of the clay. It can be performed either by using the middle and index fingers or using both fingers and thumbs. So, now, let’s have a look at the steps of the process of opening the clay.
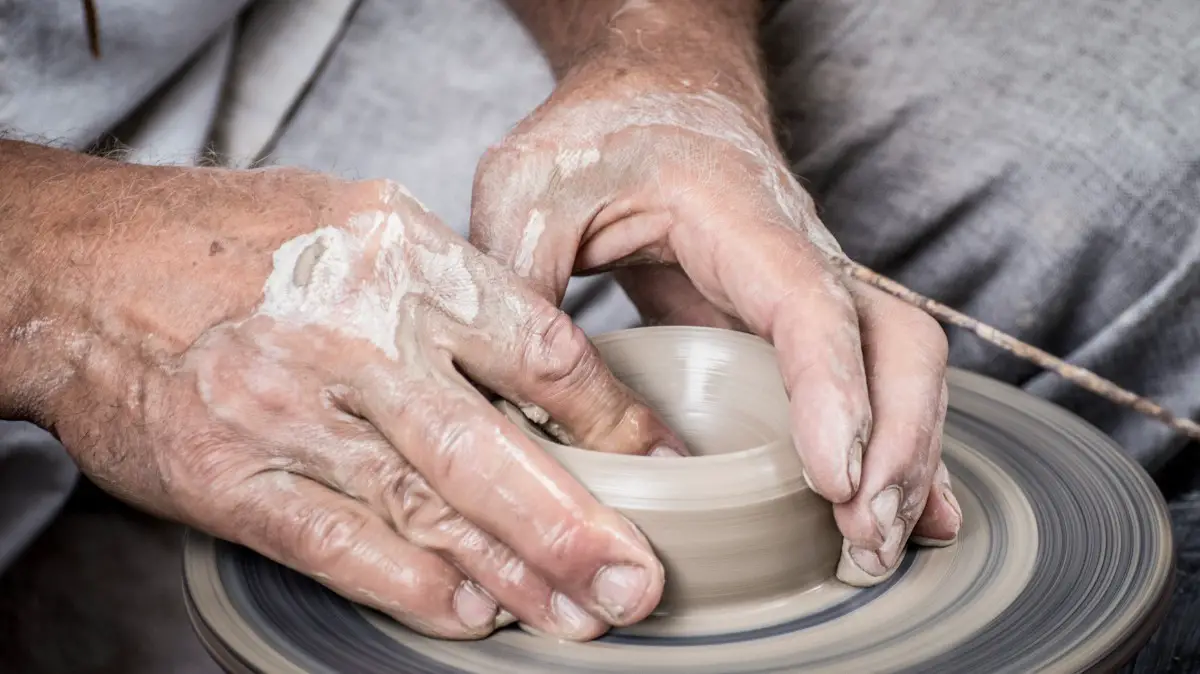
Method 1: Opening of clay using fingers
1. It is recommended to set the wheel at full speed because not only it increases the speed of the work, but it also enhances the efficiency of the work. Also, take a proper comfortable position to avoid hurting your back and open the clay smoothly.
2. As a beginner, one may use the middle and index finger to open the clay according to his/her comfort. While creating the well, you need to push the clay down as deep as possible but remember not to push it down so much that it touches the wheel. One must try to leave at least a gap of 0.5 inches between the pottery wheel and the bottom of the pot. It is to be noted that to avert the formation of crests at the bottom of the well, press directly on the middle portion of the rotating lump of clay.
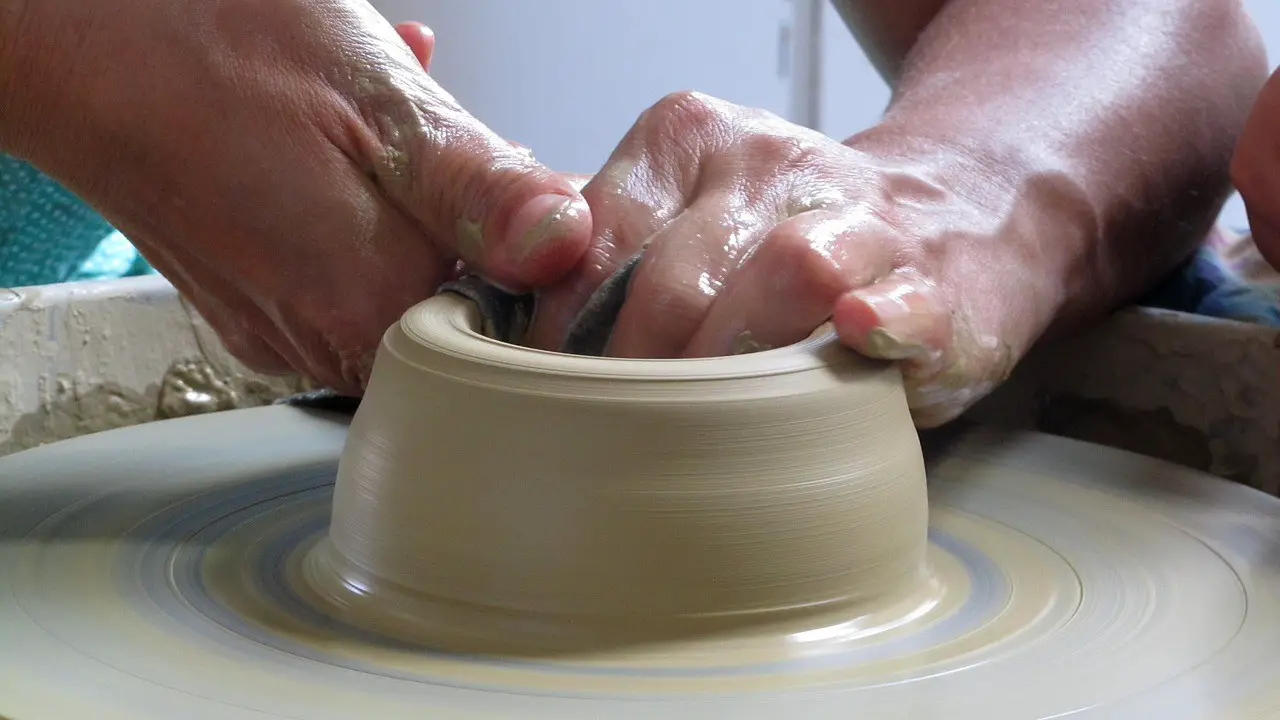
3. Now, comes the most important and last step of the process of opening clay. One may use the same fingers that he/she had used while making the hollow in the center of the clay. Soon after opening up the well, you will notice a wide and flat bottom inside the clay disc along with a broad hollow. This action determines the look of the vessel inside and how wide the cylinder will be. You can use your middle and pointer fingers to slowly pull it towards yourself to widen the hollow. To keep your clay hydrated and minimize friction, add water as per convenience.
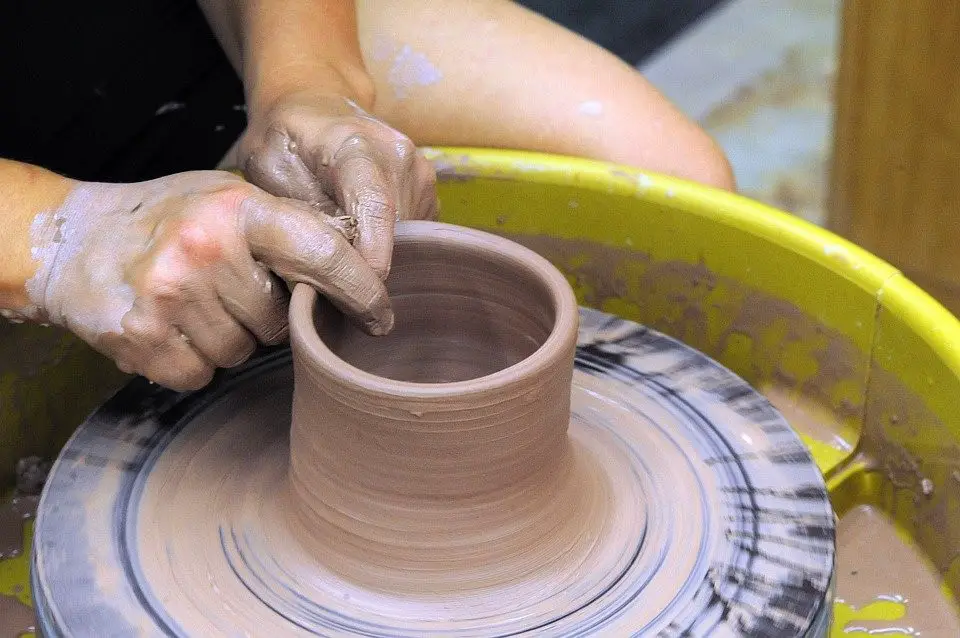
Method 2: Using fingers and thumbs
Firstly, the person needs to take his or her middle and index finger on the forming hand and place it above the thumb of the stabilized hand. Now, move the fingers a bit forward and push them down the center of the well according to the desired depth. You may check the thickness of the well with the help of Clay Needle Tools by stopping the pottery wheel. To make a ridge on the inside wall of your pot, you will need to curl the middle finger under the thumb.
In this regard, it must be noted that the shape of the hollow or well is of two types – bowl and cylinder. The following table states the preferred depth measurements of the two types of wells along with their procedures of opening up and compressing down.
The shape |
Depth |
How to Open Up? |
How to Compress? |
Cylinder |
¼ inches |
With a thumbs-on-finger position, draw the clay back towards yourself and make sure that the fingers form a flat bottom. |
Compress the bottom of the well with the right angle of a wooden rib. Press down the well and inner walls of your pot while holding the rib at an angle of 45° with the head of the wheel. |
Bowl |
¾ inches – 1 inch |
With thumbs-on-finger position, draw the clay back and incline it, forming a slope with your body and make sure that the fingers form a hyperbolic and concave bottom. |
Compress the bottom of the well with the curved rim of a wooden rib. You may even use a bowl rib. Press down the well and inner walls of your pot while holding the rib at an angle of 45° with the head of the wheel. |
Tips to successfully open the clay
As a beginner, opening up the clay is a bit tough and needs immense practice. So, here, we provide you with some tips that you can follow to open up the clay properly.
-
Keep the wheel speed the same as it was during the centering of the clay. Jerky movements and wrong pressure may result in undesirable clay openings. So, it is necessary to use optimum and even pressure and maintain a smooth, direct, and quick downward movement while opening the clay.
-
It is vital to re-wedge the clay. If it is not correctly wedged, it may cause a problem in the opening at the center.
-
As you are a beginner, try to open up the clay with a small shallow depression at the top of the centered clay, often known as a dimple. This technique will help you to gain better control of the well as you slowly proceed downwards to form an eventually larger hollow.
-
Apply even and proper lubrication to prevent dehydration of the clay. You may use a sponge, like the Mudtools MudSponge Cleanup and Shaping Tools for Pottery and Clay Artists, to control the lubrication.
-
To make the wall stronger, one may even use a thin clay slip to lubricate it. It is more beneficial for beginners because they mostly tend to overwork the clay. So, as the clay slips contain less water, the hump also absorbs a lesser amount of water, thereby strengthening the walls of your pot.

Problems faced by beginners while opening the clay
While opening the clay on a pottery wheel, make sure that you have performed the preceding steps of throwing well. If the previous steps have not been executed correctly, then you are surely going to face problems while opening the clay. Beginners often come across several difficulties while opening up the clay. Let’s discuss in detail those problems along with their corresponding solutions.
1. Coning the entire length of the clay:
It might happen that while centering when you cone the clay, you might have positioned your hand above the bottom of the clay cone by mistake, which makes the base not get appropriately centered. Such a situation will result in the crooked base of the clay which will later cause a problem while opening up.
So, one should focus on the base of the clay while coning. You can perform coning in sections. For example, you need to initially perform coning on the first ½ inches of length of the clay, after that the next ½ inches the second time, and so on.
2. Spreading out of clay:
When you center the clay, it might spread out of the pottery wheel. This phenomenon results in the formation of a thin and uneven clay layer. So, before opening, use a tool to remove this layer of clay. But generally, to prevent the clay from spreading out, you can even push down the hands onto the head of the pottery wheel.
3. Off-centered clay:
Sometimes, the hump seems to be centered, but in reality, it might not be. Air bubbles can cause off-centering of the clay resulting in an improper opening. In case it seems to be lumpy or concave, then there are possibilities of the formation of air bubbles in it. If you proceed with such off-centered clay, it will become difficult for you to open it up. It will be a total mess!
So, take proper body posture, and apply equal pressure with both hands to prevent the clay from getting off-centered while opening. However, don’t push too hard as it can cause differences. Also, the clay must be kept ball-shaped and smooth to avoid the formation of air bubbles.
4. Wrong opening up:
While opening up the centered clay, do not press your fingers perpendicularly into the clay. If you do so, the rotating hump can apply a twisting force on your finger, making it off-center. So, to open up the clay properly, press your finger into it at an angle of 30° and 60° to the wheel head. One may angle his/her fingers in such a way that it creates a V- shape in the clay.
Conclusion
Clay opening is an innovative and trial-and-error process. You must execute the entire procedure carefully, keeping many things in mind; negligence or carelessness can cause the breaking down of your whole pot. It takes the coordination of several physical activities, skills, and patience to perform the task. Beginners must take pottery classes from expert potters to learn the step of clay opening on a pottery wheel. Once you learn it well, you can easily master the other steps, and eventually, the entire art of pottery.


