Are you a pottery enthusiast in the making? Are you looking for something easy and simple to start your pottery experience with? Well, the pottery world is a diverse domain. An artwork that is easy for you might not be easy for someone else. However, there are a few basic items that are fairly easy to craft. Things such as bowls and vases are easy to craft for beginners who are learning the ways of a pottery wheel.
Pottery Making: The Easiest Designs
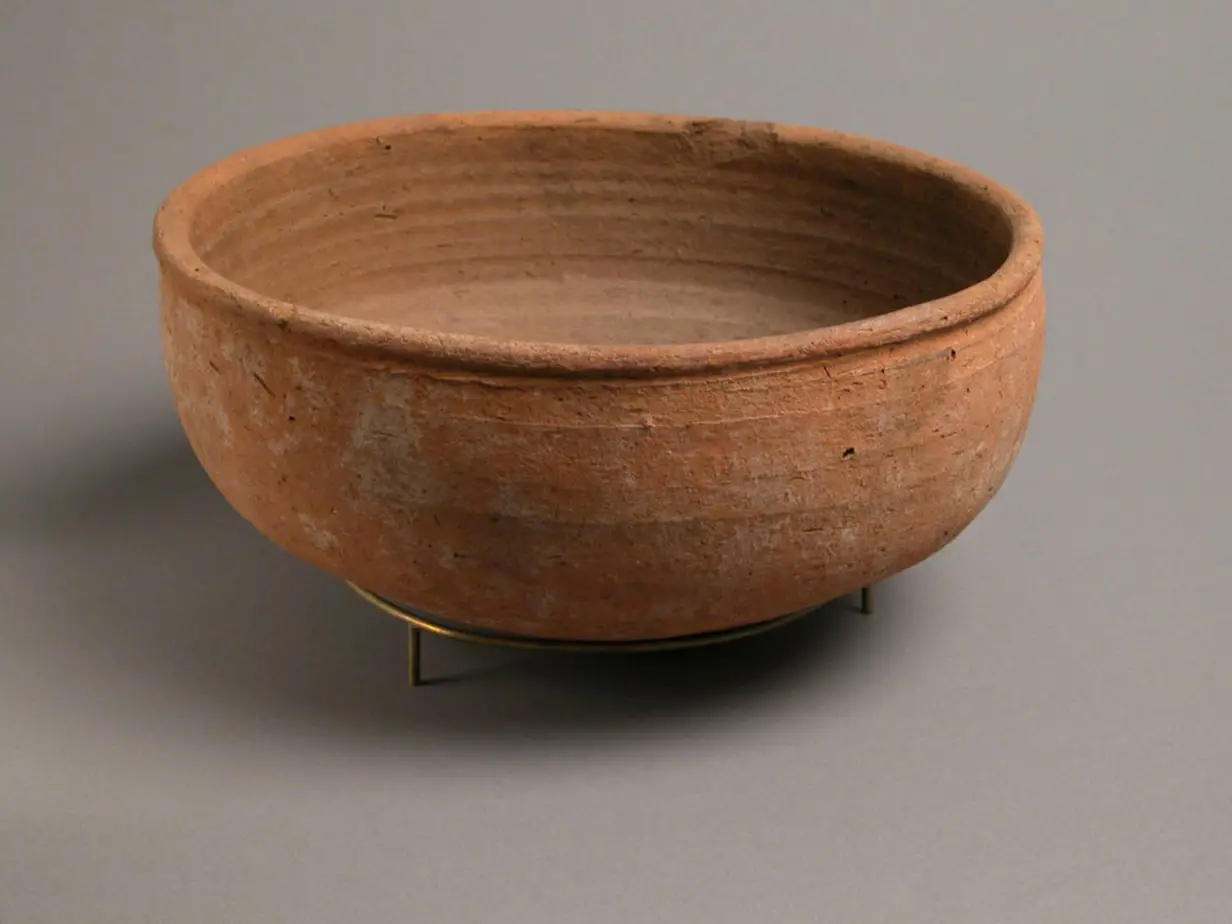
When talking about pottery on wheels, the easiest option for most crafters is to spin a bowl out of the clay. This is because your pottery wheel’s spinning action naturally pulls out the clay, and it opens into the shape of a bowl.
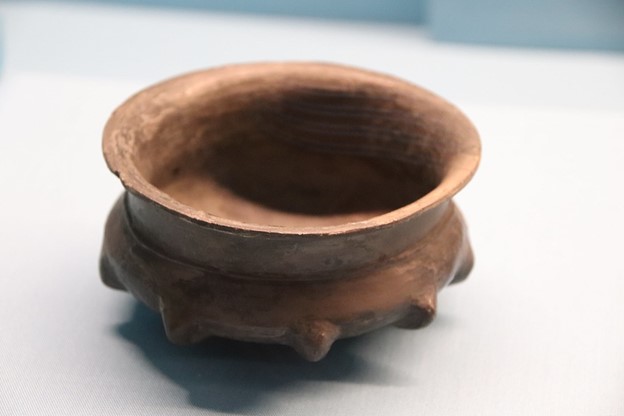
The best thing about bowls is the fact that they are simple yet very useful for everyday usage. A hand-made bowl can be used for eating rice, cereal, soup, pasta, fruits, and anything you like. If you aren’t confident enough, try to start with a small size bowl and gradually upscale to a bigger one.
Now, there are two ways you can do this. First, you can craft a bowl either with the help of a pottery wheel or just with your hands. With the former method, the work has better precision and is faster. However, with the latter, the final product might be a bit wonky and not as perfect.
If you are someone who is just learning different ways to use clay, it is recommended that you start by crafting the bowl with your hands. Then, once you master the DIY method, you can shift to crafting on a wheel.
Crafting a Bowl with Air-Dry Clay
The best way to craft a bowl by hand is to use air-dry clay. While you can surely use normal clay as well, air-dry clay is easier to work with. First, knead the air-dry clay for a good 2 to 3 minutes. Now, form a ball-like shape. Next, start by pressing your thumb right in the center of this clay ball.
Start rotating the clay on your thumb and pinch the air-dry clay with another hand. Start at the bottom and then move your fingers in the upward direction. All this while, make sure you keep rotating the clay lightly. While you pinch, make sure you pull in the upward direction to add some height to it.
You can also use the clay rib in order to smooth the inside as well as edges of your bowl. You can also use this tool to remove any excess clay from parts of the bowl that seem thicker to you or are higher as compared to other parts of the air-dry clay bowl. Finally, you can use the TOTOT Clay Three-Piece Mud Rib Tool for smoothing out your bowl. This rubber-based rib is perfect for hand-crafting as well as engraving on pottery items.
Next, set this bowl atop a sturdy and flat surface. This will help flatten the bowl’s bottom. This flat surface could be a cake stand or any other object such as a table. If you have a flat surface that can be rotated, it would be much easier to help you craft the bowl. As the bowl is rotating, continue smoothing the surface using your fingers. However, make sure you get your fingers wet properly to enable easy smoothing of the bowl.
Once you are happy with the results, let the bowl sit and dry for a minimum of 24 hours. Then, for personalization, you can color the bowl using acrylic colors. However, make sure you add colors after the bowl has dried out completely to ensure the colors don’t chip off post-drying.
How to craft a bowl on a pottery wheel?
To start crafting bowls with a pottery wheel, you need to practice patience. Remember, perfection cannot be achieved in one go. Start by kneading the clay for at least 2-3 minutes. Then, place it on the wheel and start turning the wheel slowly.
While the wheel moves at a slow pace, tap on the clay’s center using your hands. Make sure your hands are completely dry while you do so. Next, gently wet your hands and push the clay in a forward direction with the wheel at a fast speed.
Next, make sure you sit close enough to the pottery wheel and anchor the elbows against the body. When the clay starts to take a certain shape, start by squeezing the clay and form a cone in the upward direction. You can start to see a cone-like formation by now.
Then, slowly level the top of this cone by using the pressure of your thumbs. Make sure both your hands touch each other while molding a shape. Now, slowly push the clay in the downward direction so that it starts going flat with respect to the wheel. You can see a disc-like shape forming with the clay.
Now, slow down the pottery wheel by a bit. Next, place your thumbs at the center of the clay and create a center with a hole-like structure. While you make this hole, make sure there is enough clay left at the bottom of the pot. Now, start pulling out the clay to form a wall-like structure.
By now, you will start observing a bowl-like design forming. First, smooth out the surface and sides of the wall while you shape up the bowl. Make sure the pressure on the bowl is even on all sides; else, it could lead to the creation of an uneven design. If there is any extra clay, remove it.
Compress on the bottom to ensure no “S” cracks form post-drying. Once you are happy with the design, cut it out from the base with the help of a cutting wire.
While you do this, make sure you avoid any beginner mistakes you might commit in the process.
Here are some for you to avoid:
Mistakes |
Solutions |
| Failing to Wedge the Clay | Wedging the clay helps with better molding. Failure to do this could make the parts of the artwork tighter. Ensure that you wedge the clay for at least 2 to 3 minutes. |
| Using Inappropriate Amount of Water | Using too much water or too little water could affect the clay’s molding. Adding a lot of water to the clay can make it watery and difficult to maintain a shape. On the other hand, too little water can make it hard and impossible to center on the pottery wheel. |
| Uneven Pressure Applied | If you happen to apply uneven pressure on the clay, it could lead to problems in centering. Further, the walls and parts of the model could also be wonky and out of shape. |
| Opening the Clay Too Early | When molding the clay on your wheel, you must not open the mouth of the clay too fast. Doing this could create a very deep hole in the center and make the bottom very flimsy. Instead, try to open the clay very slowly and work your way into it. |
Conclusion
Keeping these techniques in mind, you can craft your very first bowl using clay. With pottery, experimentation is the key to achieve perfection. Always start small and move to bigger bowls once you master the technique of crafting the small ones.


