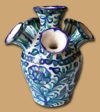
For many people, Mexican ceramic pottery is quite gorgeous, and it involves very intricate patterns and lush colors. For many who get into pottery, they want to know how to do this, and often, it can be quite hard to actually find a piece that’s easy to obtain, and not going for a pretty penny. If you’re in San Antonio, even then it might be quite hard, because it’s actually very expensive. Well, you can actually make your own Mexican Talavera pottery, and you can do it quite easily. It’s fun, and you’ll be able to learn how to decorate it with this post.
What is Talavera Pottery
You may wonder what exactly is Talavera pottery. What are its characteristics of it? Well, you’re about to find out.
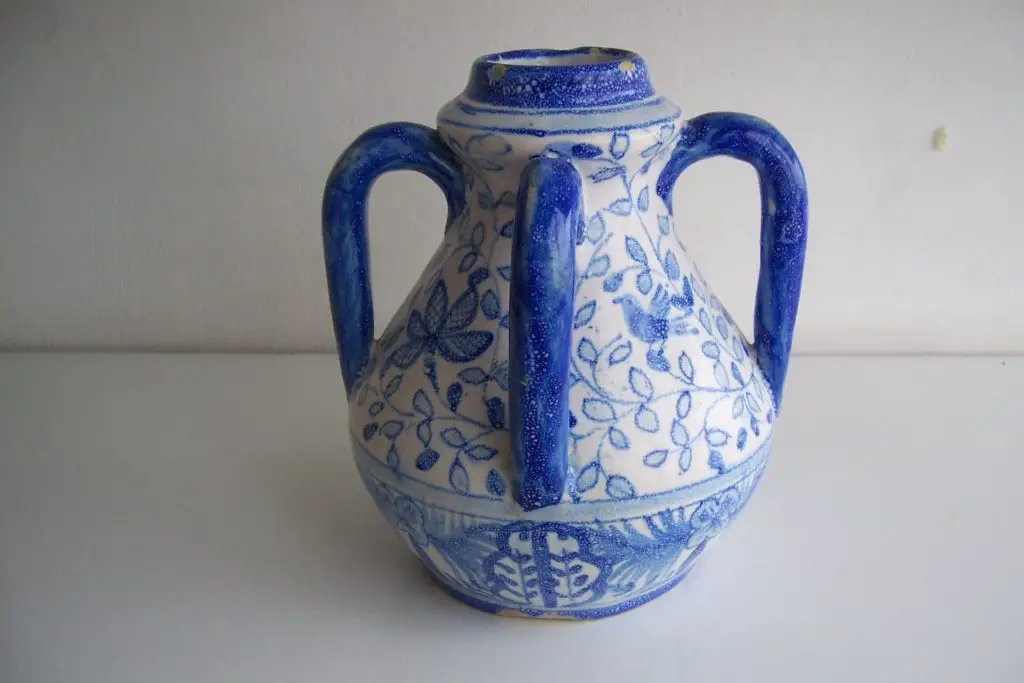
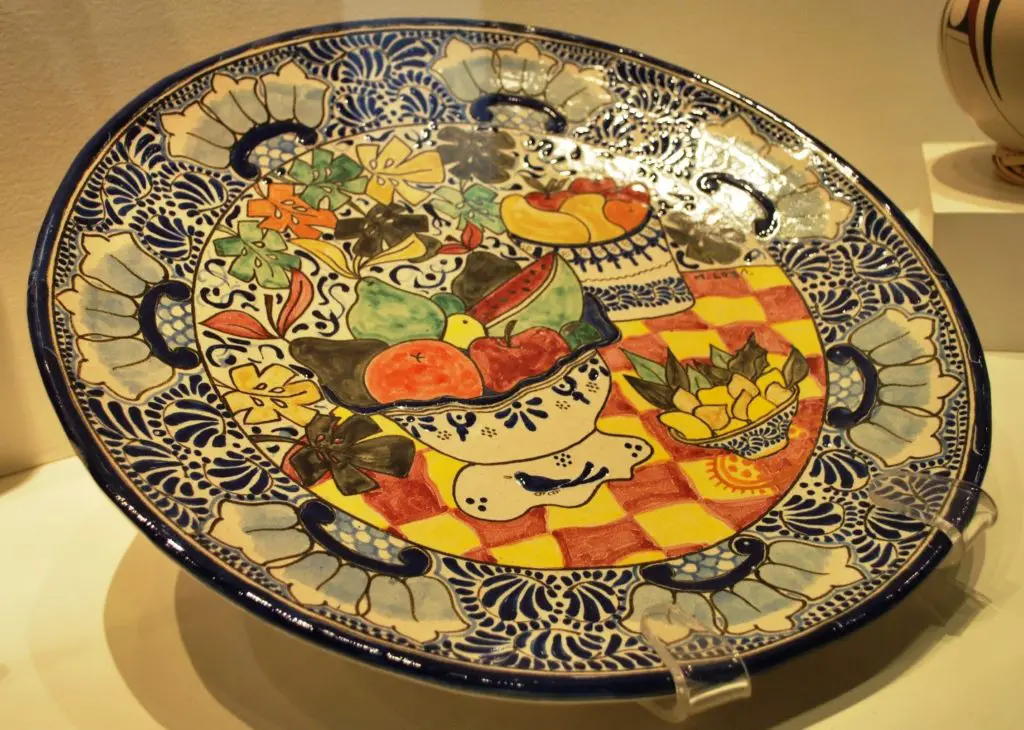
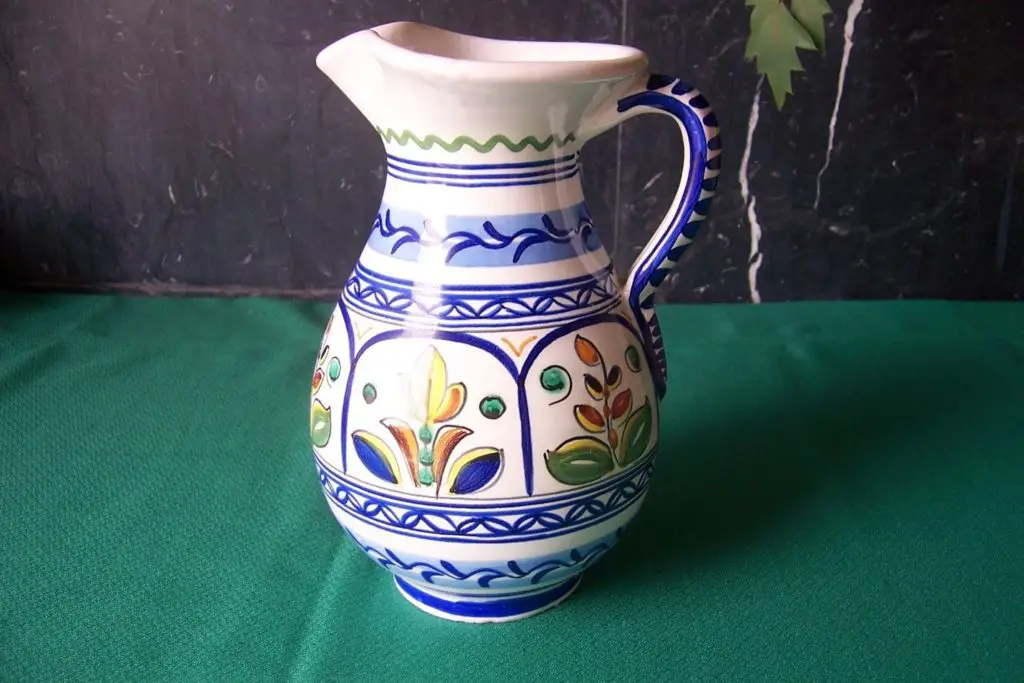
This is actually an offshoot of majolica, which is another Spanish pottery. This was originally found in ancient Egypt, along with Mesopotamia, and then, Spain ended up introducing this. majolica is another very popular form of pottery, and Talavera comes from the city that it’s named after. This is actually one of the most popular forms of Mexican pottery, and there are some defining characteristics of it, and they are:
-
Blends both the indigenous and European ancestry styles
-
Has a very colorful look to it
-
Has patterns that mainly involve red and orange clays
-
Used for both religious art, but also for use
-
Can also involve various animal and floral patterns
Mexican Talavera is the contemporary form of this, and it began around the 1500s when the Spanish colonized Mexico, and from there, once it was found, the monks and artisans from Talavera began to show the techniques to the natives themselves, and following, it changed the pottery in a sense, and it included the following:
-
The use of the potter’s wheel
-
Glazing
-
New patterns and colors
-
Various craftsmanship attributes that the Europeans brought over
From this point forward, the standards were set, and that’s how this was born.
What also began to happen were standards, along with regulatory actions that were used to preserve how the product was, and lots of the craftsmanship began to get better. It began to grow super popular, and this type of pottery was soon exported all over the world, and whatever was used, definitely became super popular.
These were used for different means, including the following:
-
Home and business decoration
-
Tiles that you could hang up
-
Various plates and place settings
-
Planters and vases for flowers
Often, this was definitely a very popular means to utilize this type of pottery, and for many people, it was an extremely popular means to go about showcasing this.
Now that you know a little bit more about this type of pottery, let’s discuss why you should learn to make this, and some of its different elements to this.
Why Do This?
Why learn this? I mean, if you’re looking to get into Mexican pottery, it often means that you’re going to be definitely using a different type of style. So why should you, as a potter, learn how to do this?
The answer is actually quite simple. That’s because of the following:
-
It’s pricy
-
It can be fragile to ship
-
It often is hard to obtain at a decent price
So how much can this end up going for? Well, do a quick little Amazon.com search, and you’ll see that they’re at least fifty dollars, in some cases closer to a hundred or more dollars. It’s quite a lot of money, and you’ll be surprised once you look at the price tag.
If you’re someone who knows how to make pottery already, this is actually not that hard to do. So why not use your skills to learn a new type of pottery? Plus, let’s be real many of us don’t know how to justify spending that type of money on ourselves. Decorative items are nice, but often, people put that money towards different types of decorative items, such as switch covers for your light switches, and even doorknobs. Plus, they tend to be cheaper too.
Handmade artisan pieces are so gorgeous though, and you should definitely consider trying this. Plus, if you learn how to make it, there are actually some great benefits to it.
If you take the time to learn how to make this type of pottery, the following can happen:
-
You’ll save yourself a boatload of money
-
You’ll be able to learn a vital new technique
-
You can create a unique artisan piece
-
It’ll be a personal pride point for you, and if you’re an artist, you should definitely learn how to do this
If you’re already learning pottery, and you’re decent at this, then why not try to learn how to do this type of pottery? It’ll be much cheaper for you, and plus, you can show it off to your friends.
Plus, as a personal thing, no two different types of pieces are the same. While yes, that may justify finding one in the store, think about your own types of pieces. You can learn how to do this, and you’ll be able to create your own unique piece that’s not like anything else.
It’s a style that you can learn. In truth, it actually isn’t something that’s very rule-based. Instead, there is a technique. It’s not hard to learn however and instead you can learn this art form. If you already have a lot of different pottery techniques, you’ll be able to learn this one quite readily and be able to achieve a lot of success in this.
What do you need?
There are a few things that you will need in order to create this type of pottery. It’s quite nice, and you’ll be able to truly master the art of this quite easily.
To do this, you need the following:
-
A bisque piece
-
A stencil or anything to help you draw it out as needed
-
A pencil that has an eraser on it
-
Underglaze or stain of choice
-
Clear glaze
-
A Kiln
Usually, you can find most of this in the craft store. Ideally, you should make sure that you get anything that you need that’s food safe for this, and from there, you can make it.
On another note, it’s best to make sure that you have everything before you begin, and minimally know how to either throw or basic slab pottery. It’ll make it much easier.
How do you do this
To do this, you need to follow the following steps in order to make this work.
-
First, you need to grab your clay. Make sure that it’s a form of earthenware because that’s how these are typically made. From there, you can either make it via slabs, or coils, or if you want to do it on the pottery wheel, you can as well.
-
If you throw on the pottery wheel, make sure that this is at least in the shape that you want it to be in before you begin
-
From there, you want to put it into a bisque fire, and let it take the shape that you need it to. It’s best if you don’t single-fire this type of pottery
-
From here, it’s time to do the decorating. You should take your stencil, and from there, also your pen. If you don’t have a stencil, you should just draw out the design
-
You can also print out various Talavera images on the internet, and then have them on the plate or dish itself in order to give you something to work with.
-
It’s best not to get too crazy the first time you do this since they tend to be quite hard to do the first time
-
You should sketch the bisque itself, and then, take the underglazes that you have. These can be different kinds of colors, whatever you feel is right. Typically, reds, greens, and blues are typically used in this case. You should at the store look for the kind that’s especially used for majolica and bisque
-
What you want to do, is work from the inside and go out. Unlike other types of pottery painting, where it may go outside to in, this works better in that way. Sketch out the insides of this, and then move towards the outside of it.
-
Go over your edges and make them more defined in order to give a look to this that is refined and better.
-
From there, you can also put a lighter shade on top of the darker shade
-
You can trim the ridged areas in different colors, especially blue. Blue is often the main color that you want to go for with this since that is the traditional color
-
Once you finish all of this, and it’s dried out, you want to take the thinnest brush you have, and from there, use underglaze to line the outside of the image in black. This will give it that extra little pop that will end up making it look even better than before.
-
From here, you want to let this whole thin dry completely, and then, from there, you want to put some clear glaze on each side of the pottery. From here, you can let this dry.
-
You’ll then want to fire this to cone 06 for about a day or so. You should be careful of this, and if you’ve never used this type of glaze before, do watch for the results of this
-
From there, you take it out, let it dry, and then there you have it, your first Talavera piece that you’ll be able to create, and one that you’ll certainly like
With this, it often does involve a little bit of experimentation as well. sometimes, you may get something that’s a bit more orange, or whatever it might be. Remember this it does involve some experimentation and a little bit of learning. But, once you get it, you’ll be able to truly master this type of pottery, and get the results that you want from this. Try it, see if it works for you, and you’ll be able to create the best and most intricate designs that you can with this form of art.
Stenciling the tile
If you’re someone who wants to master the technique of trying to utilize Talavera pottery, but you’re not totally sure how to get the design down, and maybe you just want to actually make a few test pieces, well you’re in luck. You’ll learn as well here how you can create this.
Sometimes mastering the technique for brushing it onto the image can be quite hard in it itself. But, we’ll go over how you can do this, and how you can incorporate this onto the tile. These tiles are typically used for decoration, more than actually used for foodstuffs, so you don’t have to worry about these being food-safe.
To begin, you need the following materials:
-
Talavera tiles stencil, a border stencil, and a ceramic tile stencil
-
Decorative paint in various colors including blue, white, orange, yellow, Florence, gray, and a linen white color
-
A foam roller and a ray
-
Stencil brushes
-
Painter’s tape
-
Paint brushes of varying sizes
-
A ¼ inch of striping tape for the areas
-
Chalk mixes by creating yellow with orange, red with pure white, and gray with a white color
Now, once you finish this, you then begin by doing the following:
-
First, you need to have the tiles. These can be either made with a bisque or a ceramic tile that you can get. You can put some white chalk paint on there, and then let this dry out
-
From here, take your gray paint, and then paint everything, which will, in turn, create the “grout” color of this, and then, you let this sit to dry out
-
Now, from the center outward, you put the stencil on the area, and then, you continue to stencil out each of these. Depending on the surface of the project, you may need to file it partially at the edge of this
-
You can then put tape around this in order to create a frame for the tile itself
-
Use a stencil brush to put the paint on the tiles, and from there, you can then get good coverage. It might be a bit uneven, but that’s fine, and it may improve the look of this as well.
-
From there, take your tile stencils, and from there, you can alternate each of these designs, making sure that you don’t put them next to each other.
-
You can also rotate each of these to get more variety, and if you’re looking to isolate colors, you should incorporate smaller brushes so that you’re able to put it in there without taping off all the different areas since that can get complex
-
Once finished, you should use ape to create a grout line, and then tap over that to protect the patterns of this
-
You can then paint this a blue color
-
You can then add some patterns along the sides of these as well
-
When you’re done, tape off everything that’s there, and you should add some white to this as well
-
If you’re finished with this, you can now add a bit of black around this in order to create a visual effect
-
For the tile pieces that you’ve got, you should then cover them with a clear glaze all around once you’ve finished all of this
-
You can then fire this to cone 06, and when done, take it out
-
You should let it cool down, and then, you can hang and use the decorative tiles
-
It’s encouraged to use stencils with this since if you’re making a ton of these and incorporating the “grout” look to them, it definitely can help make it easier
-
There you have it
Making Talavera pottery, along with the tiles, is actually not that bad. You’ll be able to create a beautiful piece of this, and you’ll be able to protect this, and from there, you can use this for many different things. while yes, you can use it for decorative reasons, you can also do the following with them:
-
Put them into your bathroom as an accent wall
-
Add them to your room by hanging them
-
Using them as a form of decorative coasters
Whatever you might use for them, you’ll be able to create and craft some amazing pieces, and from there create the tiles that you want and the pieces that you’ll surely enjoy.
Tips for This
if you’re looking to try out this form of pottery, and the painting style, there are a few little tips that you can use to get the most from this. This section will discuss it, and what you can do in order to get the best results from this.
-
Be mindful of the design that you’re making. Talavera pottery has a very intricate means of painting, and some who begin with this don’t realize it until they try to put this together and then realize that it’s so much harder than they expected. However, if you start with a design that’s small, and work your way up, you’ll definitely get a great result
-
If you’re stuck on colors, focus on the blue. The blue is really what is mostly focused here since it’s an offshoot of majolica pottery
-
Always use earthenware for this type of pottery. That way, you’ll end up getting the traditional colors that you want from this
-
Always test out your glazes first on a test piece before you use them on actual pottery
-
If you end up getting a bad color from this pottery, you should try it once again. It happens
-
Always fire to about cone 06. Don’t go too high with this, since it can end up causing the glazes and stains to be affected
-
As always, watch over the kiln whenever you’re doing this, so that you don’t end up hurting things
-
If you feel a bit defeated with the stencil, use something easier, or take it as a variant of this
-
If you’re struggling with doing this period, work with a smaller piece
-
You should make sure to use underglazes that work with this type of pottery more than anything else
-
If you’re going to be making these dishes food safe, you should check to make sure that the piece doesn’t have paint that’s got lead in them. Most of the time, they don’t these days, but you should always be careful
-
As always, if you’re going to be making anything food-safe, you should always make sure that it has a glaze on top of it that will prevent it from also getting contaminated.
-
Have fun with this, and take it as an adventure to learn a new technique. If you’re having issues with what to paint, check out some of the inspired designs online, and you’ll be able to find something
This is a type of potter that has a lot of inspiration from ancient Mexican culture. It’s got a very rich history, and it’s one of the most popular forms of pottery today. If you go to almost any Mexican pottery place, you’ll end up finding something along these lines, and you’ll be able to get a great result from this. if you’re struggling with making this, you can always check out these designs for inspiration, and you’ll be able to make beautiful pieces with it. you can learn both how to make this type of pottery, and also how to paint it with this article, so you’re able to create the best and most intricate designs possible. You’ll be able to make various pottery that you want with this, and you’ll be able to do so quickly, and without too many options. This is another great technique to learn and something that you’ll most definitely enjoy whenever you do it.


