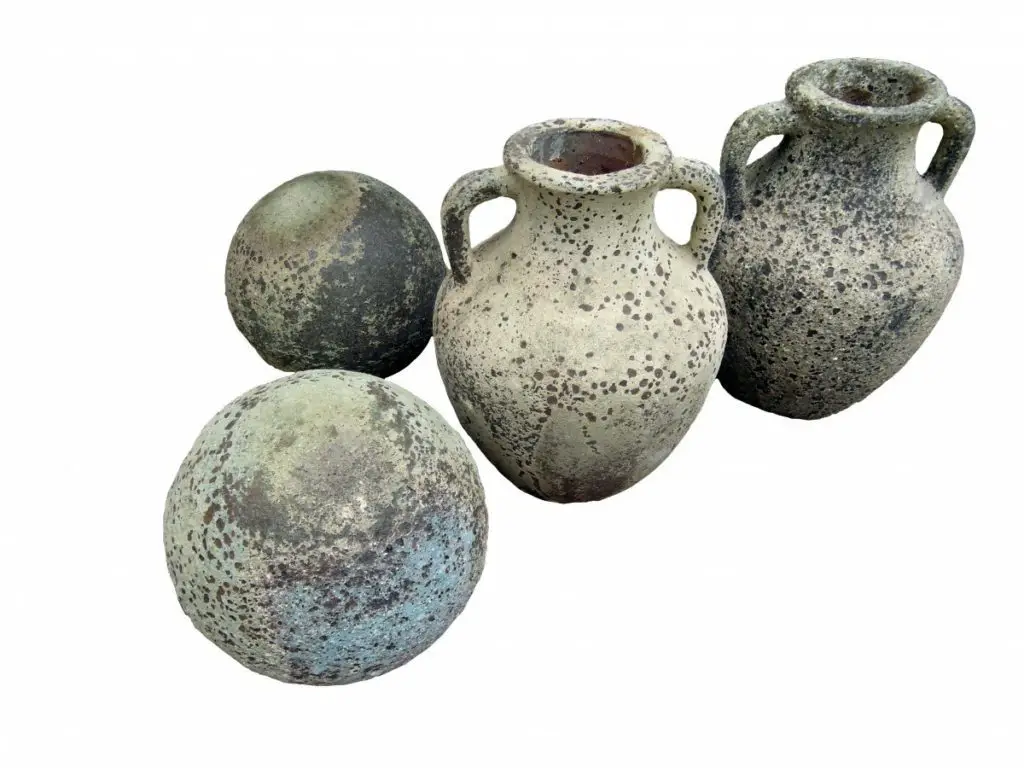
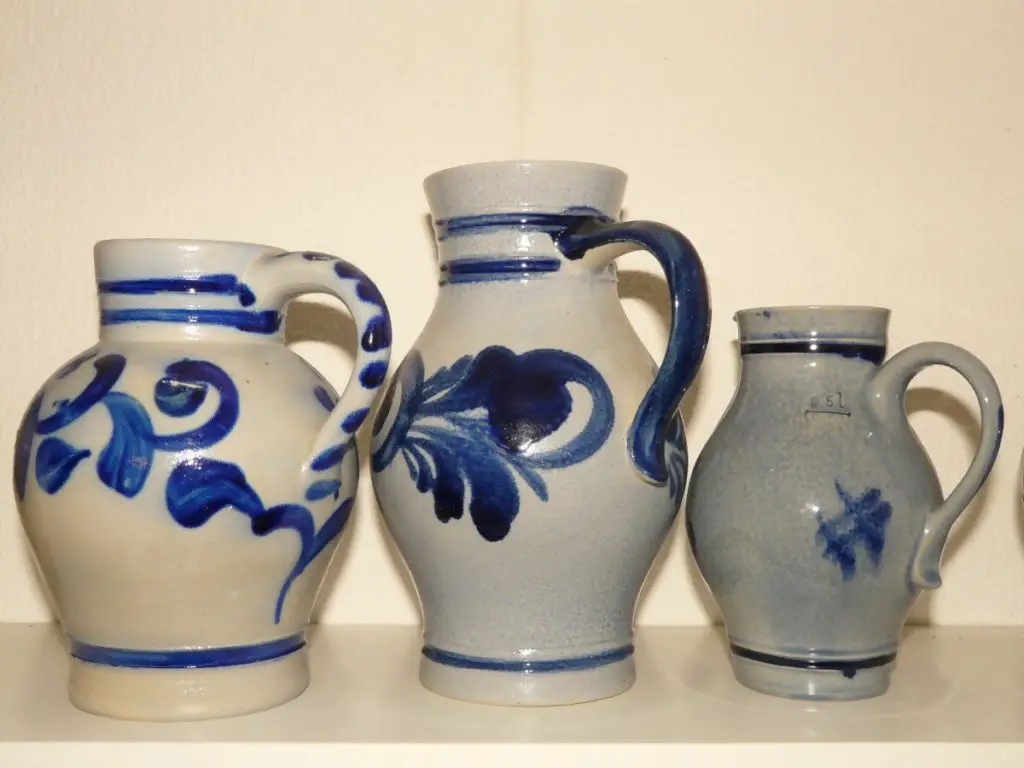
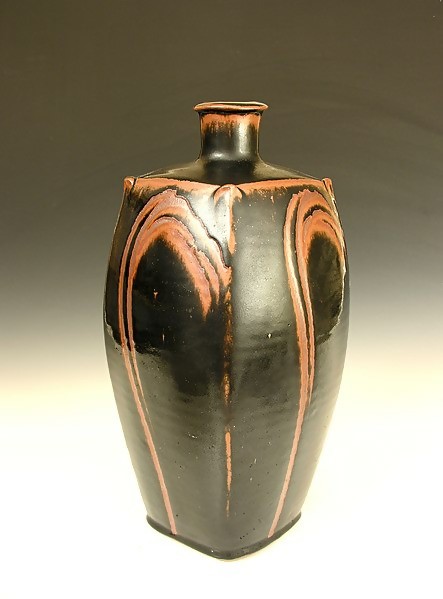
When choosing how to make pottery vases, sometimes the handmade way is the one people choose. There are many reasons for it, and having a pottery vase that is made by hand adds a personal touch.
Here, you will learn how to make handmade pottery vases so that you can give it to someone you love, and not just that we will also talk about other subjects regarding handmade pottery vases that you should know.
There are many techniques and many benefits, and here, we’ll discuss how to do it, and why it matters.
Why Go Handmade?
Some people wonder why you should choose the handmade route rather than just using a pottery wheel. Well, there are many reasons for that.
Some of the reasons people use handmade pottery versus other options include the following:
- It’s cheaper
- It adds a personal touch
- You don’t have to worry about the space or costs of a pottery wheel
- It takes skill to do, but almost anyone can do it
- It makes great personal gifts for other people
Lots typically don’t go the handmade route with their vases either. We tend to be a commercial society, where we just buy the vase instead of making it ourselves.
But some of the benefits of creating a homemade vase are the following:
- It’s unique
- It allows you to learn a new skill
- It’s cheaper
- No two vases will ever be alike
We tend to not think about the importance of a handmade gift, but, with the rise of more people going the DIY route, being able to create lovely handmade pottery vases will add to the touch. With that being said, let’s talk about how you can do it, and a few unique ways to create handmade pottery vases.
How to Make a Basic Handmade Pottery Vase
Now that you know about the reason why people choose these over other options, it’s time to talk about how to make them.
Personally, if you’re using a kiln, you can use regular clay, but otherwise, polymer clay and letting it harden in the oven is the best route for beginners.
To start, you need to have some materials, and they are as follows:
- Clay
- Rolling pin
- Plastic Knife without any ridges, or another smooth cutting implement
- Plastic or a wood scraper
Once you have all of that, you can start making your vase. To do this, begin with the following:
- Make sure you have a flat and smooth working service that’s easily cleaned
- Knead out a handful of clay till soft and pliable
- Form it into a ball and then flatten it a tiny bit
- Take the rolling pin and then roll the clay till it’s ¼ of an inch thick
- Cut a rectangle out of this
- Take the rectangle and pinch and smooth the edges together into a cylinder shape
- Put a single hand inside of there, and with the other hand, hold the scraper on the outside of the cylinder itself. Take your hands and the scraper to manipulate the clay into the shape that you want and then set it aside
- Take the leftover clay bits and knead it again into a ball, flattening it slightly, and then roll it again till it’s ½ an inch thick
- Set the vase onto the rolled out clay piece and cut it along the bottom of this vase
- Take your finger and dip it into the water, running along the bottom edge of this, and then take the clay piece that you just cut, gently pinching and smoothing it together
- This may take a bit of time, but continue to pinch and smooth this near the joint
- Put the vase either in the kiln or the oven in order to harden it
- When you finish up, you’re given the option to either glaze, paint, or decorate the vase as you see fit.
This is a good basic vase, and if you don’t have a ton of materials, or just prefer to use polymer clay, this is a great beginner vase to make yourself.
With this as well, there are a couple of tips that will help when making this, and they are as follows:
- Have a bowl of water at room temperature handy in the event that you need to smooth the clay and remove the excess from hands
- Keep the mouth of the vase large enough for your hand, so that you can reshape after attaching the vase
By doing this, you can better the way that your vase turns out, and make it look even more amazing as a result of your actions.
Pinch Pots
Pinch pot pottery is another super simple type of pottery and is like the first one, but a little bit more involved.
It is an older type of pottery and you could typically see this in native American pottery. It’s known for how simple, yet pretty it can be.
To do this, you need to begin with the following:
- Take clay and roll it into a ball
- While you hold the clay sphere you just made, push your thumb towards the center of the ball, and go about halfway down
- While you move the ball in one hand, move even with the thumb towards the inside, with the fingers on the outside
- Once you’ve made your bowl big enough, you should smooth this surface with a damp sponge
- You can as well do the same thing with another piece of clay, and you can always slip and score these together
- Then, you can fire it, just like you would with any other type of pottery made in this fashion.
It is a fun way to create some pottery, and there is a lot that you can do with it, from decorative animals to even making seashells. They are fun and allow you to hand build any vases that you feel work for your art.
Slab Vases
Who says vases always need to be round? Slab vases are another type of pottery that works well, and they’re quite pretty.
Take two strips of the wood on a canvas a little further apart than the width of the slabs. To make them, you must begin with the following:
- Put the clay on the cloth and roll this out. You will notice that when you do roll this out, you’ll create imprints on this
- Use a tool that’s pointed to trim the clay to the size that you want it to be
- Sometimes, if you already have an idea of what you’re making, you can get patterns, and trace that one these to cut it out
- Once cut out, rub a finger over the edges to be joined and scored with the tool
- Once you have all of the sides carved out, you can roll out a coil of sticky clay and push it against the edge
- Press the two edges together
- You can actually put these over rocks, bowls, plastic forms, and the like to create interesting shapes. When it dries, it will shrink away from the form, but keep a similar shape
Slab vases are often quite cool, for you can put these over something that you want to emulate in terms of design, and while it won’t be perfect, it will allow for you to create wonderful art that you’ll enjoy.
With slabbing, I do suggest learning how to score and slip, for that can help immensely with how the piece looks at the end of it all.
Coil Method
Coiling is another good one since it allows you to build vases of all sorts of shapes and sizes. It’s pretty simple too, and here, we’ll tell you how you can begin.
- First, you want to make a slab of clay in a circular shape, whatever size you want from it
- Make it about a quarter inch, and finally, start to take the rest of the clay and roll it into little sausages. These are the coils
- Next, you put a slip on the bottom of the base and then push the first coiled layer on this
- At this point, cut the first coil layer in order to ensure that it fits perfectly around the slab parameters
- Blend these joints together by scraping the coil with a finger in a stabbing motion with either your fingers, a rib, or a wooden bowl
- Smooth the outside of this with a rib, and from there take the next layer, pinch it together, and then smooth it
- When you merge these, make sure that one hand is holding one side while the other presses in on it. Always make sure you don’t cut the coils at the same place
- Continue to add layers, and you can do up to three before you blend and smooth, and make sure the joints don’t overlap
- Longer coils will widen the pot, and the nice thing about this is that if you need a break you can just cover everything to soften
- Once you’re at the top, you can create a rim, and you can either leave it rough or smooth it out
- Make sure that if needed, let it sit for a bit to dry out before you fire it
- Make sure that the next coil after you finish is slip scored to the existing if you take a break
- At this point, take a wooden paddle to shape the pot and to strengthen the wall
- You can finger texture it all as needed, or just let it dry
- When it’s leather-hard, you can then start to bisque this, but don’t start anytime beforehand
- Vases made like this can be fired up to multiple cones, and you can put glazes on this in order to fire if you need it
When it comes to coiling, it pays to know a few tips about it. Here are some important aspects of coiled pottery that you should know:
- With vases, always make sure that the rim is a little wider than the base
- Do make sure that it can hold the base, however. If worried, let it air dry
- Ideally, try to make all the coils the same shape for the middle and bottom parts of the vase
- Make sure you have a vase base that can accommodate the number of coils you’ll be using
Coiled pottery vases tend to be a bit of a popular favorite for a few reasons. Some of the reasons are as follows:
- They tend to be easier than the other
- They involve a whole lot fewer patterns than the average pottery piece
- It’s simple, but also not so simple it’s boring
- The coiling is a fun process that allows for beautiful pottery
- You can create different-sized pottery vase walls with this
This is a great one to work with, and it allows you to create some handmade pottery vases you’ll love.
Consider going handmade!
When choosing whether or not you want to make a pottery vase through handmade means, you’ll notice that over time it definitely has a lot of great benefits if you do so. Hand building pottery is often one of the best and most effective means of pottery building that’s out there, and you’ll definitely be quite happy with the results of your actions.
Hand building vases are also super fun because you’ll be able to craft something that looks more sophisticated than it really is, and it also creates that personal touch that you don’t get from other gifts. Handmade vases offer that extra little touch, and if you’re wondering whether or not it does make a difference, the answer is yes it does.


