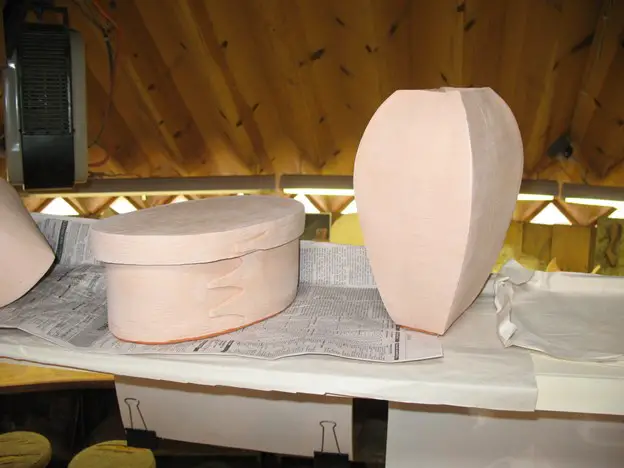
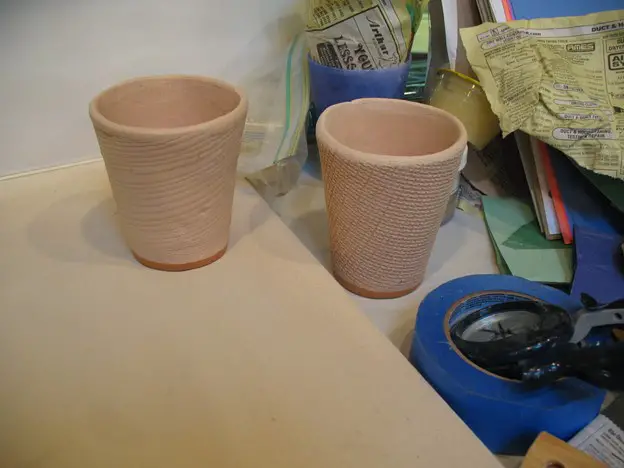
If you are someone who loves a natural and raw pottery look, bisque pottery is something you should aim for. Simply put, bisque pottery is represented by a basic, white ceramic that isn’t glazed but treated with fire for permanency. Although it might seem that bisque pottery would fail to give a finished result, it actually looks very refined given its tender form and soft, ivory look.
Today, bisque pottery can describe different types of unglazed and white pottery pieces. If you wish to fire your bisque pottery in an oven, you need to work with low-fire clay. Using regular clay would require you to fire the piece at a high temperature that isn’t achievable with your conventional oven.
So, how would you fire your bisque pottery in a conventional oven?
Before we learn the process, let us discover more about bisque ware.
Bisqueware: What Is It?
Let us simplify things for you. During the pottery firing process, your pottery piece goes through different stages. One of these stages is termed bisque ware. This type of pottery is fired once with no glazing whatsoever. The initial firing process turns greenware into bisque ware, and the next involves the glazing process.
Bisqueware is generally insoluble and hard. However, it can be porous. The intensity of porosity depends on the clay variant and the firing process. It can also be referred to as the air-drying stage that helps get rid of the moisture or water in the clay. This allows for a safer glaze-firing process.
Let us check out some features of bisque ware:
| Porosity | Less porous than greenware but more porous than glaze-fired pottery |
| Cone | 08 to 06
|
| Malleable | No
|
| Durability | Hard
|
| Food-Safe | No
|
| Surface Texture | Matte
|
Now that you know about bisque ware let us check out the oven-firing process in a step-by-step manner.
Firing Bisque Pottery In A Conventional Oven
Start by picking low-fire clay that would fit best in the conventional oven firing process. You can opt for the ACTIVA Blackjack Low Fire Clay. This white clay features a silk-like smooth consistency to ensure optimum workability.

Now, let us take a look at the steps involved in firing bisque pottery in a conventional oven.
Step-1
First, you have to inspect the bisque pottery piece before initiating the firing process. Ensure that the piece doesn’t have any dents or cracks in them. If so, make sure you repair it properly before initiating the firing process of the cracks could widen. Rinse the pottery piece in order to remove the presence of dust or dirt from its surface. This is especially true if your pottery piece has small wrinkles & holes known to collect dust within them.
Ensure that the piece is air-dried before you start firing it in the oven.
Step-2
Next, pre-heat your conventional oven to 250oF & leave it as it is for a minimum of 10 minutes. Doing this will help you achieve evenly distributed temperature throughout the oven. It will also prepare your oven for a thorough firing process. If you place your bisque pottery before pre-heating the oven, it might cause the piece to fire unevenly.
Step-3
Now, place your bisque pottery on top of a good-quality baking sheet. Make sure you cover your baking sheet with parchment paper to ensure the pottery doesn’t stick to the oven shelf. Now, place this setup inside the oven. Ensure that your object stands inside the oven just as it would after it has been fired.
Step-4:
Make sure the temperature doesn’t go beyond 250oF. If your oven’s temperature is higher than this, the bisque pottery might start to crack. This happens because the moisture or water present inside your pottery clay tends to evaporate faster than normal.
On the other hand, if the temperature is set too low, the clay will fail to dry properly. It would be more of a drying process as compared to firing. So, make sure the temperature within the oven is just this or at least close to this.
Step-5:
Let the bisque ware dry out & fire thoroughly. On average, it would take this process about 25 minutes, depending on the thickness. If your piece is thin, a 25 minutes firing process will get the job done. On the other hand, if it is on the thicker end, you would have to give it a minimum of 90 minutes.
Step-6:
Once this firing time is over, refrain from removing the fired piece immediately. If you do this, the sudden change in temperature might cause the fire piece to crack. So, let the pottery piece stay inside the oven & open its door to let it cool down gradually. Once you feel that the bisque ware has cooled enough, you can use your oven mitts and remove the tray to your work shelf.
Step-7:
Place your pottery piece on a surface that would allow it to cool down to perfection. Keep in mind that bisque ware has a distinctive characteristic that makes it porous in nature. So, you might be unable to use it for dinnerware. It is ideal if you use bisque ware pottery for decorative purposes.
A note of caution is to ensure that you always use good-quality oven mitts when handling your pottery work. Don’t ever check the pottery piece’s temperature with your fingers, or you might end up burning yourself.
Conclusion
If you are learning about the versatility of pottery, make sure you consider learning the bisque firing process in your conventional oven before you invest in a pricey kiln. Make sure you practice caution, just as you would do when using a kiln. This will help prevent any possible burns when handling the pottery piece. You also need to ensure that your piece isn’t too thick, or you might end up with a piece that hasn’t been fired evenly in and out. Before you start the firing process, make sure you test out whether the oven firing process actually works for your clay.


