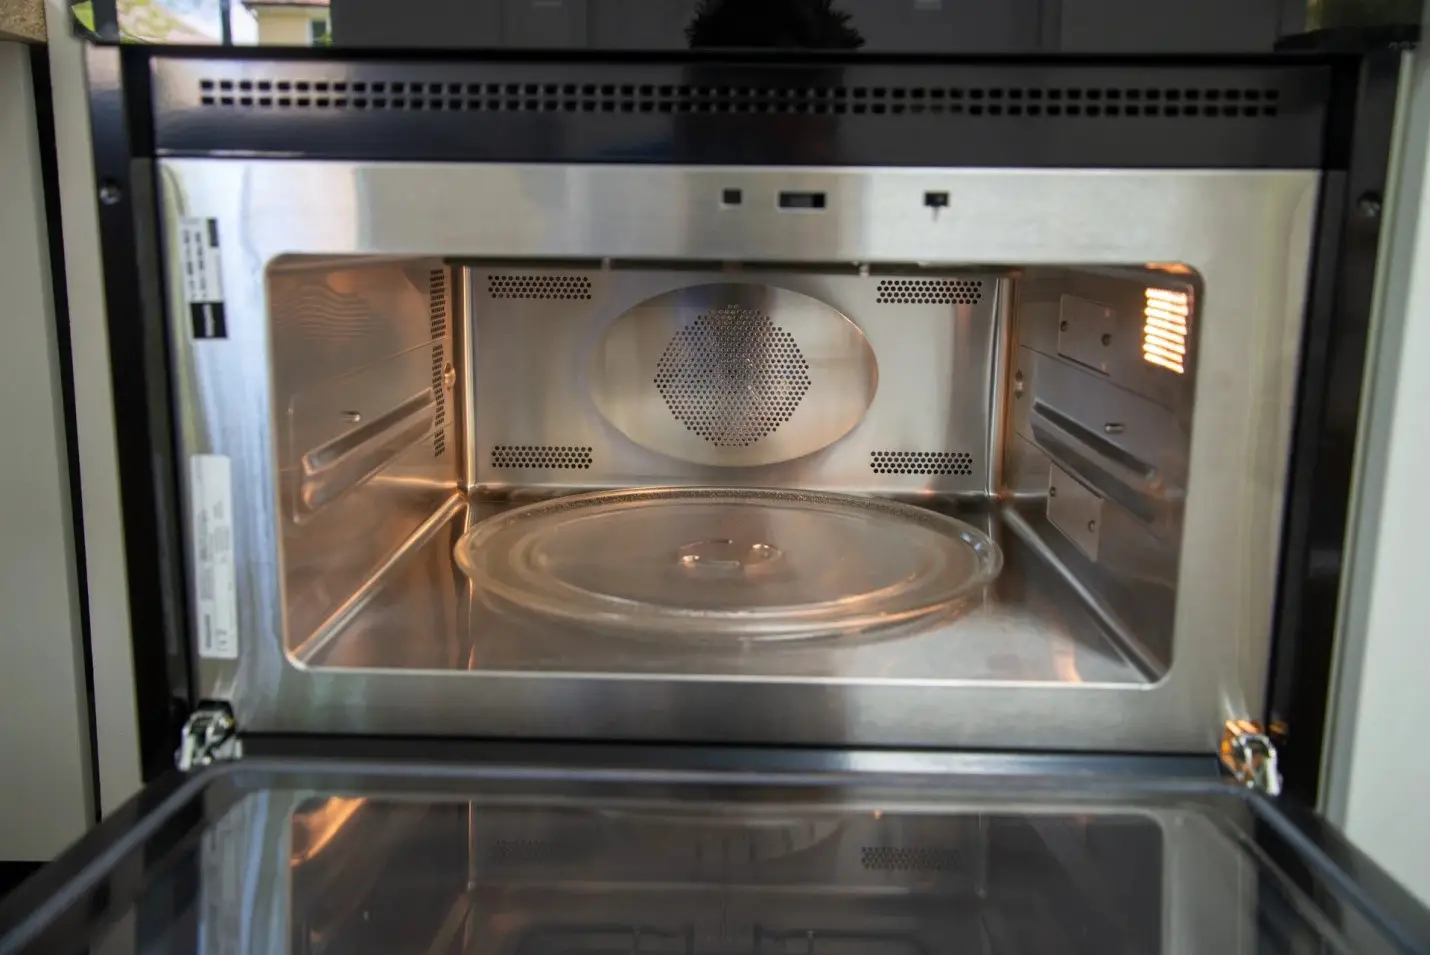
First things first, pottery firing is a highly regulated process that just cannot go wrong. When using a kiln, things become easier, given that you have a chance to regulate the firing environment. However, if you don’t have the budget for a kiln, a microwave can get the job done for you. Keep in mind that you cannot fire high-fire clay pottery pieces in a microwave. This applies to glazed pieces as well. However, you can surely use it for low-fire clay that doesn’t require extremely high temperatures. The best use of a microwave is to bone dry your pottery pieces before you place them inside a kiln. But, if you wish to fire your low-fire clay pottery in a microwave, there are several mistakes that you need to avoid.
But first, you need to understand the stages of firing a clay pottery piece.
Stages Of Pottery Firing
As a pottery enthusiast, one needs to keep in mind that you simply cannot pop your artwork into the kiln or, in this case, a microwave for firing. Instead, it has to go through several stages to gain that permanency and perfect texture.
1. Greenware:
At this stage, your clay is in its raw molded form and can easily be formed into any shape or size. However, greenware is usually loaded with a lot of water, and placing such pieces into a kiln would cause them to explode. At any temperature below 212oF, your greenware won’t be affected. However, water inside the clay starts to boil at this particular temperature and eventually explodes due to surface tension.
So, firing clay at this stage is a big no!
2. Leather-Hard clay:
At this stage, as obvious from the name, the clay is harder than the greenware stage yet still moldable. This stage can be attained when the pottery piece furthers in the drying process. At this stage, too, firing can be very risky.
3. Bone-Dry clay:
The bone-dry stage is perfect for firing as it contains little to no moisture. So, you can pop it into your kiln or microwave without having to worry about cracks or explosions. If you do not wish to dry the clay naturally, using a microwave can help bring down the moisture content. However, even at this stage, the pottery piece is fragile and needs to be fired to achieve strength.
4. Bisque-Fired clay:
Bisque-firing involves the process of transforming an unfired bone-dry pottery piece from its fragile state, making it durable and non-porous. Once the clay is bisque-fired, it can no longer be molded into any other design.
5. Glaze-Fired clay:
This is the final stage at which the clay is glazed and fired to make it completely non-porous. The temperature at which clay is glaze-fired tends to be higher than bisque-fired. Once the firing is complete, one must let the pottery piece cool down completely inside the kiln. Make sure you take it out only when it is down to room temperature.
Here is what happens to clay’s physical structure during the firing process:
| Temperature | Structural Changes During Firing |
| 100oC Or 212oF | Water Starts Boiling, Causing The Greenware To Explode. So Make Sure You Do Not Fire Greenware Without Drying It. |
| 220oF Or 428oC | Clay Starts To Shrink Rapidly Due To Loss Of Remnant Moisture (As Much As 3 Percent Shrinkage) |
| 350oC To 500oC Or 662oF To 932oF | Permanent Dehydration Of The Clay Happens (Clay Changes Chemically) |
| 573oC Or 1063oF | Glazes On The Clay Start To Expand And Contract During The Heating Process |
| 600oC To 900oC or 1112oF To 1652oF | Inorganic And Organic Matter Is Burned Off Out Of The Clay |
| 1100oC Or 2012oF | Clay Starts Achieving Permanency At This Stage, And Mullite Crystals Start Forming If Porcelain Clay Is Used |
How Do Microwave Ovens Help With Firing Low-Fire Clay?
Most microwave ovens tend to use a dielectric heating pattern. This is also commonly used in factories to facilitate ceramic firing. Also, ceramics that are used in high-tech factory applications use a similar firing process. So, whether you are a hobbyist or studio potter, a microwave can be the perfect appliance to dry high-fire clay and fire low-fire clay.
The problem with firing high-fire clay in a microwave is the temperature. Most regular microwave ovens cannot get over 500oF. Even the highest quality microwave can reach as high as 800oF. Only a kiln can reach the temperature required to fire a clay piece properly. Most kilns start at 1800oF and can go as high as 2800oF.
So, a microwave can only harden and dry the clay while ensuring it has no moisture. Simply put, it will help it attain the bone-dry state faster. However, it won’t make it as durable or strengthen it as it would if it were to be fired in a kiln. So, to make your potteryware durable and waterproof, it needs to be fired a second time inside a kiln.
For example, if you prefer to dry your clay outside, a microwave would help shorten the drying time and speed up the firing process. In addition, when no moisture is present in your pottery pieces, this can avoid issues like blistering, bubbling, explosion, and anything else.
There is a way to aid the firing process in a conventional microwave. You can use a microwave kiln to help it come as close to a regular kiln as possible. Microwave kilns are perfect for small projects, especially glass work or fine clay models. Although it won’t be able to reach temperatures ideal for bigger pottery projects, it can help fire your favorite pieces in small batches. Most microwave kilns can reach 900oF, which isn’t as close to a traditional kiln but is higher than a regular microwave.
The best option for a hobbyist wanting to fire pottery in a microwave is the Love Charm Microwave Kiln. It is a compact and small DIY kiln that is environment-friendly and energy-efficient.
So, if you plan on firing pottery pieces in a microwave, you must avoid some mistakes, especially if you are new to pottery.
Top 5 Pottery Firing Mistakes When Using A Microwave
Generally, microwave appliances cook food by sending microwaves to the food. This causes the water molecules to spin and heat the food. In addition, the friction of these water molecules against the food helps generate heat. Similarly, when you place a pottery piece inside a microwave, the water inside the clay starts to heat up and evaporate depending on how long it is kept inside.
1. Refrain From Firing Big Projects In A Microwave:
As explained above, a microwave doesn’t heat up as high as a traditional or electric kiln. So, the smaller and thinner your project is, the better its output will be when using a microwave. Your microwave kiln has to fit correctly inside the microwave. Microwave kilns tend to vary in size. So, make sure you purchase one that fits nicely inside your microwave while leaving ample space for the microwave to heat your pottery pieces adequately.
It is ideal for any pottery enthusiast to keep the thickness to a fourth of an inch or less, depending on the design. This will thoroughly heat the pottery pieces, especially for hollow projects. With bigger projects, you might end up with unevenly fired pieces that aren’t durable.
2. Keep Track Of The Time:
Since you aren’t using a traditional or electric kiln, timing is paramount. Unfortunately, you won’t have manual or expert guidance to determine the right duration for which your artwork must be fired inside the microwave. So, experimentation is the key. Do not place your main project inside the microwave kiln without an initial test firing.
Keep a small batch of all your wonky or rejected pieces that can be used to test fire for the perfect amount of time. Remember that it can take 5 to 10 minutes for your microwave kiln to attain peak temperature. However, this would vary on the size of the kiln and the size of the fired pieces.
Any more or less, and you might end up burning the pottery pieces, and all your hard work is wasted. So, make sure you test a few samples before firing the main batch. Moreover, you have to allow your fired pieces at least 20 to 30 minutes to cool down properly before you take them out of the microwave. Taking them out before the pieces have cooled down completely might cause them to crack. This happens due to the temperature difference between the outside and inside of the microwave.
3. Do Not Forget The Use Of A Kiln Wash:
Even though you are firing your clay pieces in a microwave, the rules similar to kiln firing also apply here. For example, you wouldn’t want your glazed pottery pieces to stick to the bottom of the kiln or the walls. So, the key is to use a kiln wash first.
Kiln wash serves as a barrier that prevents unexpected glaze or drips from ruining your kiln shelves. Simply brush it directly onto the base and allow it to do its magic. The kiln wash would look similar to a glaze when applied to the microwave kiln.
When you skip the use of kiln wash on your microwave kiln, any glaze or other liquid used in the pottery will get absorbed and fuse into the walls. If the glaze is fused into the walls or shelves of the microwave kiln, attempting to remove it can lead to breakage. So, you might end up replacing the kiln, which might not be a budget-friendly option for artists who are just starting.
Kiln wash will also save runny glazed pottery pieces from cracking when you remove them from the shelf. The right kiln wash will also prevent issues such as plucking. This happens when some porcelain pieces become fluxed or melted due to a high silica composition. Such pieces often stick to unprotected kiln bases or walls and, when removed, tend to break.
If you do not wish to purchase a kiln wash, you can easily make some at your home. Here is a quick recipe for you to follow.
Ingredients:
- Silica (15 Parts, Dry Mix)
- Om4 (3 Parts, Dry Mix)
- Kaolin epk (15 Parts, Dry Mix)
Depending on the size of your project, mix these ingredients in an equal ratio with some water. Make sure you add water slowly and keep blending in a high-speed blender or a hand blender. Stop adding water when you achieve a paint-like consistency.
4. Safety Aspects When Using Microwave For Firing:
When firing your artwork in a microwave, you must ensure the space is well-ventilated. Any kind of firing leaves residue behind in the form of gases or dust. You also have to ensure the space between the microwave kiln and your actual microwave is sufficient enough. Check the space between the kiln’s top hole and the microwave’s ceiling. This will allow the gases to escape and ensure proper firing. Also, do not forget to clean your microwave after each firing thoroughly.
Ensure your microwave is placed in a well-ventilated area, and always wear a mask when firing your artwork. This will help prevent poisonous gases from entering your body via inhaling.
5. Not Choosing The Right Clay Type:
As explained earlier, only certain clay variants can be fired inside a microwave. For example, high-fire or medium-fire clay can only be dried to a bone-dry state in the microwave. However, this appliance can easily fire certain clay variants when paired with a microwave kiln.
Although most potters work with earthenware, porcelain, or stoneware, these clay variants cannot be fired in a microwave. They can only be dried out completely for the bisque firing process that can happen only in a kiln. If you just fire them in a microwave oven, the pieces won’t achieve permanency. So, how would you select the right clay for firing in a microwave?
Barring these regular clay types, the only ones available for you to fire in a microwave are air-dry or polymer clay. In the case of air-dry clay, it doesn’t necessarily have to be dried in a microwave. As the name suggests, leaving it out in the open automatically dries it out to a bone-dry stage. A microwave can help fasten the drying process but increasing the temperature can even cause the air-dry clay to burn.
On the other hand, polymer clay can easily be fired to achieve permanency in a microwave. When kept to dry at normal room temperature, a polymer clay art remains malleable and doesn’t harden. The only way to harden is through heat. While the heat of a regular kiln is too high for polymer clay, it is the perfect clay that can be fired in a microwave. However, you need to keep the temperature in mind when firing polymer clay. Overheating can cause the clay to melt and not attain a hardened state.
So, if you are a pottery enthusiast, make sure you pick the right clay for firing in a microwave and set your expectations accordingly.
Conclusion
Remember, the right way to fire a clay piece is only with the use of a kiln. However, a microwave can surely be used for smaller projects. Make sure you use a microwave kiln to get the best effects and ensure there is enough ventilation in the room and inside the microwave as well.


