For beginner artists who are on a budget, a microwave kiln works magic. Not everyone can afford a traditional electric kiln or has the space to keep one. In comparison, a microwave kiln is cost-effective and small in size making it ideal for firing small miniatures. However, as easy as using a microwave kiln might seem, it does require careful planning to get the best output. So, how does a beginner artist work with a microwave kiln for better results? Here is a complete beginner’s guide to instant pottery firing with a microwave kiln! So, let us check it out!
Safety First When Firing With Microwave Kiln
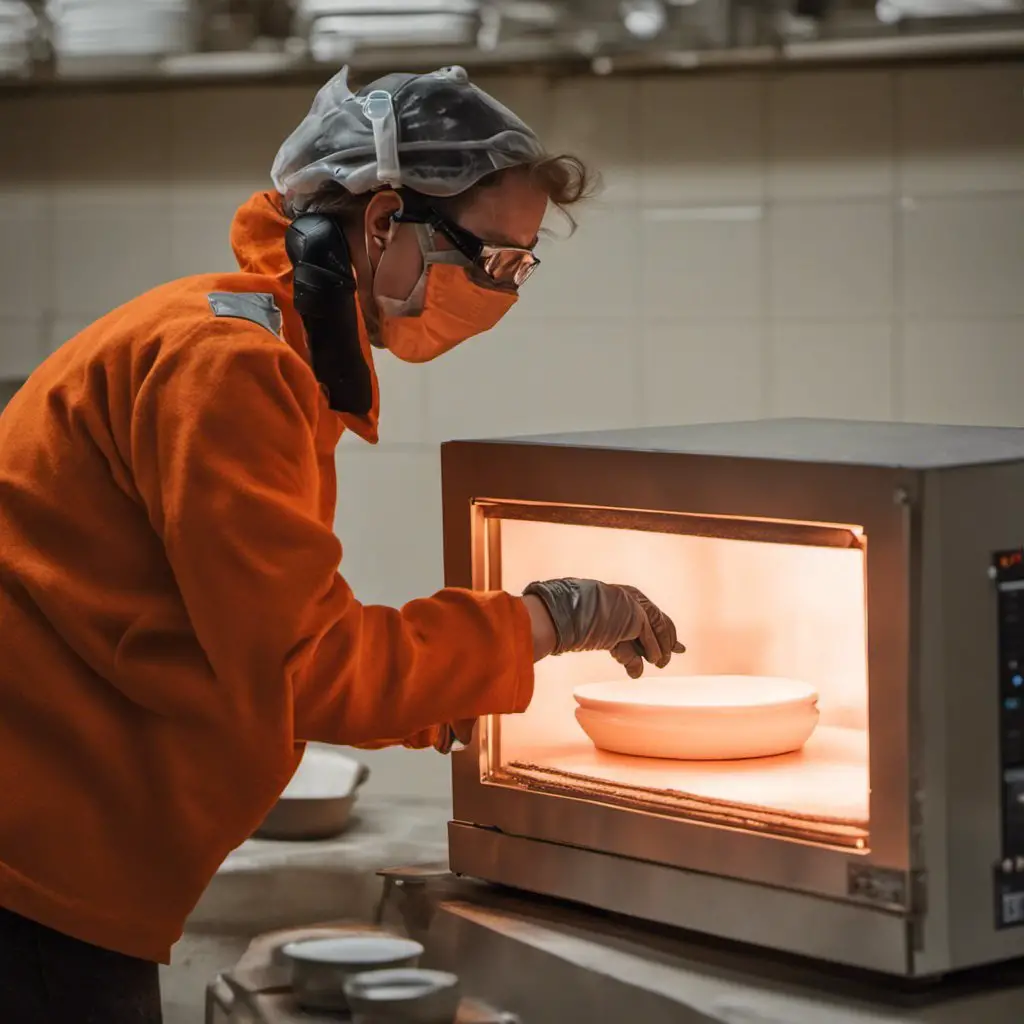
Regardless of the type of kiln you are working with, safety should be your priority. Apart from the chances of burn accidents happening, firing clay or glaze at high temperatures can lead to the production of toxic fumes and leave residual matter in the oven. So, it is important to keep these safety tips in mind:
- Safety Goggles & Heat-Resistant Gloves:
When working with a microwave kiln, make sure you wear safety goggles and heat-resistant gloves. This will protect your eyes and hands from potential splatters or burns.
- Work In A Well-Ventilated Area:
As explained earlier, firing your artwork in a microwave can lead to the production of toxic fumes. So, make sure you work in a place that is well-ventilated or at least has a window to let these fumes out safely.
- Keep Flammable Materials Away:
Although microwave kiln firing doesn’t involve burning anything, the high temperature in and around the microwave oven can lead to potential fire hazards if something goes wrong. Whether it is bad wiring in the oven or simply the high temperature, you must keep the space clean and away from flammable materials. Things such as cloth, paper, perfume, etc., should be kept away from the area.
- Fire Extinguisher:
When using a microwave kiln, make sure you keep a fire extinguisher nearby in case there is an emergency. Also, make sure you learn how to use it.
Pick The Right Clay Type
Selecting the right clay variant is important when working with a microwave kiln for a successful firing session. Look for clay that is labeled as suitable for microwave kiln firing. Some clay variants, like earthenware, are low-fire clay and work best when used with a microwave kiln.
Ensure Your Artwork Is Kiln-Ready
Before you place your artwork inside the microwave kiln, make sure it is completely dry and doesn’t have any moisture remaining. Even the tiniest amount of moisture can lead to steam buildup during the firing process which can ultimately damage your artwork or the kiln itself.
Get A Kiln Shelf
Before you place the microwave kiln inside, you need to protect the base. To do this, you need to place a microwave-safe kiln shelf inside the oven. If you are looking for a good-quality kiln shelf, you can opt for the Delphi Mullite Clay Kiln Shelf to protect your microwave oven’s floor.
Additionally, you also need to place a fiber paper that is cut to the size same as the shelf to fit properly. On this setup, you can place your microwave kiln without worrying about the surface being affected due to the heat.
Establish A Firing Schedule
Microwave kilns need a specific firing schedule to help you achieve the desired results. Follow these steps here:
- Preheat Your Microwave Oven:
Preheating your microwave oven will get rid of any moisture inside before you place your microwave kiln and artwork inside. This pre-heating period can be as short as a minute or two.
- Slowly Increase Your Oven’s Temperature:
Once you have preheated your microwave oven and placed the kiln inside, do not directly increase the temperature. Do that slowly in an interval of 2 to 5 minutes. This allows your artwork to heat up slowly without having to adjust to temperature shocks. This also prevents any possibility of flaking or breakage.
- Maintain Peak Temperature:
Once you reach the desired firing temperature, maintain this for the required period that works for you. It can range anywhere between 15 to 30 minutes depending on your artwork’s size and thickness.
- Let The Fired Artwork Cool Down:
After you have turned off the microwave oven, let the kiln and the pottery cool down without removing them from the microwave. Make sure you slightly open the oven door to let the artwork cool down slowly. Often this cooling period can range between 30 to 60 minutes.
Consider Your Microwave Kiln Size
Before you can fire your artwork in a microwave oven, you need to ensure the kiln fits properly inside. Microwave kilns come in varying sizes depending on your oven’s size. Although large microwave kilns can easily accommodate bigger projects, they might not fit inside all microwave ovens. So, pick a kiln that fits your oven best.
Find Out Your Microwave Oven’s Wattage
Different microwave ovens have varying wattages. This can affect the time required for firing your artwork. The lower the wattage, the longer the firing schedule. So, make sure you adjust the firing schedule depending on your microwave’s wattage.
Ensure Regular Maintenance
After each firing session, it is important to clean your microwave oven thoroughly. Additionally, remove any debris or residue to ensure your oven stays in good health and lasts for years. Regular maintenance will help with faster kiln firing. The residue left inside the kiln can affect the oven’s functionality. It might take up more energy to fire for the same duration.
Conclusion
Microwave kiln can be a great way to fire for beginners and experienced individuals alike. However, it is important to follow the above-mentioned safety tips to get the best outcome. These kilns help make pottery-making more accessible and convenient. Remember, just like any firing technique, microwave kiln firing requires practice and patience to achieve perfection. To avoid any errors with your microwave kiln firing session, make sure you test fire before working with the main batch. Happy crafting!


