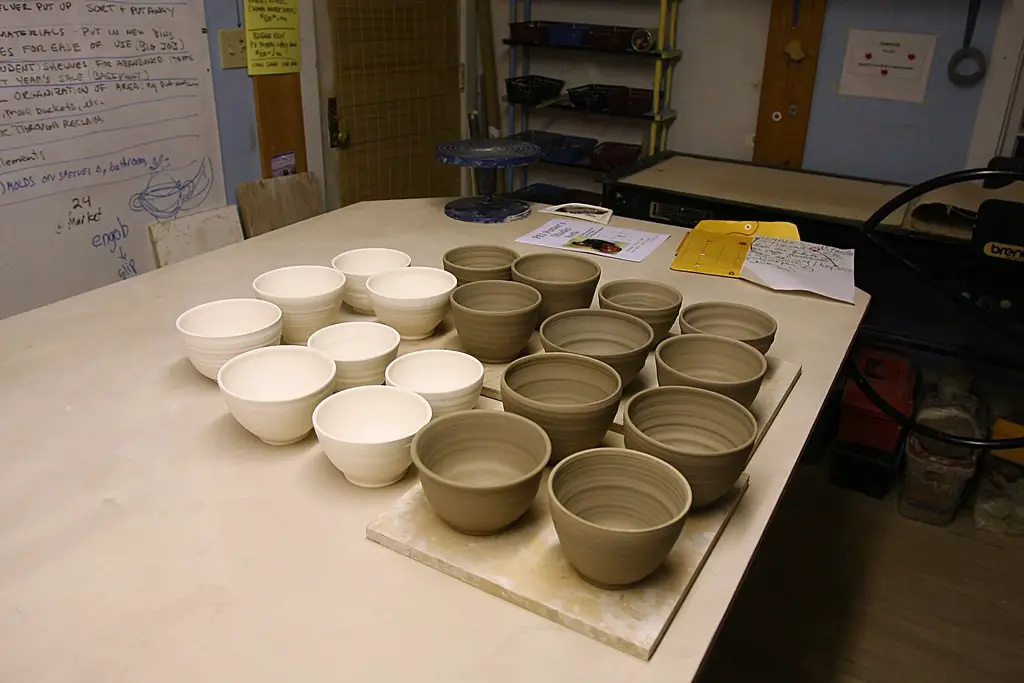
Bisqueware can be said to be a pottery piece that has been fired only once. People also refer to it as biscuit or bisc. Since pottery has become a new fad among people, it becomes vital to understand the different terminologies related to it. Bisque firing is one such process that comes into play before glazing the pottery. So, it will not be untrue to say that every earthenware before being glazed is a bisqueware. Now, bisqueware includes a broad spectrum of objects such as mugs, pottery, plates, containers, decoration articles, and whatnot.
So, here in this article, we will tell you how to glaze bisqueware. Without much ado, let’s proceed further.
Features of bisque ware and why it requires glazing?
To be very precise, there are specific characteristics of bisqueware that tell us why it needs glazing. They have been listed in utmost brevity below:
-
Bisqueware is like unfinished earthenware that requires glazing and the final step of firing in a kiln.
-
It is too porous and absorbs glaze pretty quickly. That is why it needs to be dried up before coating another layer.
-
Bisqueware is quite durable besides the fact that it is fired just once, However, to ensure its longevity, you must glaze it appropriately.
-
When you tap a bisqueware, it will give you more of a ringing sound than just a thud voice.
-
Glazing is done on bisque fired pottery wares to make them hard and insoluble.
-
The firing of the bisqueware needs to be done as per its firing schedule. One needs to regulate and examine the temperature so that the pottery does not explode inside the kiln.
7. Bisque ware requires three kinds of ramps, namely:
-
Low ramp
-
Second ramp
-
High ramp
There are a few steps involved in glazing a bisqueware. However, before beginning to glaze, you need to acquire all the essential tools at your hand, which have a particular role to perform.
In the following table, we’ve listed down the important tools used for glazing a bisqueware.
Tools to use in glazing a bisque ware |
What are they used for? |
Silicon carbide paper |
It is used to remove any rough patches that might have been skipped before bisque firing. |
Jiffy mixer |
Mix the glaze properly so that it does not dry. |
A rigid brush |
Clean the dripping glaze and set it well. |
Sandpaper |
To wipe the glaze from unwanted areas. |
Tongs |
It is used to dip bisqueware in glazes. |
Paraffin wax |
To wax the base and rim of the pottery. |
Pair of gloves |
To prevent the transfer of dirt, dust, and oil to the bisqueware. |
Steps of Glazing the Bisqueware:
There are various steps involved in glazing a bisqueware that are given below. Let’s have a look.
-
Mix your glazes well:
You can prepare a glaze on your own, or you can buy it from the marketplace. For making your glaze, all you need is some dry and powdered chemicals containing:
-
Silica
-
Alumina
-
Water
Make sure to have a respirator mask so that you do not inhale any hazardous particles. If you want to avert such kind of problem, buy an already-mixed glaze. It would be best if you used a high-quality glaze such as Mayco Stroke and Coat Wonderglaze for Bisque. Also, make sure you choose the glazes correctly as per their firing temperature. Mixing two glazes of different firing temperatures can break your pottery.
-
Use sandpaper to get rid of little bumps:
If the texture of your earthenware feels a little bumpy or not so smooth, then use sandpaper to get rid of those bumps. You can use 100-grit sandpaper to make your pottery smooth and free from any hump that you feel. But once you have used the sandpaper to remove the little jolts, remember to dust off the sand that might get accumulated on the surface of your pot.

Use a damp sponge to get rid of any dust. However, let that dampness dry. It is to be noted that always wear a pair of gloves so that you do not transfer any dirt or oil to the ceramic ware.
-
Waxing the base and rim:
Applying a coat of wax on the base and rim of your pottery will help to prevent the glaze from sticking onto the base. Waxing the bottom and the edge of your pot will help to avoid the base from touching the kiln’s heated surface. One can get paraffin wax to do so, or ‘wax resist’ which is a safer option. You can use a standard paintbrush to coat wax.
-
Place each glaze into a separate container:
It is one of the basic steps that you require. Always make sure that you keep different glazes in different containers. Also, remember to use separate brushes so that they don’t get mixed. Stir these glazes properly so that they have a regular consistency. You can make any design or texture on your bisqueware, depending on your creativity and skills. You can even spray glaze on your pottery. So, this is entirely an optional step.
-
Glazing with finesse:
A lot of times, people end up applying glaze on the wrong parts of the bisqueware, or they probably make some errors. You can correct it by scraping the unwanted part using a knife or any metal object. Make sure you do not use the same object in the future again. Use a damp sponge to make it more seamless.
-
Attention to details:
If you have some narrow earthenware, which might be a little bit uneasy to access for glazing, all you need to do is to put some glaze inside the pottery and then roll it to spread it more evenly. Do not forget to let each layer of the glaze dry before you are ready to apply another coat. If you fail to do so, the glaze is going to smudge.
-
Applying overglaze to complete the look:
Take a pair of tongs and dip your bisqueware in a bucket of overglaze. Let it stay for 3-4 seconds. For a glossier and shinier effect, you can immerse it again, but remember to let it dry before re-dipping. Let it rest for 1-2 seconds. You can repeat the process as many times as you want but do not allow the pottery to stay in for a longer time. Wipe the overglaze from unwanted places such as the rim or the base of your pot.
Wrapping Up:
Once you are done with the entire process, approach a nearby kiln that can help you to fire the glaze on your bisqueware. Try to get professional help, which would be more convenient. Once the step is done, you will be left with shiny glazed pottery that is resistant and entirely ready for use.
Happy sculpting!


