As you discover the beauty of pottery, it is important to understand the basics. The first step to ace your pottery game is to understand everything about the base element, which is “Clay.” As versatile as this element is, it achieves 7 different stages during the crafting process. Understanding this is very important for beginners to implement their creativity the right way.
Learning about the stages of clay helps ensure that you don’t jump into unmapped territories with no way out. With this knowledge, you can transform plain and simple clay into something dynamic, beautiful, and exquisite. So, without further ado, let us take a look into the seven different stages of clay.
Pottery Clay Stages: Everything You Need to Know
You just received a beautiful package of your favorite clay in your mailbox, but now what? How should you go about it? What is the next step? With pottery, knowledge is the key to perfection. So, here is a brief insight into the stages of pottery clay.
Stage 1: Dry Clay
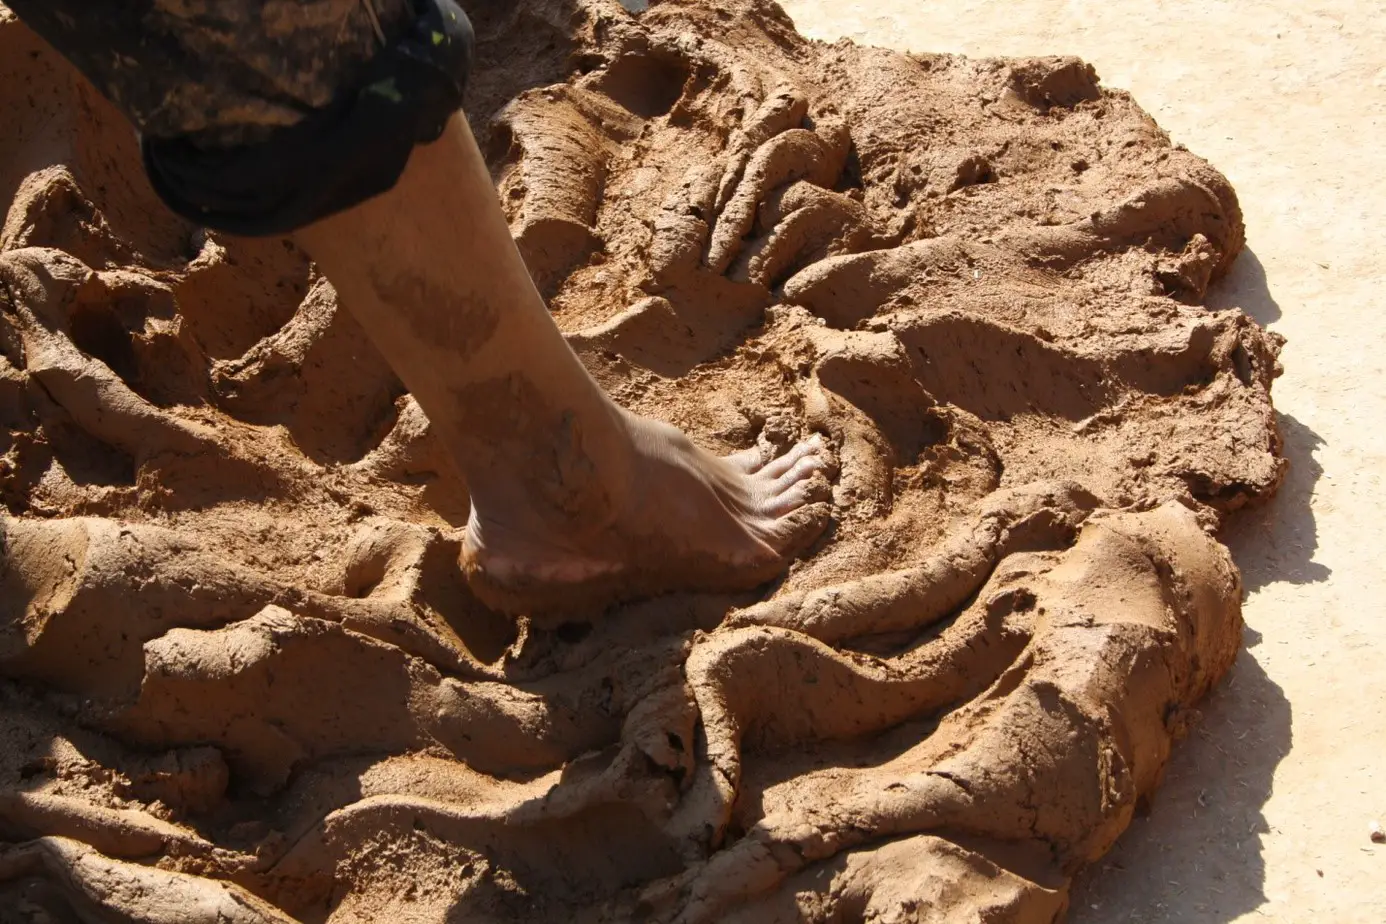
While the clay unearthed fresh from the ground is wet, you might not receive the same in your mail. This is due to the fact that wet clay is heavy and difficult to ship. Plus, it might cost you higher shipping charges. So, if your clay package seems lumpy and dry, it is nothing to worry about.
If you are someone who digs the clay directly from your garden soil, this particular stage isn’t applicable in your case. However, if you plan on saving the unearthed soil, you can filter out the sand from the clay and then mold it into the shape of a ball and let it dry out before storing it for use later.
You either store it in the shape of a big ball or break them up into small clumps for easier storage. Moreover, breaking it into small pieces allows it to dry faster. Additionally, clay can be stored for 1000s of years without it going bad. Its structure and molecular design make it impervious to any changes caused due to weather, climate, or temperature.
At this stage, you can add water to the lump and make it workable. However, don’t simply pour in the water, rather go slow at the start like you would do for dough in order to achieve the right consistency. Alternatively, if the clay is in pieces, you can place it inside a bucket with water and let the clay melt while the excess water precipitates.
You can also wrap up the clay pieces with a wet towel and keep adding water routinely to achieve the right consistency and texture. This is the very stage you can modify your clay by mixing in colorants or compounds such as silt, silicon, or quartz.
Stage 2: Slip
Once your clay has achieved maximum hydration, it enters the stage known as slip. Here, your clay is a bit runny or in the form of a paste, depending on the amount of water added by you. The clay texture can vary on the creator and the primary designated use of the same.
In a general sense, this clay is ideal for a range of purposes that include:
- You can join the pottery pieces together or place some accessories on the crafted piece. To do this, the clay and water are mixed to form a mayonnaise-like consistency before being applied to the piece. In the pottery world, this action is termed slipping. Potters prepare the joint by scratching in hash marks on the piece & applying the prepared slip on the junction for a new piece to be added.
- Slip can also be used for decorating the pottery pieces. When mixed with water in the right consistency (not too running or too thick), slip can be perfect for decoration purposes. This type of clay is actually called slurry and not a slip. The difference is just its consistency. While a slip is watery, a slurry is thicker in texture like cream. Therefore, there are multiple uses of slip for potters.
Take a look at this table to know more about it.
Slips (Types) |
Application Process |
| Colored Slip | Colored slips can be applied to the clay when it is in its leather hard stage to ensure that the color stays and doesn’t fade away due to excessive drying. |
| Casting Molds | This slip is prepared by adding water, 2% sodium silicate, & soda ash to the clay. You can pour this mixture into a mold form and use it for crafting purposes. |
| Slip Trailing | Slip trails can be applied to the pottery pieces with the help of a high-quality precision bottle. In case of errors, you can simply wipe off the trail and resume again. |
| For Decoration | You can use slip for decoration purposes by adding a bit of Epsom salt in order to thicken & add a smooth texture to the slip. This slip mixture is applied to the leather hard pottery work to ensure intricate details can be added. |
| Sgraffito | In this use case, the slip mixture is generally added to your clay body. Once the slip dries off, it can be scratched in order to crave a quick design. |
| Marble Effect | In order to create the marble effect with slip, you need to roll out your clay and cover it completely with slip. Add colors on the top using pipettes or eye droppers. |
Stage 3: Plastic Stage
Clay’s plastic stage states that you can easily manipulate and mold the clay into the desired form. This is when the clay can be dubbed as workable and malleable. In addition, it suggests that your clay has a balanced amount of moisture content which isn’t too little or too high.
In this stage, your clay must feel soft, smooth, & easy to dig into without breaking while you adjust the shape, size, and thickness. In case the clay feels too hard or difficult to bend, it might need a bit of water dabbed onto it to restore the moisture content.
Alternatively, if your clay is a bit too runny and doesn’t keep a consistent shape as desired, you can do one of these two things:
- Add some of the clay from the ball you have kept aside to the mixture. This will help thicken up the clay. Keep adding the clay until you obtain the desired consistency.
- The easiest way is to leave out the clay to dry for a bit. Then, you can check on it at regular intervals to start working when it attains the right consistency. This is easier in case you do not have access to extra ball clay and have some time at hand with no urgency. However, if you are in need of faster results, the former method would work better.
Pottery work created at this stage tends to retain its shape & form for longer. Plus, it doesn’t flake or crack when left to dry.
Stage 4: Leather Hard
When your clay reaches the classic leather hard stage, it tends to feel a bit hard but with a leathery-soft texture. Here, your pottery work is ideal for trimming & quick transfer from the pottery wheel to a place where you want it to be fired or air-dried. If things go well, your clay will form a shape that you had in mind. A great tool you can use for trimming out the unnecessary parts of the artwork is the Sherrill Mudtools Double-Ended Tool. This tool is perfect for clay and pottery artists that need a long-lasting option with precision cutting design.
However, your artwork might have some rough edges & dullish-sharp points once you are done with the trimming. This can be corrected using a sponge to smooth it out.
This stage might not stay for too long, and any trimming or changes required must be done fast. Chances are, your pottery work might dry up mid-trimming. However, you can simply place a damp towel on the clay to let it regain the moisture and once it attains the leather hard stage again, start working on your piece.
If your clay feels too soft and doesn’t trim well, you can wait out and let it lose some moisture before you start working again. Alternatively, if your clay starts to harden again, you could simply use a sponge dabbed in water to smoothen out and let some water seep into the artwork.
You can also use sandpaper to create a smooth texture on your pottery piece at this stage.
Stage 5: Bone-Dry
After you are done trimming and texturing your pottery work, you can place your clay in a dry and clean place that gets a good amount of sunlight throughout the day. Depending on the sunlight, thickness, and size of the pottery piece, it could take about 8 to 14 days for the artwork to achieve a bone-dry state.
In case you live in a place that doesn’t receive a lot of sunlight, you have to find something else for the drying purpose. In this case, you can opt for a process termed candling. In this process, you set your kiln at an extremely low temperature (i.e., below 100 degrees Celsius) & place your pottery inside. This will help ensure that the artwork dries out slowly while preventing any cracks or flaking that happens when the clay is dried out too fast.
Alternatively, you can dry it out in an oven with the heat turned down. In both cases, you need to leave your pottery work inside for a minimum of 8 hours. Once the maximum amount of moisture has evaporated, it is ready to be fired.
Few things to consider at this stage are:
- Don’t move around your artwork too much, as it could lead to irreparable damage. This is when the clay is fragile & errors are generally irreversible.
- Bone dry state means the clay is essentially hardened mud. So, you should avoid keeping water in and around the artwork.
- If your clay still retains a lot of moisture, don’t pop it into the kiln for firing. This will change the moisture in the clay to its steam form while leaving pockets in your structure. When this happens, the clay will collapse due to the structural change or even explode depending on how moisture-laden your piece was.
Stage 6: Bisqueware
Once your artwork is dried up properly under the sun, it attains the bisqueware stage. In this stage, your artwork is dry and hard in texture. If you happen to rub your hands on the surface, you would see a dust layer come off without any type of smudging.
If you fail to dry out your piece completely, it could lead to unforeseen accidents such as explosions inside the kiln. If not sundried, you can simply bake the piece in the oven or kiln at a temperature close to 950oC. This is when the piece attains a bisque stage. This is when you should apply glaze to your pottery work, as it is hard enough to retain shape while being porous enough to absorb the maximum amount of glaze.
Before you glaze your artwork, make sure you brush off the dust with the use of a soft pottery brush. This ensures that your artwork doesn’t have any ash deposits, smudges, fingerprints, or dirt before you glaze.
Stage 7: Firing Stage
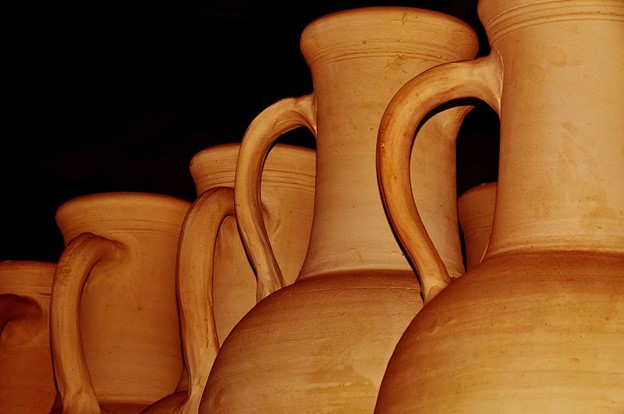
At this particular stage, unless you are crafting terracotta, your artwork can be fired. Firing it again helps seal any holes present in the vessel and hence ensures that it becomes waterproof and ready for use. This stage is important to ensure that your vessel can hold water and even function as a regular-use utensil.
Depending on your firing temperature, it melts your glaze with the clay piece. This melting action packs in the leftover holes. Before you fire your piece, make sure you select the right clay and the temperature at which it can be sealed into the pottery work.
Select from a range of glazes that include medium-fire, high-fire, and low-fire variants. Each of these glazes would bring in different effects and designs for your clay work.
Conclusion
That being said, the art of crafting pottery pieces can be long and testing yet fulfilling in itself. As you create each piece, you watch them mold from a glob of mud to something that holds meaning and usage. More than a chore, this can be a therapeutic task for you. So, go ahead and enjoy your crafting journey with this newly acquired knowledge.


