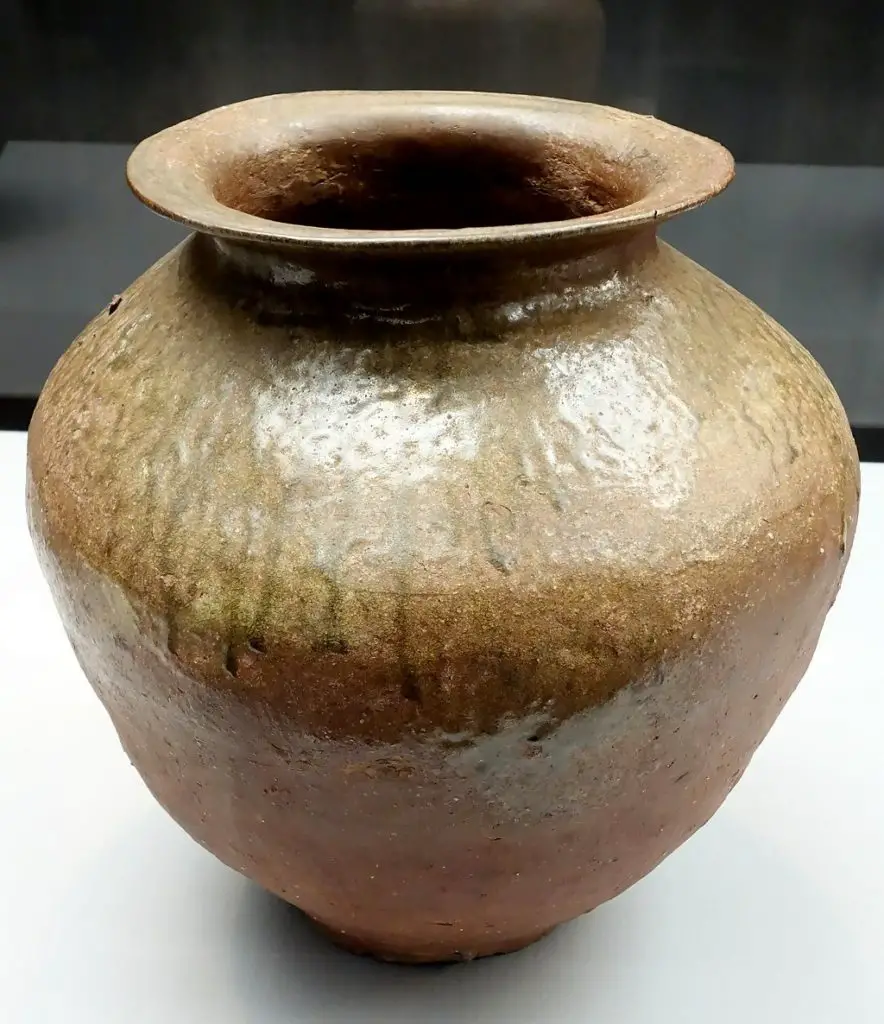
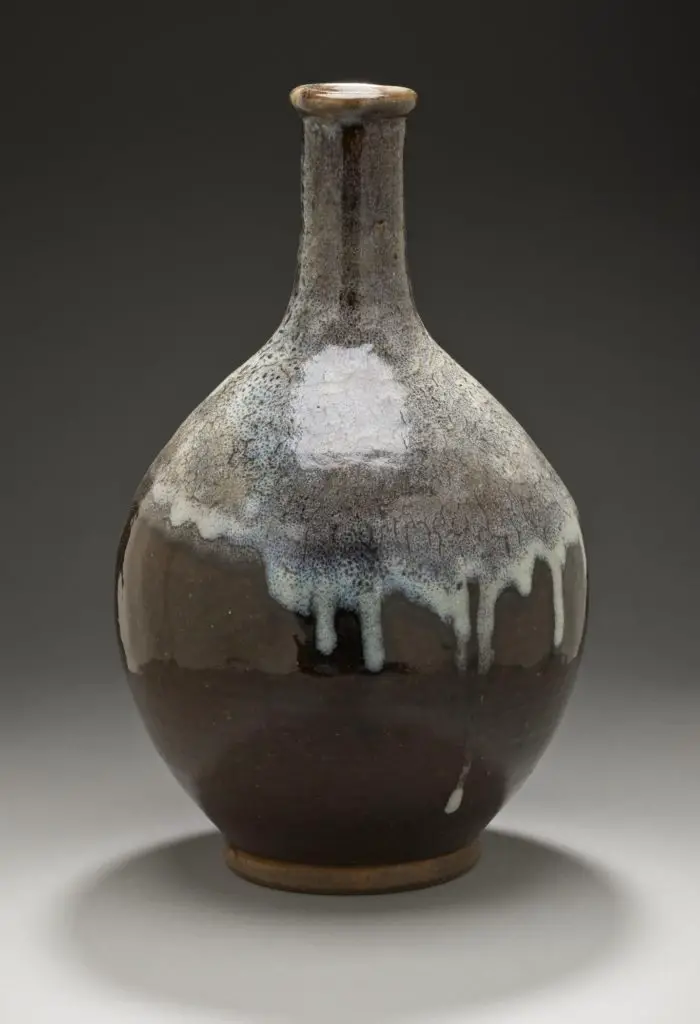
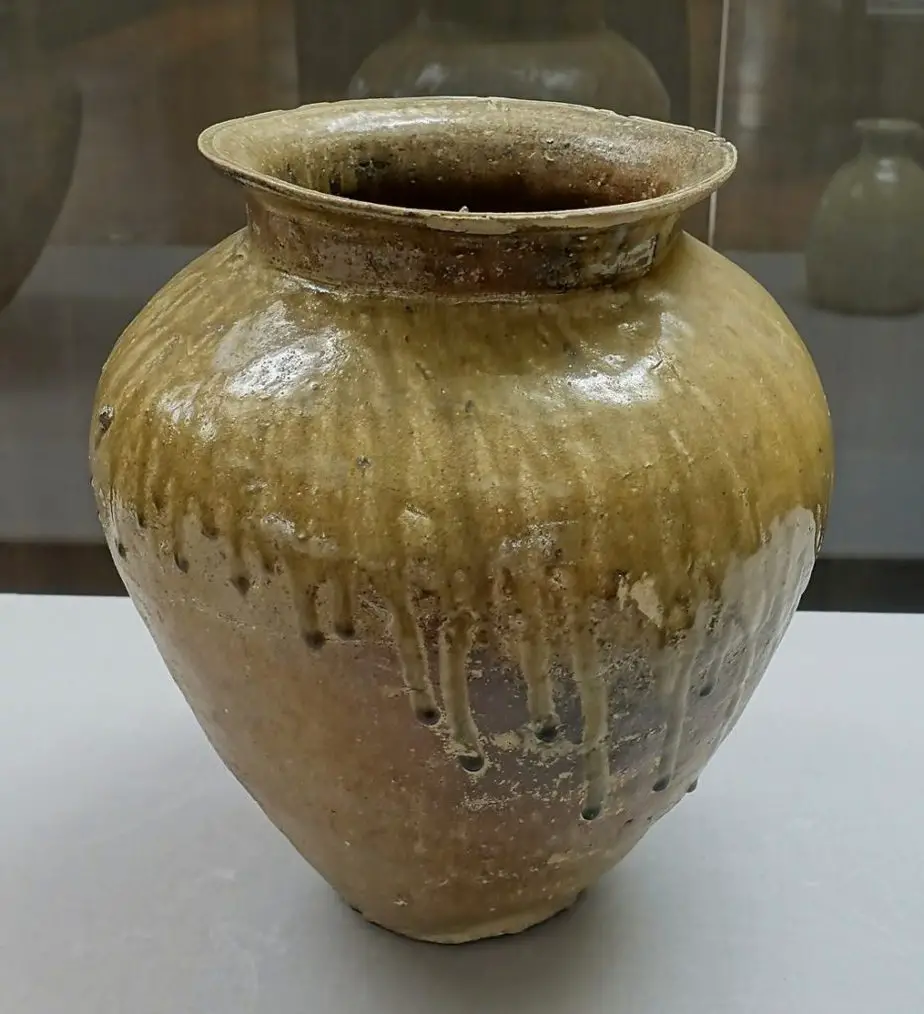
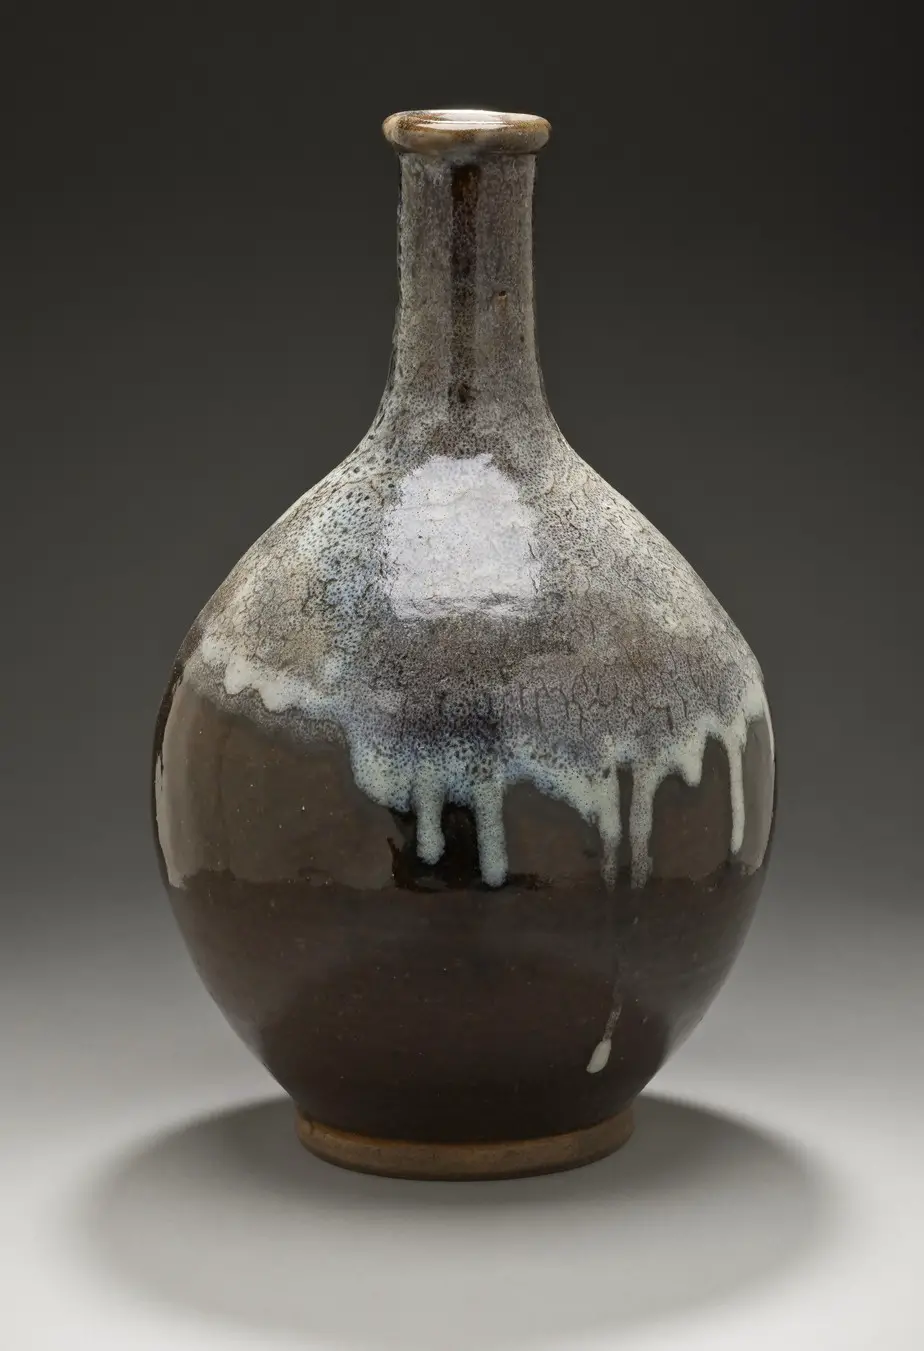
Many people, want to consider more natural options for their glazes. Luckily, there are options out there for those of us who want to take a more natural approach to our pottery making.
Natural glazes have the added benefit of adding a natural feel to them, making them look even better than ever before. But, what does it require for you to do that?
Read on to find out the best natural recipe for pottery glaze that is out there, also why these different pottery recipes are possible, and their benefits.

Why go Natural?
What’s so great about choosing a more natural pottery glaze in comparison to modern glazes that are readily available?
Well, there are a few benefits to them, and they include the following:
- They create a unique finish to your pottery
- It doesn’t involve as many toxic chemicals on your wares
- Could make them look cool
- You can pick up the materials right outside your home
- It could save you money in the long run when choosing a pottery glaze
This is something that’s for the more serious hobbyists since it does take a long time to put together. But, if you want to create a unique pottery glaze, and have the right recipes on hand to do it, then read on to find out some of the top recipes you can try out.

The Nuka Glaze
Nuka glaze is a very old type of pottery glaze, and it was done via the process of burning ash.
The reason why this would work is because of the following:
- The glaze would have a lot of silica from the ash in it
- You can also add stone, creating a sandy broken, or gray finish to it
- It is readily available
- It is free too
Nuka glaze has been around for a couple of millennia, with it gaining popularity due to Japanese folk potter Shoji Hamada. He was known for creating this type of pottery, and his materials were always harvested locally.
With this glaze, he used the following:
- 50% ash
- 50% stone
- Black tenmoku brushed over it
Ash as a glaze ingredient is pretty prevalent, and you can get it in many different ways. Below, we’ll go over the process of using ash as a glaze ingredient.
Making your Modern Nuka Glaze
To make this glaze, you need to do the following:
- Get 200 gallons of wood ash from a natural source, such as deadfall trees
- You then need to sift the ashes first through a 12, and then a 40 mesh screen
- You then mix this with water and stone to create a glazed surface
- Paint it onto the pottery piece
- Fire this at a hotter temperature than your traditional temperatures, around the temperature of cone 12, which is over 2500 degrees
- You can adjust the temperature as needed when firing by using the line blend test
- Take it out when needed
When making the Nuka glaze, you’ll want to add a few more elements to really perfect this, and you should keep this glaze on your pottery at around 145 degrees so that it doesn’t slip off the pots that you’re glazing.
The ingredients for the perfect Nuka glaze recipe are as follows:
- 33 parts dry sifted wood ash
- 50 parts Custer feldspar
- 50 parts 325 mesh flint silica
- 15 parts Frit 3134
- 20 parts whiting (high purity)
- 10 parts bone ash
- 10 parts bentonite
- 10 parts talc
This can all be mixed together in order to create the perfect Nuka glaze.
Wood Ash glaze
This is another perfect type of natural glaze, and wood ash is again, readily available and perfect for many pottery pieces. This one also requires only a fraction of the Nuka glaze materials, and it is a pretty simple variant and process to it.
When choosing a source of wood ash, you want to consider the following:
- Choose at least a kilo of good gray or white ash
- Try to get some with as few impurities as possible
- You may need to sieve all of this through a mesh strainer to get the contents out of there
- You should also make sure that when finished, it looks very clean
- Soak and dry the ash before you use it
From here, you now can put together the recipe that you need for your glaze, and the ingredients for it include the following:
- 38 parts wood ash
- 30 parts feldspar
- 20 parts china clay
- 12 parts flint
- 5 parts red iron oxide (optional but if you like red, add this)
At this point, you should measure this out, and then do the following:
- Put this in with a bucket of water
- Mix it thoroughly
- Make sure that you sieve it at least three times, finally obtaining a rose-pink color, especially if you’re using the red iron oxide in the glaze
- Add the glaze to the pots as needed
- Fire this glaze at around cone 8 or so, or hot enough for the required pottery piece
- When done, let it sit down, and if you notice changes, you can fix this up as needed
The beauty of this is that with wood ash glaze, the type that you use can affect the color of this. For example, if you’re using a whiter wood ash glaze than a grayer one, you’ll notice immediately the changes that this creates in the piece, making it look better than the other variants were before.
Punching Pumice Celadon Glaze
Now this one is perfect if you’re looking to create a wonderful white piece with blue hues. This is also a great one especially if you live in an area that includes a lot of pumice rock.
To find this rock to use, you must do the following:
- Go out to an area that includes this type of rock
- Dig it up, you’ll probably have a lot of impurities with it
- Start to sieve this first through a 12 mesh, and then later on 40 mesh to eliminate all of the impurities to it
- If it’s still in a large form, you may need to grind this down
- From here, you should have a decent amount of pumice to work with.
At this point, you’ll then have the glaze mixture, and you’ll want to do the following with it:
- Add 80% Hess punish, 325 mesh
- Add 20% Wollastonite
- Mix this with some water to make this a nice blue color
- Put it onto your glaze, and let it sit to dry
- Then, fire it at a cone 10 reduction atmosphere
This pottery may be a little different from what you’re used to in terms of firing and the quality of the clay that you’re using, but it is great since pumice is a natural clay material that’s available to many.
Feeling Salty? Why Not Try salt Glazing!
Salt glazing is a technique that is actually being developed and evolving constantly, and while it is centuries old, it isn’t always consistent.
This has been around since 13th and 14th century Germany, and the reason why people like it is because of the following:
- It’s incredibly unpredictable
- It is unique
- It brings about beautiful results
This is a cool one since a lot of times the salt is of different levels, and many times, the salt creates some cool vapors in it, creating a unique set of different structures within the glaze itself.
The best recipe that you can achieve this with is, of course, a wood ash glaze, and here, we’ll tell you about the best recipe that you can use with this.
The recipe you should consider is the following:
- 30 percent silica
- 30 percent wood ash glaze
- 20 percent sodium silicate
- 10 percent feldspar
- 5 percent red iron oxide
- 5 percent talc
Now with this, you want to make sure that you do the following first:
- Get yourself the natural wood ash and sieve it
- Mix it all together with the other materials
- Add the sale in last and start to put it on top of the glaze already made
- Make sure that you have it fired at about 2400 degrees
- You should make sure that the salt is added later on when fired at an angle, to add some different textures
- You can create different looks with this, including “orange peel” or otherwise
- You can also add more of this, and from there, you’ll be able to create unique shapes and textures
This is a good type of glazing for those who want something a little more unique, and it does involve natural materials that work for you.
Pig Skin Temmoku

Now, this is a unique type of pottery roadside glaze, and it is super cool because it can have an interesting matte texture, similar to a pigskin. It also includes the tenmoku firing, a very unique and interesting type of Japanese pottery firing.
To make this, you need the following ingredients for your pottery:
- 54.05 percent shale
- 7.14 percent Vulcan granite
- 6/12 percent whiting
- 9.2 percent wood ash
- 23.49 percent silica
At this point, you will want to mix all of these together in order to create a nice, even mixture. For the Vulcan granite, you should make sure that it’s properly sieved beforehand, and the same with the shale rock that you’re grabbing.
At this point, you want to do the following:
- Put this on your pottery
- Fire it to cone 10
- It should come out with a matte finish to it
- Make sure it’s in a reduced atmosphere
- It should come out to a dark brown color, which is what you should be going for with your pottery
This is great if you want something that’s similar to the tenmoku firing that was mentioned before but gives a unique look to this, and one that can certainly enhance the product as well.
Tips for Safe Glazing
When safely glazing using natural pottery glaze, you want to do the following:
- Make sure that you have gloves since you don’t want to get this on your hands
- Make sure to wear clothing that you’re okay with getting messy
- Keep hair back, and jewelry away from the area
- Wear safety goggles and masks, since inhaling silica is incredibly dangerous
- Make sure when you’re harvesting the rock, you find the right location that you can get rocks from, and make sure to check with the authorities on this
- If you need to, sieve it further to ensure the proper size of the particles
These are all important tips when working with natural glaze recipes, since it does require a bit more legwork on your end than other glaze recipes, but it can benefit you in many different ways, so it should be considered when choosing the correct kind of glaze, and materials that you want to work with.
Consider going Natural!
When it comes to glazing and firing, you should definitely consider a more natural look to everything, and understand the benefits of glazing, and what you can do.
Some potters like to test their skills and go with more natural glaze recipes for their pottery wares. Luckily, it is easier than ever to find natural pottery recipes that use different rocks that are simple to find.
If you’re willing to do the legwork, there are a lot of benefits to be had with doing this type of glazing, and a lot of cool glazes that you can create.


