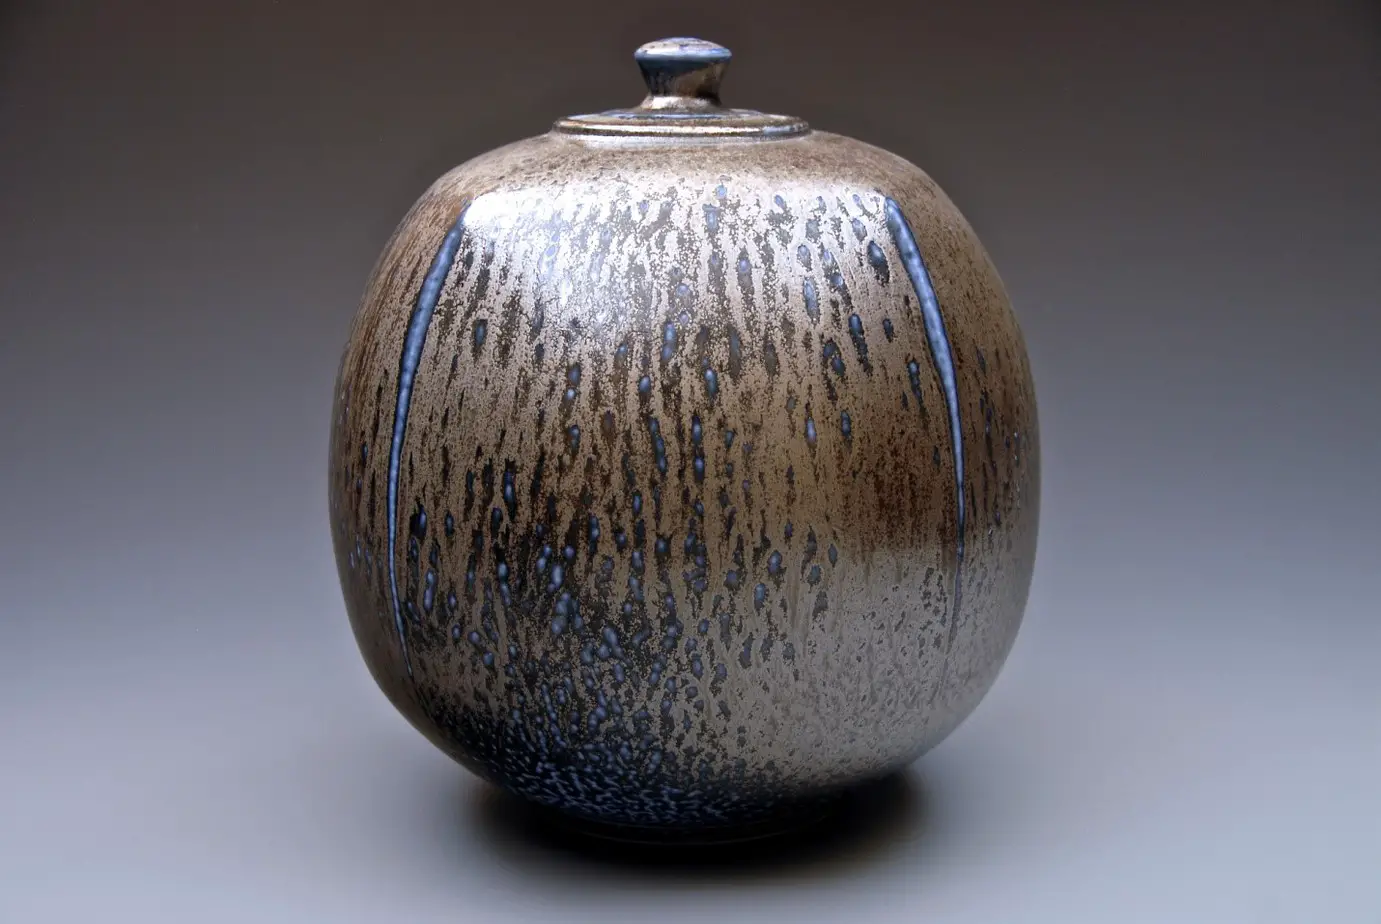
When experimenting with pottery, it is important to learn the art of glazing. Without proper glaze added to your artwork, the entire thing is simply going to look lifeless of sort regardless of how well it has been crafted or fired.
Surely, you can buy a pre-made glaze online, but having your very own homemade glaze would be just as rewarding. At times, you might land with glaze variants that are plain and boring with nothing unique. So, if you wish to experiment with glaze, the key is to understand its ingredients and the importance of DIY glaze.
Why prepare your very own glaze?
While the market surely has some good options, you might or might not land with the right one, especially when starting off as a pottery artist. Here are some of the reasons for you to try and prepare your very own glaze mix.
-
Complete Property Control:
The best thing about DIY glaze is the fact that it gives you access to complete control over the resulting features. Whether you wish to create a more matt and less glossy glaze with speckles or a higher concentration of blue, this could all be done with a self-made glaze.
Simply alter the recipe as needed, and you are good to go.
-
Cost:
Making your own glaze is far cheaper than purchasing one. As per rough estimates, DIY glaze is half the price of what you would pay for a pre-made branded option. This saved cash can be used to buy more pottery accessories.
Now that you know the importance of preparing your own glaze let us dive deeper into the components of any generic glaze.
DIY Glaze: What are the components involved?
Whether it is a store-bought glaze or your DIY one, all the variants would have five critical ingredients in common that include:
- Fluxes
- Silica
- Colorant
- Alumina
- Modifiers
Keep in mind that these ingredients can vary in terms of consistency, and this is what gives them their unique feature. Even though you would use the very same basic components, the amount at which these ingredients are mixed can determine their color and texture as well.
Common ingredients found in the glaze colors include:
- Copper Carbonate
- Iron Oxide
- Cobalt Oxide
- Copper Oxide
Here is an example of the best way to achieve some popular shades of green with your pottery
Color Variant |
Chemical Composition |
| Copper-Iron Green | Red-Iron Oxide: 8.00%
Copper Oxide: 0.75% |
| Copper-Limenite Green | Limenite: 6.00%
Copper Oxide: 1.50% |
| Copper-Chrome Green | Chromium Oxide: 0.40%
Copper Oxide: 1.50% |
Suppose you wish to repeat a certain effect or texture. In that case, it is important to monitor and remember the mixing quantity to ensure that you get similar results every time you prepare a new mixture. But, first, let us understand the role of these pottery glaze components in churning out the perfect piece of art.
1-Silica:
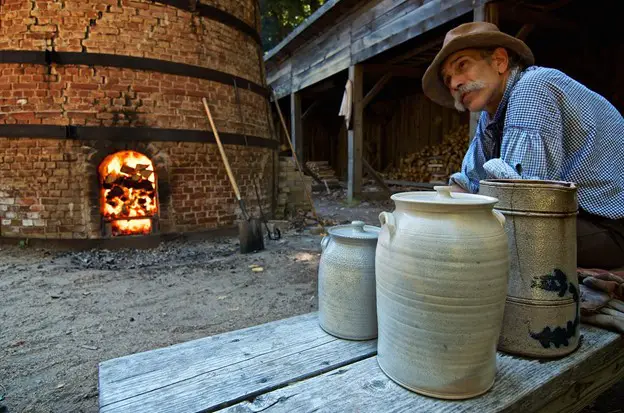
When heated in a kiln beyond 3100oF, Silica sand starts melting and ultimately forms into the embodiment of glass. If you wish to attain a durable and shiny finish, you can also add up flint as a component to the silica sand.
2-Alumina:
The role of alumina is to allow your glaze to stick to your clay’s surface in a durable manner. Further, it also ensures that the mixture doesn’t run off when heated at high temperatures. This would also help even out the texture and shine on the artwork.
3-Flux:
Flux is used in the glaze mixture to help melt off the glass integrant termed as flint. You can select from a range of flux options that include iron, sodium, bone ash, zinc, and so on. You can opt for high-quality glaze flux available online such as the Mayco Flux-SW-401, for a high firing experience. This 4-ounce jar is developed for use when combined with different types of mid-range glazes that produce a flow-like effect.
4-Colorants:
To add a white shade to your pottery item, artists make use of colorants for the glaze mixture. This whitening effect can be achieved from a range of chromium oxide, talc, or iron oxide options.
5-Modifiers:
Now, talking about the modifiers, the options are many, and here we will decode it all one by one. Modifiers are mostly used to shift the surface effects of glaze, such as transparency or opacity. Here are the modifier variants you can choose from:
-
Opalescence:
This particular modifier helps reflect the iridescent light falling on your pottery’s glazed finish.
-
Opacifiers:
If you wish to have an opaque or white glaze on your artwork, the key is to opt for the opacifiers. These modifiers make use of tin oxide or bone ash to achieve the effect.
-
Bentonite:
Bentonite is a modifier that helps hold the glazing components in a suspension form during the kiln firing process.
-
Gums:
With all the glaze ingredients in place, you would need something that can toughen the entire mixture while protecting the finish. This is what is achievable with the help of gums before it is fired at acutely high temperatures.
Now that you know the basics of the ingredients used in pottery glazing let us learn about certain safety tips that would help you achieve optimum results.
Safety Tips for Secure Glazing
When glazing with the use of these ingredients, the key is to follow these tips religiously:
- Invest in a pair of reliable and non-porous gloves to avoid the glaze from penetrating and getting on the hands.
- Ensure that you wear clothes that are old, and you won’t regret messing them up.
- Tie your hair back and ensure that no strand falls on your eyes while you prepare the mixture.
- Avoid wearing any rings on your fingers for added safety.
- Wear masks and safety goggles as inhaling silica would be incredibly dangerous.
Conclusion
With glazing, the scope for experimentation is never-ending, depending on the look you wish to achieve. You can go with either a natural glaze mixture or the DIY ones to get the best out of your artwork. Suppose it might also happen that you won’t achieve the right texture or color on the first try. Well, don’t lose hope. Simply keep trying, and you are bound to achieve success with a bright shade of colors on your pottery table!


